|
|
| Hangar |
Aircraft |
Category |
Date |
Preview |
| LASTWOODSMAN | Aero-Werkes AW 11607 - Pfalz Dr.I Triplane | Parked | 12-Dec-16 12:20 | 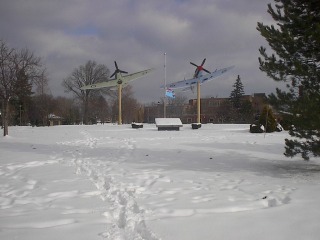 | | Views : 715 | | eleven inch (11") snowfall yesterday Sunday December 11, 2016 Jackson Park, Windsor, Ontario, Canada |
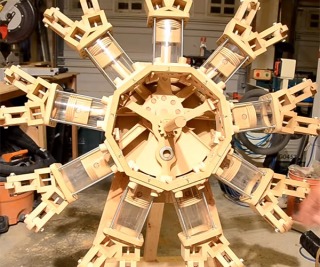
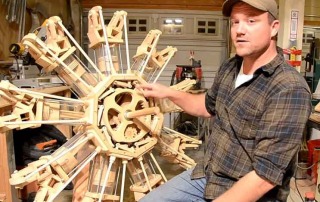
| LASTWOODSMAN | Aero-Werkes AW 11607 - Pfalz Dr.I Triplane | Parked | 12-Dec-16 09:20 | 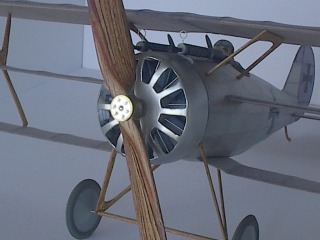 | | Views : 700 | | COWLING: This kit comes with a beautiful 0.015" thick sturdy Vac-formed Plastic Cowling with well marked cutouts of the engine air cooling holes. I securely thumbtacked the back flashing of the cowling to my workboard, put on a fresh new #11 Exacto blade, and carefully and slowly cut out all the holes with no major mistakes, thank goodness. I then finished them all of with some more thin slices with the blade, and sandpaper sticks and metal files as best I could, and sprayed it inside and out with Metallic Silver which actually turned out to match the fuselage Metallic Silver tissue. |
|