| Build Thread, Page :
<< 18 19 20 21 22 [ 23 ] 24 25 26 27 28 >> (851 posts, 20 posts per page, 43 pages in total)
|
[ < Prev ] [ Next > ] |
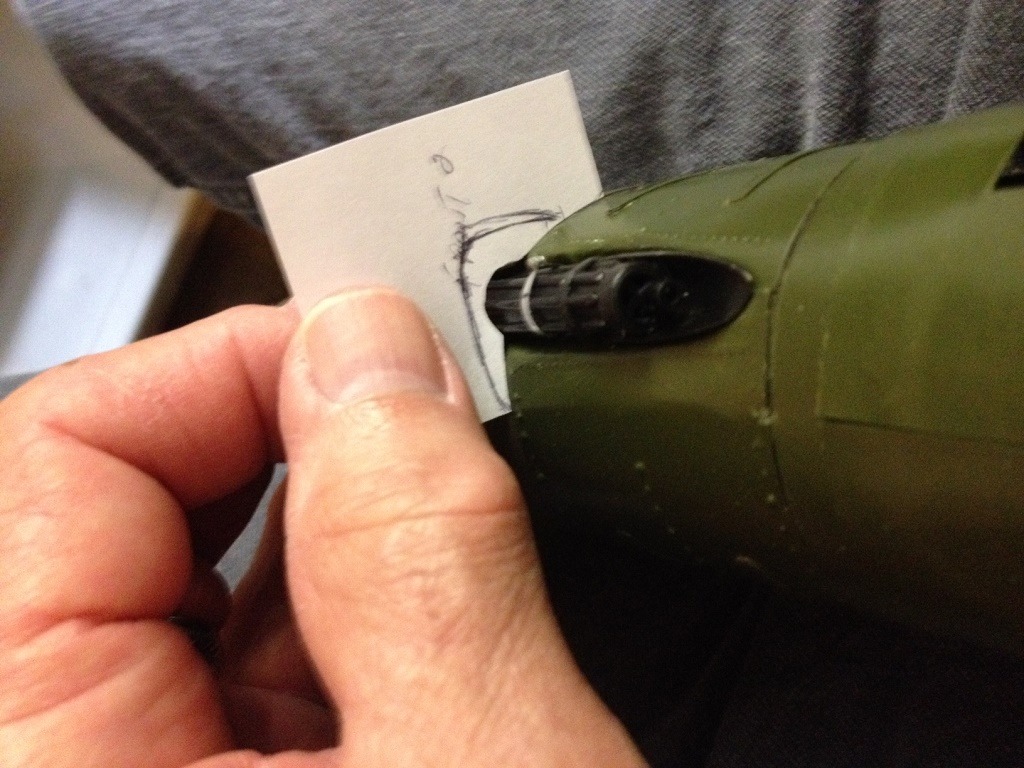
| Skyediamonds1985, Image # 35935 | 25 Apr 16 20:51 |
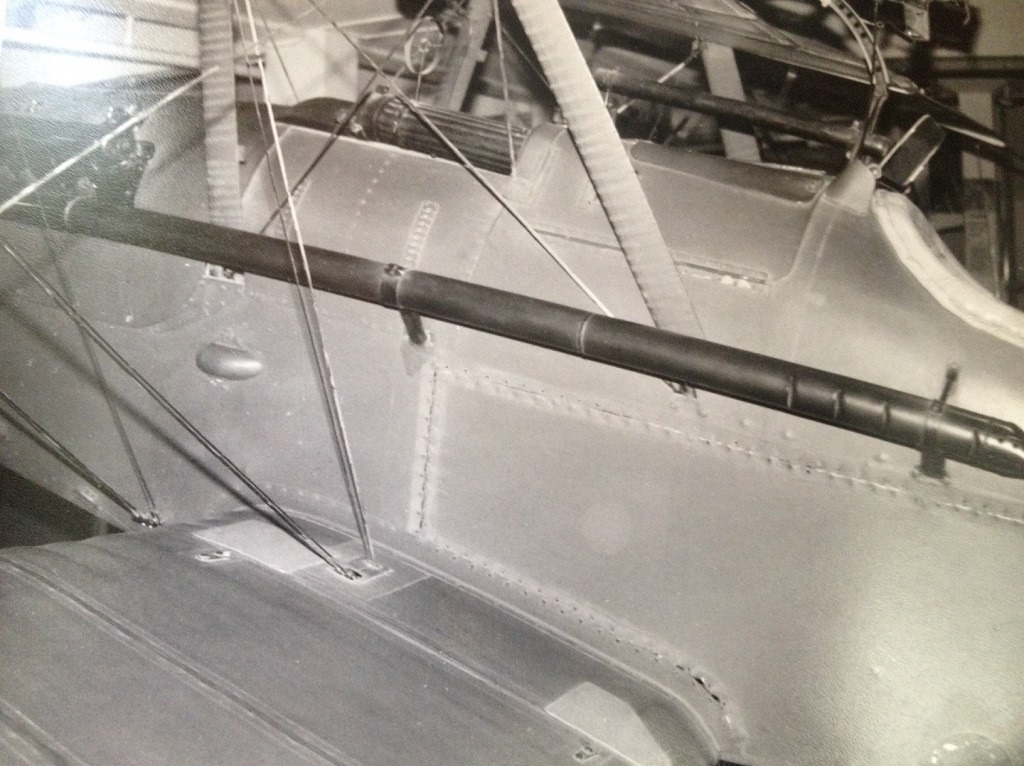
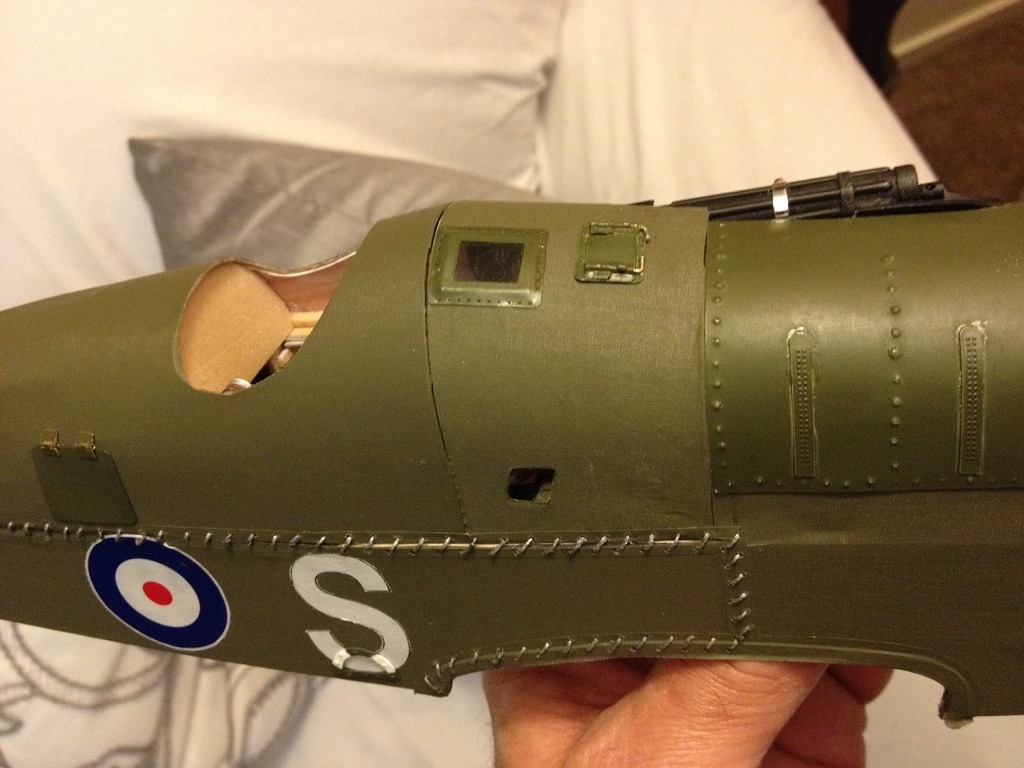
Good afternoon guys. I'm continuing with the fabrication of the housing over the Vickers machine gun. As you can see, pictorial information is a rare commodity. The Vintage Aviator helped some, but in this area, there really isn't much visual information. |
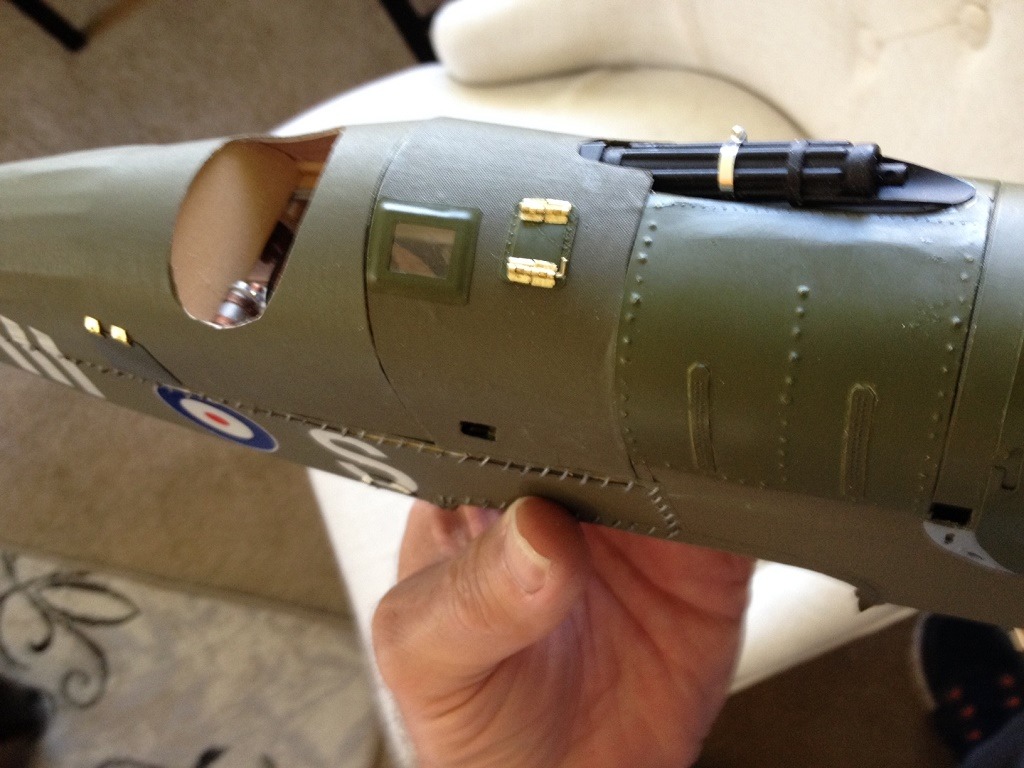
| Skyediamonds1985, Image # 35934 | 24 Apr 16 15:56 |

I should point out that after the tape was carefully measured and cut out to suite both the plastic glass and square hole, that it was first painted olive drab before applying to the fuselage. This is the end result, after the use of MicroMark's rivet decals. |
| Skyediamonds1985, Image # 35933 | 24 Apr 16 15:53 |
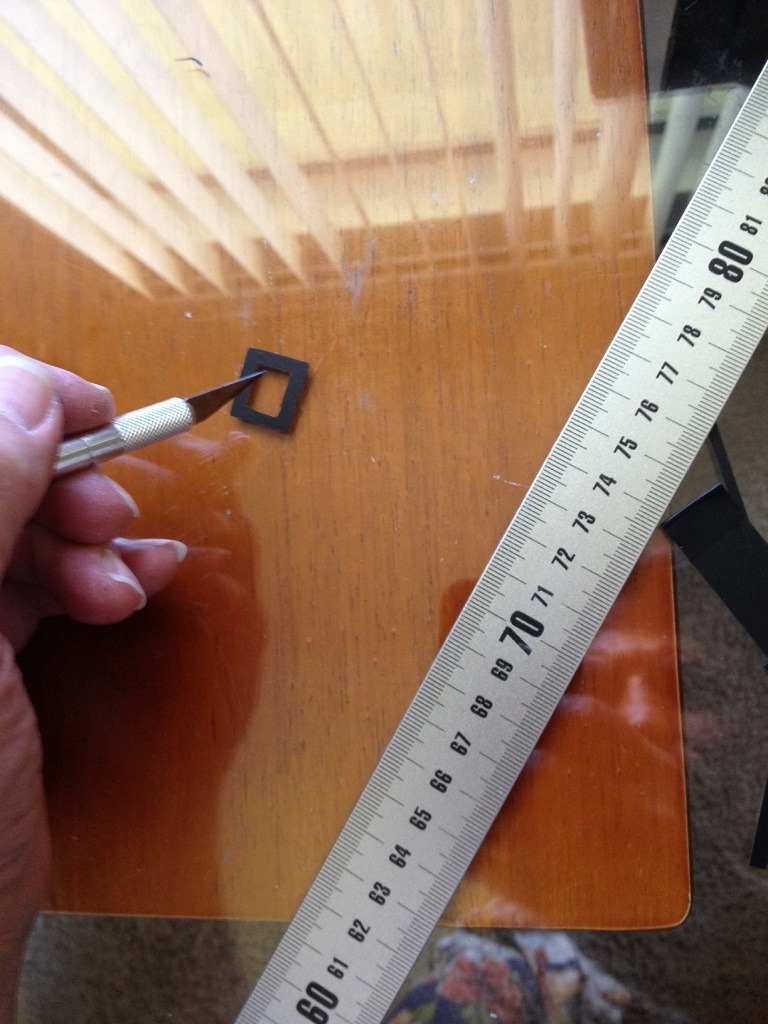
I used black electrical tape as the frame. It has its own self-adhesives, very flexible to fit over the "glass," and its easy to cut. |
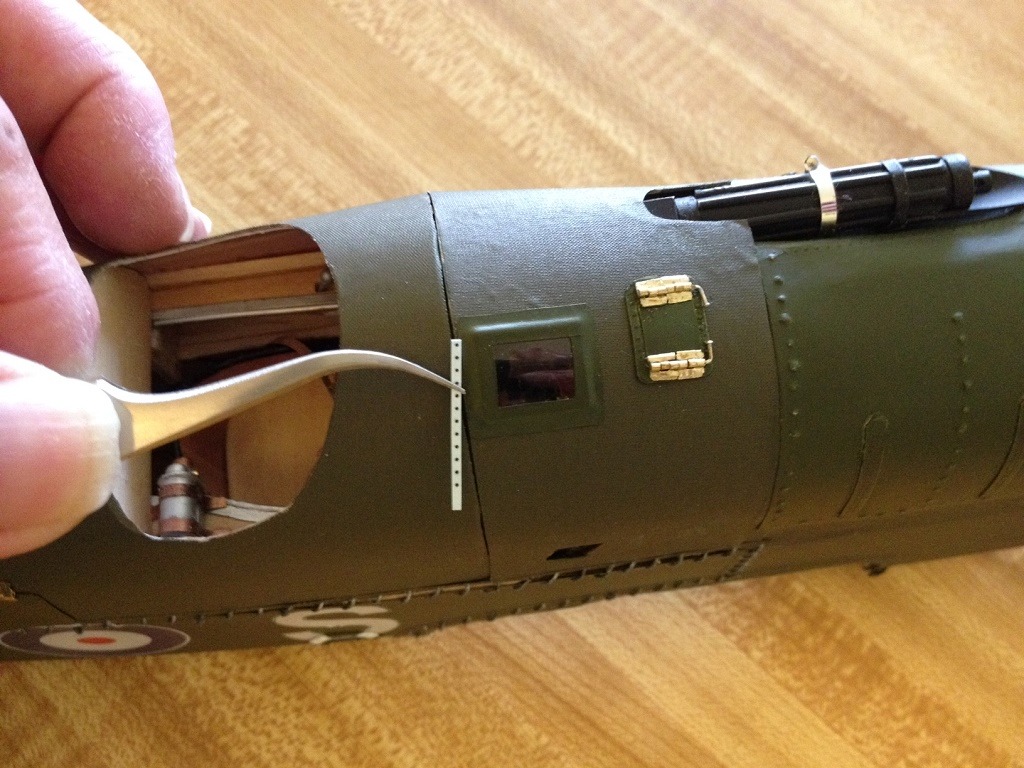
| Skyediamonds1985, Image # 35932 | 24 Apr 16 15:51 |
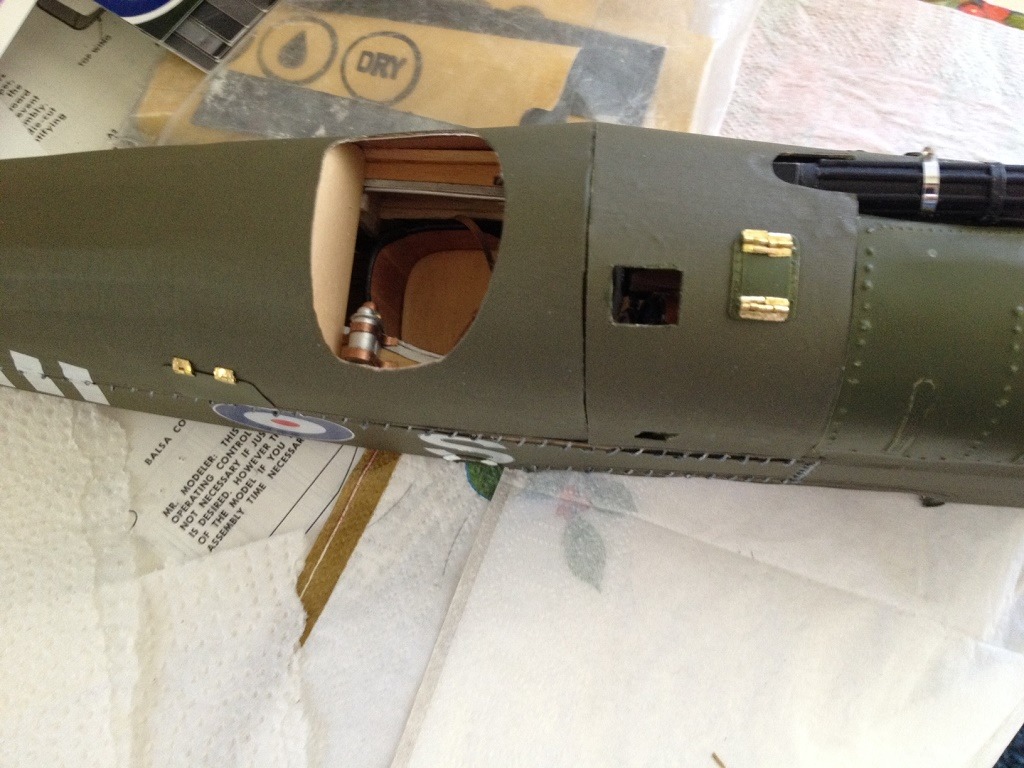
Going to provide an inspection window and its surrounding frame |
| Skyediamonds1985, Comment for image # 35907 | 21 Apr 16 19:59 |
| Anytime, glad to help Anders. If you decide to detail the cockpit interior and employ the use of a wicker chair, may I suggest Mr. John O's idea of using needle point cloth? Has lots of weaves and may save you lots of time. -Sky |
| Anders, Comment for image # 35907 | 21 Apr 16 15:40 |
| Probably going to need this for a 1/4 sopwith pup i build a little on now and then (pics might be posted when done). Thank you :) |
| Skyediamonds1985, Comment for image # 35907 | 21 Apr 16 15:16 |
| Just one final note, I happen to choose the "H" version of rib stitching to the fuselage in which all of the stitching appeared parallel on the outside. To me, it exemplified the simplicity of stitching, yet the gracefulness of appreciating the stitching itself without the distraction of anything else. The use of "T" pegs to employ the "V" or double "V" patterns was a bit too much for me, to say nothing for having those tiny pins sticking out all over the fuselage, making it resemble more like a pin-cushion. |
| Skyediamonds1985, Image # 35907 | 21 Apr 16 14:56 |
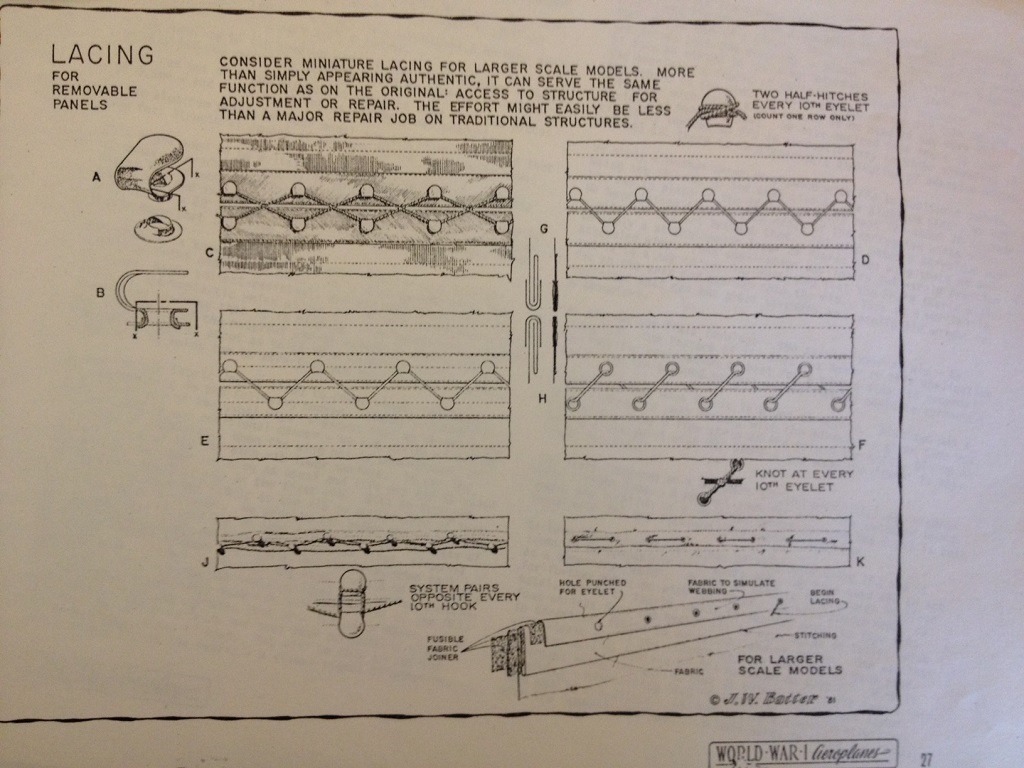
Of course, because I went through the laborious task of rib-stitching the fuselage, you might be interested on how the various stitching applied to real aircraft. Hope you enjoy! |
| Skyediamonds1985, Image # 35906 | 21 Apr 16 14:55 |
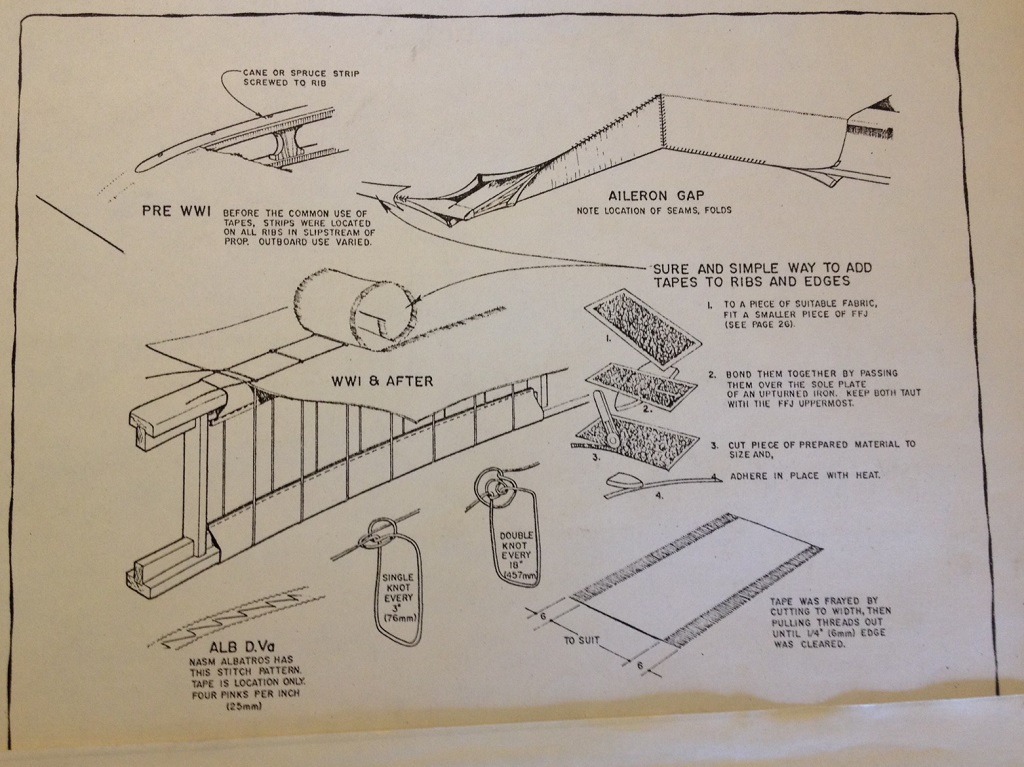
You might also be intrigued to know that the zig-zag pinked ribbed surface tapes did not exist until during of WW I. Older types had this method of surface tapes across the wing ribs. |
| Skyediamonds1985, Image # 35905 | 21 Apr 16 14:52 |
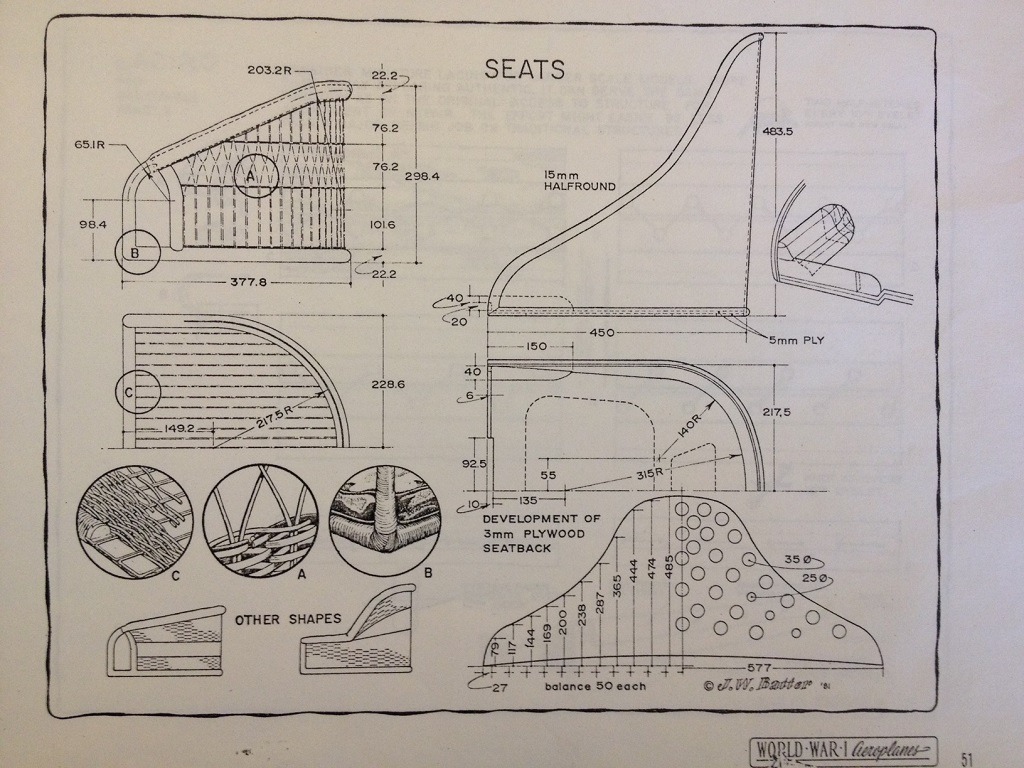
This might be outside the realm of building the S.E. 5 in particular, but I thought everyone would benefit from seeing how the original wicker and wooden seats of older and biplane types were made. Hope you'll enjoy. |
| Skyediamonds1985, Image # 35902 | 20 Apr 16 14:51 |
This is the "Before" picture prior to me painting the small gap between stitches and giving it an overall glossy finish. It's just a bit of attention to the details. |
| Skyediamonds1985, Image # 35901 | 20 Apr 16 14:44 |
Did two things: A) filled in the small gaps between the stitches by using a very fine, pointed paint brush with olive drab, and then B) gave the whole thing a coat of glossy clear. I chose the glossy coat as I would like the model to look "factory fresh." |
| Skyediamonds1985, Comment for image # 35900 | 20 Apr 16 14:32 |
| Thank you very much Brian. Always welcome observations from fellow modelers who know exactly what to look for. This has been more challenging than originally anticipated. Had to do at least three or four "proof-of-concepts" trials before committing to the model. Again, Thank you Brian. |
| BriandKilby, Comment for image # 35900 | 20 Apr 16 06:21 |
| I like it sky! extremely detailed! |
| Skyediamonds1985, Image # 35900 | 19 Apr 16 20:46 |
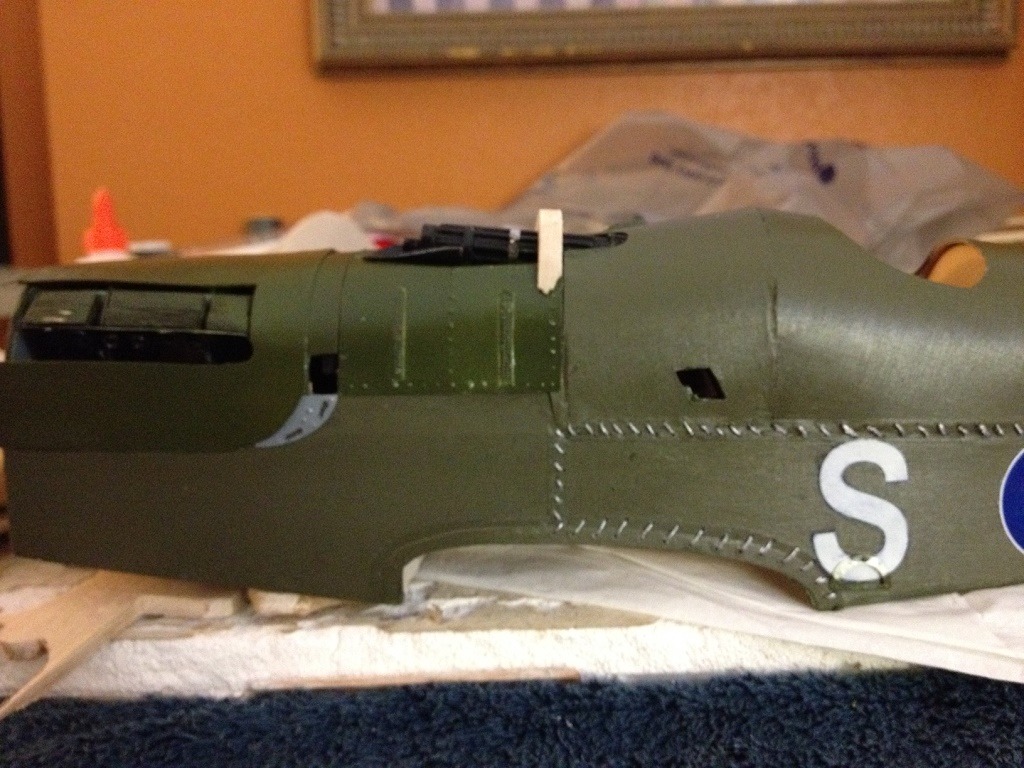
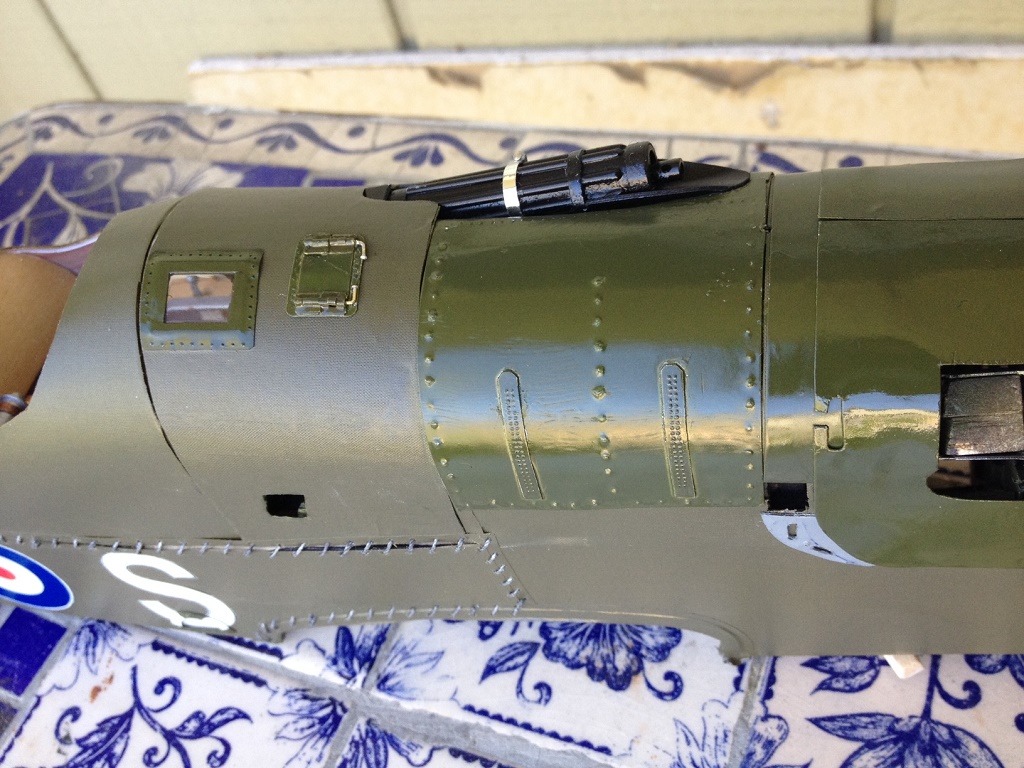
Getting a visual comparison of the machine gun housing to the rest of the fuselage profile. That's it for now. |
| Skyediamonds1985, Image # 35899 | 19 Apr 16 20:45 |
Transferred the paper template onto 1/4" balsa |
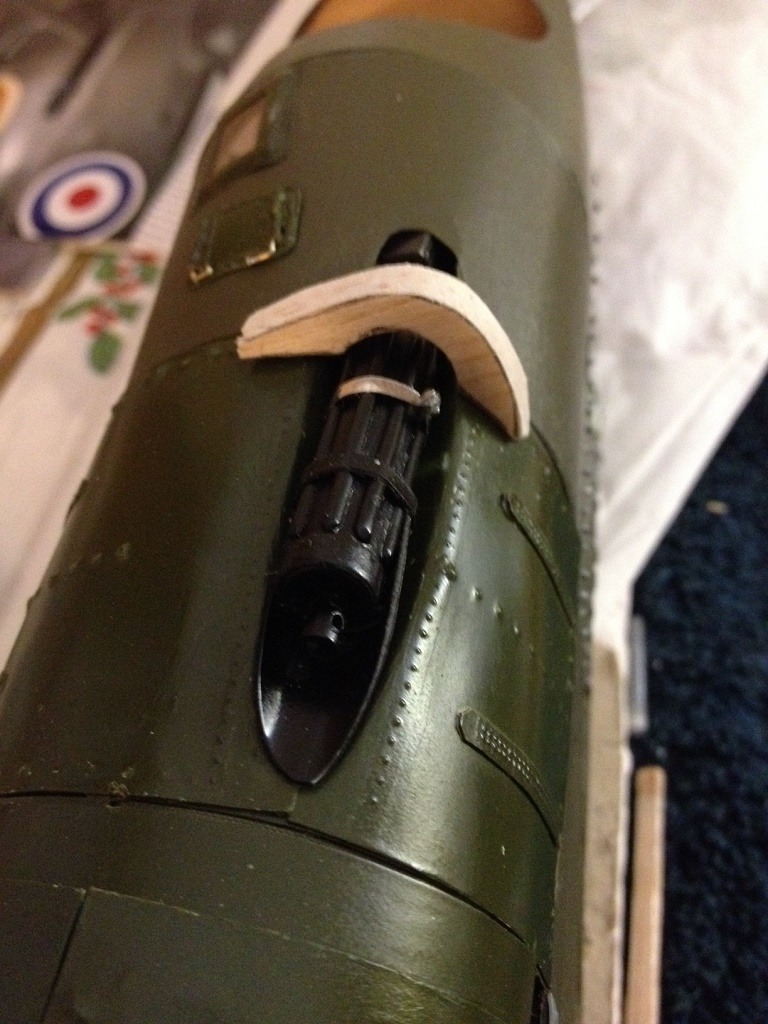
| Skyediamonds1985, Image # 35898 | 19 Apr 16 20:44 |
This is where I am now. I dreaded this stage from the very beginning of the build. Don't know why, just "one of those things" I guess. There really isn't much in the way of photographs or drawings to truly use as a good reference. Pardon the pun, but at this stage, I'm going to "wing it." |
| Skyediamonds1985, Image # 35897 | 19 Apr 16 20:41 |

Really didn't want to do it, but in order to maintain a modicum of authenticity of the real aircraft, I had to "debling" the hinges by painting over them. I thinned out the paint so as to allow the hinge details shows through. |
| Skyediamonds1985, Image # 35896 | 19 Apr 16 20:39 |
Used some "O" sized rivet decals also from MicroMark on the window framing. The original S.E. 5's instrument panel was located so far back deep within the recesses of the cockpit, the builders decided to cut out a window to allow sunlight shine through so the pilot could see the instruments. |
| Skyediamonds1985, Image # 35895 | 19 Apr 16 20:35 |
Also used the hinges for the top fuselage hatch. |
| Build Thread, Page :
<< 18 19 20 21 22 [ 23 ] 24 25 26 27 28 >> (851 posts, 20 posts per page, 43 pages in total)
|
[ < Prev ] [ Next > ] |
