| Build Thread, Page :
1 2 3 4 5 [ 6 ] 7 8 (158 posts, 20 posts per page, 8 pages in total)
|
[ < Prev ] [ Next > ] |
| LASTWOODSMAN, Comment for image # 38464 | 03 May 17 16:34 |
| It's really not that hard to do, and it is very rewarding and enjoyable to "carve" a prop yourself (actually, "carve" is a misnomer term used. I only sand or file, and I never use a knife ...) |
| LASTWOODSMAN, Image # 38465 | 03 May 17 16:30 |
Back side of Prop - I worked nice and slow and re-inked the marks and outlines as they got sanded off. I didn't make any big mistakes - it seems to be shaping up nicely so far. |
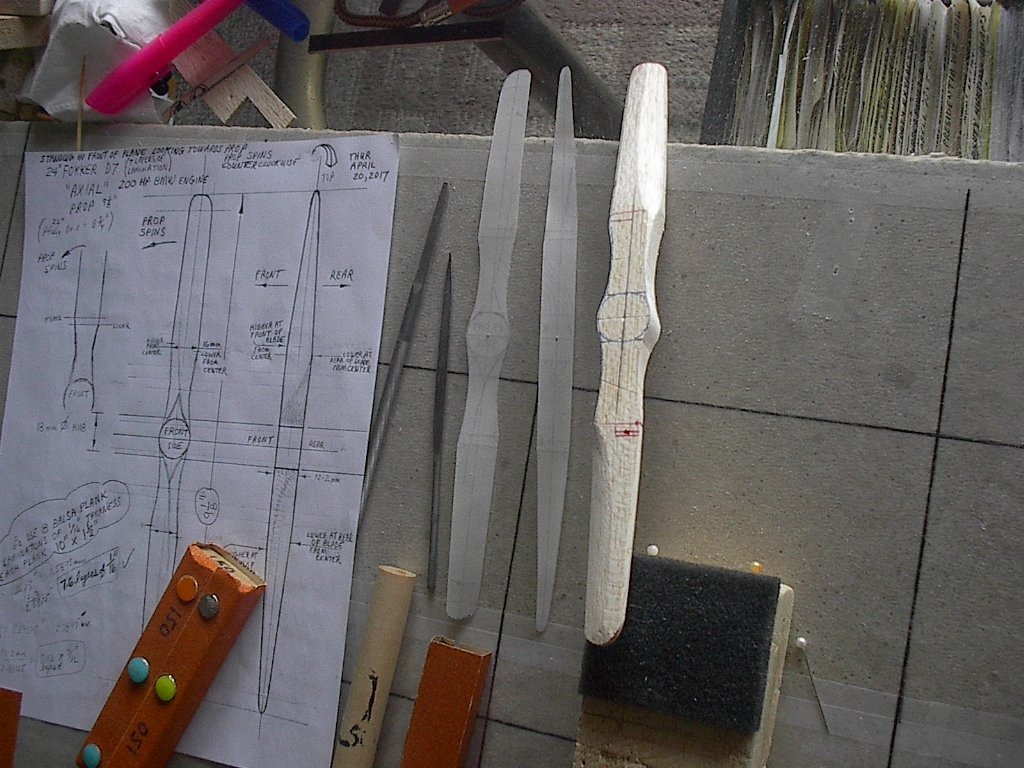
| LASTWOODSMAN, Image # 38464 | 03 May 17 16:26 |
2nd Stage Progress - 2 hours later - I counted the sanding and filing strokes, say 12 strokes, then I flipped the prop and counted 12 strokes for the other side - it becomes second nature to do that and it really helps to keep things even. |
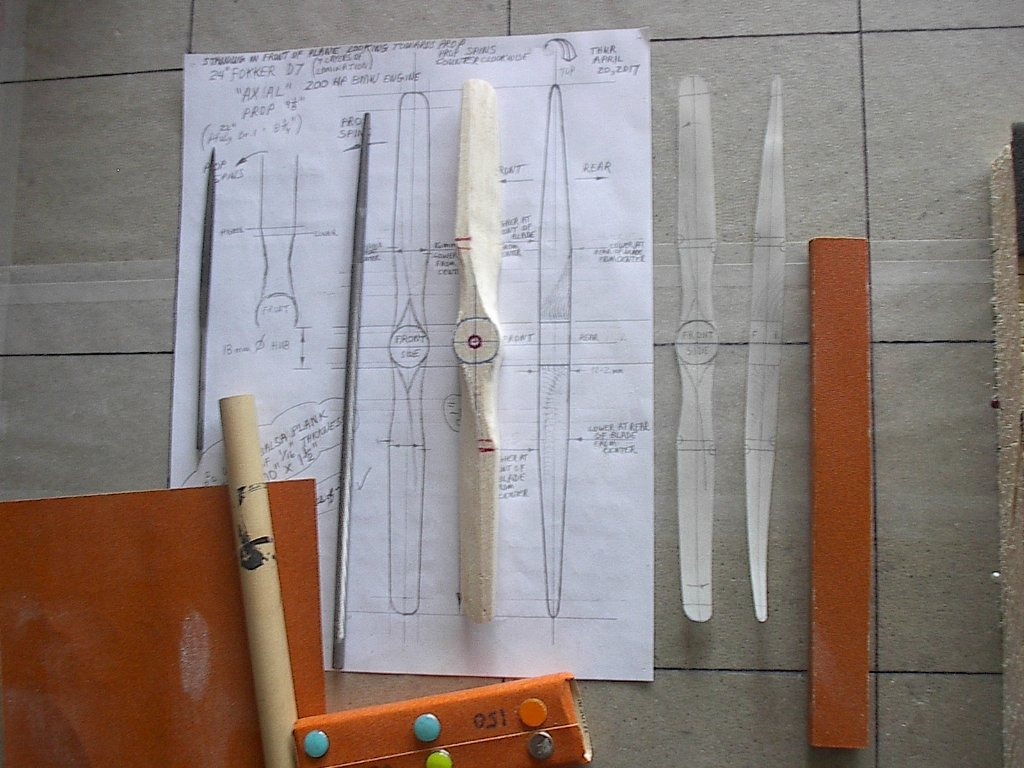
| LASTWOODSMAN, Image # 38463 | 03 May 17 16:21 |
Front Side - progress after 1 hour. I got reacquainted with my various size sanding blocks (with fresh sandpaper), flat files, round files, jeweller's file, and sandpaper around a 1 1/2" diam tube and a 5/8" dowel. |
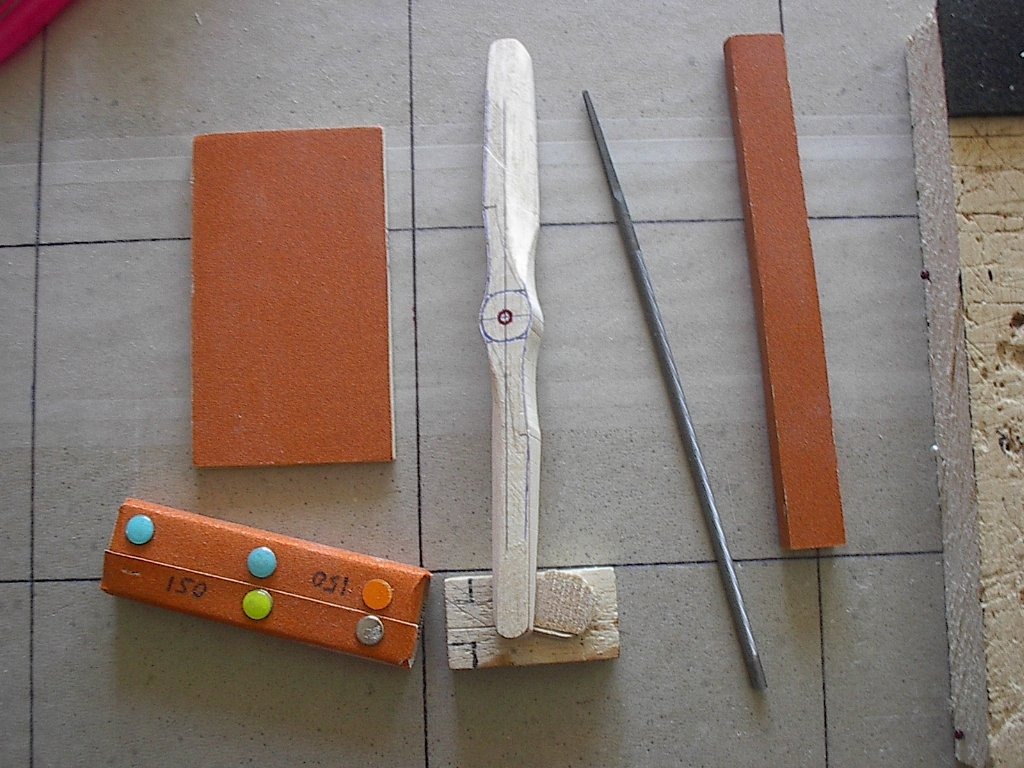
| LASTWOODSMAN, Image # 38462 | 03 May 17 16:16 |
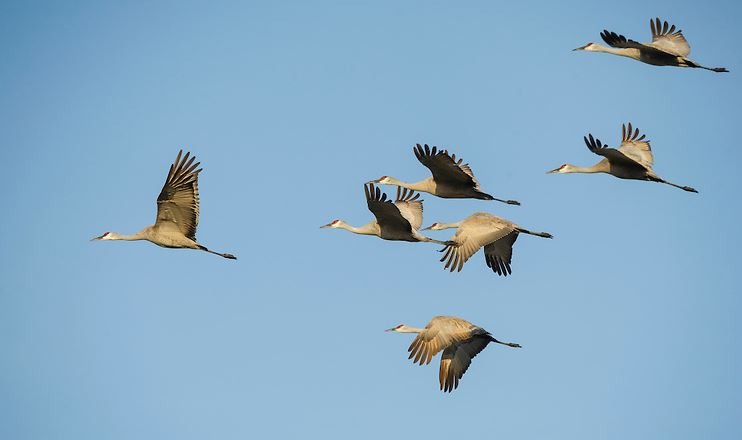
I woke up early this AM, just itching to get at that "practise" prop, but ran "Trapper" first to the seasonal wetlands, fields, bushes, and forests near the railroad tracks and rail spur. There must have been about 20 species of songbirds all singing their hearts out, echoing over each other, like a clamour, through the woods - when all of a sudden, I heard a bugleing, rattling croak, like those flying monkeys in "The Wizard of Oz" movie, and looked up to see 2 brown Sandhill Cranes soaring by pretty low, and not flapping their outstretched 6'8" wings, heading SW to the marshes at Point Pelee Nat'l Park or Hillman Marsh or Big Creek Mash. |
| biplane guy, Comment for image # 38457 | 03 May 17 07:53 |
| Looking forward to seeing the progress on this, LW. |
| John M Oshust, Comment for image # 38457 | 02 May 17 16:24 |
| Nice. Keep up the good work. Bit by bit the shape shall slowly emerge. Now the airscrew is imprisoned in the balsa. Time to set it FREE!! |
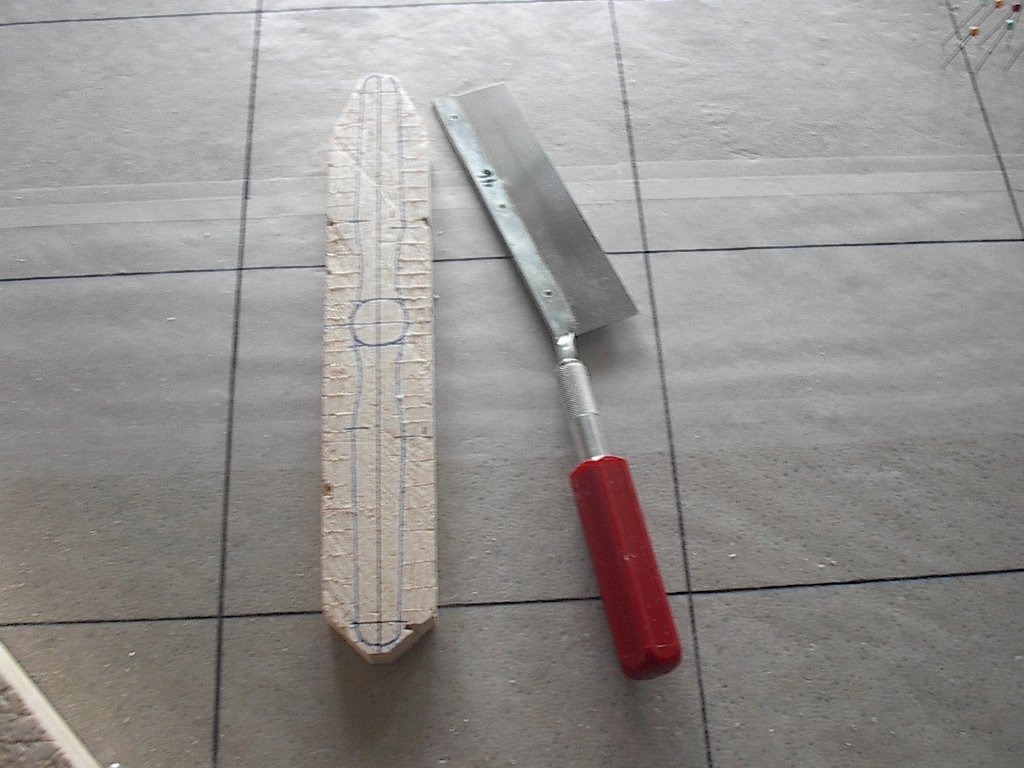
| LASTWOODSMAN, Image # 38457 | 02 May 17 16:14 |
Prop outline is sanded smooth and a bit proud. |
| LASTWOODSMAN, Image # 38456 | 02 May 17 16:10 |
Easier to cut out. |
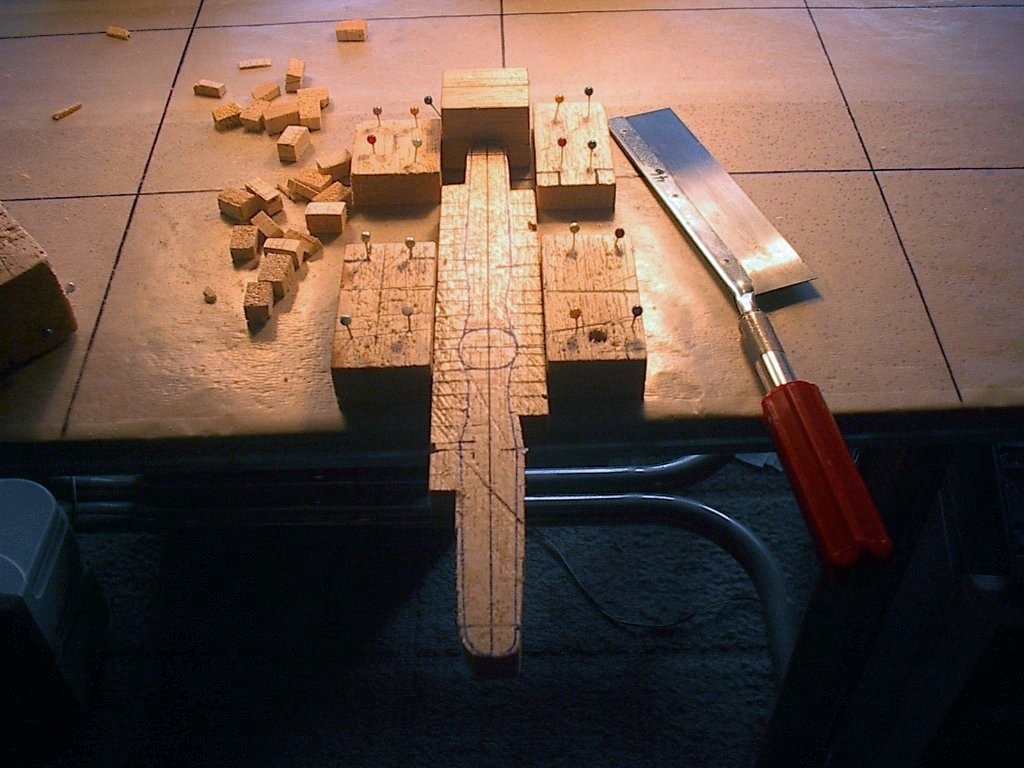
| LASTWOODSMAN, Image # 38455 | 02 May 17 16:09 |
Lots of perpendicular side cuts to the prop outlines. |
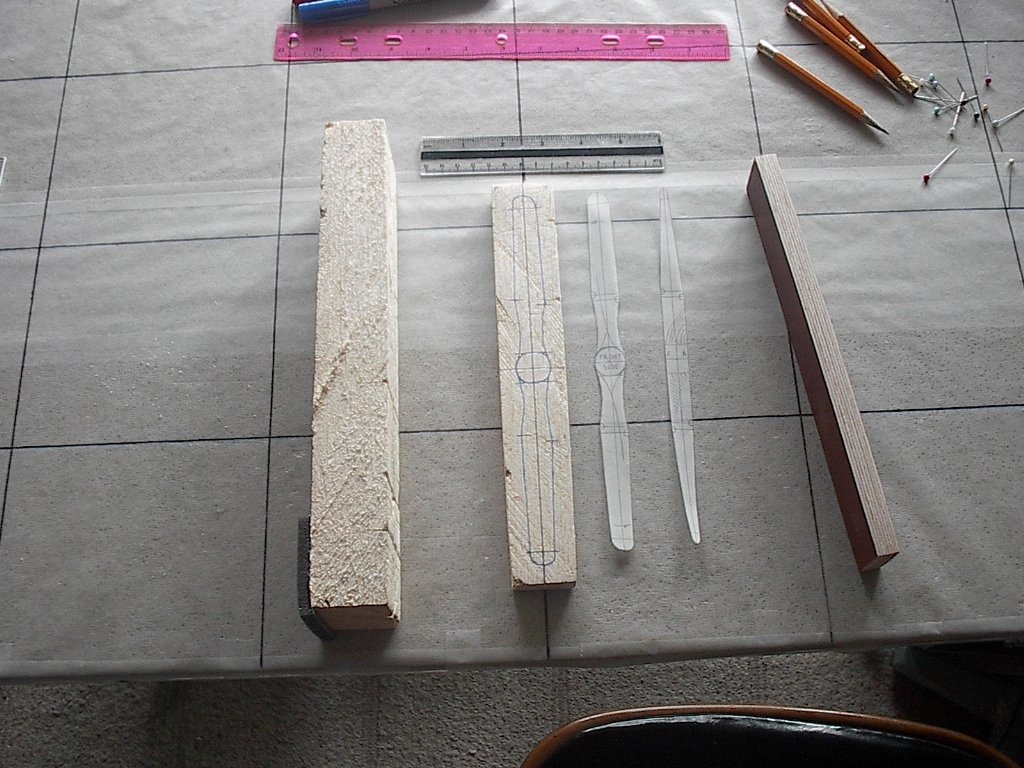
| LASTWOODSMAN, Comment for image # 38453 | 02 May 17 11:01 |
| I sawed a 1/2" slab off of my war-torn, beat up, battle scarred 3" X 1 1/2" X 12" soft balsa block, and used a Sharpie ultra fine point marker to trace the outlines onto this one piece soft balsa practice prop block - new waxed paper and gridlines for my 1/2" thick Homasote "Beaver Board" building board ready to go ... |
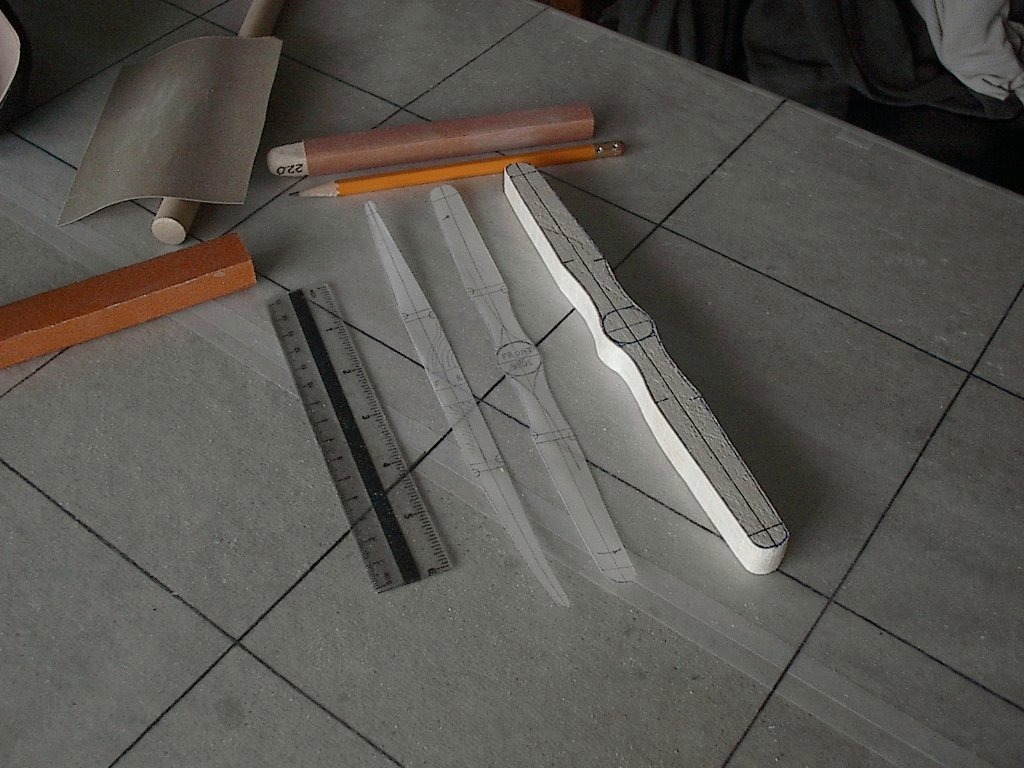
| LASTWOODSMAN, Image # 38453 | 02 May 17 10:53 |
Since "Discretion is the better part of valour", I thought it would be prudent to carve up a practise prop block, to monkey around with and see how it shapes up first, and learn from those mistakes, instead of wrecking my good laminated prop block right away. |
| LASTWOODSMAN, Comment for image # 38451 | 30 Apr 17 20:11 |
| I hope that the fine thin wood grain lines of alternating Bronze and Burnt Sienna color, painted between the lamination layers, will thicken up at areas according to the various contours of the prop shape. |
| LASTWOODSMAN, Image # 38451 | 30 Apr 17 20:06 |
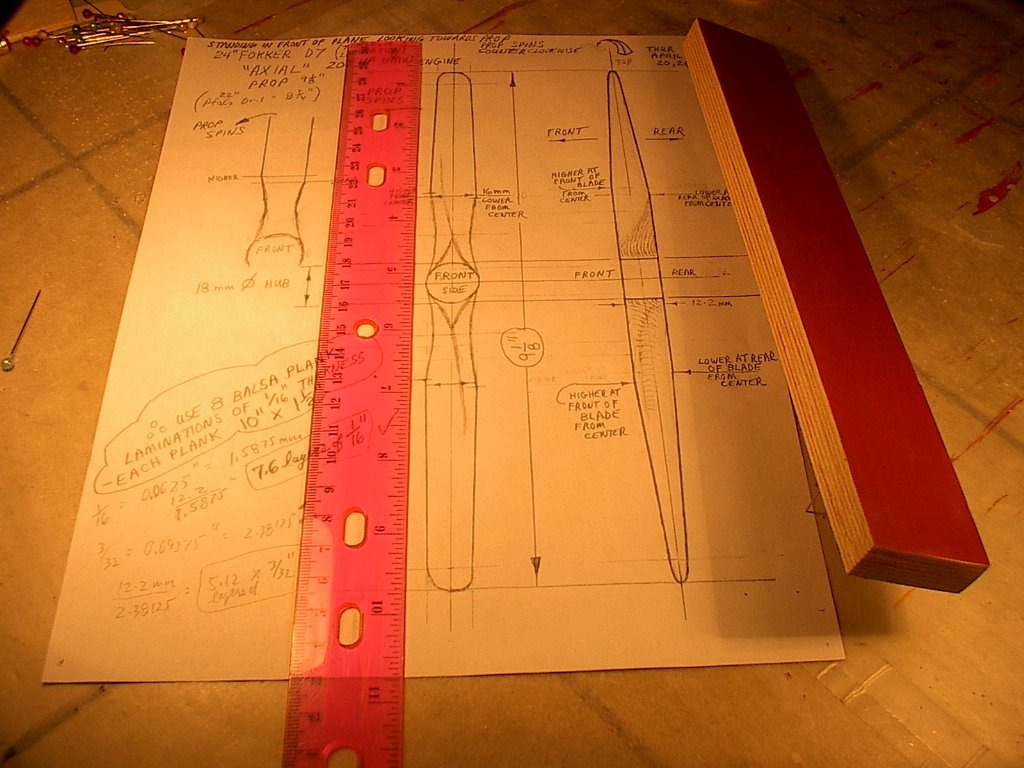
The laminated Prop Carving Block is freed up from its clamping prison, and squared up to 220 grit sandpaper. The next step is to drill a perpendicular center pin hole, trace some outllines from 0.0035" thick (22 pound) opaque Vellum tracing paper sheets. and transfer the outlines to the block. |
| mlriley540, Comment for image # 38446 | 29 Apr 17 23:30 |
| It happens... |
| mlriley540, Comment for image # 38446 | 29 Apr 17 23:29 |
| Ouch! |
| LASTWOODSMAN, Image # 38446 | 29 Apr 17 12:03 |
BACK TO THE DRAWING BOARD !! - I will cut it all out, sand it, glue raw tissue onto the plane, then shrink it and clear it, the normal way - but first, my 10" X 1 1/2" X 1/2" laminated prop carving block is dry after being glued and clamped up for a week - prop carving and sanding fun coming up !! |
| LASTWOODSMAN, Image # 38445 | 29 Apr 17 11:57 |
The pics show how awefully horrendous it looks on the plane. A DISMAL FAILURE ! At least I gave it the "old College effort" . |
| LASTWOODSMAN, Image # 38444 | 29 Apr 17 11:54 |
After all that work, I glued it on anyway (an exercise in futility), and tried to stretch it out flat, and reshrink it, to no avail. |
| LASTWOODSMAN, Image # 38443 | 29 Apr 17 11:50 |
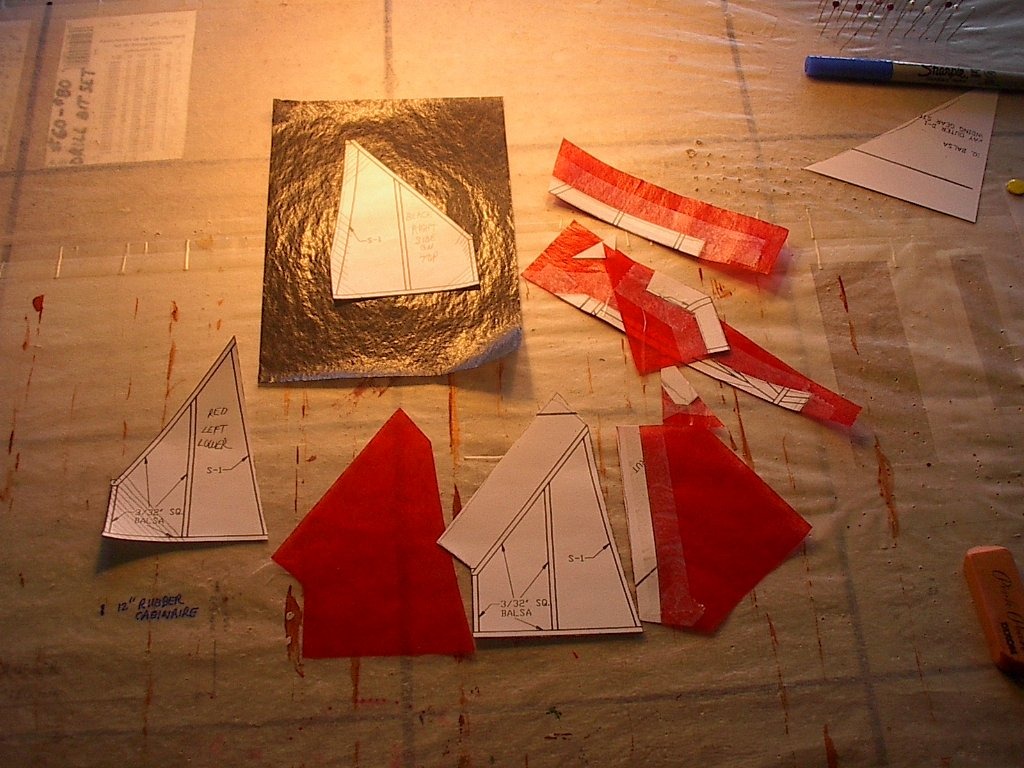
When I cut the finished tissue out of the jigs after a few days, it shrunk into a homogenious, rippled, shrivelled, and wrinkled "Orange Peel" texture, from not being stretched taught, as it was stretched perfectly taught while in the jigs. |
| Build Thread, Page :
1 2 3 4 5 [ 6 ] 7 8 (158 posts, 20 posts per page, 8 pages in total)
|
[ < Prev ] [ Next > ] |
