| Build Thread, Page :
<< 3 4 5 6 7 [ 8 ] 9 10 11 12 13 (254 posts, 20 posts per page, 13 pages in total)
|
[ < Prev ] [ Next > ] |
| LASTWOODSMAN, Comment for image # 38583 | 14 May 17 16:16 |
| A lot of kits these days are "sized" - eg. larger stab - away from exact scale, in order for them to be better flyers, but you can always build them to exact scale ... |
| heywooood, Comment for image # 38583 | 14 May 17 12:08 |
| I like the look of it so far too...there are only one or two deviations from the prototype to the kit design and they are workable. I do not think I will modify them though. I want to build this one to the kit drawings and general instructions. Obviously my infill method is not part of that, but the structure and design of the kit as it was intended by the kit manufacturer is. In this case - the lower wing should be higher on the fuselage with the bottom of the wing actually higher than the top of the wheel pants and an under-wing 'belly pan' to fair the bottom of the fuselage around the bottom of the lower wing. If I were to do another of example of this kit I would probably make that modification but this one is to go according to the kit plan and spec's |
| LASTWOODSMAN, Comment for image # 38583 | 14 May 17 08:19 |
| That is one solid looking model Heywood - nice job on the infil planking on the wing. |
| John M Oshust, Comment for image # 38583 | 14 May 17 06:04 |
| Sweet. The wheel pants remind me of my Willie before his surgery😳 |
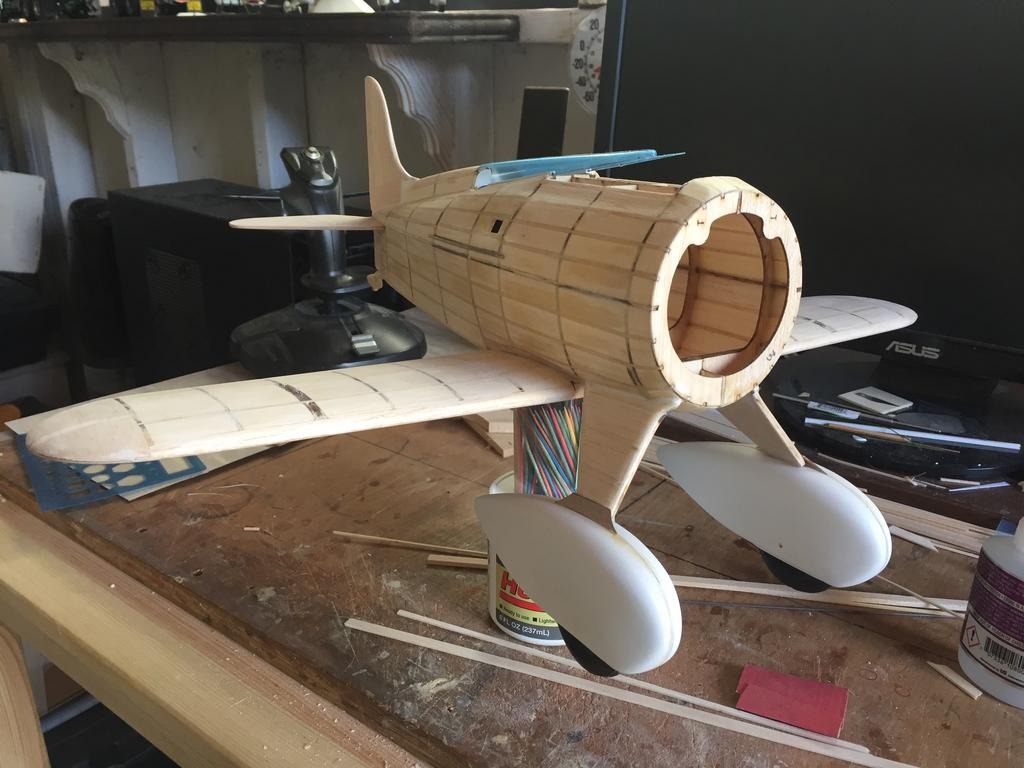
| heywooood, Comment for image # 38583 | 14 May 17 00:04 |
| can you picture the top wing...
So I have a lot of filling and sanding to do here before I can lay up that big wing but it is coming together. |
| heywooood, Image # 38583 | 13 May 17 23:58 |
|
| heywooood, Image # 38582 | 13 May 17 23:58 |
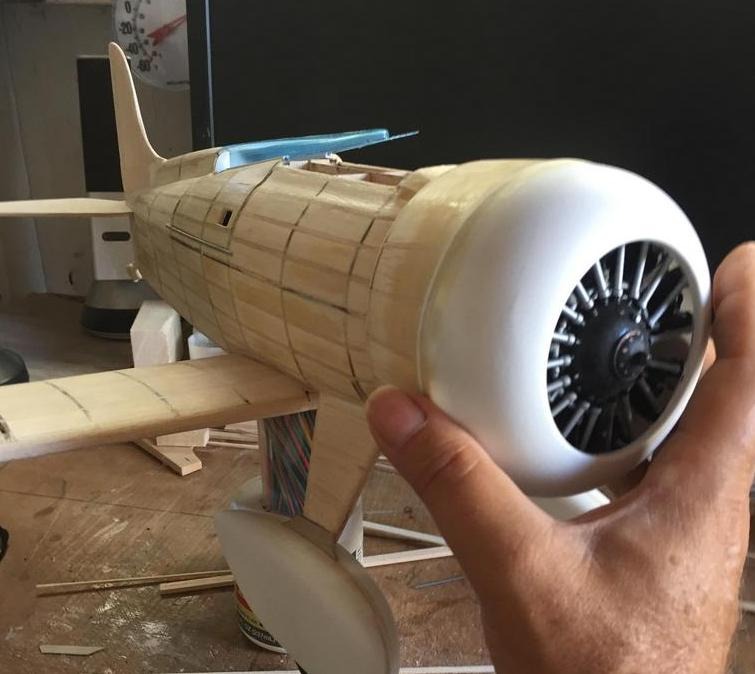
starting to look like an airplane - almost |
| heywooood, Image # 38581 | 13 May 17 23:57 |
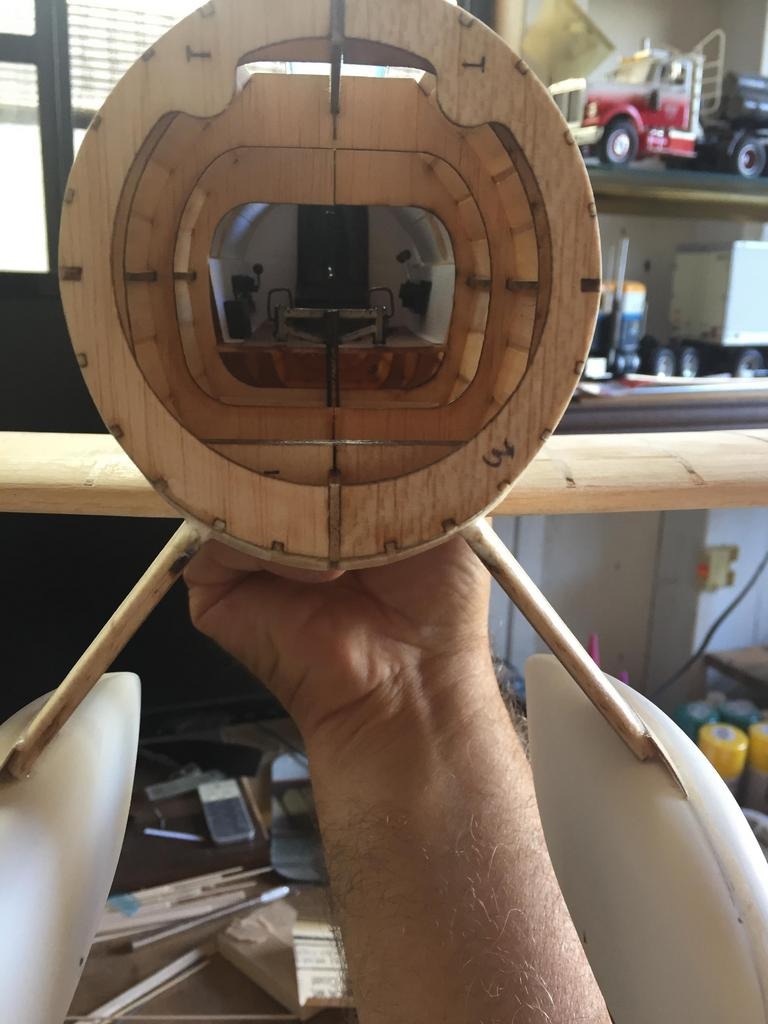
gullet |
| heywooood, Comment for image # 38520 | 11 May 17 10:59 |
| Thanks - WRT to the door I wasn't sure exactly how to hinge it or
if it could be done in such a way as to make it properly functional. In the end some fine brass tubing and a piece of finer piano wire were used. I still do not know if I can make it all work with the upper wing installed
- time will tell |
| heywooood, Comment for image # 38524 | 11 May 17 10:55 |
| Every new thing I try generates a new volume of such words and phrases - I have learned to spew them carefully though..a good model can be scorched to dust if one is careless |
| Don C, Comment for image # 38524 | 11 May 17 10:21 |
| Very well done! I used up all my unprintable words, invented a couple new ones and still couldn't accomplish what you have done here. Nice job! |
| heywooood, Comment for image # 38524 | 11 May 17 09:42 |
| Lol -
It would be a massive tome.. |
| biplane guy, Comment for image # 38524 | 11 May 17 08:05 |
| Thanks for that tip on the canopy track. We should put together a thesaurus of unprintable words for the novices to help them with their building skills. |
| biplane guy, Comment for image # 38520 | 11 May 17 07:58 |
| Great job on the infills. That door is pretty slick too. |
| LASTWOODSMAN, Comment for image # 38520 | 10 May 17 16:52 |
| Now THAT is very impressive ! |
| heywooood, Comment for image # 38524 | 10 May 17 15:53 |
| you will also note that I will need to insert a couple of short lengths of the box track into the upper wing aligned with the door tracks - that will probably take a few special unprintable words on my part to accomplish but this is why we do it lol |
| heywooood, Image # 38524 | 10 May 17 15:50 |
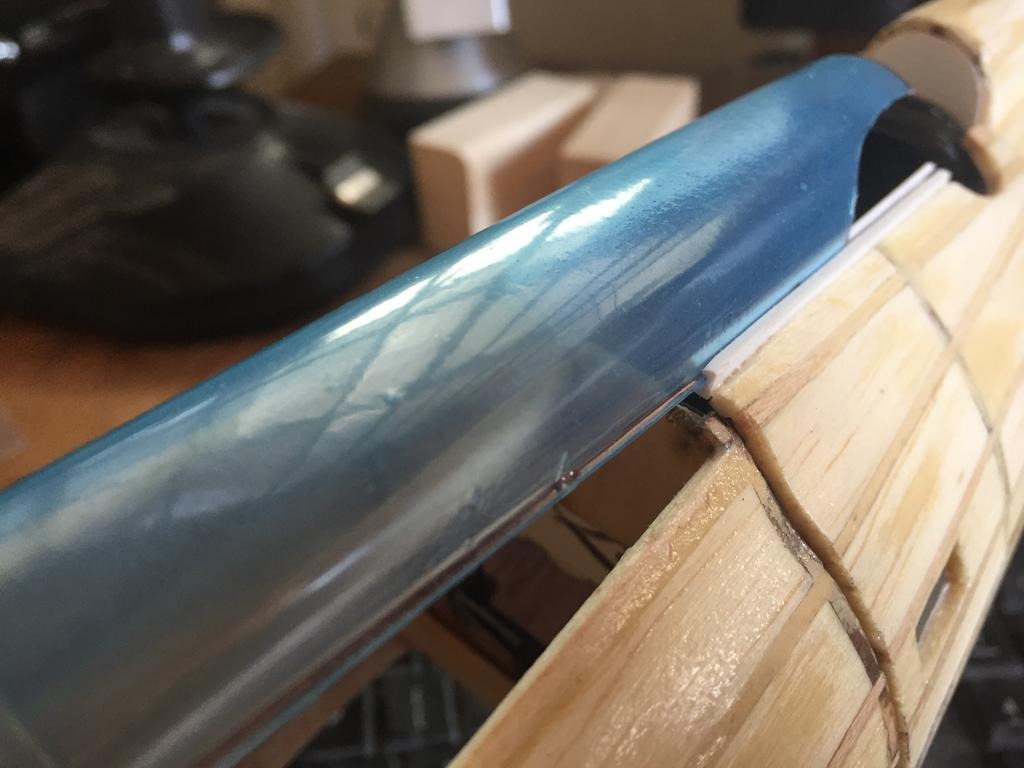
here you can see how the canopy was cut along the edge so it would be captured in the track and at the rear for the pilot to peer out while trying desperately to see where he was going at 300mph |
| heywooood, Comment for image # 38523 | 10 May 17 15:49 |
| here you see how I sliced the box plastic extrusion just slightly off center so the wider lip would capture the canopy edge - which I also left a 1/32" lip instead of cutting it clean to the canopy line |
| heywooood, Comment for image # 38522 | 10 May 17 15:46 |
| the panel needs a little more shaving to allow full closure but we are talking about 1/32" |
| heywooood, Comment for image # 38521 | 10 May 17 15:45 |
| the doors almost have the full range of motion to the sides. |
| Build Thread, Page :
<< 3 4 5 6 7 [ 8 ] 9 10 11 12 13 (254 posts, 20 posts per page, 13 pages in total)
|
[ < Prev ] [ Next > ] |
