| Build Thread, Page :
<< 5 6 7 8 9 [ 10 ] 11 12 13 (254 posts, 20 posts per page, 13 pages in total)
|
[ < Prev ] [ Next > ] |
| heywooood, Comment for image # 38504 | 08 May 17 12:34 |
| 'net installed' translation = not yet installed lol |
| heywooood, Image # 38504 | 08 May 17 12:33 |
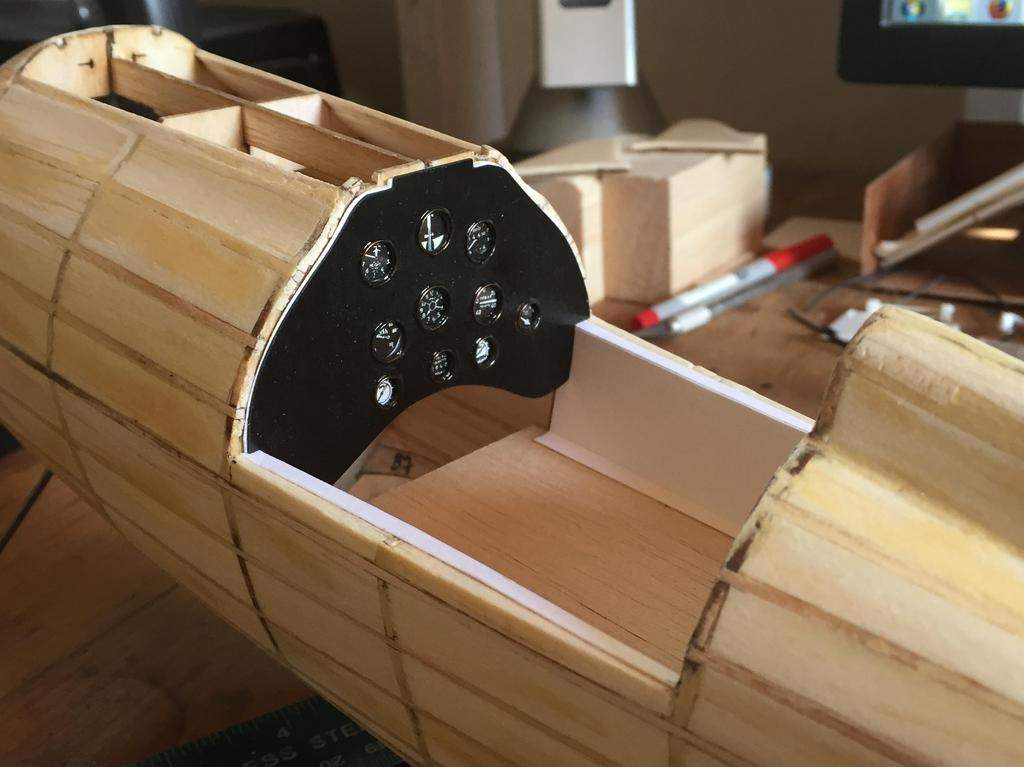
net installed - jusr checking the fit...it works with the doors so we're good. I still have to add the magneto and ignition switches along with the fresh air vents and placards and s |
| heywooood, Image # 38503 | 08 May 17 12:31 |

panel sandwich |
| LASTWOODSMAN, Comment for image # 38495 | 08 May 17 10:39 |
| Looks like you are giving it the "old College effort" Heywood ! |
| Don C, Comment for image # 38495 | 08 May 17 09:27 |
| This looks kind of familiar |
| heywooood, Image # 38496 | 07 May 17 13:13 |
|
| heywooood, Image # 38495 | 07 May 17 13:11 |

it has begun... |
| heywooood, Comment for image # 38489 | 06 May 17 18:19 |
| so the canopy will also be cut up a bit. The rear of the canopy has a large, round cutout that coincides with the canopy door cutouts, these are for the pilot to stick his head out a bit for some kind of forward view. Also there are small rectangular windows cut into the forward lower corner of each door. The front half of the canopy is cut off and then just the front end, about an inch long will be cemented to the top wing. Then the rear part can slide over it...The front piece must sit just a hair lower than the rear portion if it is to slide forward. I can sand the wing mounted portion of the canopy down along the mounting surface it gets painted green anyway. |
| heywooood, Comment for image # 38488 | 06 May 17 18:13 |
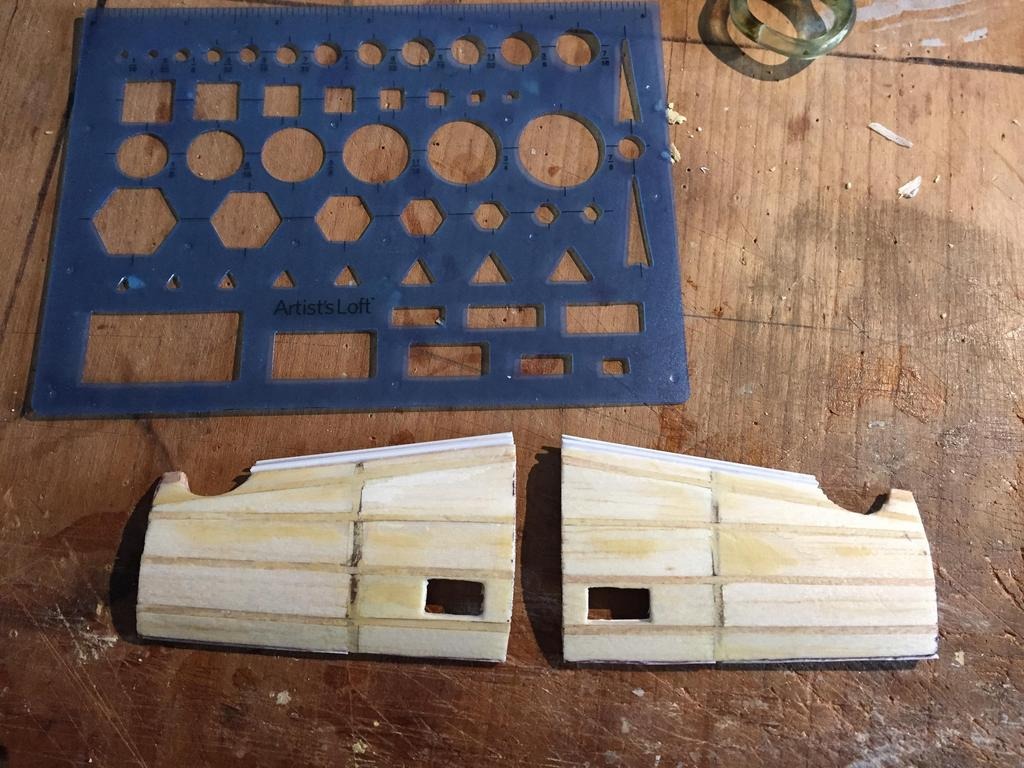
| this really works well. The only problem I am having is coming to the actual cutting of the cockpit doors. I am balking at that. It is hard to take what would be a decent model at this point and cut it up. It is what I would have to do if I want to detail the cockpit (no one could get their fingers into that skinny opening to install a panel or a seat or anything). The doors have to be cut out to do the interior of this kit properly. I just have to bring myself to do it I guess. |
| heywooood, Comment for image # 38487 | 06 May 17 18:09 |
| here you can also see the tail wheel I carved for this model - the plans and materials did not include this item..only a bit of wire to bend a rudimentary skid. This looks more like the prototype aircraft in the photo research of the rebuild from 2004-2008 |
| heywooood, Comment for image # 38487 | 06 May 17 18:07 |
| I had to reinforce the plastic cowl with strip styrene all the way around because of the 'rework'...but it looks good. the strip is sanded and blended better than it looks to be. Once the primer is on there of course I'll be able to see if more sanding and sealing around that strip is necessary but I doubt it will be |
| heywooood, Image # 38489 | 06 May 17 18:03 |
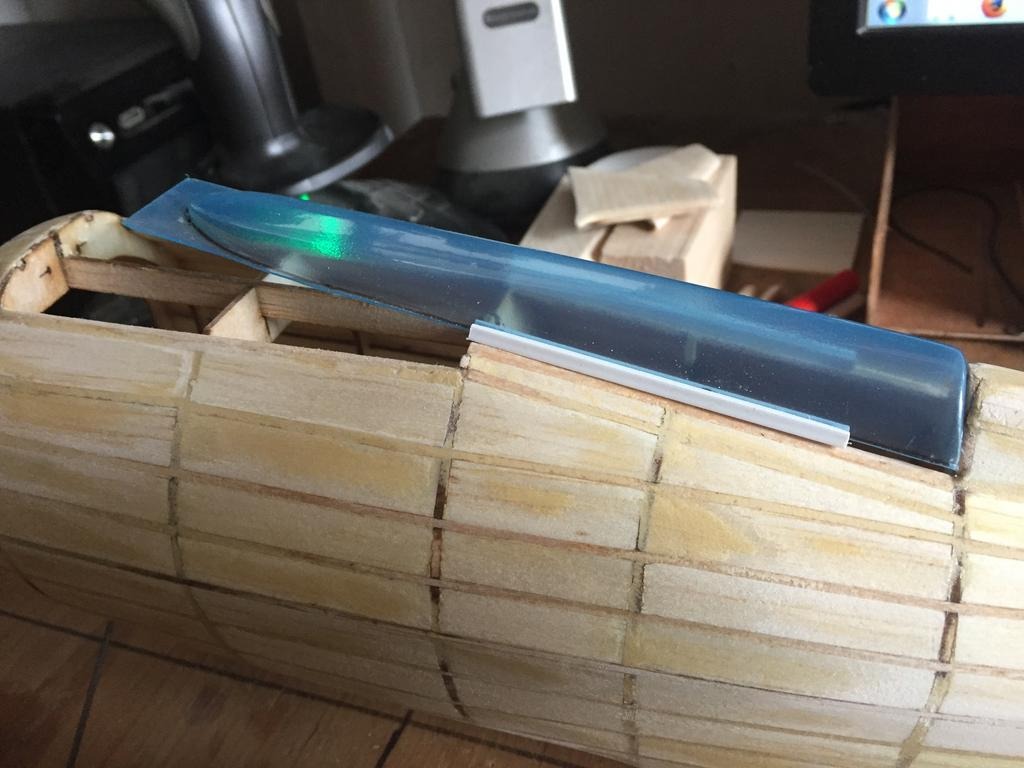
the track will actually be recessed into the top edge of the door. I'll just slice off the 1/8" balsa strip that runs along there now and replace it with the 1/8" box track - slightly proud above the edge opf the door - so it looks like a skinnier rail. it should look 'scale' when completed. |
| heywooood, Image # 38488 | 06 May 17 18:01 |
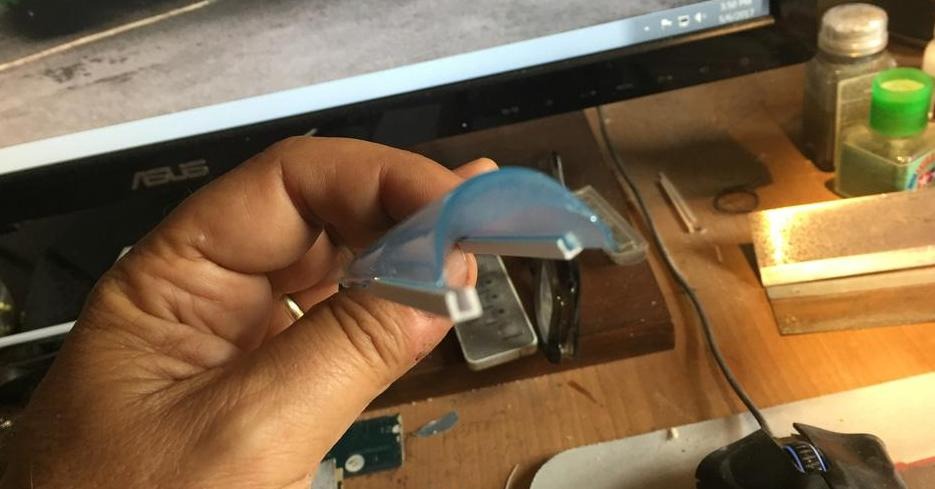
I have a method to achieve a sliding canopy. This plastic box extrusion has been sliced along the 'top' edge and that cut has been widened to accept the canopy edge. The canopy has been cut leaving just the slightest overhang along the edge - maybe 1/32" - this is enough to capture the canopy's long edge inside the now slotted box track. Bingo |
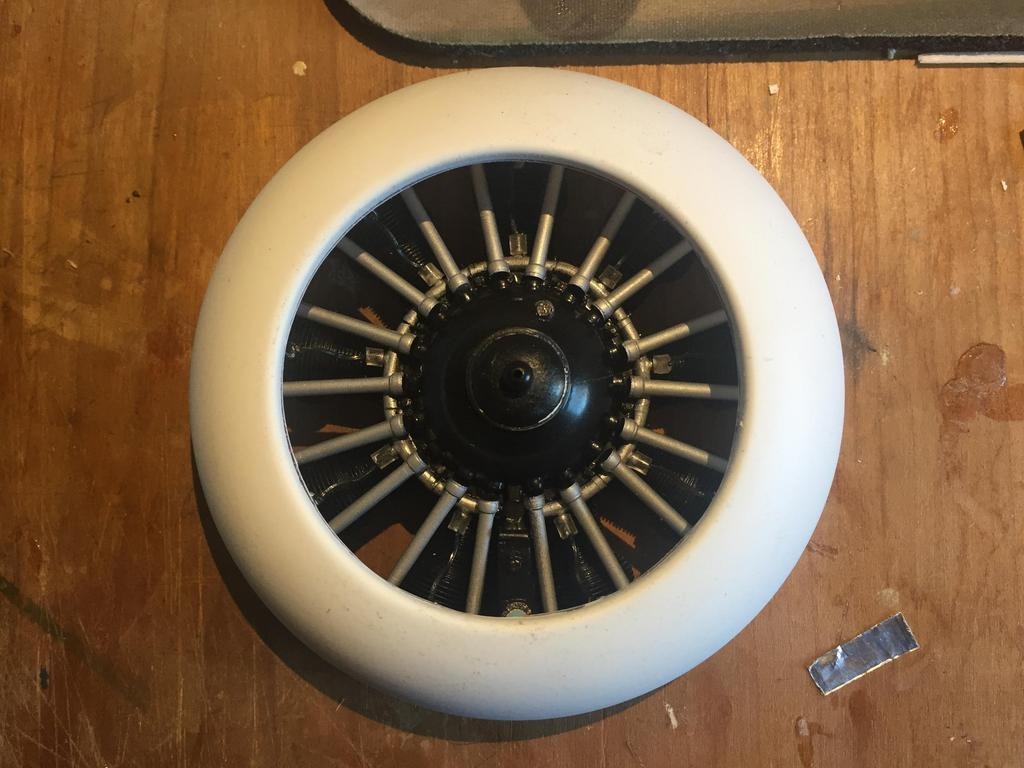
| heywooood, Image # 38487 | 06 May 17 17:58 |
the cowling has been reworked and is almost ready for the primer coat of paint |
| heywooood, Image # 38486 | 06 May 17 17:57 |
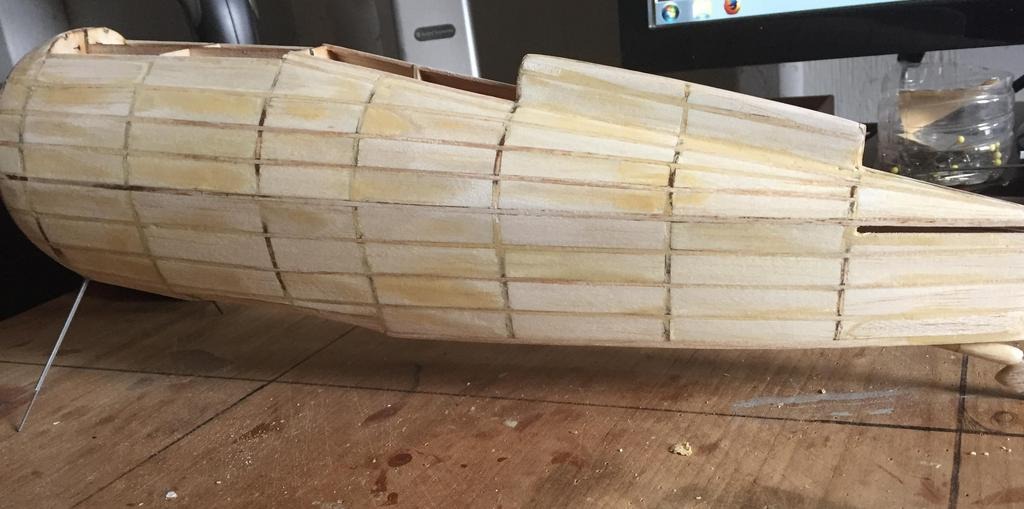
so the fuselage is completely infilled and has been puttied, shaped and is now being sanded and sealed as prep for the primer coat. |
| heywooood, Comment for image # 38459 | 03 May 17 11:56 |
| I hope so - this kit is fighting me a bit. I bought a new 'Extra Time Control' formula gel from Loctite to attach the plastic cowl to the balsa ring and instead of slow curing it set immediately - before I had time to position it properly. I had to carefully slice it off and redo it. I should have tested the glue first needless to say. Mea Culpa |
| biplane guy, Comment for image # 38459 | 03 May 17 07:52 |
| That will look great on the Laird. |
| biplane guy, Comment for image # 38458 | 03 May 17 07:50 |
| Very nice! |
| heywooood, Comment for image # 38459 | 02 May 17 19:53 |
| turns out there was no trimming necessary. It fits like a glove |
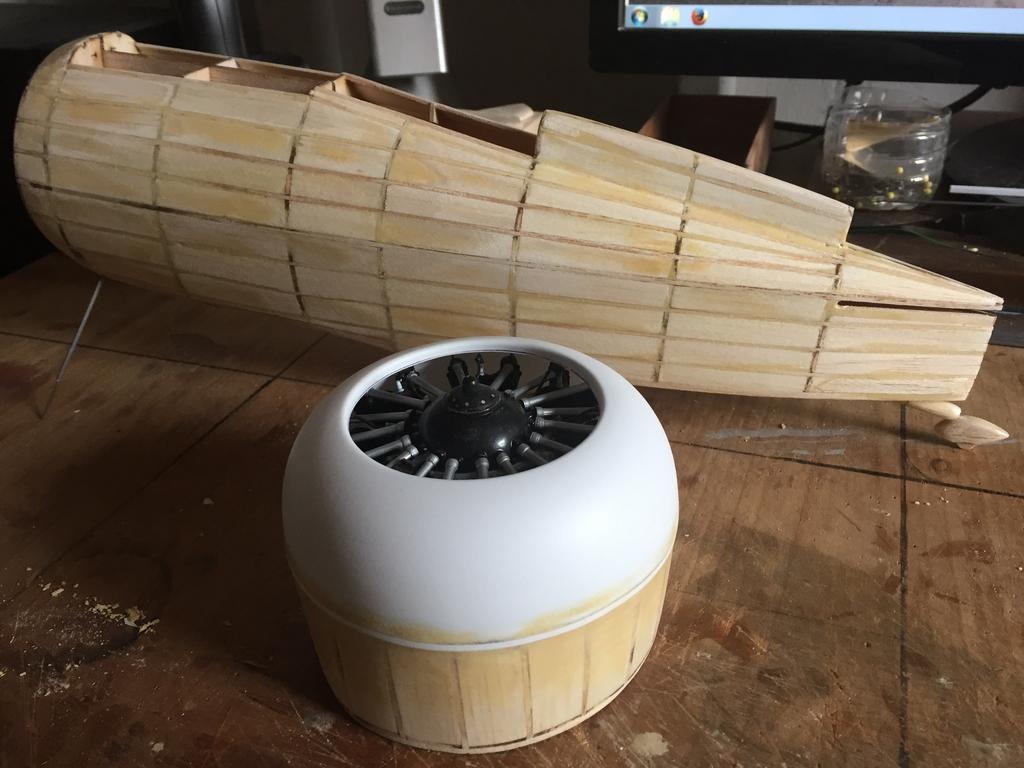
| heywooood, Image # 38459 | 02 May 17 19:53 |
and inside the cowling |
| Build Thread, Page :
<< 5 6 7 8 9 [ 10 ] 11 12 13 (254 posts, 20 posts per page, 13 pages in total)
|
[ < Prev ] [ Next > ] |
