| Build Thread, Page :
<< 6 7 8 9 10 [ 11 ] 12 13 (254 posts, 20 posts per page, 13 pages in total)
|
[ < Prev ] [ Next > ] |
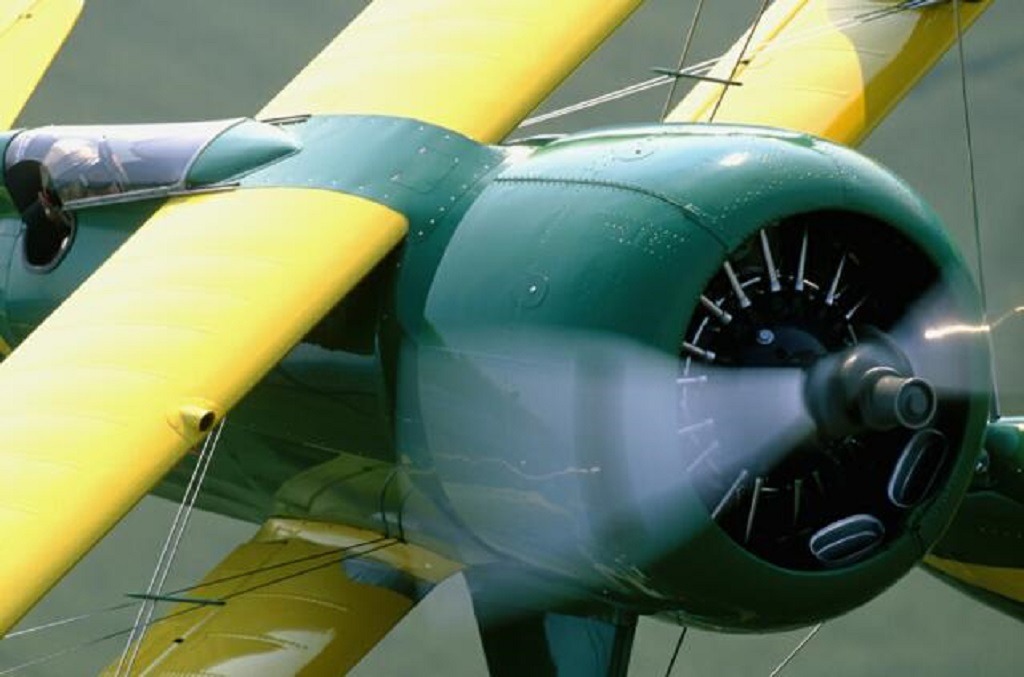
| heywooood, Image # 38458 | 02 May 17 19:52 |
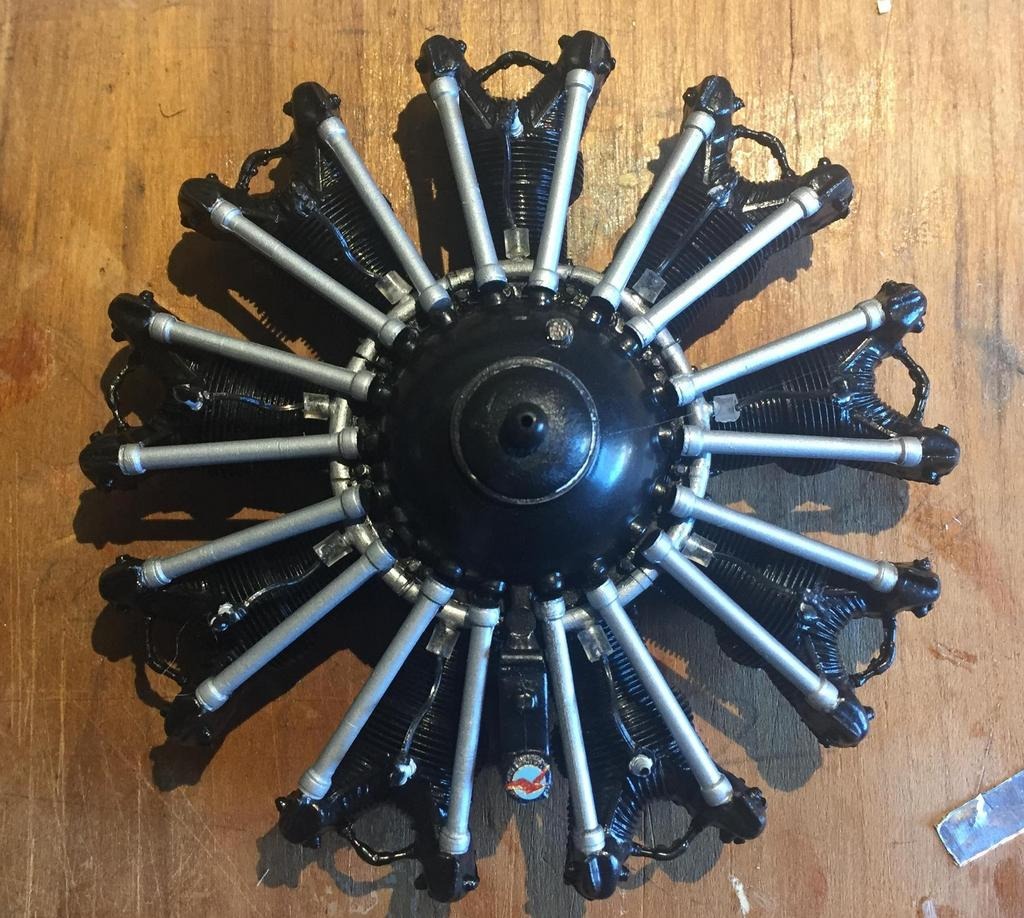
finished Wasp Jr for the Laird |
| heywooood, Comment for image # 38449 | 01 May 17 09:51 |
| Not usually because I want the maximum contact between the infill part and the stringers. Beveling can reduce that surface area contact to nil and then the sanding process can eliminate the connection completely. That said, I DO bevel the long edges when I add a radius to the part, either a dry formed radius or where the infill piece is soaked in water to achieve a tighter radius. Areas around the tail or cowling for instance, then a bevel is sanded on the mating edges to retain maximum bonding area.
Otherwise I just flat sand the edges if the piece is oversized, in order to get a good fit without distortions |
| LASTWOODSMAN, Comment for image # 38449 | 01 May 17 08:22 |
| Baby rattles? LOL, giggles - hey Heywood, do you bevel the edges of your infill planks for a tight fit to sit proud? |
| heywooood, Comment for image # 38449 | 30 Apr 17 23:50 |
| the method requires a good fit. The pieces must not be oversized and cause bowing of the stringers or put undue stress on the bulkheads. That would distort the shape of the fuselage (or wing) and you don't want that at all. So it's ok to be undersized because you can always 'chink' the gaps with bits of balsa or just use filler. I like to fill in as best as possible with balsa so that none of the filler falls into the structure, hardens and then rattles around once the model is complete. We're not making baby rattles here..generally |
| heywooood, Comment for image # 38449 | 29 Apr 17 23:44 |
| using 3/32" thick sheeting for the infill..same as the GeeBee - it's the best to use on 1/16" stringers because it isn't too thick to dry form but is thick enough to get a good seal while setting it a bit 'proud' for the mudding and shaping process. |
| heywooood, Image # 38449 | 29 Apr 17 23:40 |
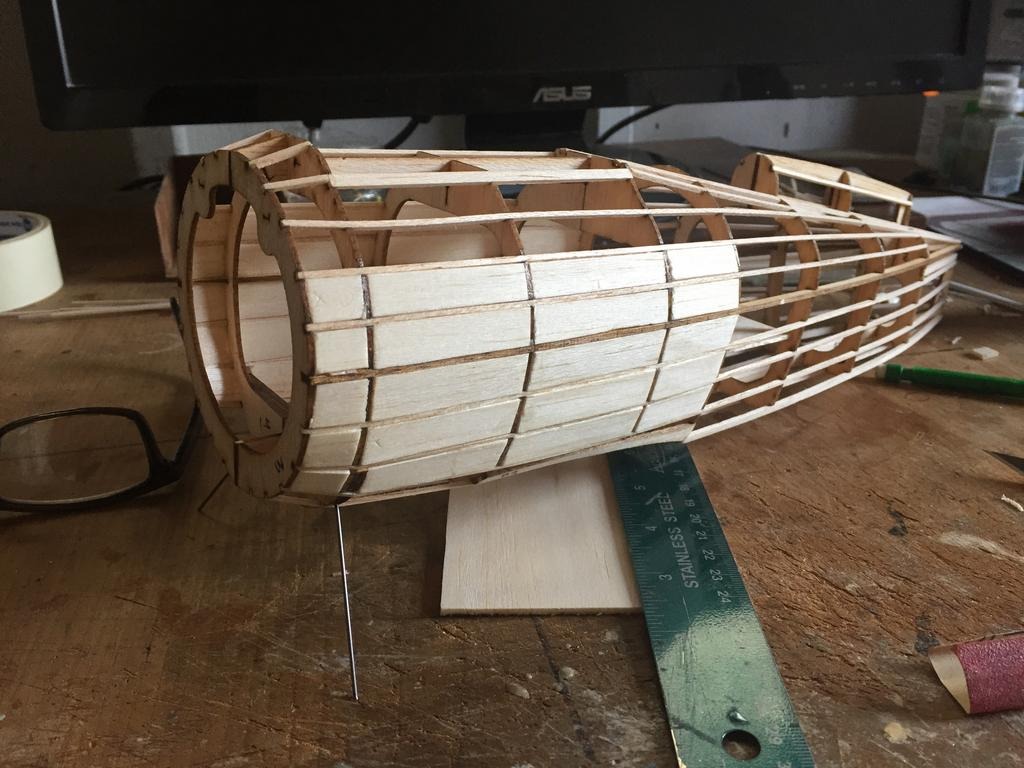
some progress on the infill - there are some interesting contours to this fuselage - should be fun in the shaping process |
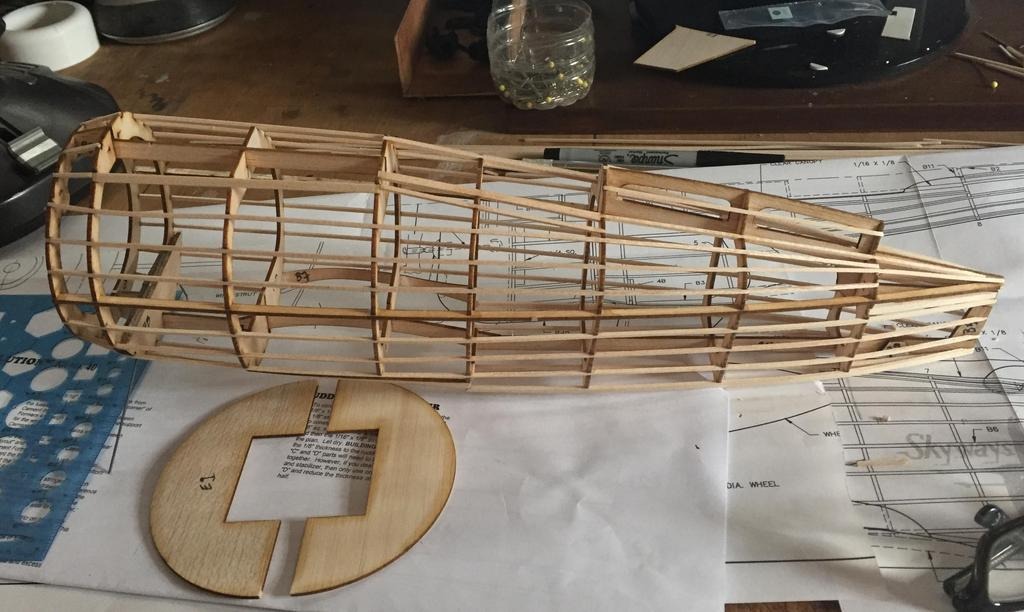
| heywooood, Comment for image # 38437 | 27 Apr 17 14:22 |
| actually got this done yesterday. This model and the Dumas GeeBee Z are very well executed kits. Drawings, directions, materials provided, everything is first rate. I did find a small error (typo) in the instructions sheet - an incorrect former number was referenced WRT placing a stringer. I will email Dumas and see if they are aware of it yet.. |
| heywooood, Image # 38438 | 27 Apr 17 14:18 |
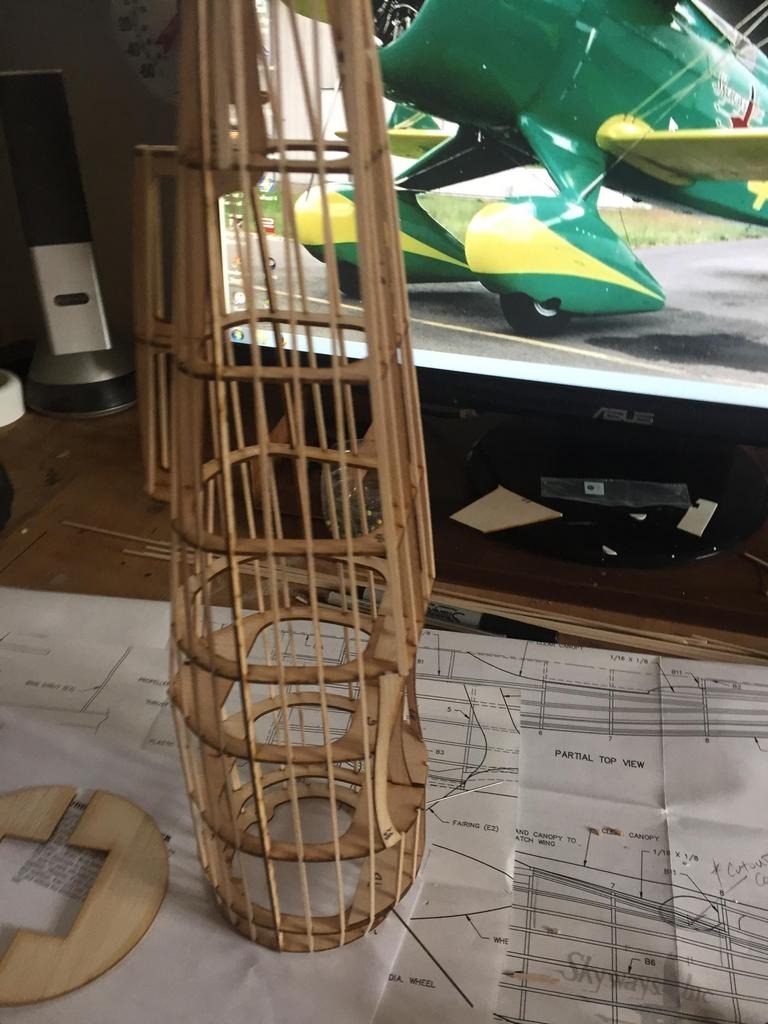
thinking about the engine mounting and the cockpit details...feeling under the weather today doesn't help. I'll just be reading and researching and thinking about my options here for the next day or two. |
| heywooood, Image # 38437 | 27 Apr 17 14:16 |
fuselage is framed - so is the cowling.. |
| heywooood, Comment for image # 38424 | 25 Apr 17 23:51 |
| I think I'll just use a straight pin and simulate the piano hinges. Photo etch hinges don't take much to wear out and I'm gonna be constantly opening and closing these doors if this goes according to plan - I can capture the pins at either end of the door pretty easily and call it good. But thanks for the offer. I appreciate that. |
| Don C, Comment for image # 38427 | 25 Apr 17 22:58 |
| One of these had problems with wing warping as well as the controls working "backwards" somewhere around 250 mph as I recall. |
| heywooood, Comment for image # 38427 | 25 Apr 17 22:55 |
| man - he is really sunk down in there, isn't he? I wonder what kind of drag induced yaw I would create sticking my whole upper body through those silly portholes so I could see where the F'k I was going...seriously. Why didn't pilots in 1932 feel the need to see where they were flying to..at record speed...in a crowded airspace.. |
| Don C, Comment for image # 38424 | 25 Apr 17 22:53 |
| I have some miniture piano hinge that didn't work for mine. Might be OK for 1/12 scale. I'l measure it if you are interested. |
| heywooood, Comment for image # 38424 | 25 Apr 17 22:34 |
| I will do my best - and thanks, David |
| heywooood, Comment for image # 38427 | 25 Apr 17 22:27 |
| see the shape of the upper wing mounted air intake?
also the canopy - I can cut the forward section off and paint it green to match the fuse..that strip can be replicated with thin acetate or similar and fared to the fuselage behind the cowl - the channel I use to slide the canopy on should raise it up just enough to clear that nose section.
Also note the chrome plated scoops in the bottom just inside the cowl..oil cooler intakes - or ram air intakes maybe? more research is called for |
| heywooood, Image # 38427 | 25 Apr 17 22:19 |
couple of questions answered in this picture... |
| David Duckett, Comment for image # 38424 | 25 Apr 17 21:57 |
| Well, I meant the cockpit but I have no doubt that Kevin will nail it. |
| heywooood, Comment for image # 38424 | 25 Apr 17 21:39 |
| lol Dave - you could say that about flying this aeroplane OR trying to build this model accurately. Both apply |
| heywooood, Comment for image # 38424 | 25 Apr 17 21:35 |
| Huey - me either. I have sat in the right seat of a Piper Cherokee Arrow II..lots of fun.
No Biplane time at all. Reading up on it - Dolittle and Roscoe Turner's writings especially, say that these machines were NOT friendly. |
| Huey V77, Comment for image # 38424 | 25 Apr 17 20:32 |
| I've flown several biplanes, but I don't think I'd want to try this one on. It has less wing area than a Cessna 150, 2800 lbs gross and a wing loading of 27 lbs/ft. Meaning an over the fence speed around 100mph, nope too old for those days. Flew a Smith Mini-Plane, 85mph was bad enough. These guys had large GRASS fields to operate off of, much easier. |
| Build Thread, Page :
<< 6 7 8 9 10 [ 11 ] 12 13 (254 posts, 20 posts per page, 13 pages in total)
|
[ < Prev ] [ Next > ] |
