| Build Thread, Page :
[ 1 ] 2 3 4 5 6 7 8 9 (168 posts, 20 posts per page, 9 pages in total)
|
[ Next > ] |
| LASTWOODSMAN, Image # 39067 | 18 Jul 17 15:17 |
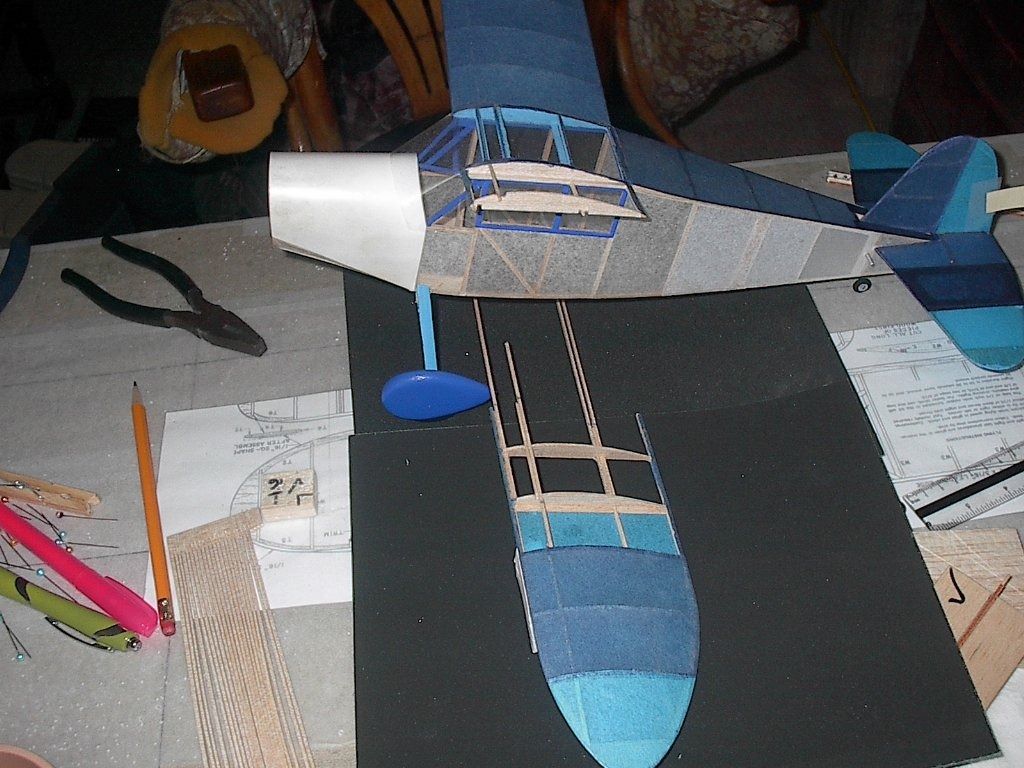
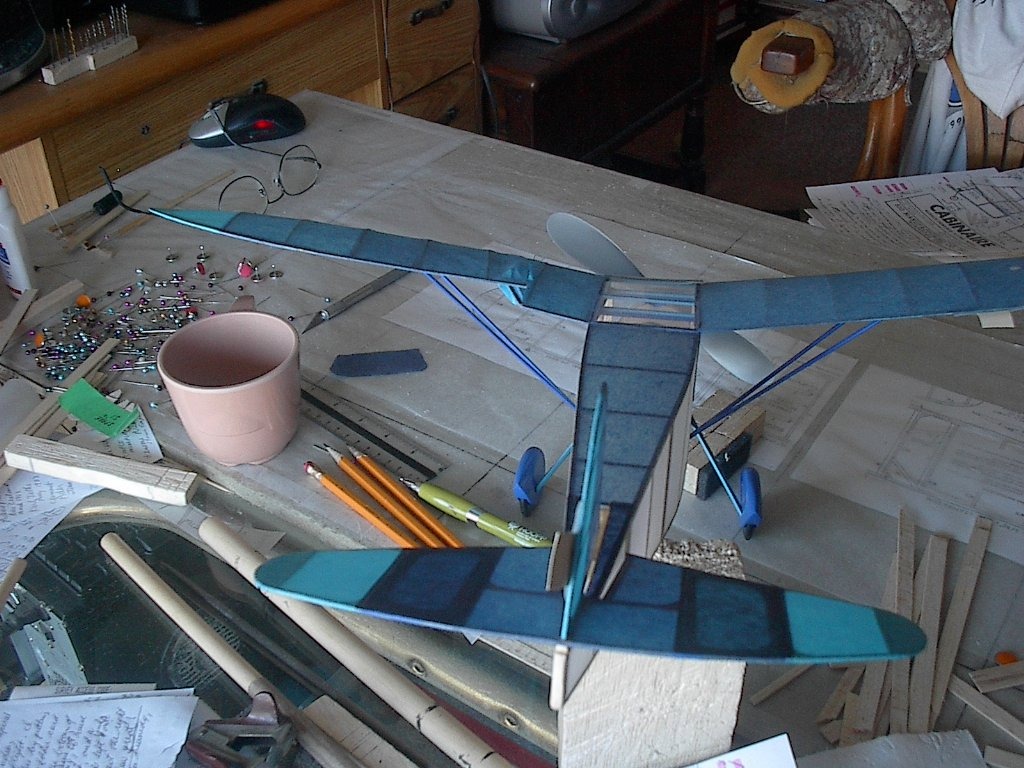
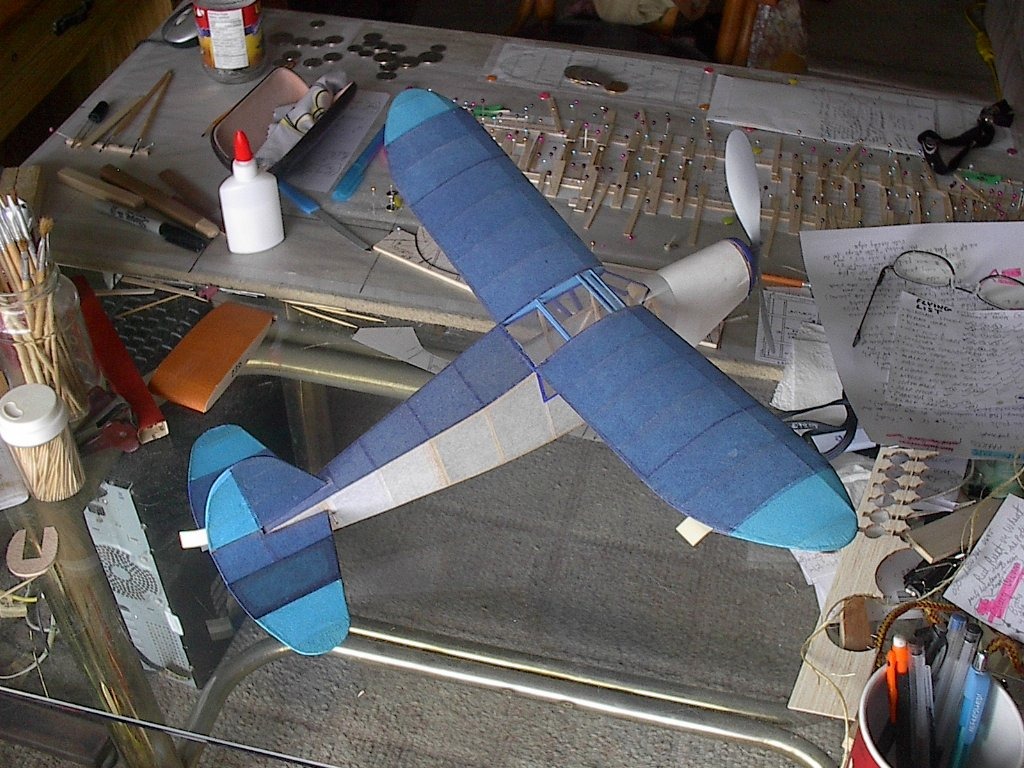
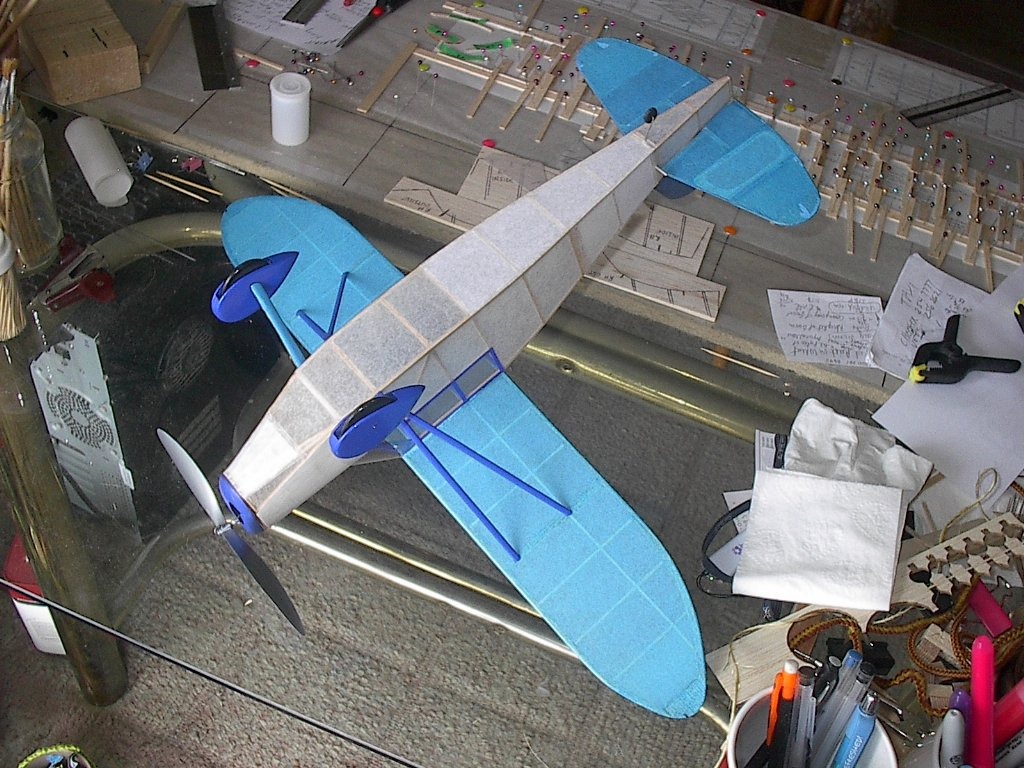
All lined up, and ready to cut the extra long Spar Stringers to proper length. |
| LASTWOODSMAN, Image # 39066 | 18 Jul 17 15:15 |
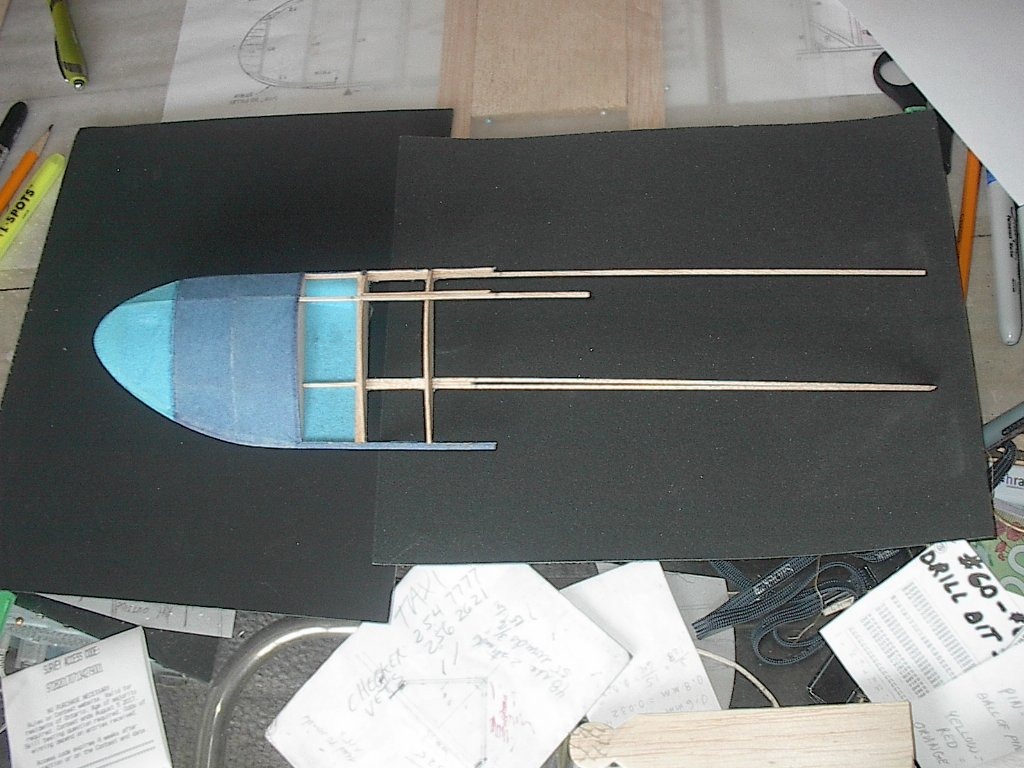
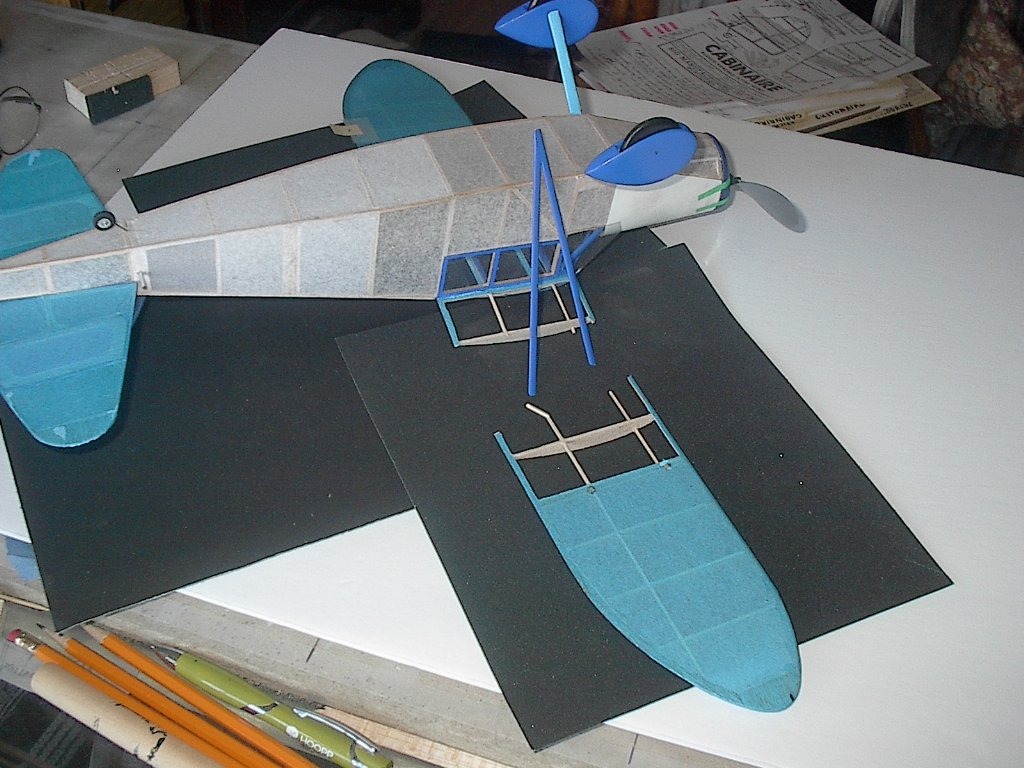
Outer Wing Panel is removed from the building board, with all Spar stringers glued and dried in place. |
| LASTWOODSMAN, Image # 39065 | 18 Jul 17 15:11 |
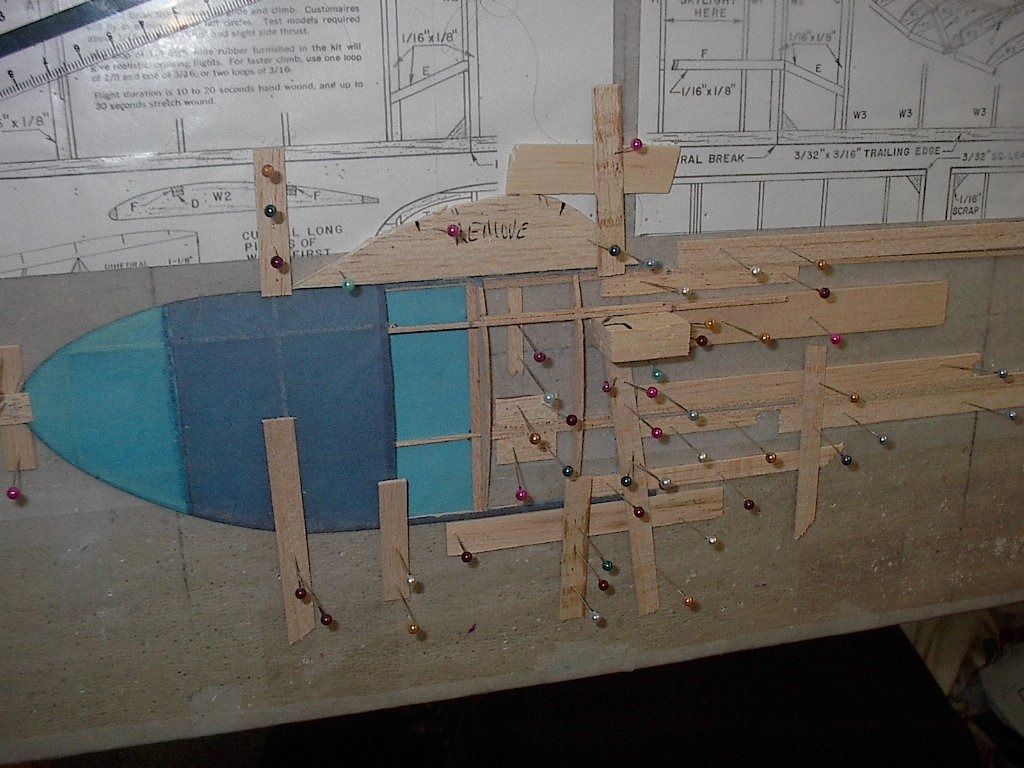
The Spar Stringers are slid into position, and blocked up with balsa bracing planks, for a snug fit, but not too tight, in order to slide them out for "double white gluing", then slid back into their final position, when all mating surfaces have had their "gluing". |
| LASTWOODSMAN, Image # 39064 | 18 Jul 17 15:06 |
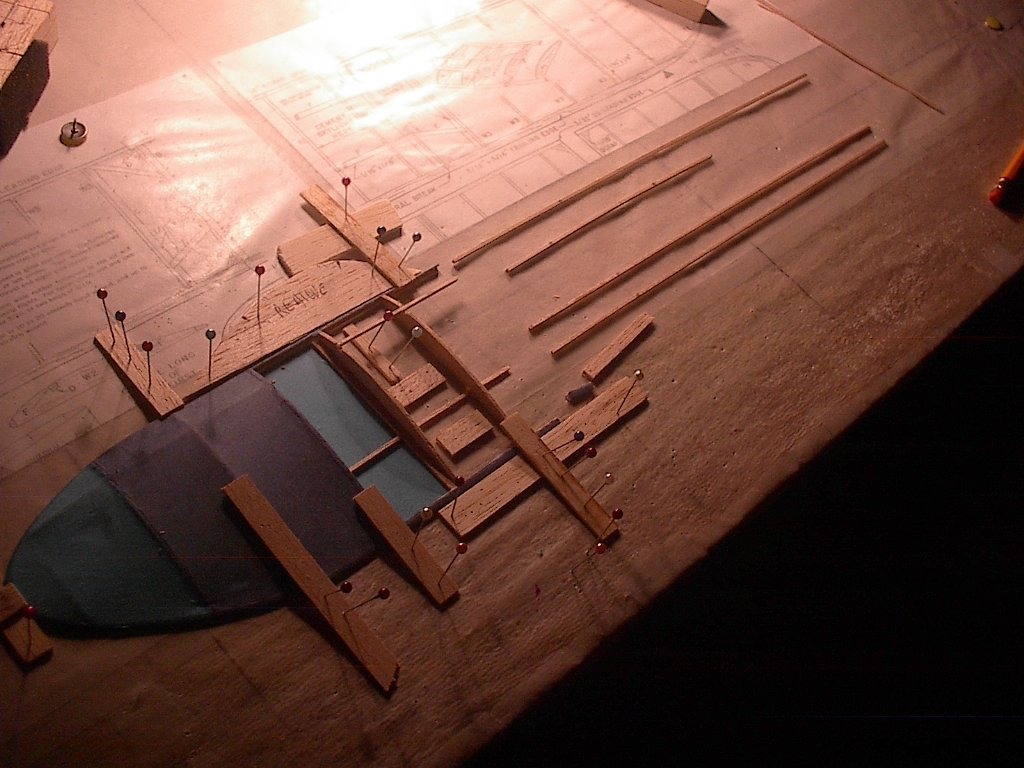
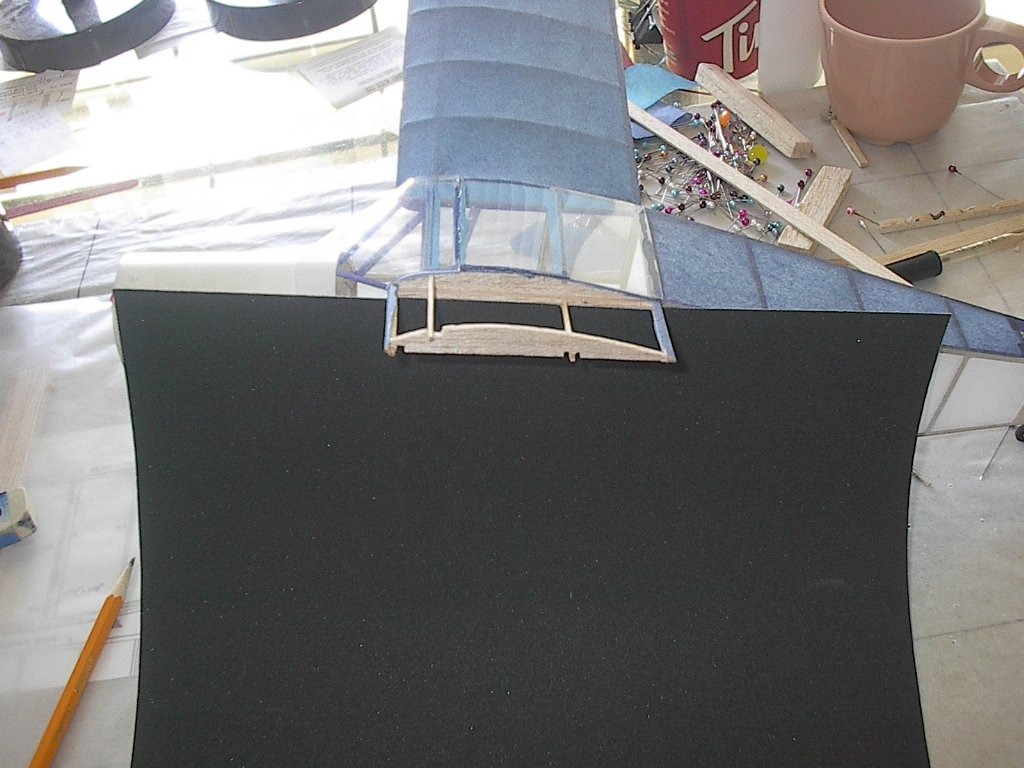
Extra long Spar stringers are lined up for the Outer Wing Panel notches. |
| LASTWOODSMAN, Image # 39063 | 18 Jul 17 15:04 |
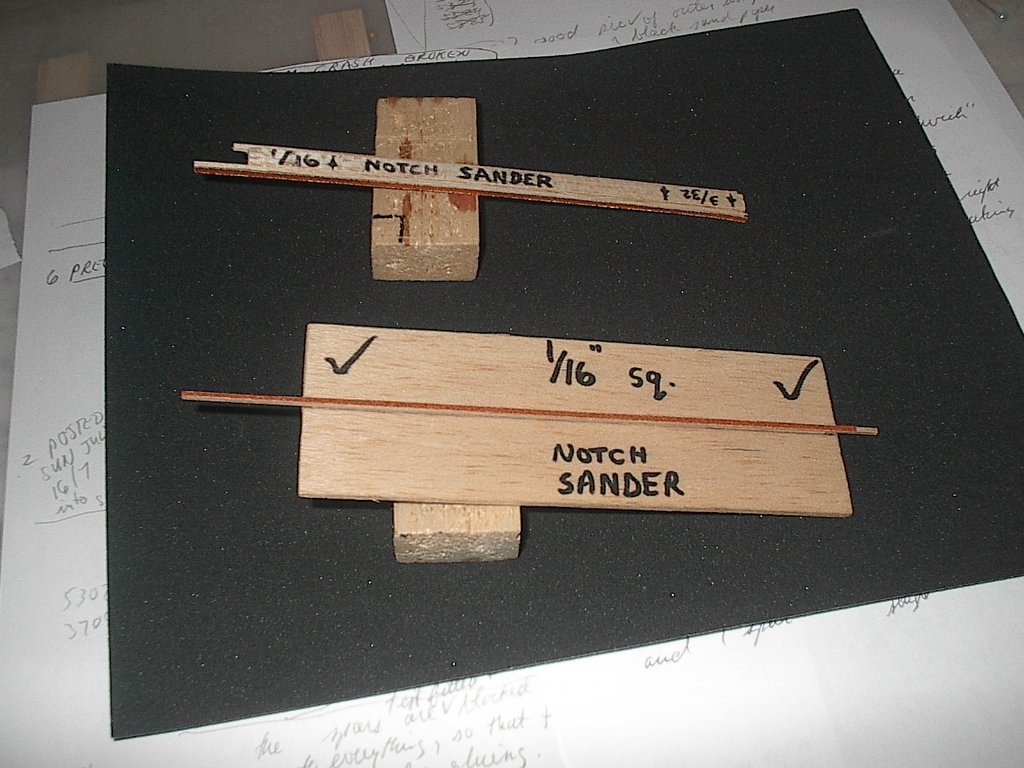
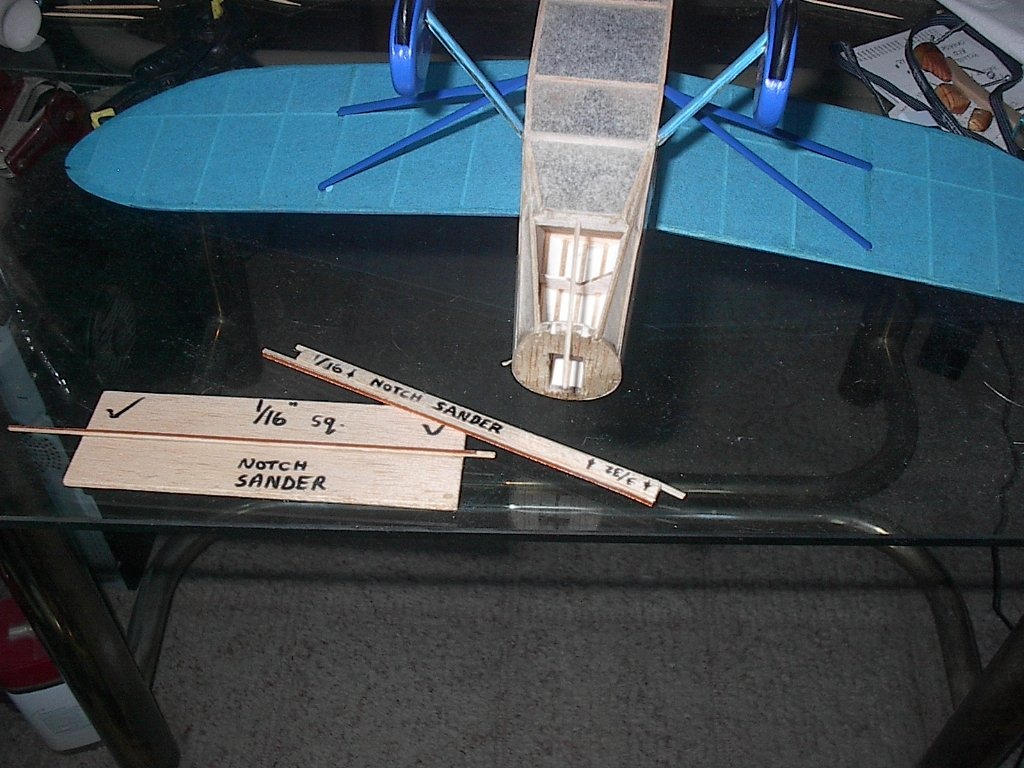
Notch sanding tools |
| LASTWOODSMAN, Image # 39062 | 18 Jul 17 15:03 |
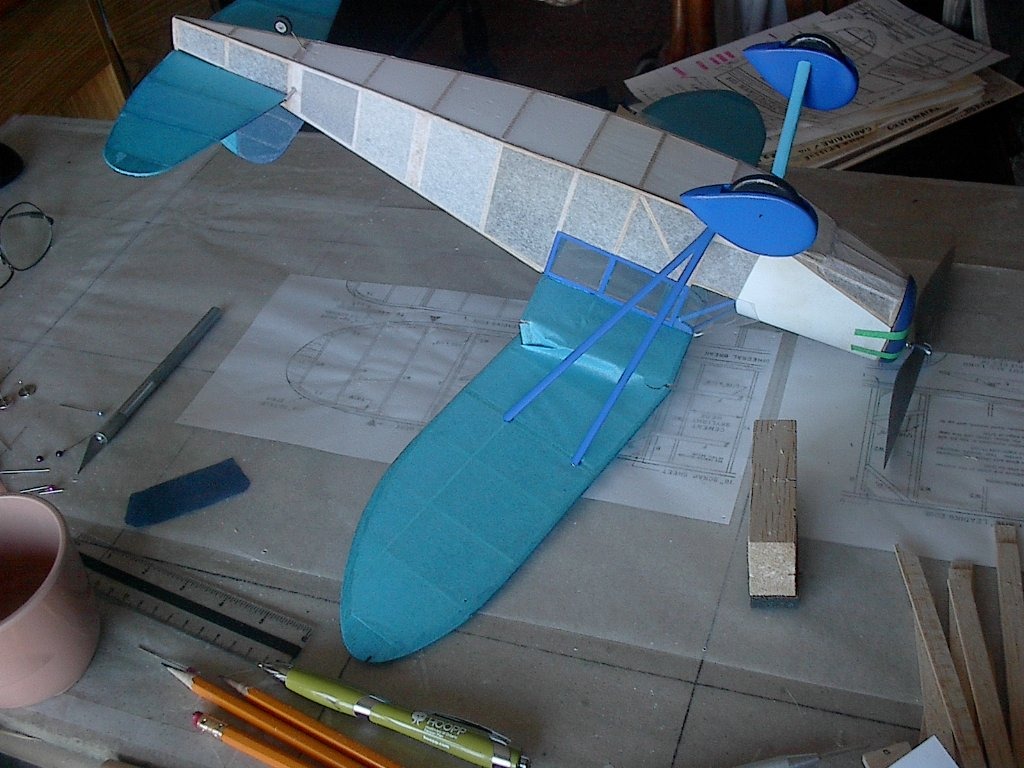
BROKEN WING REPAIR 22" SIG "Cabinaire" - I cut four 1/16" sq notch holes into the wing root rib, with 1/16" sq notching sander tools. I cut the same four holes into the outer Wing Panel inside rib. |
| LASTWOODSMAN, Image # 39057 | 16 Jul 17 18:29 |
I will also make a stronger stab with two laminated 1/32" X 1/16" strips of balsa, as the thick "picture frame" repairs on each side of the stab that I did, may have made the plane tail heavy, hence the weird climbing and stalling fllights - it has also increased the weight of the plane by 4%. |
| LASTWOODSMAN, Image # 39056 | 16 Jul 17 18:23 |
3rd TIME FLYING - After a few flights of cartwheels into the long thick grass under power, with wavering, stalling and climbing, frantic flights - I KNEW something was wrong! - the wing finally broke through the tissue. It had, about a week earlier, flown into a tree trunk under power with the left wing, and I heard a "crack", but I did not thoroughly investigate for damage. Repairs have begun - it is faster than building a new model, as I don't have another model to fly - and it is Flying Season right now ... I must get that 60 second flight - I only got a 56 second fllight so far ... |
| LASTWOODSMAN, Image # 39055 | 16 Jul 17 18:14 |
2nd TIME FLYING - I exploded the rubber motor into a big twisted knot in the rear of the fuse, when I tried to wind it anyway, after I saw that one of the four strands of rubber was broken inside the fuse. DUH !! I tore up the rear fuse tissue badly - I sauntered home and repaired it. |
| LASTWOODSMAN, Image # 39054 | 16 Jul 17 18:07 |
1st TIME FLYING - After a couple of cartwheeling landing flights, which probably cracked the "0ne-piece" stab/fin/rudder (that is only glued to the fuse in three tiny spots), I made a sloppy launch, where the stab caught my hand and tore off the whole stab/fin/rudder assembly! How EMBARASSING - there were people watching! LOL. The plane bravely tried to continue to fly, but rather unproductively and poorly .... I had to do another big "picture frame" repair on the other side of the stab now. |
| LASTWOODSMAN, Image # 39053 | 16 Jul 17 17:58 |
Well, yesterday, it seemed that I was determined to total my 22" SIG "Cabinaire". I went flying three different times yesterday, in strong winds and gusts, each time moping home, doing the repairs, and heading right back out - the last time, totally breaking the left wing ... OH NO !!! That is what I get for flying in strong winds and too many winds on the prop! |
| LASTWOODSMAN, Image # 39024 | 11 Jul 17 13:11 |
Because of the high humidity, the tissue covering on the plane eventually wilted to a very wet and saggy, wavy and droopy, airfoil, and was not able then to create ANY lift !!! - BUT - I got my longest flight yet, on the second try, of 56 SECONDS !!! , on 1050 winds of the rubber, using a 15:1 winder (70 turns on the crank), and a winding stooge, before it would eventually not even hold level flights any more when the tissue became so waterlogged! I am trying to break the one minute of flight threshold barrier! By the way, as soon as I brought that wilted, waterlogged tissue airplane, back into my air-conditioned apartment, where the hot moisture in the air had been taken away, the tissue MAGICALLY shrunk back to a "drum taught", perfect airfoil !! |
| LASTWOODSMAN, Image # 39023 | 11 Jul 17 13:07 |
LONGER MOTOR & TRIM TABS - Yesterday it rained pretty good all day long, and the sun came out in late afternoon, and was evaporating all of the water into the air = HIGH HUMIDITY. I took the 22" Sig "Cabinaire" out at twilight gloaming dusk, for some flights with a new, longer motor, of two, 20" long each, strands of 3/16" rubber (prop hook to rear motor peg is 13"). The plane had on the previous evening at dusk, been flying during "transition", after initial power burst, flying into quick descending, tight, steep-turn spiral dives, on the Right Hand circle flight. I tried to counteract this, by putting a small DOWN "tab", of file folder cardboard, scotch taped (it does not rip the tissue off when you pull off the tape), taped this tab, with a little downwards bend, onto the bottom trailing edge of the outward right wing, to raise the wing during flight, and another small LEFT "tab", with a little left bend in it, taped this tab to the left side of the rudder, to counteract the right turn a bit. It flew GREAT !!! |
| LASTWOODSMAN, Image # 39016 | 10 Jul 17 06:42 |
New tissue is covered over all the damaged area - back ready to fly!! |
| LASTWOODSMAN, Image # 39015 | 10 Jul 17 06:40 |
I then used a couple of notch sanders to make notches to hold the three 1/16" sq forward fuse bottom stringers that were busted up and removed. One of the three stringers is in place. |
| LASTWOODSMAN, Image # 39014 | 10 Jul 17 06:38 |
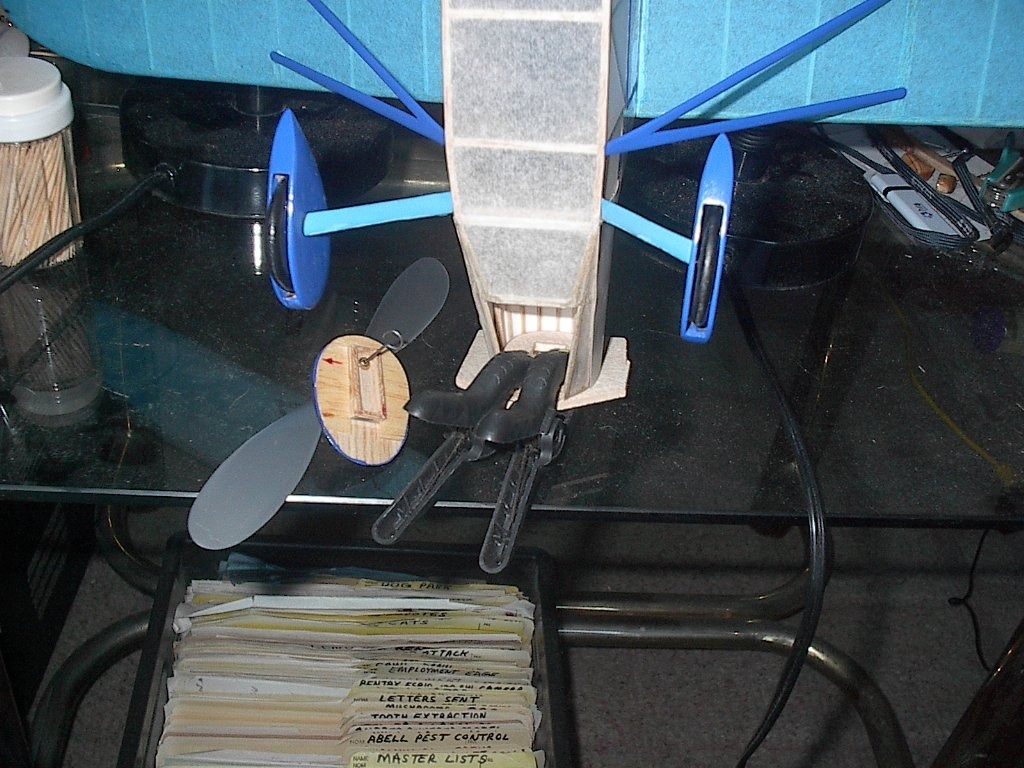
The pic shows the clamping plates in position, and holding tight, the glued up support plate. I was able to get the jaws of two strong clamps inside the fuse opening to hold everything together. All glued up and clamped in place. |
| LASTWOODSMAN, Image # 39013 | 10 Jul 17 06:36 |
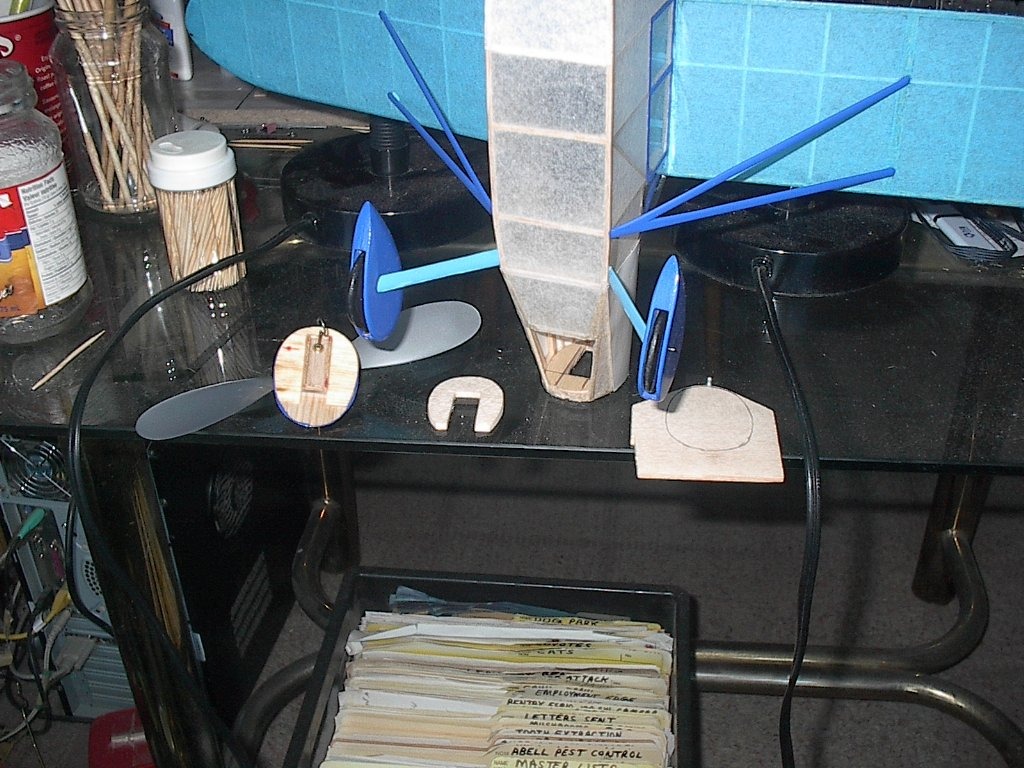
I was able to double white glue that chunk of balsa, that was ripped out from the bottom of the forward fuse former, right back into its spot ( it slid right back in - press fit! ). I then made a 1/16" thick, slightly smaller, 3/4 size support plate (with the rectangular cutout for the nose block), to glue in behind that forward fuse former bulkhead for additional strengthening. The pic shows the support plate (with inked lines), sitting in position inside the front fuse former. I also made two clamping plates (either side of the fuse) - one for the front of the fuse, and one for inside the fuse, to hold the support plate in place while the glue dries. |
| Don C, Comment for image # 39011 | 09 Jul 17 15:51 |
| Cool pic never the less. Kind of looks like those neon fish at the bottom of the ocean. |
| LASTWOODSMAN, Image # 39011 | 08 Jul 17 22:32 |
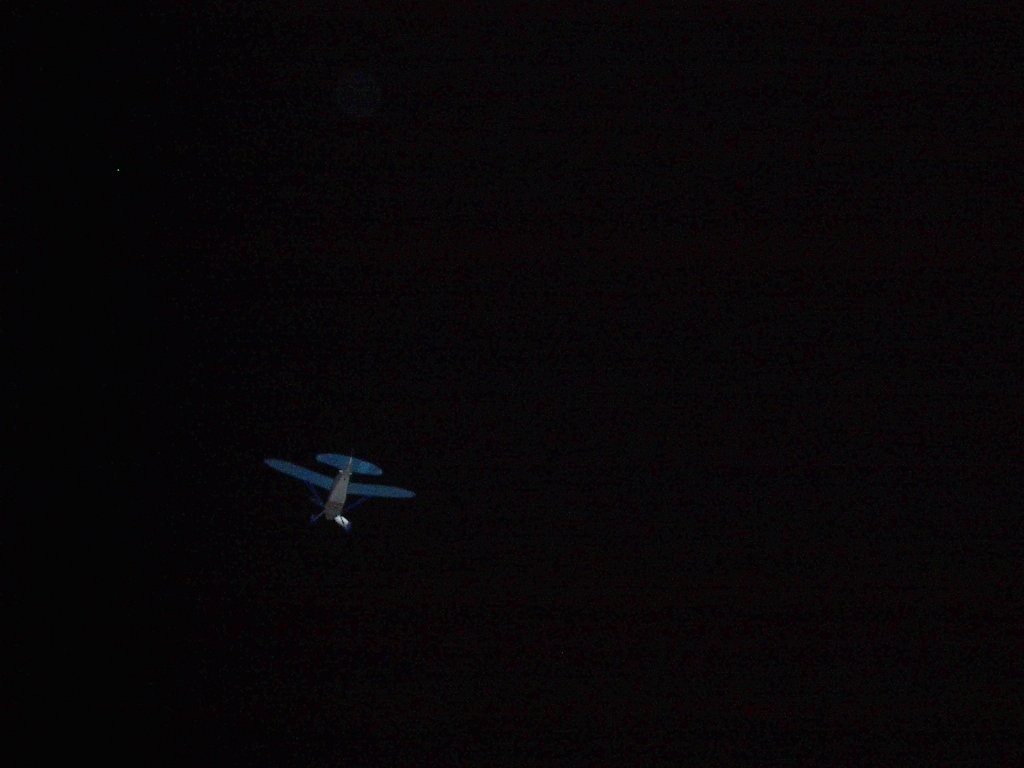
The plane flew close enough for the flash to light it up. Much more experimentation is needed ... |
| LASTWOODSMAN, Image # 39010 | 08 Jul 17 22:29 |
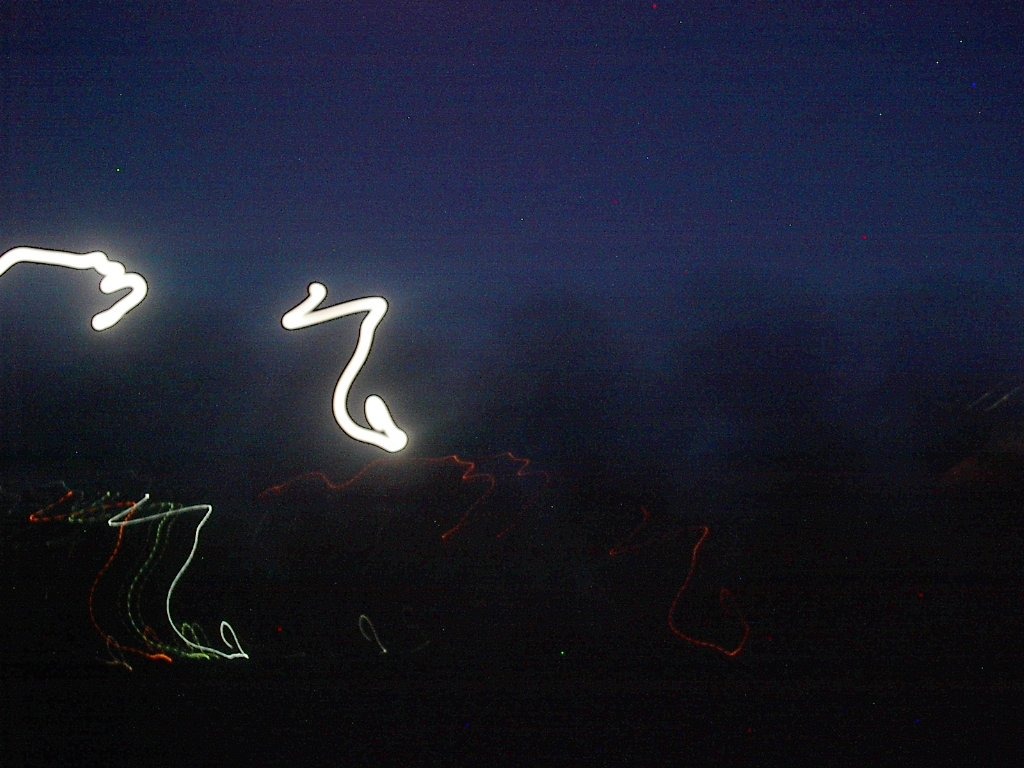
My try at full moon night flight photography - looks like UFOs ... |
| Build Thread, Page :
[ 1 ] 2 3 4 5 6 7 8 9 (168 posts, 20 posts per page, 9 pages in total)
|
[ Next > ] |
