| Build Thread, Page :
[ 1 ] 2 3 4 (60 posts, 20 posts per page, 4 pages in total)
|
[ Next > ] |
| pfinn, Comment for image # 32473 | 17 Dec 15 10:09 |
| RIP Jerry. |
| Creosotewind, Comment for image # 32473 | 29 Oct 14 18:30 |
| Good looking. Great job on the paint. |
| poppy, Comment for image # 32472 | 27 Oct 14 08:36 |
| Well Done! Looks like all the join lines have been filled. Paint well done. |
| ElbertC, Comment for image # 32472 | 27 Oct 14 08:11 |
| Great Job. |
| julinick, Comment for image # 32472 | 25 Oct 14 11:48 |
| Fantastic Jerry!!! |
| Anders, Comment for image # 32471 | 25 Oct 14 06:21 |
| Fantastic work! I love those spinners, they never look wrong! |
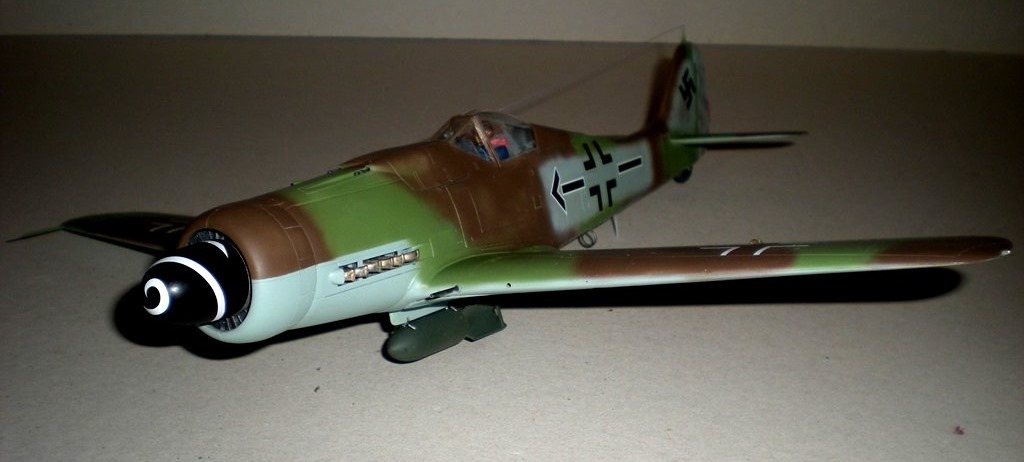
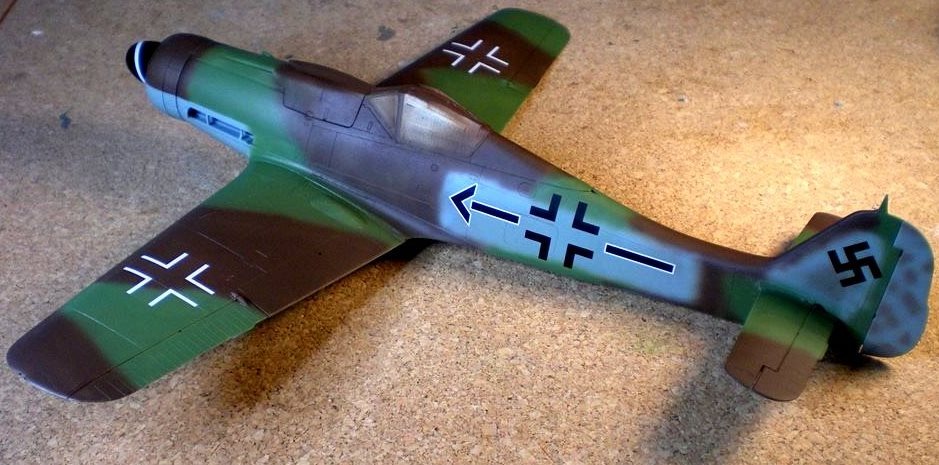
| jerry campbell, Image # 32473 | 25 Oct 14 05:01 |
|
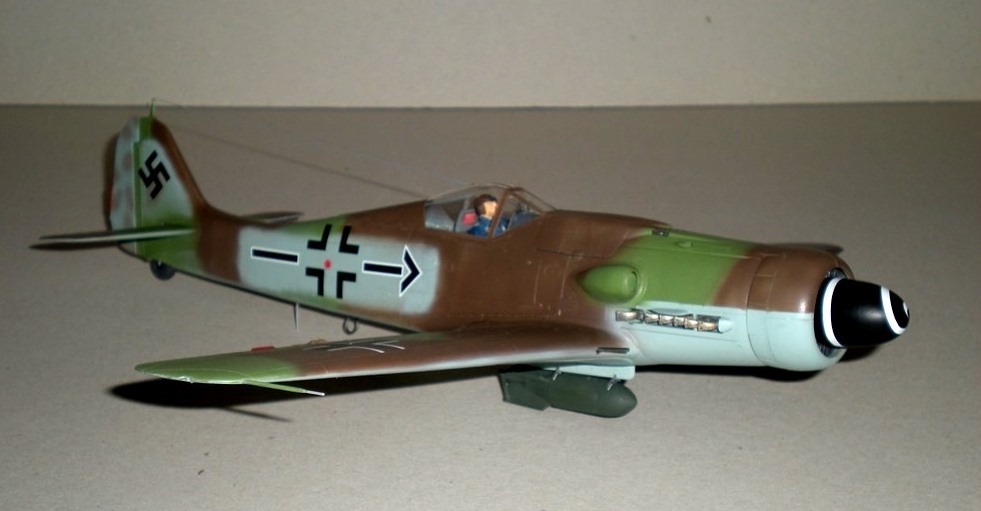
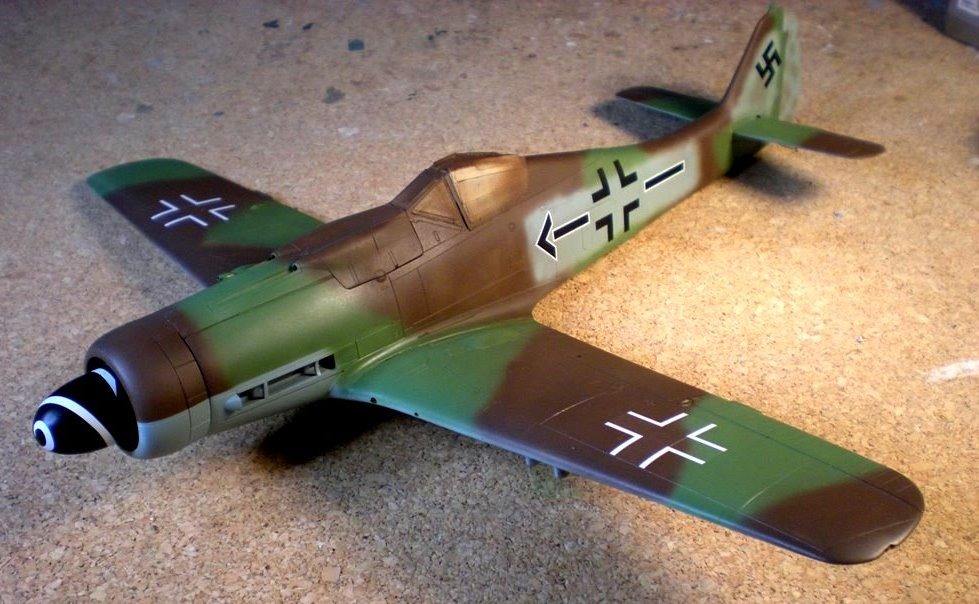
| jerry campbell, Image # 32472 | 25 Oct 14 05:00 |

Finished, antenna arial had to be done a second time, the first one sagged a bit. |
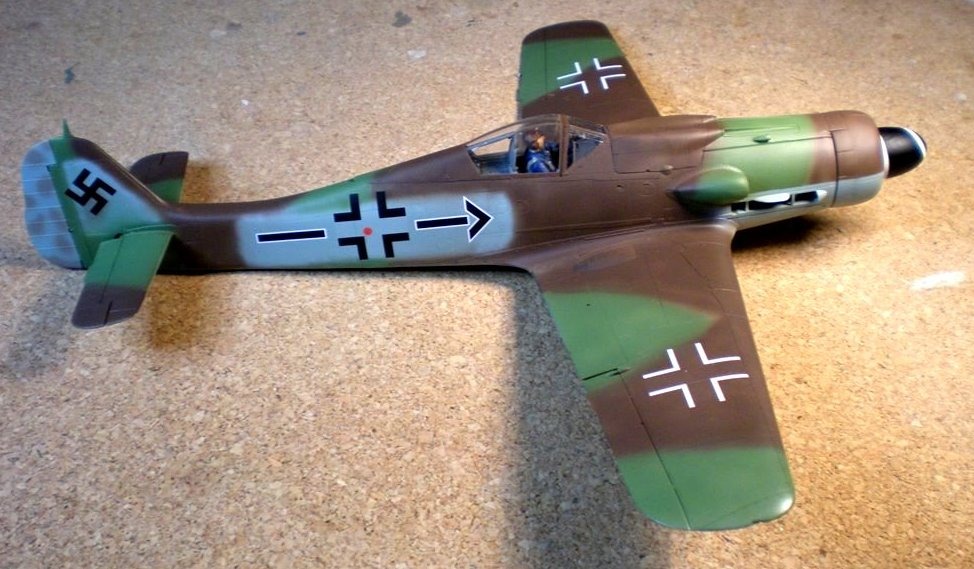
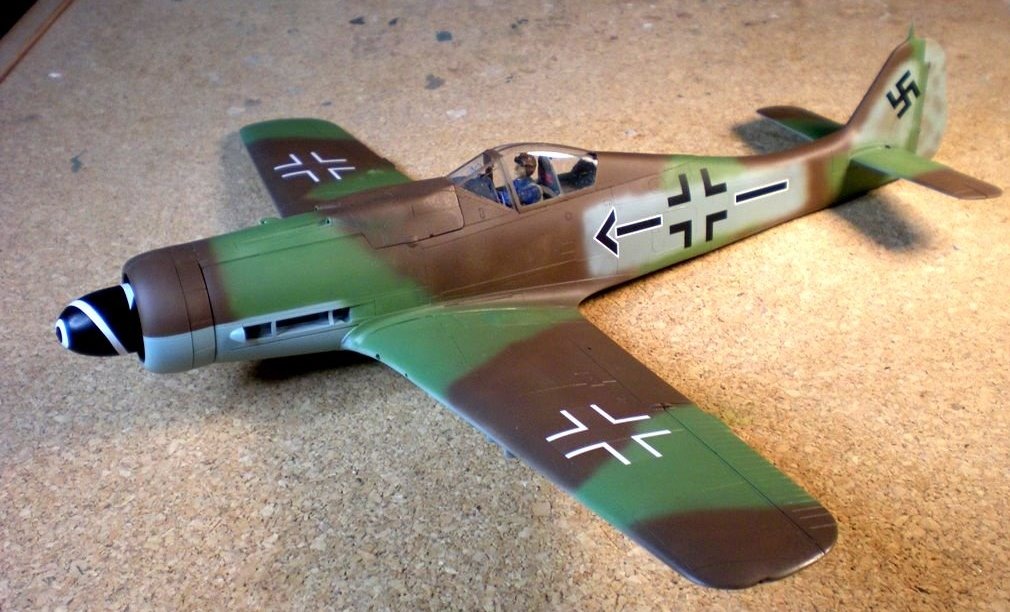
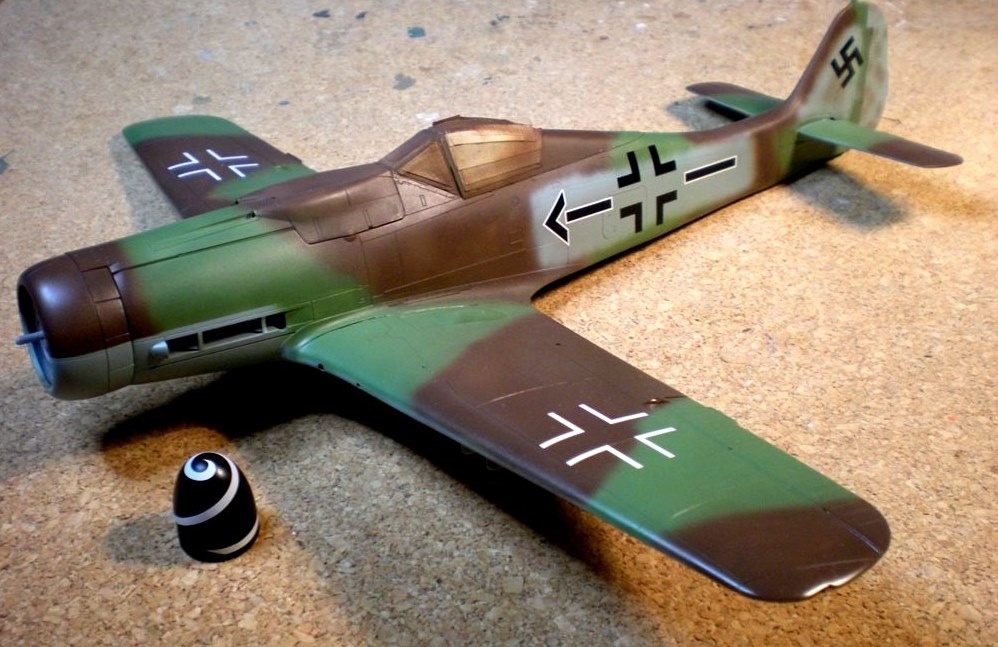
| jerry campbell, Image # 32471 | 25 Oct 14 04:58 |
Now the details such as exhausts, guns, pitot tube, bomb rack and antenna arial, etc., can be added. |
| jerry campbell, Image # 32470 | 25 Oct 14 04:54 |
|
| jerry campbell, Image # 32469 | 25 Oct 14 04:54 |
When the Dullcoat is thoroughly dry the Drafting tape can be pulled off. |
| jerry campbell, Image # 32468 | 25 Oct 14 04:51 |
I usually do a second coat of Dullcoat. By providing the same dull flat finish overall the sufaces the markings and the paint all look painted giving the model a more realistic look. |
| jerry campbell, Image # 32467 | 25 Oct 14 04:42 |
After all decals are in place and have been snuggled down with Microsol a coat of Testors Dullcoat is sprayed on. I find the Dullcoat in a can is the most convenient. |
| jerry campbell, Image # 32466 | 25 Oct 14 04:37 |

|
| jerry campbell, Image # 32465 | 25 Oct 14 04:36 |
As each decal is in place and dried with a tissue microsol is brushed to soften the decal allowing it to snuggle down to the surface and looking like the marking is painted on. |
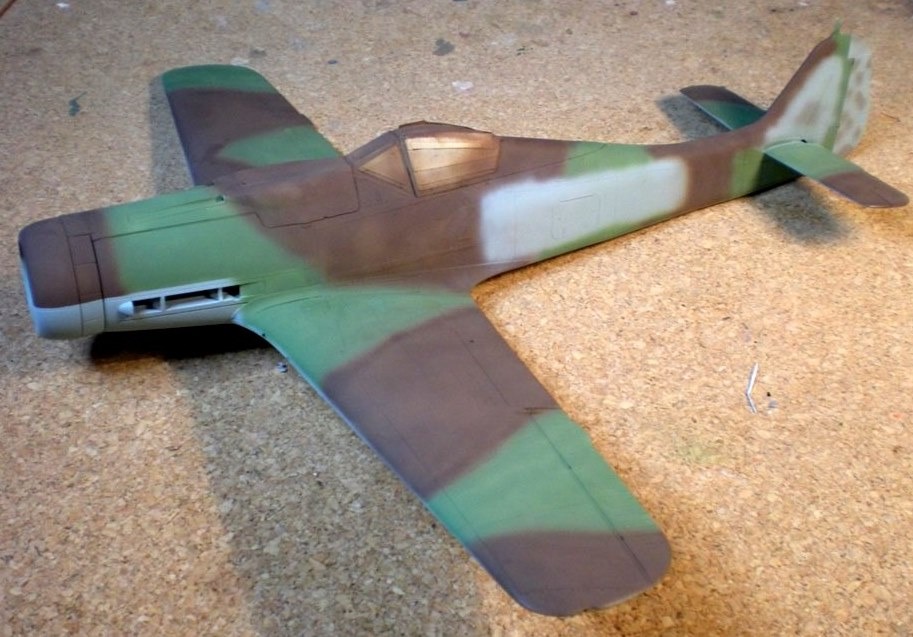
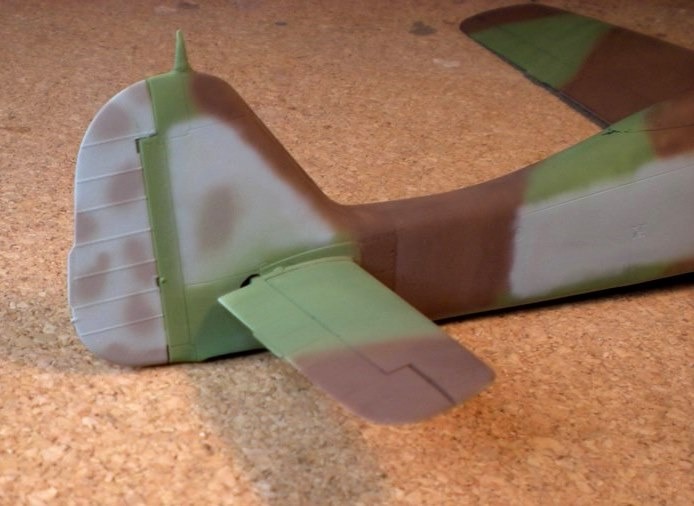
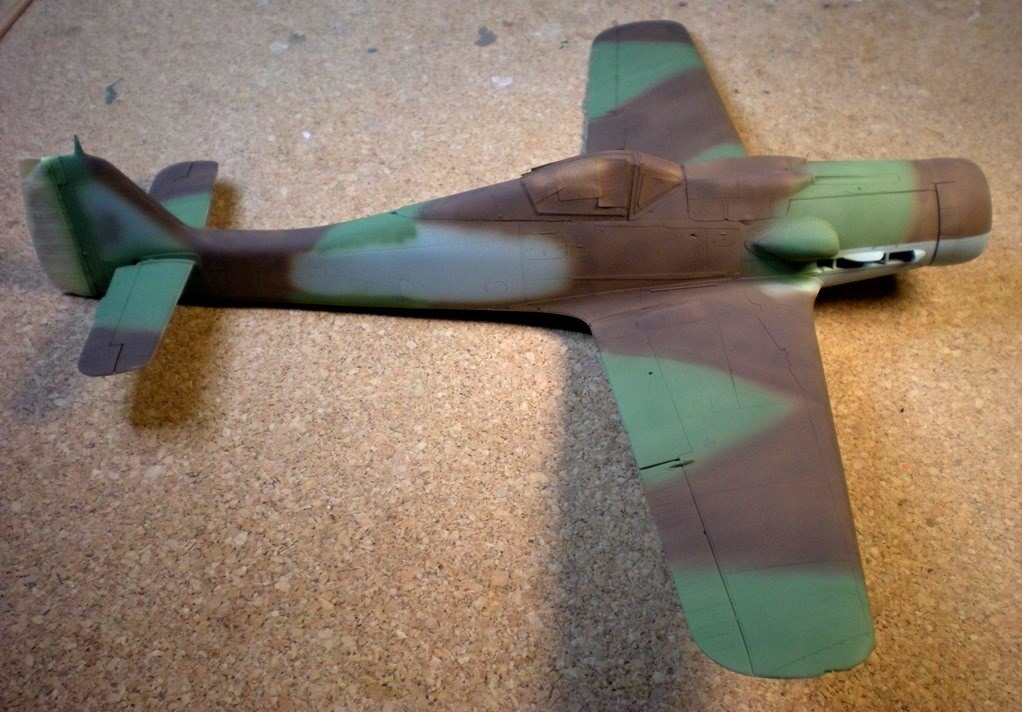
| jerry campbell, Image # 32464 | 25 Oct 14 04:32 |
Future (Klear) provides smooth glossy finish allowing the decals to adhere to the painted surface. |
| jerry campbell, Image # 32463 | 25 Oct 14 04:28 |
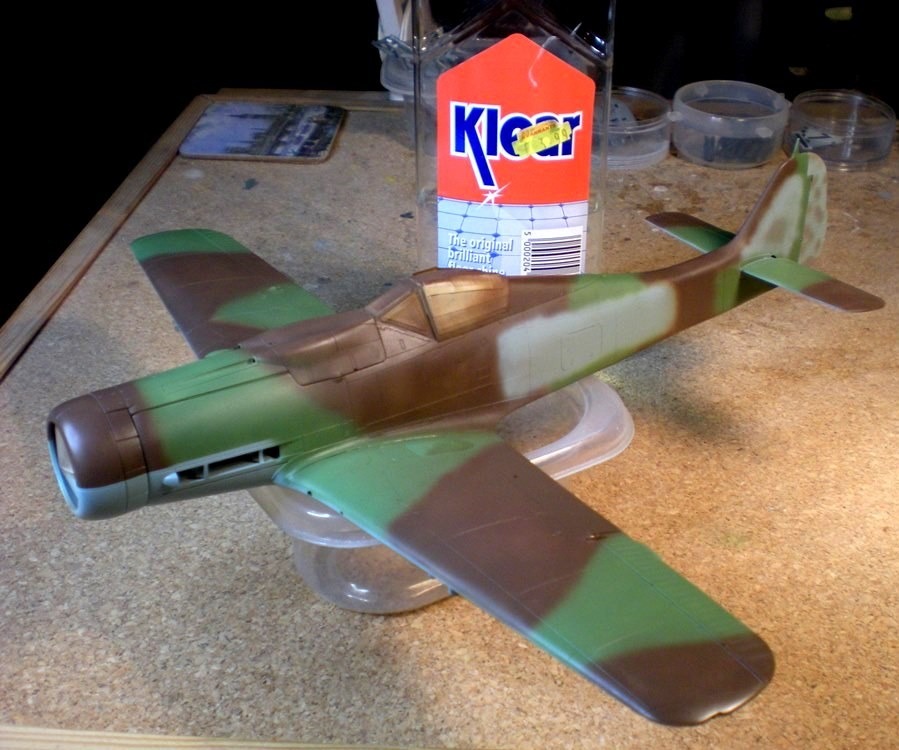
With the painting done the next step is to get the plane ready for decals by airbrushing the entire model with Future (Klear in the UK). |
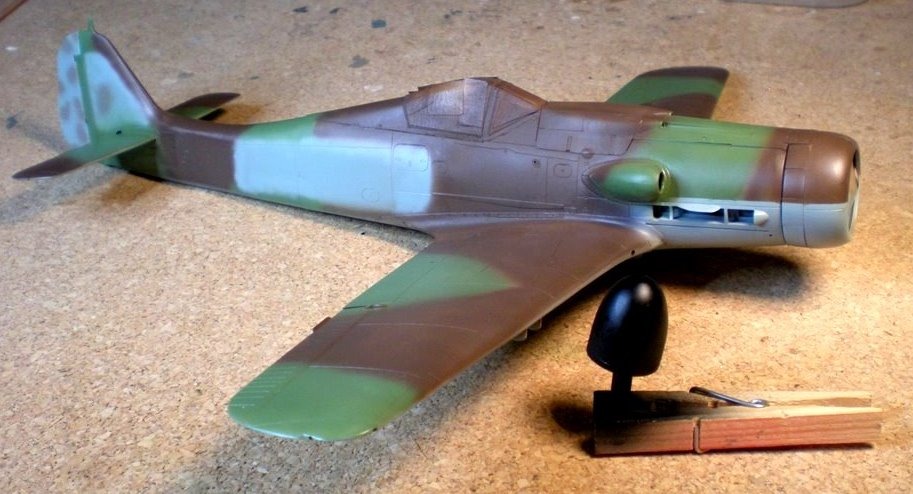
| jerry campbell, Image # 32430 | 19 Oct 14 06:31 |
I personally dislike the Pale Green Brown Violet scheme, but that is what Rudel flew so here it is. |
| jerry campbell, Image # 32429 | 19 Oct 14 06:28 |
With the tape off the replacement rudder is a little more obvious. |
| jerry campbell, Image # 32428 | 19 Oct 14 06:27 |
A bit of touch up and the decal process is to begin. What is not shown is just how much 'touch up'. I was probably 3 hours and 5 paint changes and cleaning of the airbrush. |
| Build Thread, Page :
[ 1 ] 2 3 4 (60 posts, 20 posts per page, 4 pages in total)
|
[ Next > ] |
