|
Main Menu
User Login
View By Aircraft
Users Aircraft
|
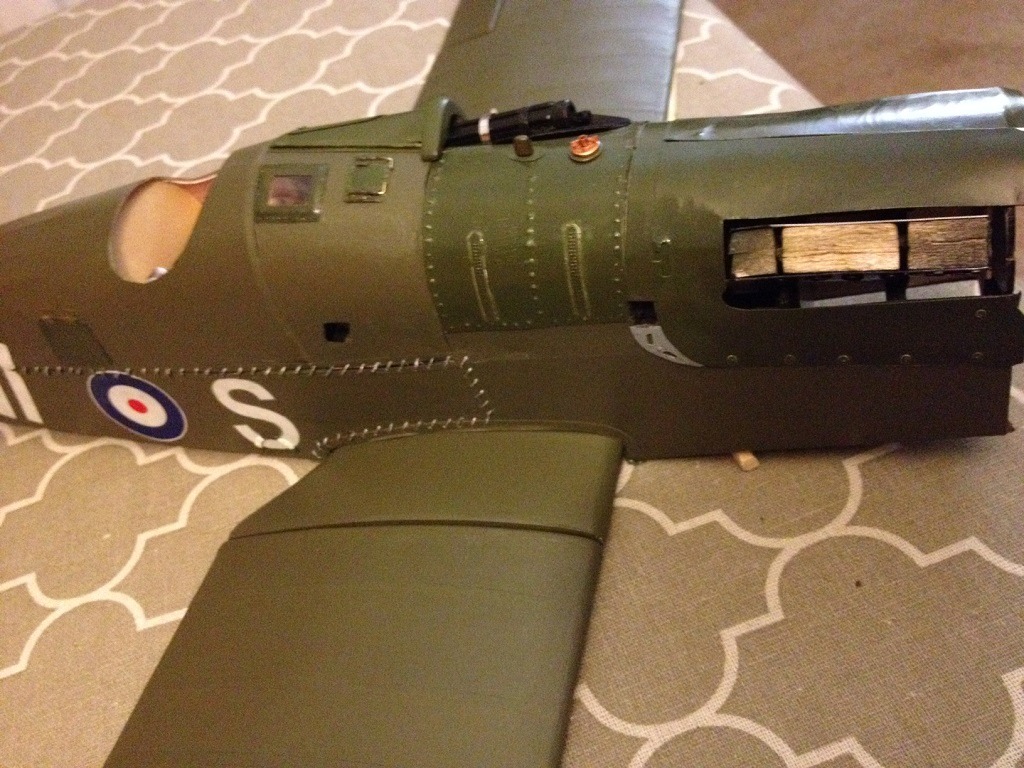
Guillows Series 200 - SE5a by Skyediamonds1985. Viewed 470 times.
Build Thread
|
|

|
| Image Comments |
| Skyediamonds1985 | 02-May-16 22:31 | | Biplane guy: I suggest instead of using the Graf-x stick-type, try purchasing a small package of blank decal sheets. Most are available through Hobby Lobby or other fine arts and craft stores. They come either white or transparent backgrounds depending on your needs. My guess is to use the white background sheet as ink-jet printers do not print out white ink. The white background will make up for this by simply you making an outline of the letters/numbers then carefully cutting them out "INSIDE" the outline so as to eliminate the outline altogether. Special note: try adding a coat of clear paint (I use Krylon" |
| Skyediamonds1985 | 02-May-16 22:37 | | Sorry, got cut off by mistake. Before spraying the clear, try spraying a coat of primer on the finished surface of your model (not the decal). Make absolutely sure that you have applied sufficient coats of dope to fill in the weave of the silkspan and be sure to lightly sand between coats to help get rid of the "nap" which is a technical term for the loose fibers from the tissue sanded off. Generously brush off using a dry brush followed by use of a lightly damped paper towel, then tack cloth. Make sure the surface is absolutely free of any loose fibers or dust.... and totally dry. Then add the primer. After lightly the sanding of primer and making sure all blemishes are removed (again generously dry brushing followed by use of a lightly dampened paper towel, repeat this stage until all the loose primer/dust is removed, then use of tack cloth), when its all totally dry, then shoot a coat of the choice of colored paint. Apply the decals as you wish. What is missing from the article, is the additional application of the final coat of clear over both the dried decals and colored paints (the whole enchilada). At this stage, you don't have to wait until the whole model is completed. You can shoot the protective clear over finished sub-assemblies such as the tail, fuselage, and separate wings and their control surfaces. You have a choice of gloss or flat. My guess is you'll be using the gloss (again) to help replicate the glossy finish of the real biplane. This protects both the decals and paints from fuel and handling. Hope this helps. Let me know if you need more info. |
| Skyediamonds1985 | 02-May-16 22:58 | | Use the ink jet printer on the blank decal sheet as you would for the Graf-X.... If you can't find any blank decal sheets or your local arts and crafts store doesn't have them, this is a really neat trick. Use ordinary mailing labels that you have to lick with your tongue to stick on to the box/package. Paint the back of the mailing label (the glue side) with your choice of paint. Simply make outlines of your letters and numbers with a pen. Carefully cut out the letters/numbers (again) inside the outline as the ink from the pen will dissolve and run down). Then dip the cut outs into water. The glue backing dissolves in water and thereby allows the paint to slide off, becoming its own decal... :0) |
| biplane guy | 03-May-16 15:54 | | Wow, your SE5a is coming along nicely. The wing coverings look really sharp. I love the texture. You are a fount of information my friend. Thanks for sharing. |
| Skyediamonds1985 | 03-May-16 22:34 | | Biplane: thank you. I was a bit worried that I might've overwhelmed you. From what I can see in your postings of the N2S ( PT-17), you're very detail-oriented and very good at it. The bottom line is preparation of the surface prior to the paint. You don't have to add the clear coat prior to the colored paint. Just be aware of the "silvering" of the decals from the microscopic air bubbles trapped between the surface and the decals. This "silvering" shows up as an opaque film seen around the edges of aircraft logos, insignia, and between numbers and letters. One way to eliminate or minimize this silvering is to coat with clear after the colored paint and prior to the application of the decals, or simply carefully cut around the decals right down to the edges. This might even include cutting out individual numbers and letters. Time-consuming and its a hassle, but the results are worth it. I owe much of this information to: Mr. DD, Poppy, John O, and other members of this forum. Please write direct: Skyediamonds1985@yahoo.com We've got a lot to share and a lot in common. |
|
|
Please sign in to comment on this image.
|
|
|

