| Build Thread, Page :
[ 1 ] 2 3 4 (67 posts, 20 posts per page, 4 pages in total)
|
[ Next > ] |
| jerry campbell, Comment for image # 12759 | 21 Jul 09 11:32 |
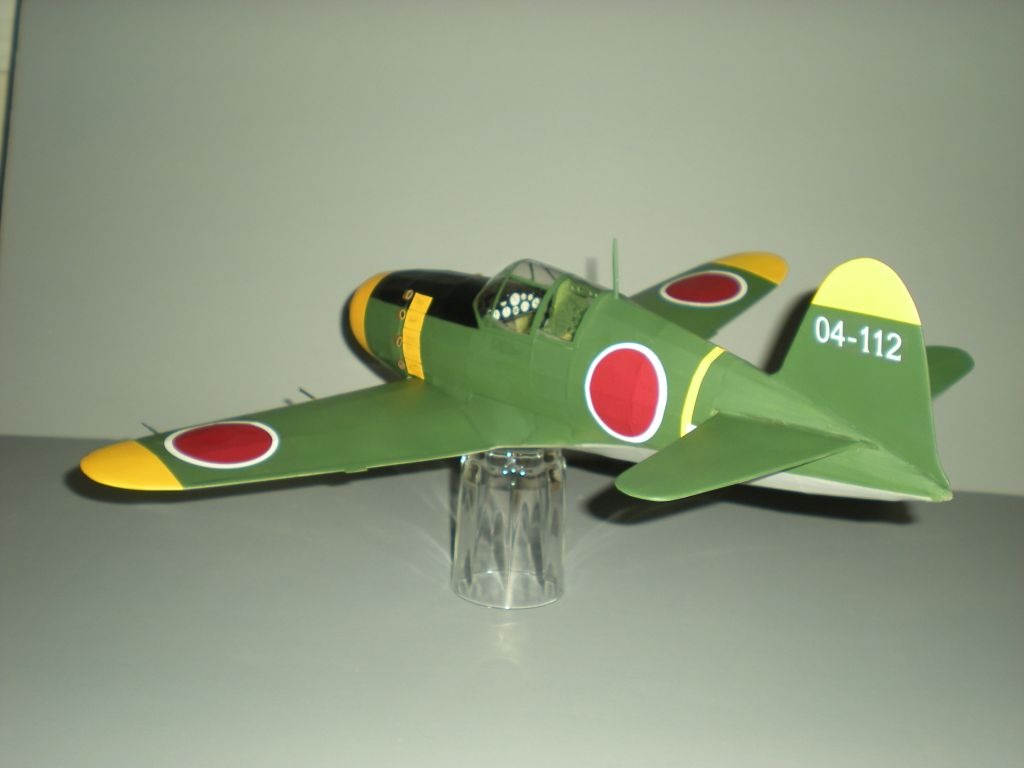
| Dave I used plastic tubing crushed with pliers, then one end was trimmed to fit against the cowel. Heating in hot water will help crushing without tearing, as well as some C/A glue to help hold the shape. The flaps are just semi-stiff glossy paper cut to shape, with the exhausts filling the cut outs. |
| David Duckett, Comment for image # 12759 | 21 Jul 09 06:31 |
| Jerry, how did you make the exhausts? Thanks. |
| rhysleo, Comment for image # 12761 | 28 Jun 09 19:44 |
| James, it was pretty interesting to see. I was at Westchester airport in White Plains, New York. There were more Cessna's and small planes then there were passenger planes. It was all green with the red circles. It looked a bit like the stuka as well. |
| jgood, Comment for image # 12761 | 28 Jun 09 19:16 |
| Wow, I wonder what it was? It had the Jap red circles on it? What airport, LGA or JFK? |
| rhysleo, Comment for image # 12761 | 28 Jun 09 18:42 |
| today while taking off at a airport at new york, i saw a plane that looked 100% just like this land at the runway next to me. i was about to take a picture but i couldn't get my camera out of my bag fast enough. it was very small. |
| FLYBOYZ, Comment for image # 12759 | 12 Jun 09 19:52 |
| So beautiful!Been checking there site out!Very exciting |
| poppy, Comment for image # 12759 | 12 Jun 09 07:15 |
| Beautiful work! |
| David Duckett, Comment for image # 12761 | 11 Jun 09 14:04 |
| Great job!! It's nice to know what it looks like and I'll definitely be using these shots for reference. I'll be starting mine when the Bearcat is finished and the colors will be a bit different. ;-) |
| jerry campbell, Image # 12761 | 11 Jun 09 13:48 |

|
| jerry campbell, Image # 12760 | 11 Jun 09 13:46 |

Certainly one of the best of the Dave Diels kits. |
| jerry campbell, Image # 12759 | 11 Jun 09 13:44 |

A coat of Dullcoat then added the wing cannons, arial mast and pitot tube and the Raiden is finished. |
| jerry campbell, Image # 12740 | 09 Jun 09 19:08 |

The decals are in place and the next step will be further assembly, the addition of some details and a coat of Dullcoat. |
| jerry campbell, Image # 12739 | 09 Jun 09 19:03 |

With the canopy and the spinner glued in place a coat of Future is sprayed on in order to provide a glossy surface for the decals to adhere to. |
| jerry campbell, Image # 12712 | 08 Jun 09 15:40 |

As soon after spraying the yellow the masking tape (Drafting Tape) is removed. Unforturnately some bits of gray and green pulled up and will have to be touched up. Also a bit if yellow overspray also will have to be touched up with the airbrush. |
| jerry campbell, Comment for image # 12711 | 08 Jun 09 15:36 |
| After allowing the white to dry for about an hour the yellow is sprayed on. |
| jerry campbell, Image # 12711 | 08 Jun 09 15:33 |

|
| jerry campbell, Image # 12710 | 08 Jun 09 15:31 |

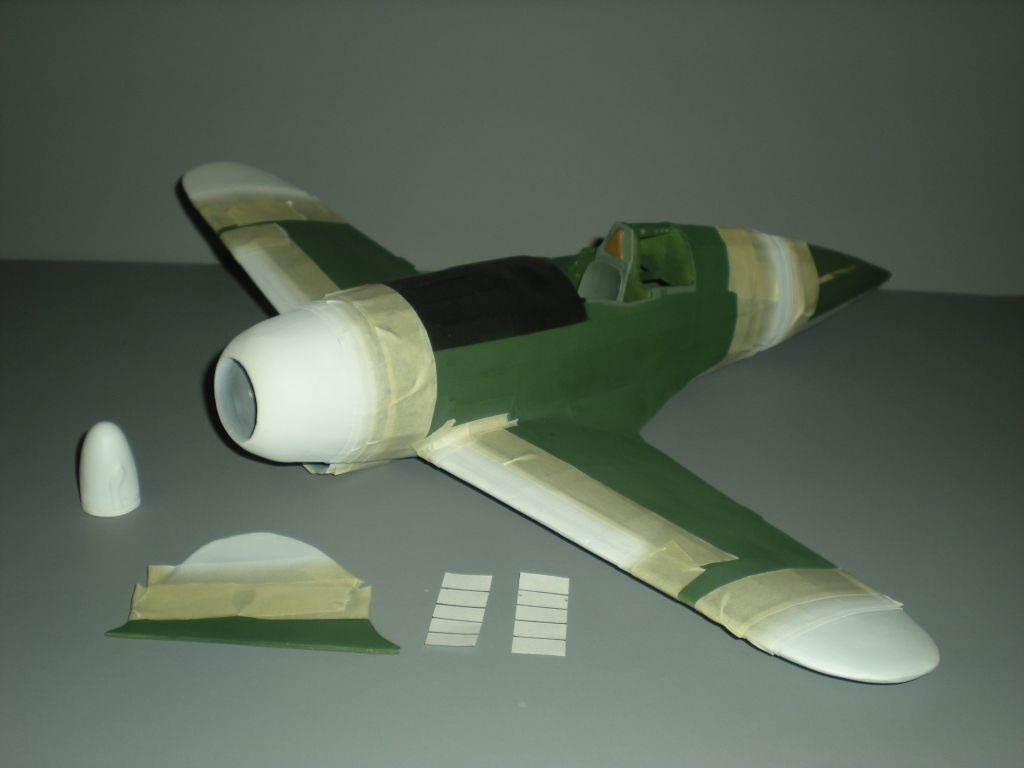
After the masking, the areas to be painted yellow white under coat is sprayed on. |
| jerry campbell, Image # 12693 | 07 Jun 09 21:23 |

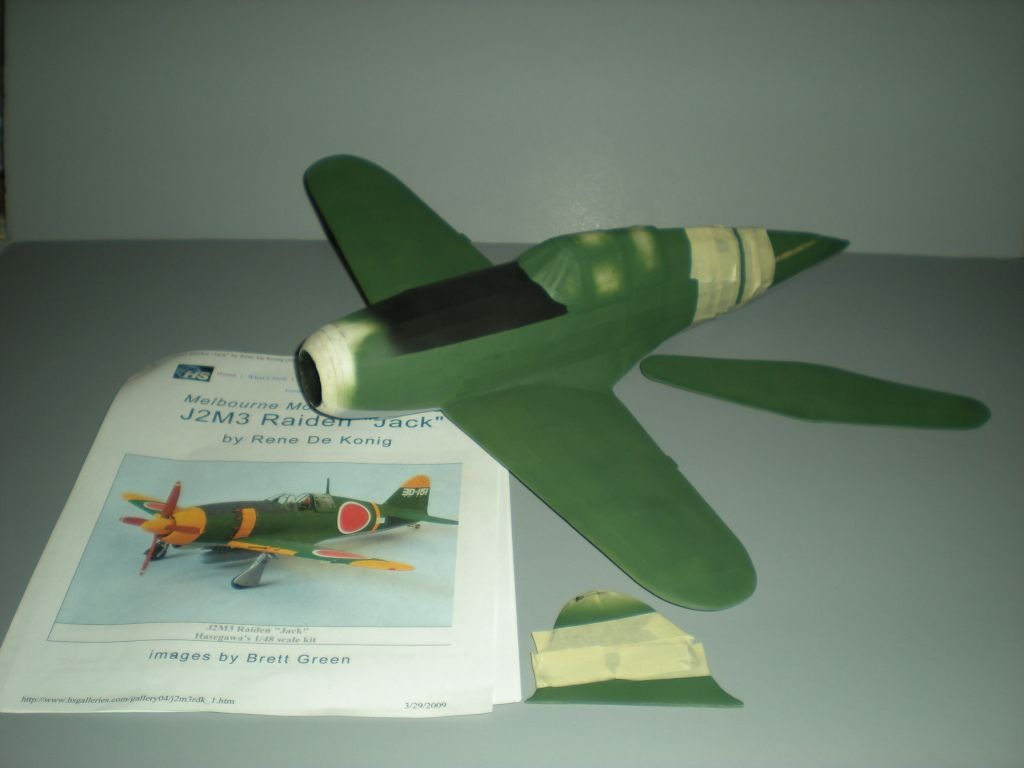
The upper surfaces are painted with Tamiya XF-26 Deep Green Lightened with aprox 20% white. The anti glare on the upper forward surface is Tamiya XF 1 Black. The Orangey/Yellow when applied must have an under coat of white. |
| jerry campbell, Image # 12692 | 07 Jun 09 21:18 |

The under cowling airscoop is added and the lower surfaces are painted with Tamiya XF-75 IJN Gray, heavily lightened with white. |
| jerry campbell, Comment for image # 12634 | 03 Jun 09 17:26 |
| No, no flying, only a static model. |
| Build Thread, Page :
[ 1 ] 2 3 4 (67 posts, 20 posts per page, 4 pages in total)
|
[ Next > ] |

