| 1 | Every radial starts with a crank case. They can be carved from balsa or in this case found at Home Depot. A PVC pipe cap. |  |
| 2 | Cylinders are where you find them. For this radial plastic tubing for a foundation. I choose balsa for the cylinder heads. Me thinks you can see how the blocks approximate the cylinder heads. | 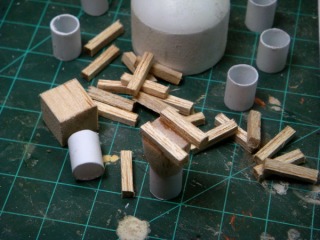 |
| 3 | Stages of cylinder shaping. | 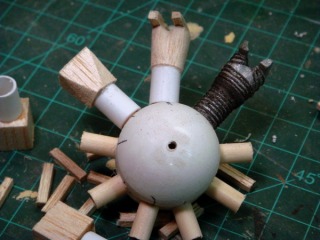 |
| 4 | A proto type cylinder after shaping. | 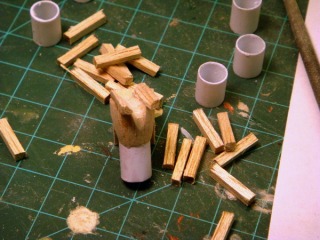 |
| 5 | The proto type is wrapped with thread to simulate cooling fins. All cylinders are checked for position 40 degrees apart. In this engine they are held to the crank with wood dowel pegs. Radials take a lot of work and contain more components than most plastic plane models. |  |
| 6 | All of the cylinders are detailed and the push rod process begins. I am using thin Al welding rods. | 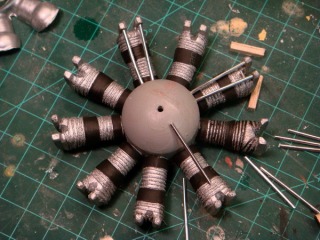 |
| 7 | The amount of engine detail is up to you. For this radial I plan on a fairly detailed front nine. The rear nine will be "shadow" cylinders using the kit supplied engine that I cut from the cowl. | 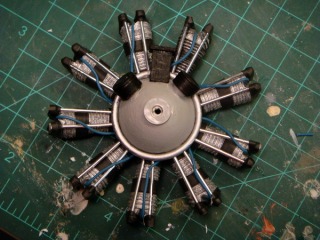 |
| 8 | Checking the engine for fit. You can see the rear nine cylinders. They still need some detail. The crank case is fine for an ordinary radial but needs to be extended for looks and prop clearance for this build. | 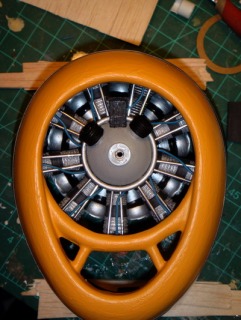 |
| 9 | The crankcase has been extended and new accessories have been fabricated. Again detail as much or as little as you desire. This will give the Appearance of a P+W R 2800 when mounted in the cowl. | 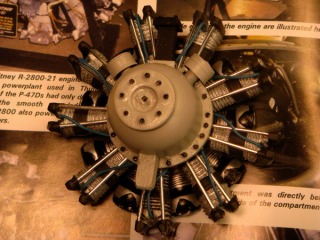 |
| 10 | A prop hub from Pfinn and the engine is ready for final fitting. | 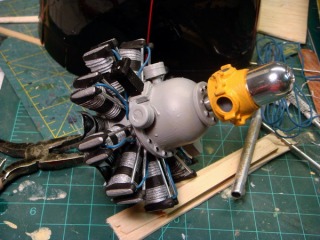 |
| 11 | A mount to secure the radial and provide cowl spacing. Here on my P-47 "Bluto". | 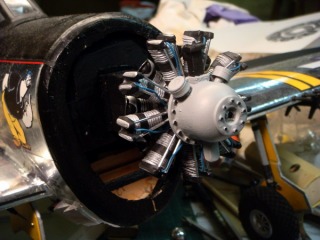 |
| 12 | Engine completed and cowl mounted. Se David Duckett's "How To" to make a prop for the hub. | 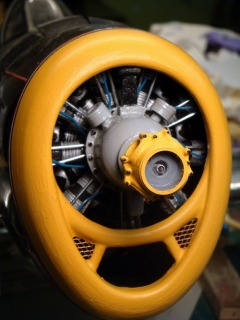 |
