| Build Thread, Page :
1 2 [ 3 ] 4 (65 posts, 20 posts per page, 4 pages in total)
|
[ < Prev ] [ Next > ] |
| CPN, Image # 18197 | 04 Jun 10 13:07 |
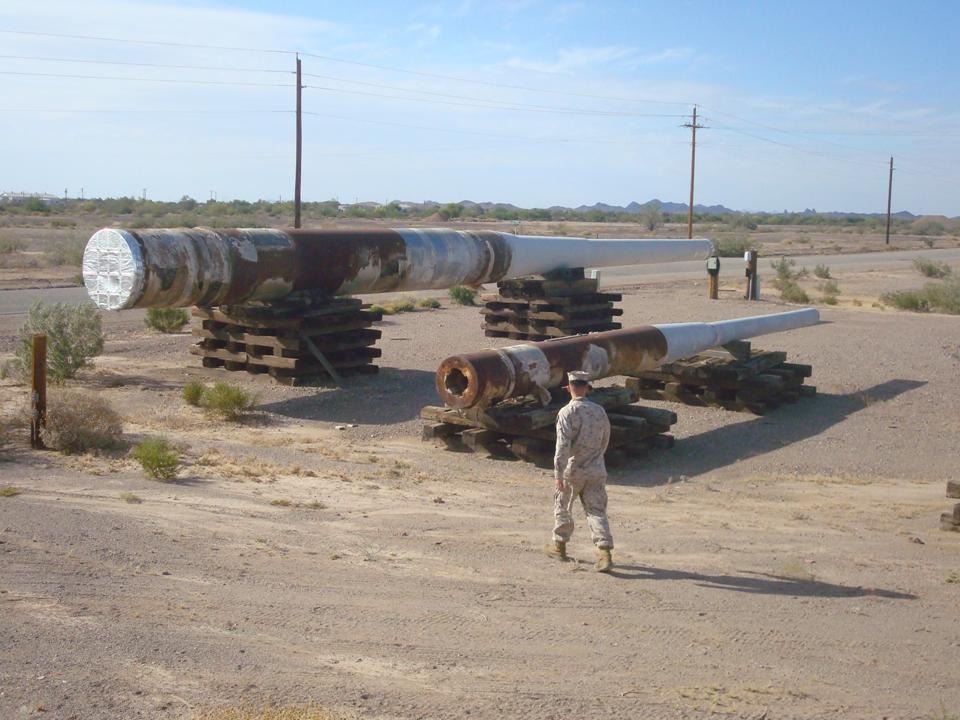
16" gun barrels for the monster in the next image. These pictures were taking at the Yuma Proving Ground. |
| CPN, Image # 18144 | 29 May 10 18:58 |

Today is my birthday. What could my wife have gotten me? We'll see... |
| CPN, Image # 17148 | 22 Mar 10 21:21 |
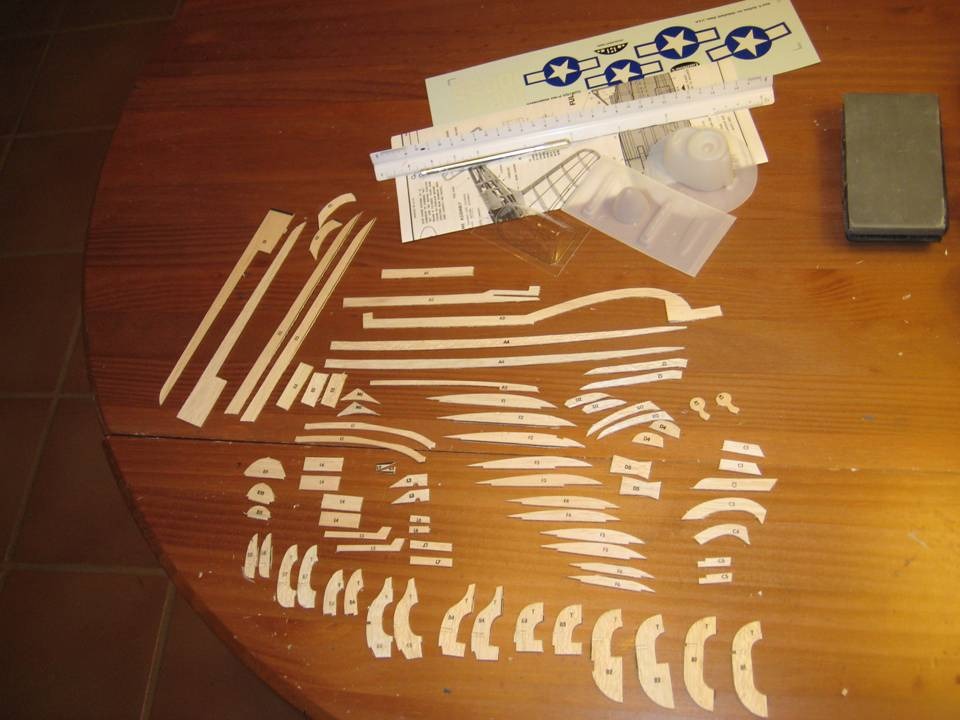
The next move is going to be to cut away most of the excess wood. Some of the sheets were good, but one was made of what felt like plywood. p |
| CPN, Image # 17075 | 19 Mar 10 17:11 |

Tailwheel added. A fitting last touch (pun intended) for a tail dragger. |
| CPN, Image # 17067 | 18 Mar 10 21:24 |

|
| CPN, Image # 17066 | 18 Mar 10 21:24 |

|
| CPN, Image # 17065 | 18 Mar 10 21:23 |
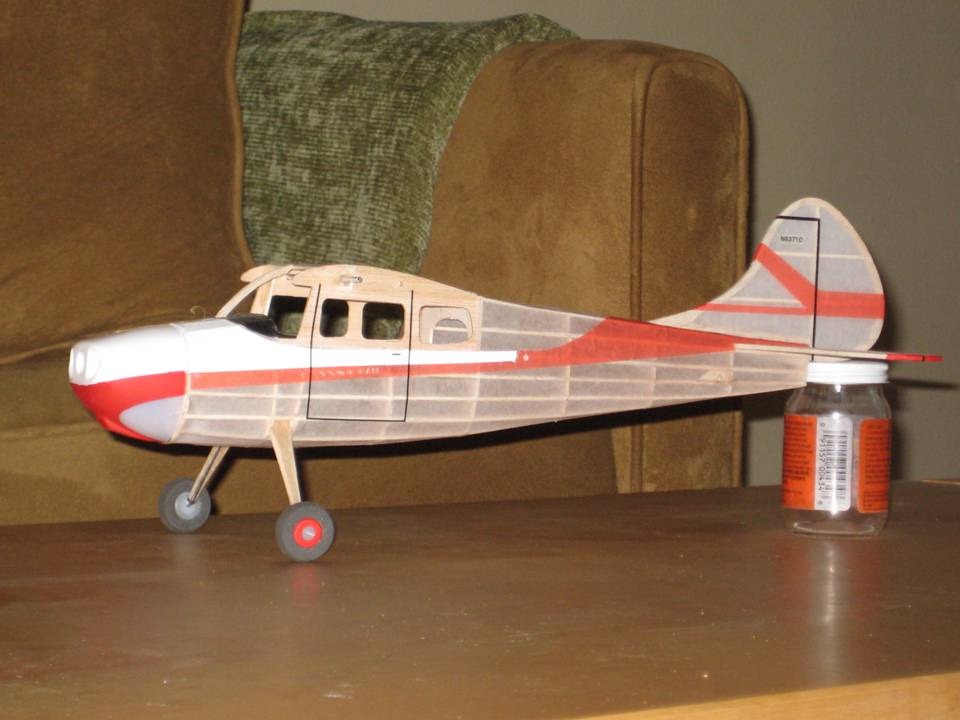
Ready for wings, windshield and tail wheel |
| jerry campbell, Comment for image # 16950 | 16 Mar 10 07:56 |
| I'm not David Duckett or Poppy so I use after market decals when ever possible, which is why I usually build in 1/24th scale. The Fw 190 was a favorite of mine since I was a 6 or 7 year old child (I'm now 72) and I've build many of them in various scales over the years. I've only recently begun building stick and paper models again. |
| CPN, Comment for image # 16950 | 16 Mar 10 04:28 |
| Jerry, I just checked out your 190. All I can say is "that's how it's done!" That looks better than most expertly built plastic models. What did you do for numerals and decals? Are they from an aftermarket decal set? |
| jerry campbell, Comment for image # 16950 | 16 Mar 10 01:39 |
| I did the 500 series 190 and had no trouble painting it with an airbrush. After the decals were applied I oversprayed everything with Testors Dullcoat in a spraycan which dulled everyting uniformly, therefore there was no need to use tissue for markings. Dullcoat must be sprayed before a canopy is added or the canopy must be taped. Dull coat will cloud the canopy. |
| pfinn, Comment for image # 16950 | 15 Mar 10 06:47 |
| Great job! There are a bunch of aircraft graphics posted here (39 pages!) http://www.rcgroups.com/forums/showthread.php?t=359029 . The Eagle just happens to be on page one. Quality on many is marginal, but as a pattern for cutting out or for reference, these are a nice start. |
| CPN, Comment for image # 16950 | 15 Mar 10 05:01 |
| Jerry, funny you should mention that - I instantly gravitated towards that 190 - I know which one you are talking about, but I nixed it because I did not think that my airbrushing and masking skills were to that level yet. Knowing that there is a 1/24 decal kit out there is a nice tip. Thanks! |
| David Duckett, Comment for image # 16953 | 15 Mar 10 04:54 |
| Well done. |
| frwyflyer, Comment for image # 16950 | 15 Mar 10 03:26 |
| VERY NICE!! |
| jerry campbell, Comment for image # 16950 | 15 Mar 10 02:53 |
| You did a great job especially the painting on this, my favorite airplane. You have inspired me to someday do it in the 500 series which is close to 1/24 scale. The bird ensignia is available in 1/24th scale. I believe Heinz Bar flew a similiar marked aircraft Because markings being available I'm kind of hung-up on 1/24 scale. Again great job. |
| CPN, Image # 16959 | 14 Mar 10 19:03 |
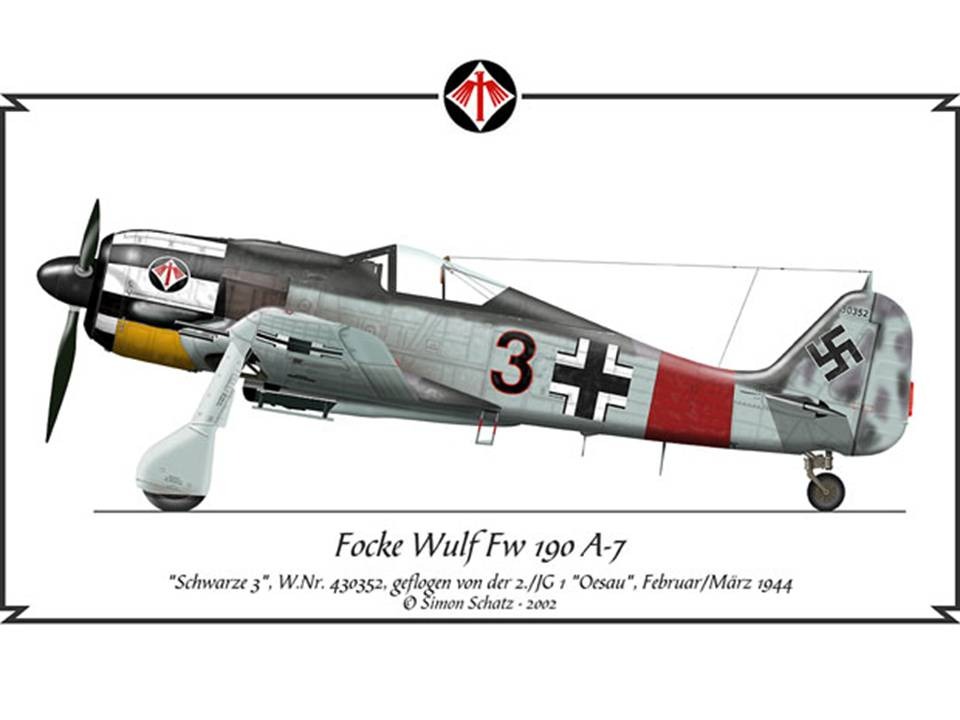
Here is the image I was trying to reproduce. I don't think the Guillows kit is patterned after the A-7, but who knows, it might just be a representative of any of the BMW 801D radial engined variants. Here's the website I found this at: http://www.rlm.at/cont/profil06_e.htm . |
| CPN, Image # 16958 | 14 Mar 10 18:56 |
Here's about the best picture of the finished (except landing gear - we may never get to that) aircraft. The model is extensively thinned out on the inside with alot of extra wood taken out. The camoflage is Model Master Acrylic RLM 74,75,76 airbrushed on. The red for the band and spinner is Testors flat red enamel. The prop and cowling is Testors flat black. The underside of the cowl is Testors flat yellow. The cowl is painted with Design Master white floral spray and the black stripes are vinyl striping cut to shape. The model is covered in silkspan applied with a purple glue stick and the whole darn thing is oversprayed with a thin misting of Testors Dullcote. The Guillows decals had to go the way of the white buffalo, being to bright and sharp for my eye. I peeled them off and then photoopied them onto tissue paper glue sticked onto printer paper. I then cut the "tissuecals" out with and Exacto knife and attached them with a 30/70 white glue / water mix. The numeral "3" is cut out black domestic tissue as is the exhaust area aft of the cowl. |
| CPN, Comment for image # 16956 | 14 Mar 10 18:54 |
| Here's about the best picture of the finished (except landing gear - we may never get to that) aircraft. The model is extensively thinned out on the inside with alot of extra wood taken out. The camoflage is Model Master Acrylic RLM 74,75,76 airbrushed on. The red for the band and spinner is Testors flat red enamel. The prop and cowling is Testors flat black. The underside of the cowl is Testors flat yellow. The cowl is painted with Design Master white floral spray and the black stripes are vinyl striping cut to shape. The model is covered in silkspan applied with a purple glue stick and the whole darn thing is oversprayed with a thin misting of Testors Dullcote. The Guillows decals had to go the way of the white buffalo, being to bright and sharp for my eye. I peeled them off and then photoopied them onto tissue paper glue sticked onto printer paper. I then cut the "tissuecals" out with and Exacto knife and attached them with a 30/70 white glue / water mix. The numeral "3" is cut out black domestic tissue as is the exhaust area aft of the cowl. |
| CPN, Image # 16957 | 14 Mar 10 18:50 |

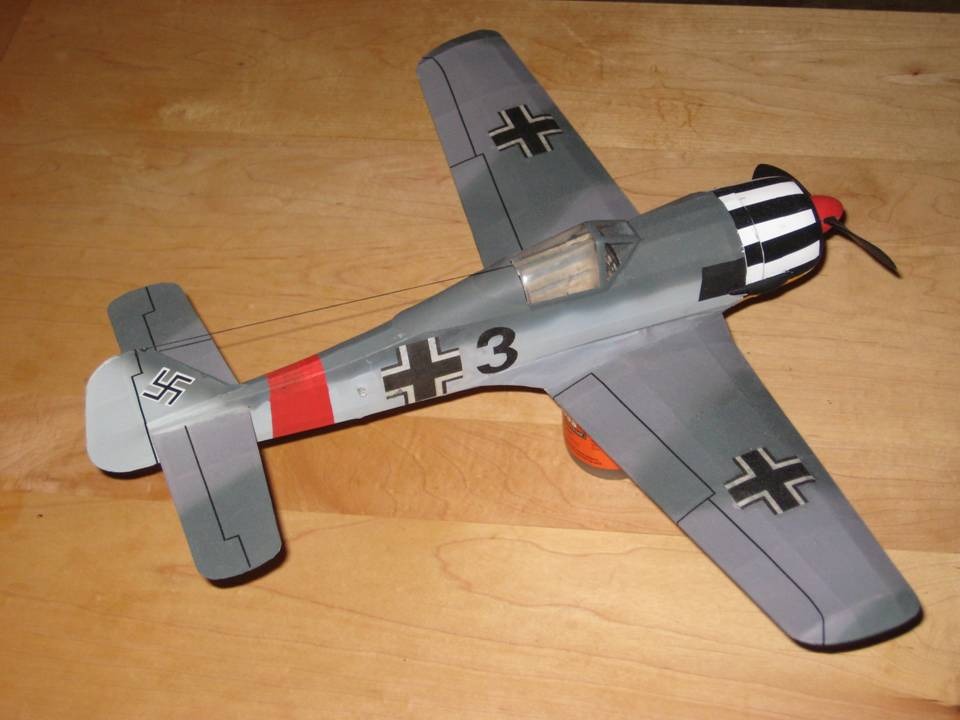
Bottom view. I need to add some wheel detail here and some detachable landing gear. The plan is to fly the ship but we'll see... I'm too afraid right now. You can also see that I attached the blisters too far back on the cowl. I think the only way to correct all these mistakes is to build another one. |
| CPN, Image # 16955 | 14 Mar 10 18:41 |

Here's a nice side view. There are a few disparities - I painted a portion of the canopy that should be clear, and again, the decals are too dark and the fuse band is too narrow. |
| Build Thread, Page :
1 2 [ 3 ] 4 (65 posts, 20 posts per page, 4 pages in total)
|
[ < Prev ] [ Next > ] |
