| Build Thread, Page :
1 2 [ 3 ] 4 5 (99 posts, 20 posts per page, 5 pages in total)
|
[ < Prev ] [ Next > ] |
| David Duckett, Comment for image # 28496 | 01 Feb 13 11:17 |
| Thanks, John. I'll post some pics when I make the blades, Brian, but yes.:-) |
| JohnG., Comment for image # 28496 | 01 Feb 13 10:59 |
| Slick approach to a difficult challenge. |
| BriandKilby, Comment for image # 28496 | 01 Feb 13 10:07 |
| thanks dd, do you laminate a couple pieces balsa to make the props shaft center then sand it round? i tried to understand the tutorial but i didn't comprehend it. do you have any threads about it? thanks again. |
| David Duckett, Comment for image # 28496 | 01 Feb 13 10:00 |
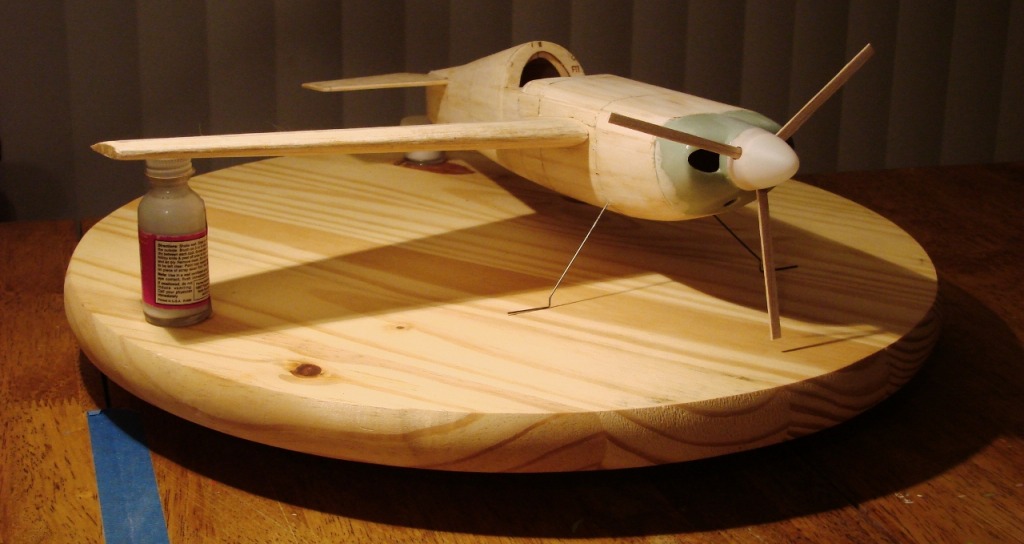
| The shaft of the prop blade is round so it can be turned. |
| BriandKilby, Comment for image # 28496 | 01 Feb 13 09:41 |
| did you add the twist to the base of the prop or did you angle it in the spinner, david? |
| David Duckett, Image # 28498 | 01 Feb 13 05:19 |
|
| David Duckett, Image # 28497 | 01 Feb 13 05:18 |
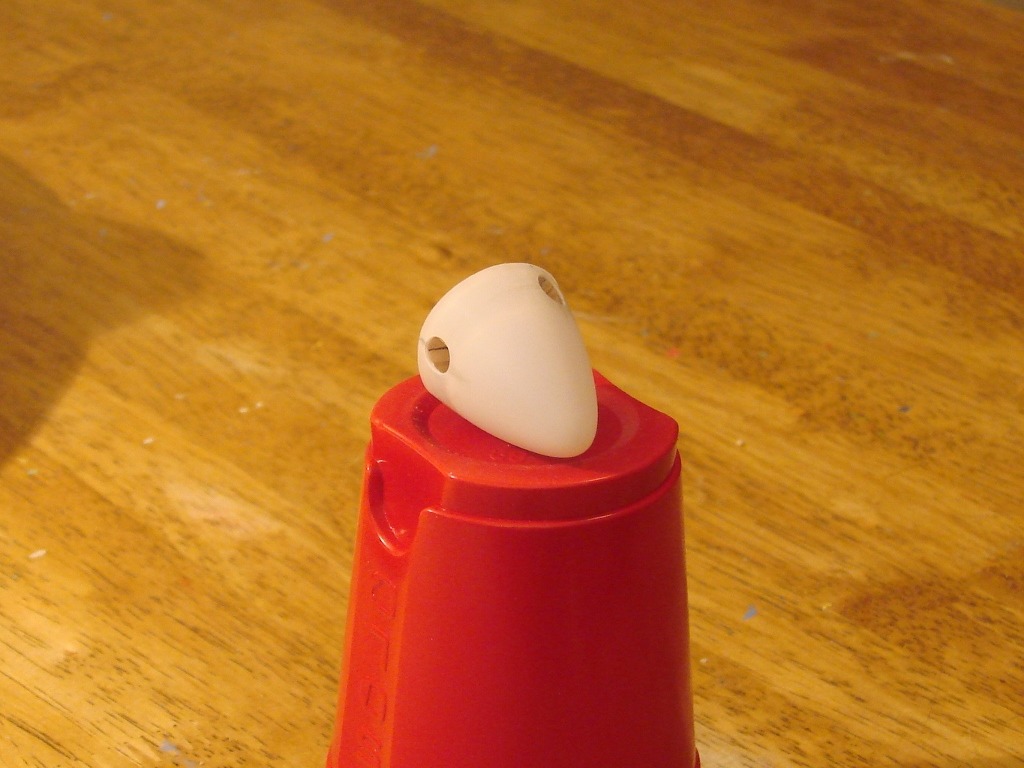
Holes were cut in the spinner with a common hole punch which is 3/16" diameter. |
| David Duckett, Image # 28496 | 01 Feb 13 05:16 |
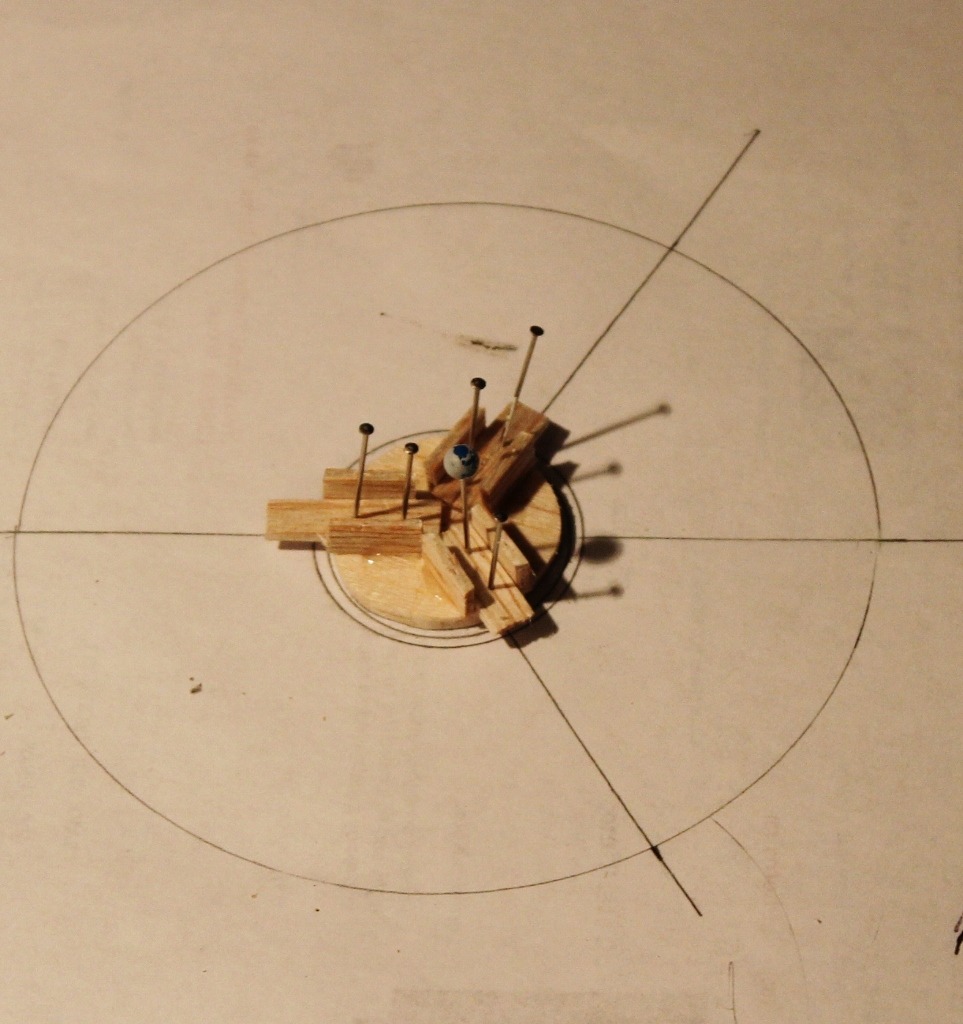
Making the spinner/prop |
| David Duckett, Image # 28469 | 26 Jan 13 06:02 |
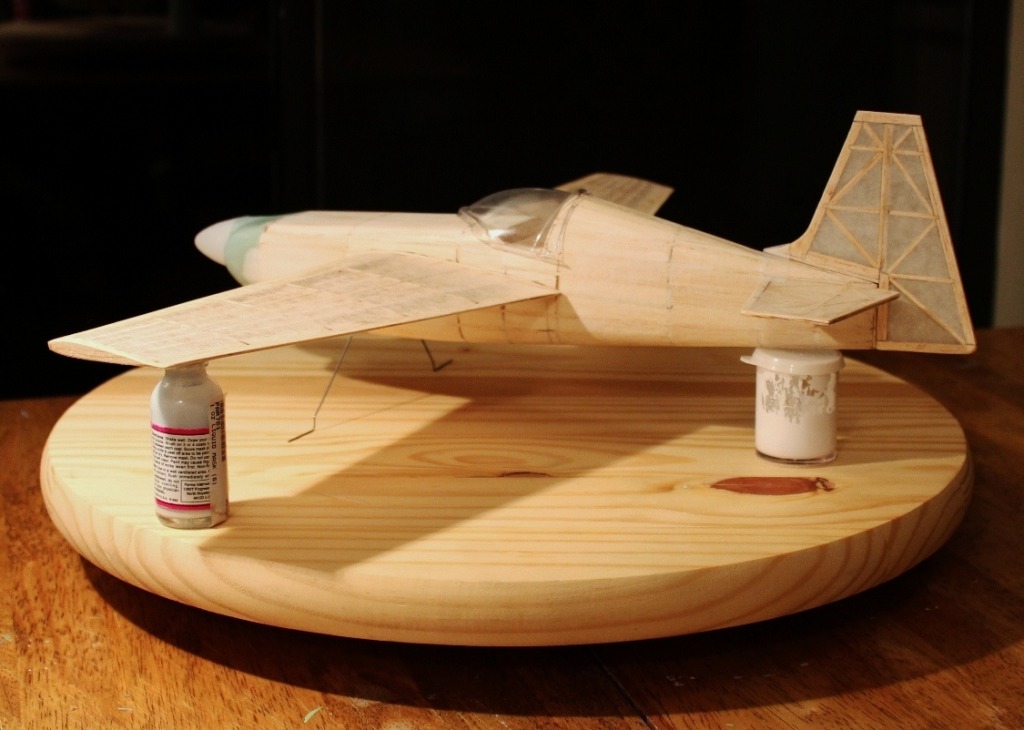
It ain't your Grandfather's Mustang! The rest of the fuselage needs to be covered before it can all be glued together. It's raining and forecast for more for a few days and that screws up doping. Oh well, there's the prop to make... |
| David Duckett, Image # 28468 | 26 Jan 13 05:57 |
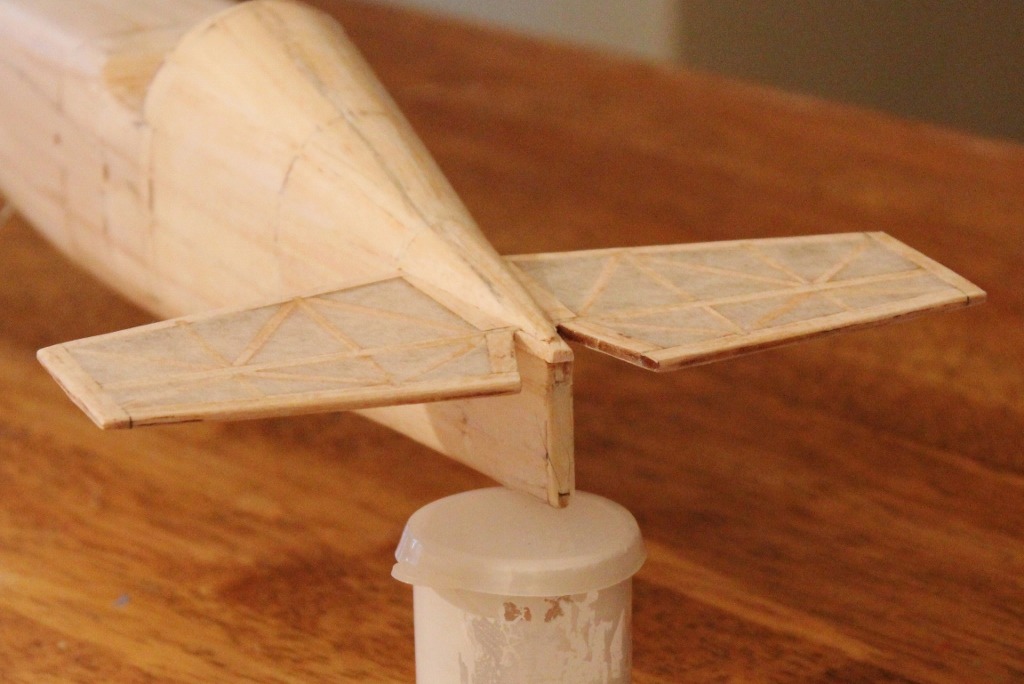
A little plug... |
| David Duckett, Image # 28467 | 26 Jan 13 05:56 |
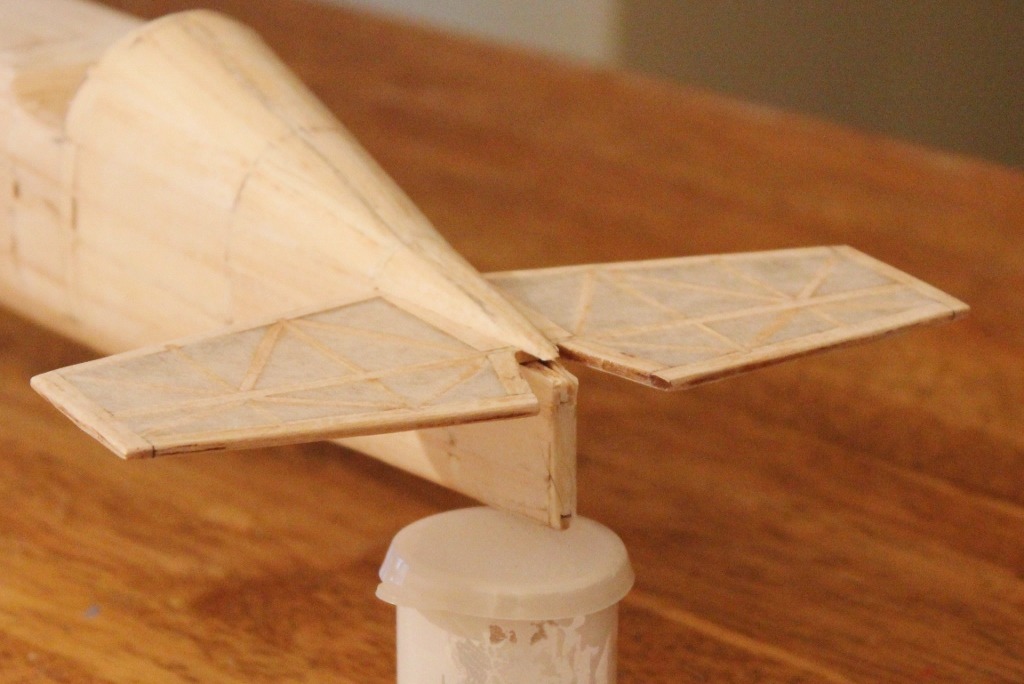
The addition was trimmed, filled, and sanded and then the fuselage was given two coats of dope and lightly sanded. The rear of the fuselage from the back of the cockpit to the tail was covered wet with one piece of silkspan per side. |
| David Duckett, Image # 28466 | 26 Jan 13 05:53 |
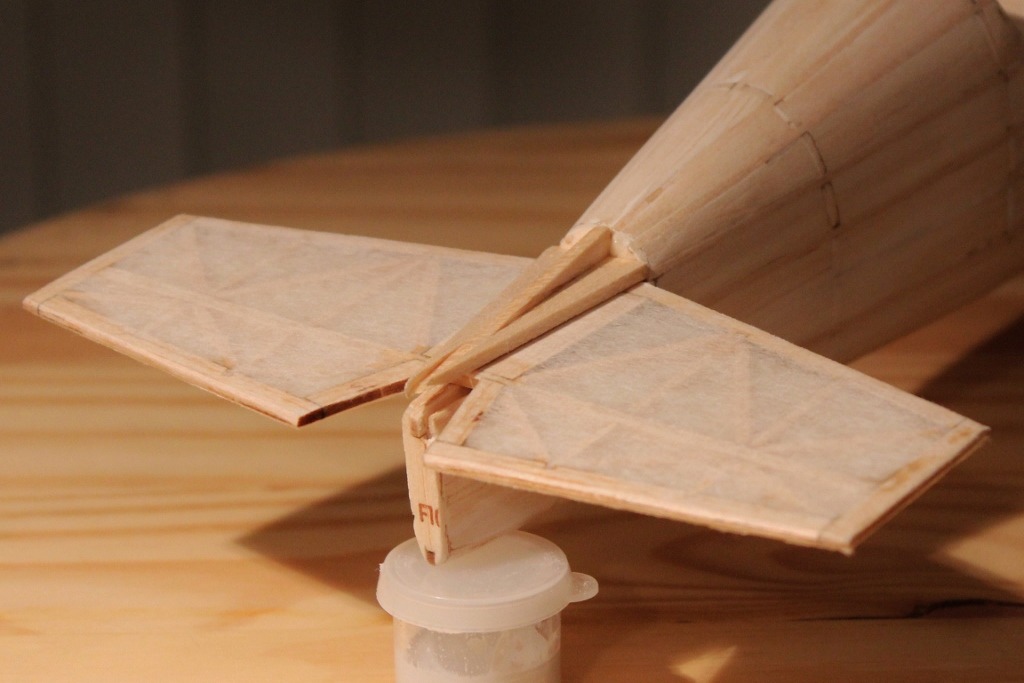
I broke the center keel here, too, so i made it all from 3/32" wood. |
| David Duckett, Image # 28465 | 26 Jan 13 05:51 |
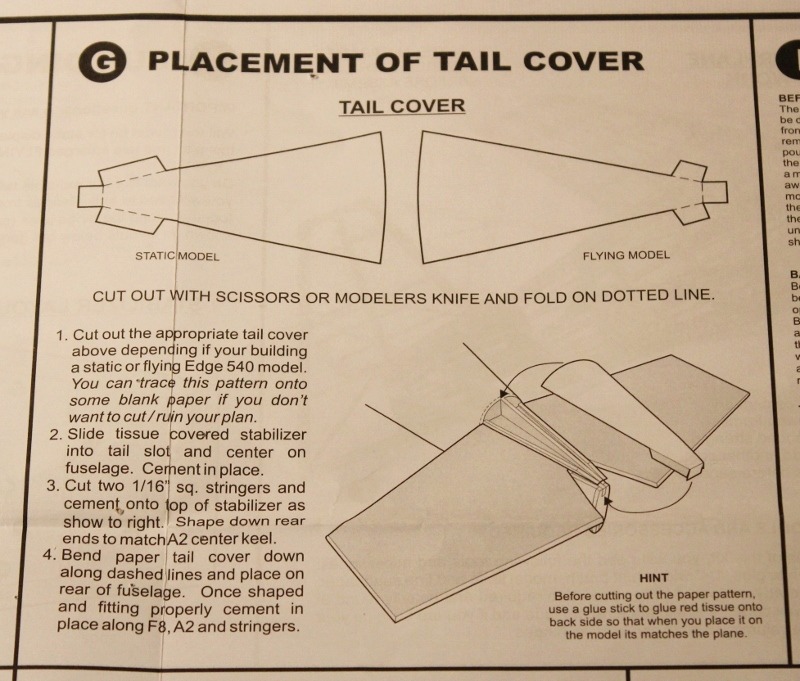
The plan |
| David Duckett, Comment for image # 28457 | 25 Jan 13 16:33 |
| Your colors would be nice. Thanks for the input. |
| Marshdweller, Comment for image # 28457 | 25 Jan 13 11:16 |
| I know I suggested the crazy scheme earlier, but if you're planning to use the yellow chequerboard markings I think a nice strong royal or navy blue would go well with them, especially with a lighter (white or yellow) underside. That's if you're making the scheme up yourself - if you're going for an existing scheme, my suggestion is kinda irrelevant. |
| jgood, Comment for image # 28457 | 25 Jan 13 09:24 |
| Looks so good! |
| David Duckett, Comment for image # 28457 | 25 Jan 13 09:02 |
| Thanks, guys! It's a fun little kit:-) |
| TJH, Comment for image # 28457 | 25 Jan 13 08:47 |
| I am really enjoying watching the progress on this one and looking forward to the finished product! |
| JohnG., Comment for image # 28457 | 25 Jan 13 07:17 |
| Look'in mighty good, Sir!!! |
| frwyflyer, Comment for image # 28457 | 25 Jan 13 06:51 |
| VERY NICE!! |
| Build Thread, Page :
1 2 [ 3 ] 4 5 (99 posts, 20 posts per page, 5 pages in total)
|
[ < Prev ] [ Next > ] |

