| Build Thread, Page :
[ 1 ] 2 (23 posts, 20 posts per page, 2 pages in total)
|
[ Next > ] |
| jimbothehotdog, Comment for image # 15920 | 16 Jan 10 09:38 |
| Can anyone shed some light on an issue. I covered the tail using the dope method and noticed that there are white marks that developed on some of the edges... I read that happens sometimes using dope but no explanation on what causes it and can it be removed... I rubbed lightly with my finger to try and remove it, but no luck. Anyone? Thanks! |
| wingspanner, Comment for image # 15918 | 16 Jan 10 09:25 |
| Lovely work Jimbo keep it up! |
| jimbothehotdog, Image # 15919 | 16 Jan 10 07:40 |
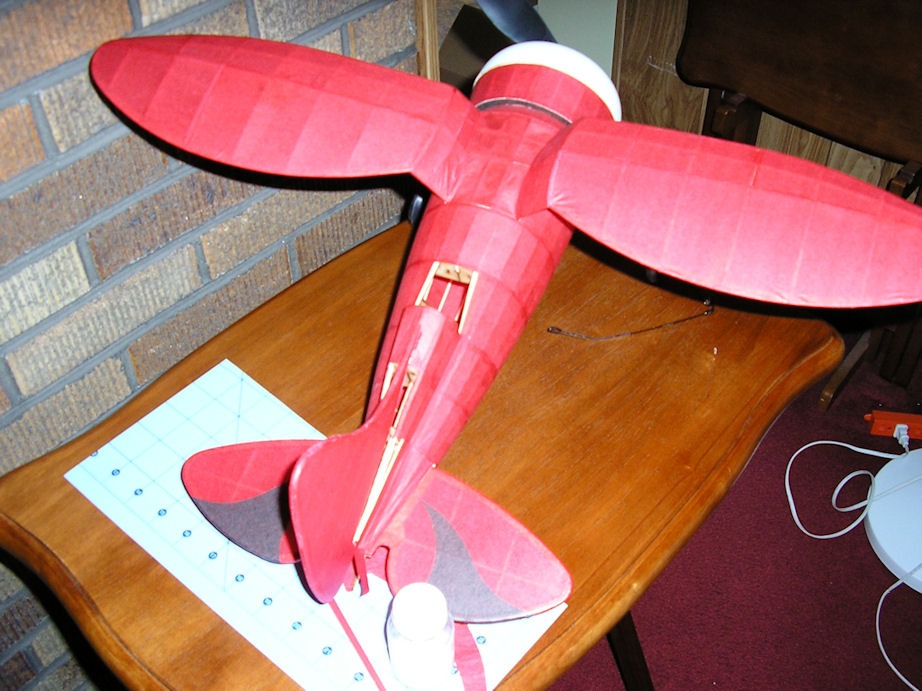
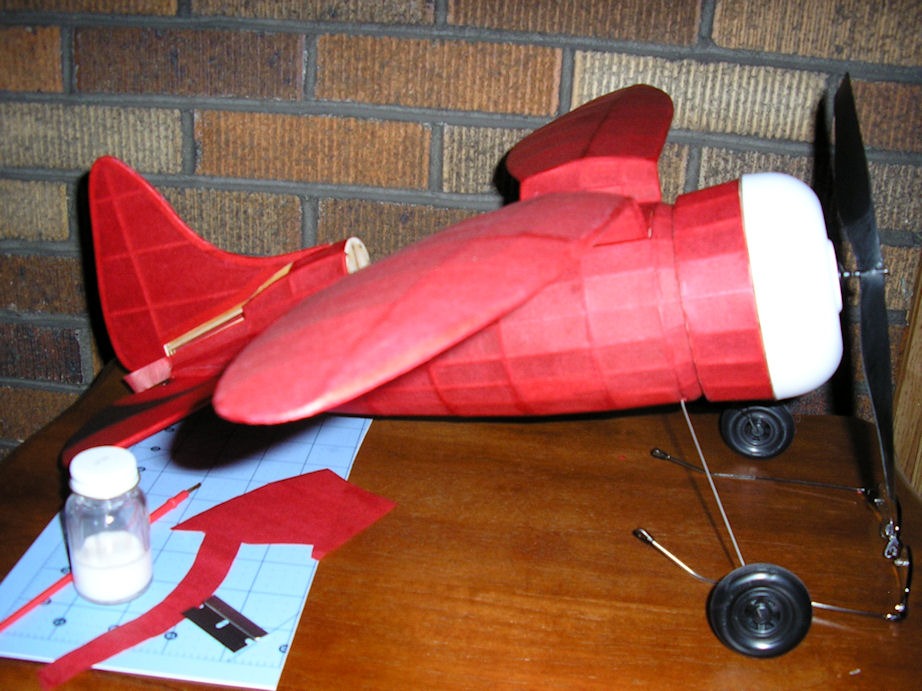
Covering almost complete. Some tricky spot that might need redone. Also started to add the black portion of the color scheme. I am trying the tissue on tissue. Seems to work out pretty good. Thanks to everyone for tips and suggestions! |
| jimbothehotdog, Image # 15918 | 16 Jan 10 07:40 |
Covering almost complete. Some tricky spot that might need redone. Also started to add the black portion of the color scheme. I am trying the tissue on tissue. Seems to work out pretty good. Thanks to everyone for tips and suggestions! |
| jimbothehotdog, Comment for image # 14721 | 11 Jan 10 09:16 |
| I found this ( http://thevintageaviator.co.nz/ )while doing a little research on the SE.5A - Great looking site and some amazing aircraft. |
| jimbothehotdog, Comment for image # 14721 | 07 Nov 09 10:43 |
| I started covering using rings of tissue as suggested, but first I wrapped plain white gift wrap tissue around each section and traced a pattern with a pencil... then just transferred that to my red covering tissue... working very nicely... I'll post a pic or two as I can... thanks again guys! |
| jimbothehotdog, Comment for image # 14721 | 03 Nov 09 21:22 |
| Thanks guys!
thanks for the link to Mike's Flying Scale Model Pages. That man is brilliant...amazing models!
I now have a plan and am off to my workshop... I'll keep you posted. |
| JohnG., Comment for image # 14721 | 03 Nov 09 18:58 |
| AHA, Brillant minds have simple and logical answers. Makes sense to me. Thanx, JGJ |
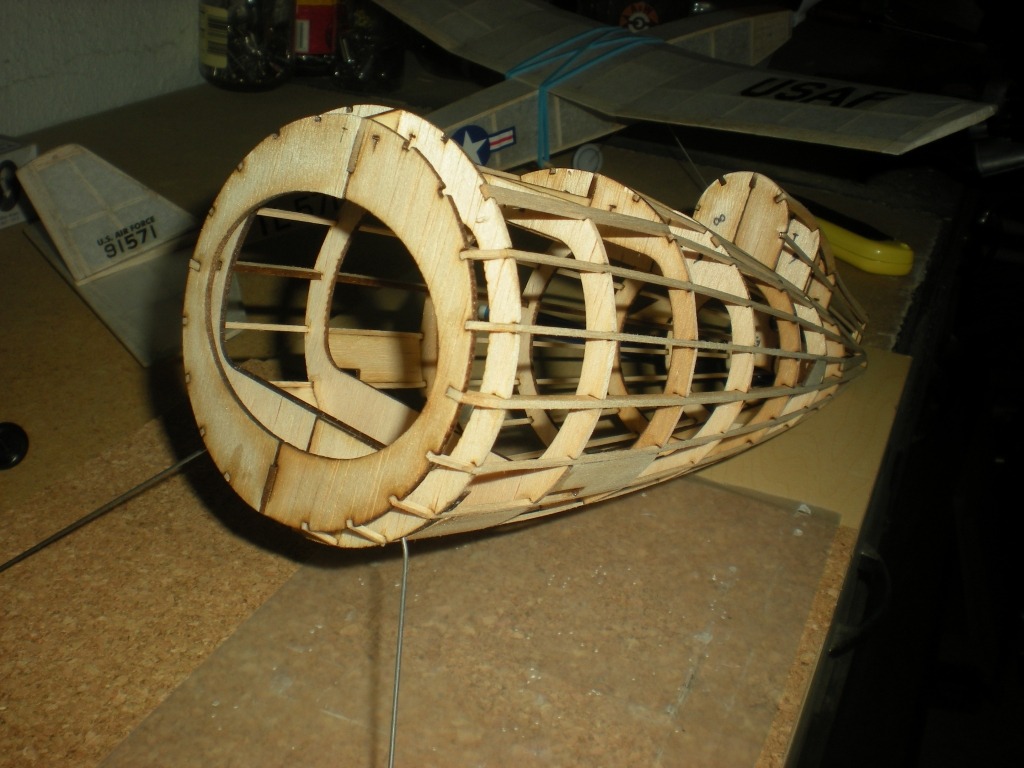
| John Cooper, Comment for image # 14721 | 03 Nov 09 16:14 |
| Covering from the tail first has minor advantages that are most applicable to a flying model where there is little or no pain/dope. The overlapping seams are less visible when viewed from the front. Also, there is less chance of a seam pulling up from the air flow or contact with the ground or obstacles. |
| JohnG., Comment for image # 14721 | 03 Nov 09 12:44 |
| James has got it right...small pieces for complex areas. Noting Cooper covering from the tail forward...Guillows shows starting from the nose and going backwards. I wonder if there is any real difference???? |
| jgood, Comment for image # 14721 | 03 Nov 09 11:35 |
| Great link John. Mike's site is a great resource, and his models are amazing. He has some great videos of indoor flying on there too. That little bit just behind the first cowl segment is going to be the trickiest, by the looks of it. I would use lots of small strips, with nice neat edges overlapping. In my small amount of experience, it's easier to join many smaller than try and use a small number of larger pieces over the complex curves of your model. |
| John Cooper, Comment for image # 14721 | 03 Nov 09 10:32 |
| I would suggest covering the fuselage with rings of tissue across pairs of bulkheads, starting from the tail. Here is an excellent site that describes covering: Mikes Flying Scale Model Pages - Covering the fuselage |
| jimbothehotdog, Comment for image # 14721 | 03 Nov 09 09:07 |
| Any suggestions on how to tackle covering the fuselage? Where to start, some tips from experience? This is rather new to me so anything will help. Thanks!!
|
| jimbothehotdog, Comment for image # 14721 | 02 Nov 09 22:43 |
| Thank you...
Notice I covered the easy bits first :o) ... these wings are proving to be a challenge. |
| jgood, Comment for image # 14721 | 02 Nov 09 22:29 |
| Welcome to the site, Jimbo. Looking good there! |
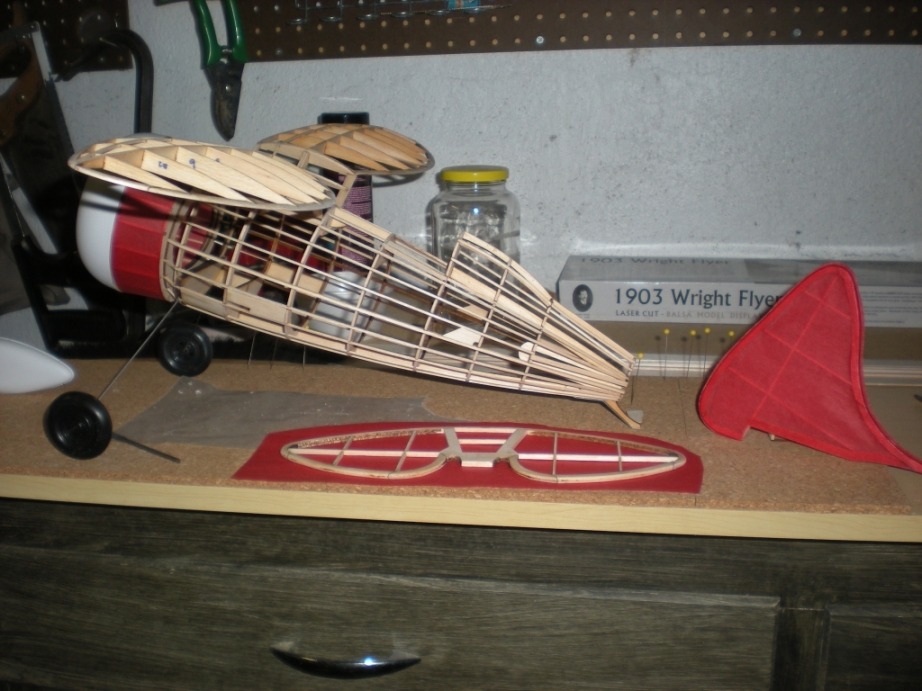
| jimbothehotdog, Comment for image # 14721 | 02 Nov 09 22:09 |
| Test fitting parts... |
| jimbothehotdog, Comment for image # 14724 | 02 Nov 09 22:08 |
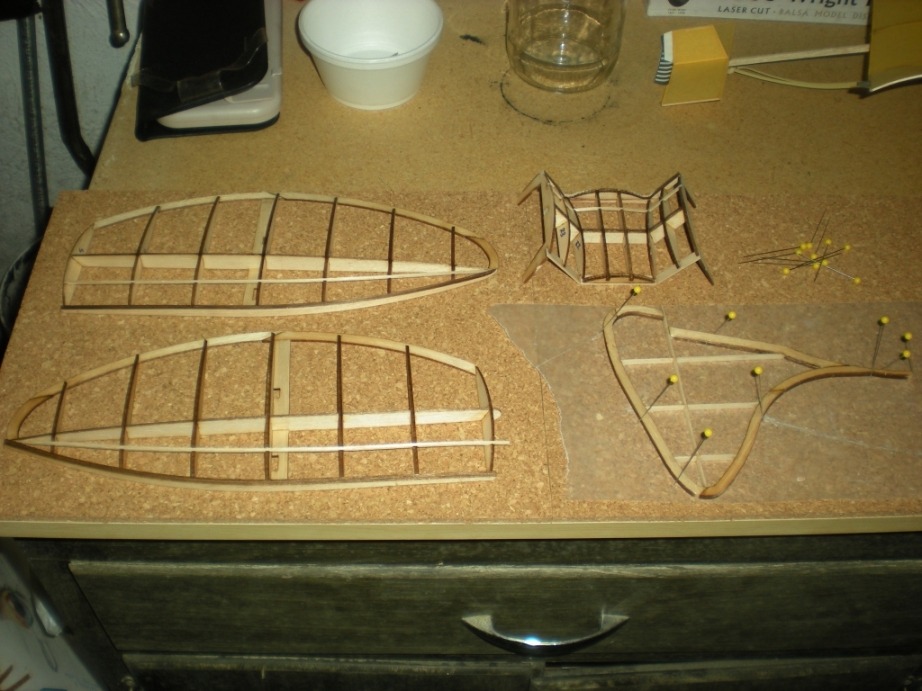
| Just Getting Started... |
| jimbothehotdog, Image # 14725 | 02 Nov 09 22:04 |
|
| jimbothehotdog, Image # 14724 | 02 Nov 09 22:03 |
|
| jimbothehotdog, Image # 14723 | 02 Nov 09 22:02 |
|
| Build Thread, Page :
[ 1 ] 2 (23 posts, 20 posts per page, 2 pages in total)
|
[ Next > ] |
