| Build Thread, Page :
[ 1 ] 2 (20 posts, 20 posts per page, 2 pages in total)
|
[ Next > ] |
| bsadonkill, Comment for image # 43382 | 26 Aug 21 19:42 |
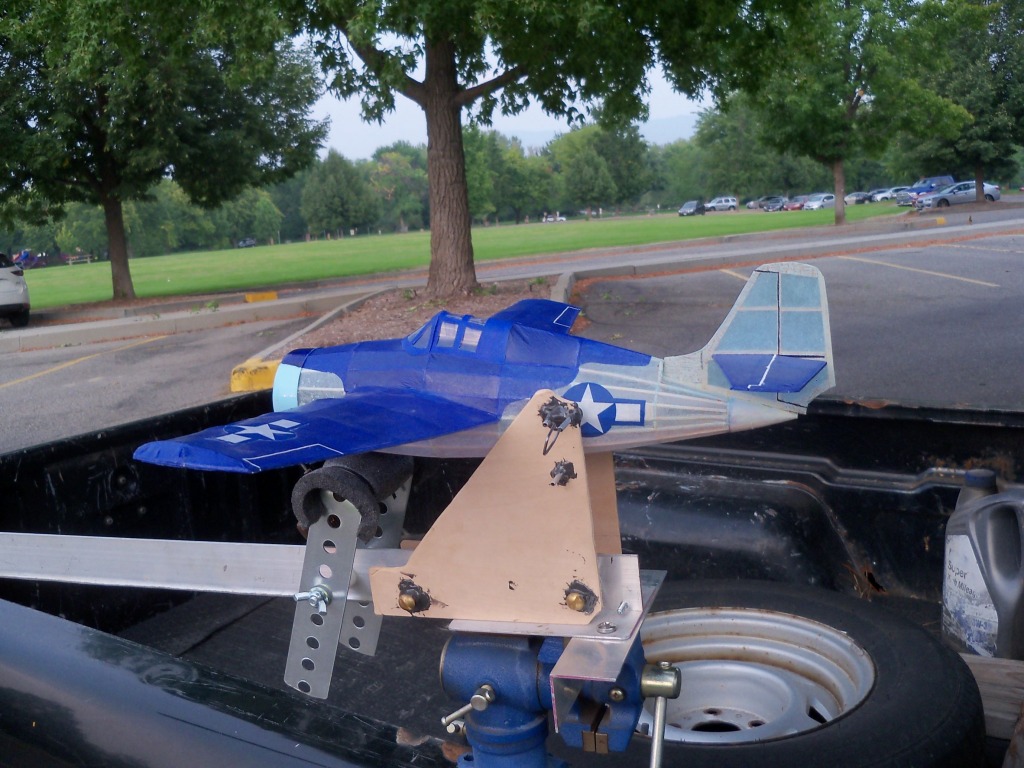
| Yes, I have put a few models in to the trees. |
| edtherenderman, Comment for image # 43382 | 26 Aug 21 13:24 |
| Looks good in flight! You have a nice grassy spot for flying there! Trees are way off in the distance! When I did model rocketry, any tree within a mile of the launch site would suck up every rocket fired, even when in the opposite direction! |
| bsadonkill, Image # 43383 | 25 Aug 21 21:44 |

|
| bsadonkill, Image # 43382 | 25 Aug 21 21:43 |

|
| bsadonkill, Image # 43381 | 25 Aug 21 21:43 |
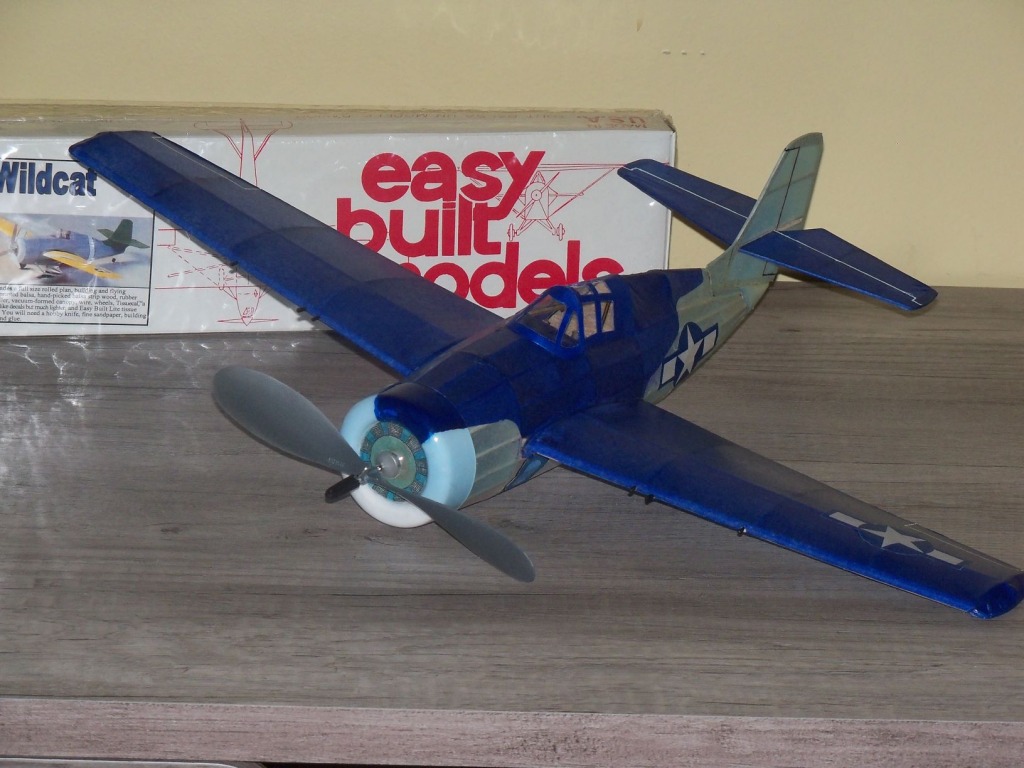
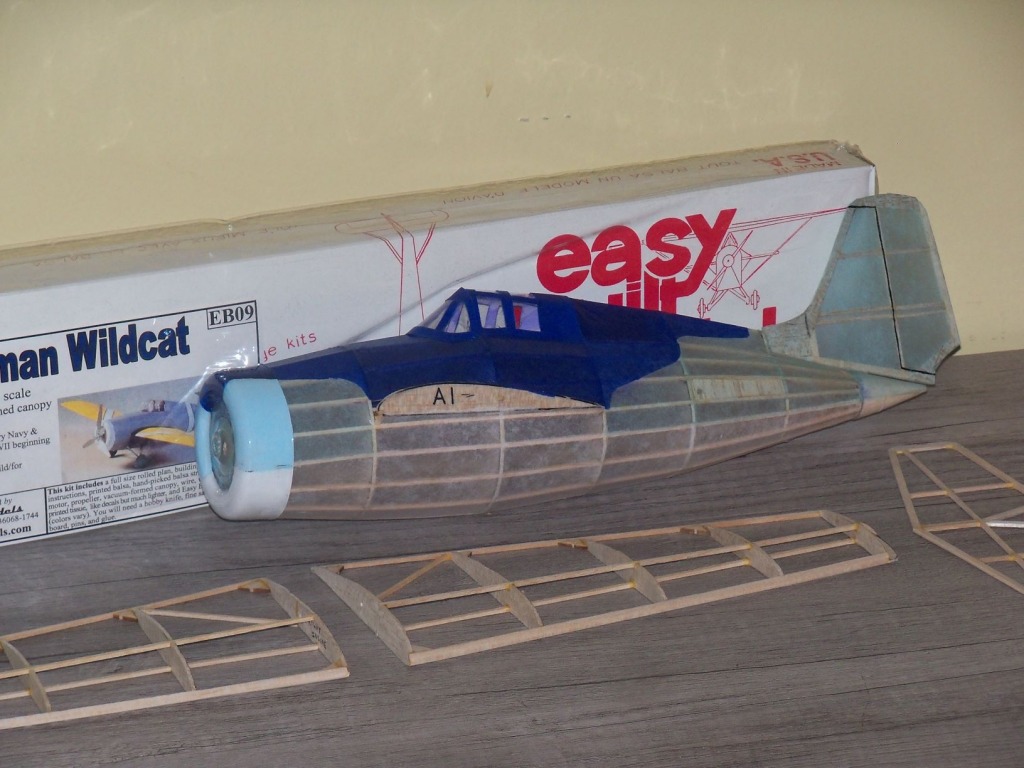
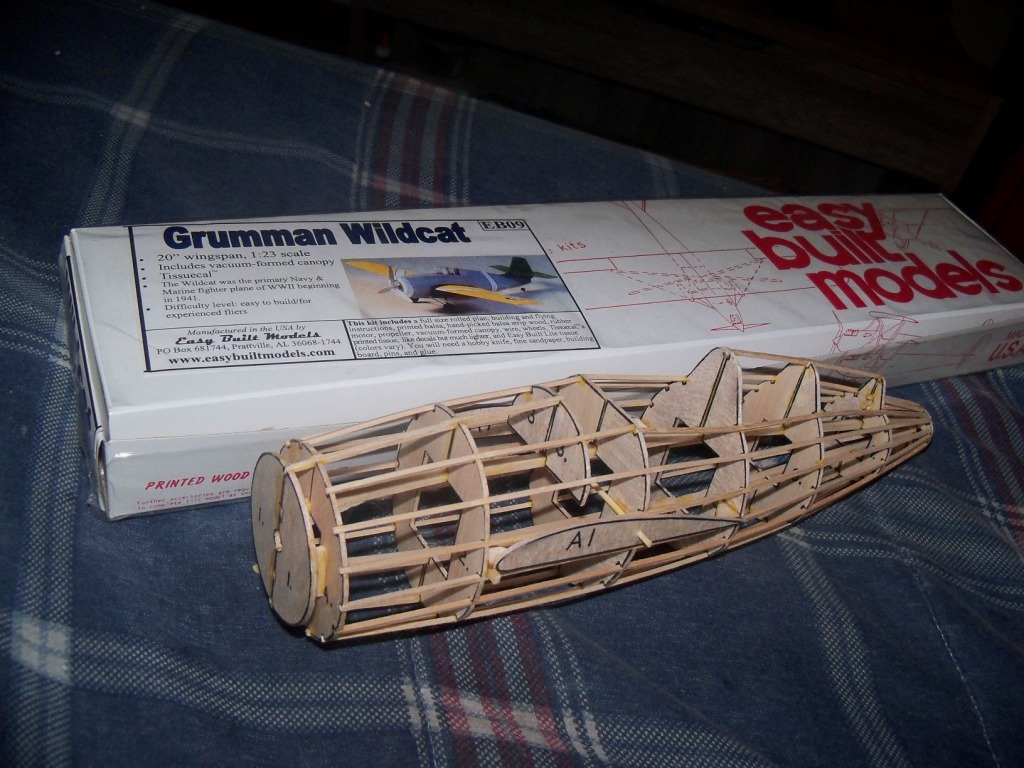
This is an Easy Built Kit , not scratch built. |
| edtherenderman, Comment for image # 42928 | 19 Jan 21 15:51 |
| I use yet another technique. I print parts to large format 8.5 x 11" peal and stick label paper. I leave the paper on the parts after I cut them out because it does a good job of keeping those pieces of balsa that like to break off around the stringer slots on the part. |
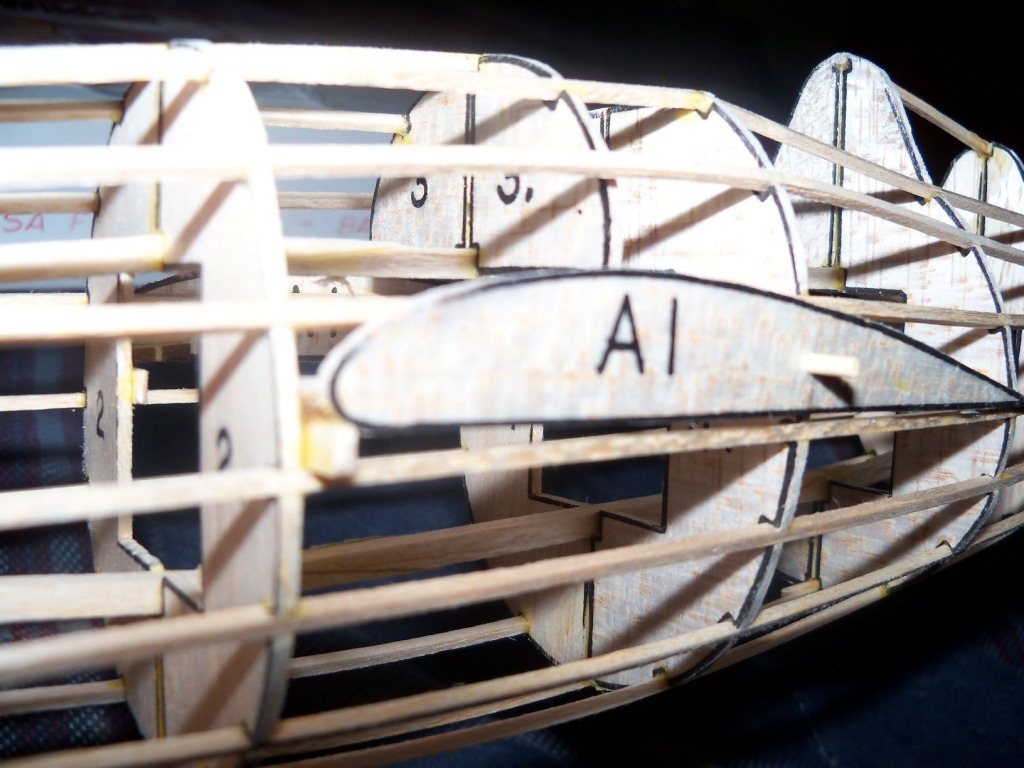
| bsadonkill, Comment for image # 42928 | 19 Jan 21 15:28 |
| This was a kit with printed wood. You might want to try printing out your parts on a printer. Then hold them face down on your wood. Using a piece of cloth dampened with dope thinner, rub the damp cloth on the back side of the paper. This will melt the toner to the paper. Its takes some practice to do. TOO wet will blur the lines, TOO dry will not transfer the toner. I have also used Elmer spray adhesive to attach print outs to wood. You can use acetone to remove the paper that's difficult. |
| Don C, Comment for image # 42928 | 19 Jan 21 10:49 |
| Very nice. Smooth covering job. Have you figured out a way to print on the wood, or are you doing it like me - print parts on paper and glue it to the wood? |
| bsadonkill, Image # 42928 | 17 Jan 21 23:06 |
|
| bsadonkill, Image # 42927 | 17 Jan 21 23:06 |
|
| bsadonkill, Image # 42926 | 17 Jan 21 23:05 |
|
| bobgood, Comment for image # 42925 | 16 Jan 21 12:07 |
| The Prentice is my own drawn plan, and is intended to be, simply, a fairly detailed static model. Doing your own plan design has its drawbacks, and I admit to being at a difficult stage at this time. But I will get round to it soon I hope. I will post pics if it works out! |
| bsadonkill, Comment for image # 42925 | 16 Jan 21 11:59 |
| Bob Good is that electric RC ? If and when you get around to it will you post pictures ? |
| bobgood, Comment for image # 42925 | 16 Jan 21 11:23 |
| Hi David. Thanks for asking. We have been a little pre-occupied with our move to Joshua tree in Southern CA last June. I have spent a great deal of time in making my new "shop" a place to enjoy. I have also done a little wood carving and looked again at my Percival Prentice model plans. (44" span) Still have some work on the new home to do as well - but I hope to settle down sooner rather than later! |
| David Duckett, Comment for image # 42925 | 15 Jan 21 23:49 |
| How about you, Bob?? |
| bobgood, Comment for image # 42925 | 15 Jan 21 14:09 |
| Good to see someone building again...... |
| bobgood, Comment for image # 42925 | 15 Jan 21 14:09 |
| Good to see someone building again...... |
| bsadonkill, Image # 42925 | 15 Jan 21 12:15 |
|
| bsadonkill, Image # 42924 | 15 Jan 21 12:13 |
A 1/8 inch rise divided by a 4 inch run equals a tangent of 1/32 or 0.03125 . A tangent of 0.03125 gives an angle of 1.8 degrees for a positive angle of attack . |
| bsadonkill, Image # 42923 | 15 Jan 21 12:04 |
|
| Build Thread, Page :
[ 1 ] 2 (20 posts, 20 posts per page, 2 pages in total)
|
[ Next > ] |
