| Build Thread, Page :
[ 1 ] 2 (27 posts, 20 posts per page, 2 pages in total)
|
[ Next > ] |
| heywooood, Comment for image # 38324 | 16 Apr 17 17:18 |
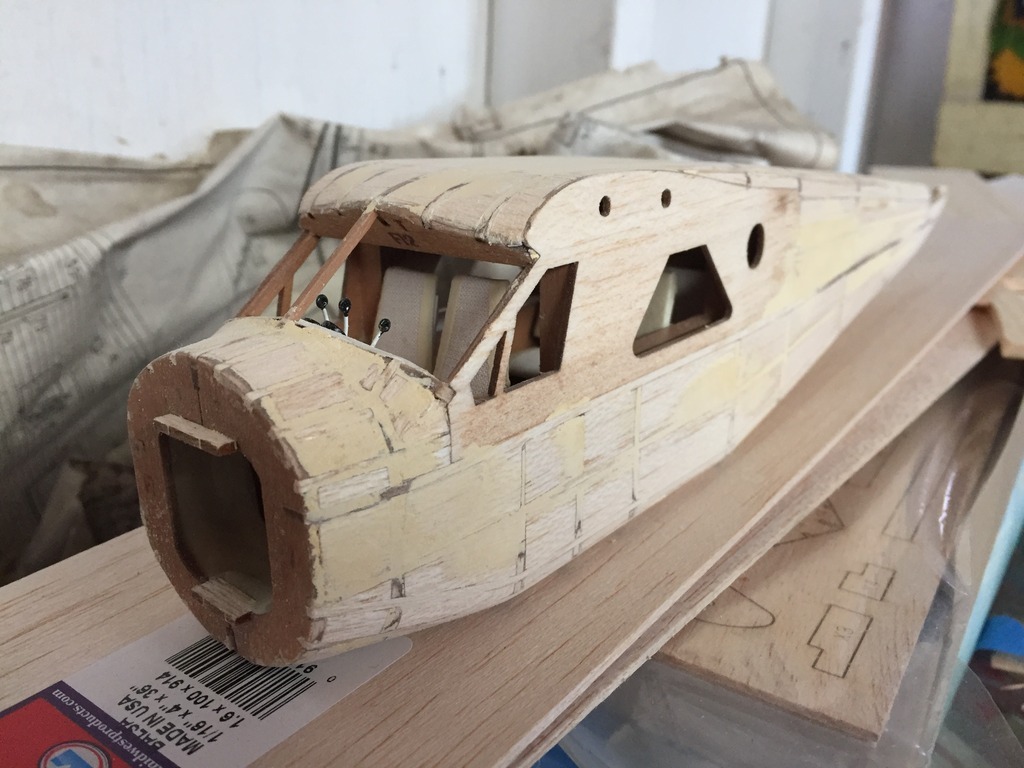
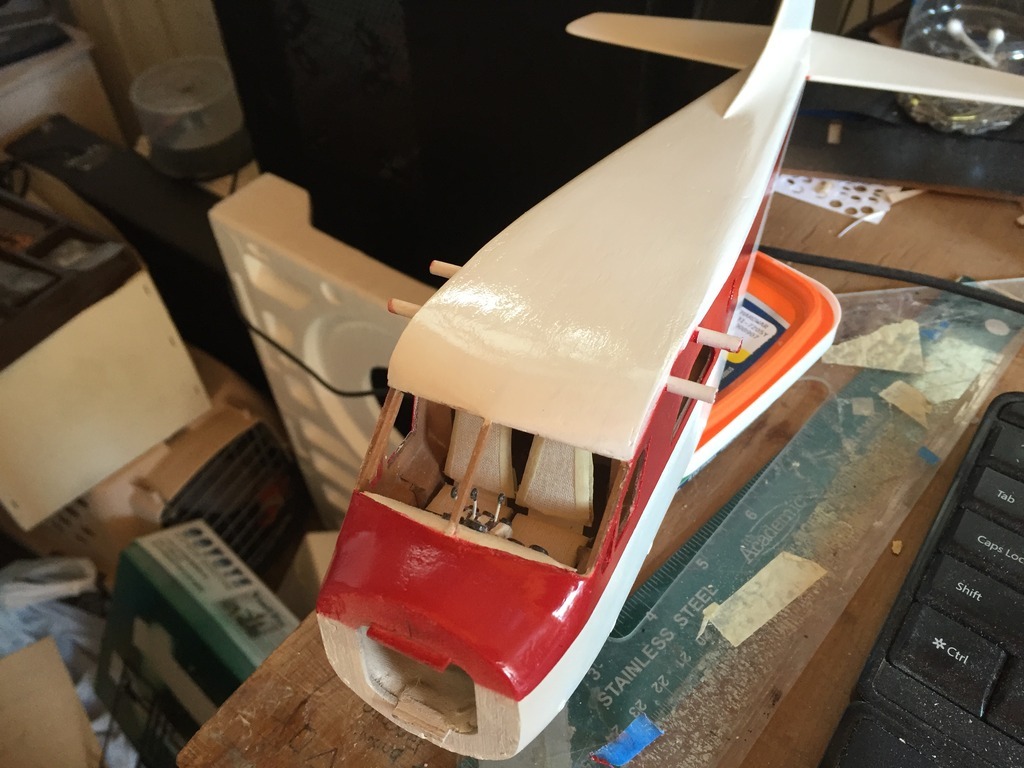
| so here you get a sense of the interior and you can see that the cardstock has cleaned things up in there fairly well. The seats are bordered with plain masking tape, which seals the fabric edges, attaches the material to the balsa seat back and bottom panels..and can be prepainted in any color you like. |
| heywooood, Comment for image # 38318 | 16 Apr 17 17:14 |
| so the interiors are just rudimentary because I don't like to look inside and see bare balsa ribs and bulkheads but I don't want to spend 6 months scratching up a 'real as it gets' interior either. The cardstock is a quick and decent way to create a floor, add side panels, and an overhead liner that can be painted and look great through the tiny acetate windows of a completed model. You just score it with a ruler and xacto knife to make straight folds where you want them and use white glue to attach the pieces to each other. or CYA works just as well. Bang! no more unfinished interiors. |
| heywooood, Comment for image # 38323 | 16 Apr 17 17:08 |
| the oar is just a piece of scrap 1/8" thick balsa carved and sanded to shape. I attached it with alum. foil shaped per a couple of reference pics from the internet..
There had been an idea to fabricate a canoe and some other gear to strap to the float struts but that hasn't happened yet |
| heywooood, Comment for image # 38321 | 16 Apr 17 17:05 |
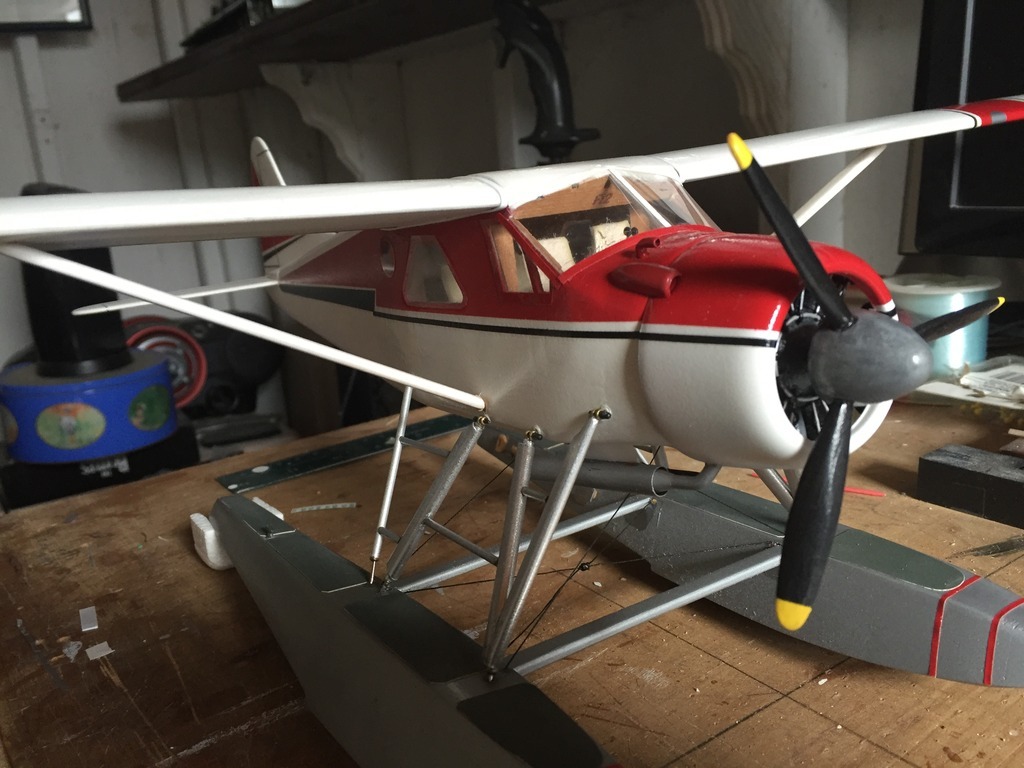
| all of the struts except for wing to fuselage are alum. They are airfoil shaped and perfect for this application. They come in various sizes too so you can find them for almost any scale aircraft model. CYA glue works perfectly well on all the joints so you don't have to use anything special to work with the material. I cut it with a razor saw then use pliers to shape the joints wherever two pieces of the strut material come together. You can get a good, clean seam there after playing with it a bit.. |
| heywooood, Comment for image # 38326 | 16 Apr 17 16:59 |
| initially the engine was to be solid black but it looked 'unfinished'..so I silvered the rods and ring and it came out much more realistic looking - especially after it was installed in the cowl. To get a better look to the prop shaft I just sliced a bit of alum. tubing and left it loose between the crankcase and the prop. |
| heywooood, Comment for image # 38327 | 16 Apr 17 16:56 |
| here you can see the panel I made using cardstock and some signal lens material from my plastic model surplus bins..I just painted them black to simulate gauge dials..the throttle, prop and mixture levers are from a ship model hdwe packet. Those are brass eye pins dipped in white glue and painted white with black knobs. |
| heywooood, Comment for image # 38335 | 15 Apr 17 12:43 |
| Hi Dale, Sure - I'm happy to share. And Thank you |
| Dale1416, Comment for image # 38335 | 15 Apr 17 12:20 |
| Really enjoy the level of your work. Thank you for all the build threads you posted. |
| heywooood, Image # 38335 | 15 Apr 17 11:40 |
applying the windscreen |
| heywooood, Image # 38334 | 15 Apr 17 11:39 |
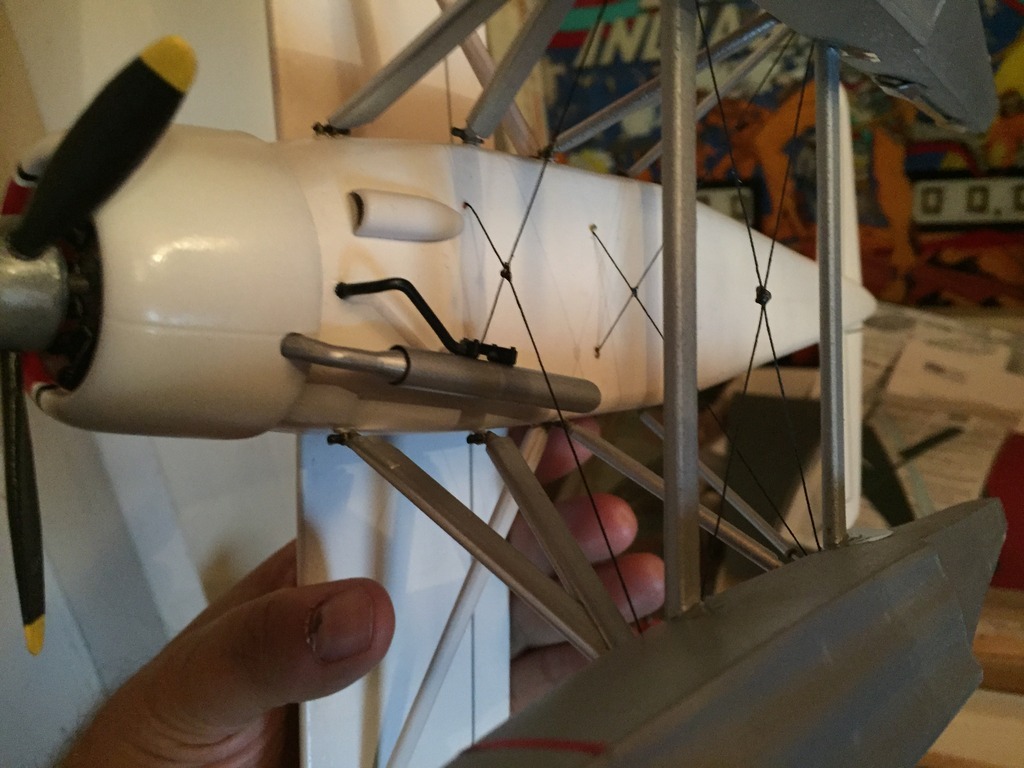
I used some spares from my old plastic model bin to make the exhaust parts. A motorcycle tailpipe and part of a Harley frame from an Aoshima kit |
| heywooood, Image # 38333 | 15 Apr 17 11:37 |
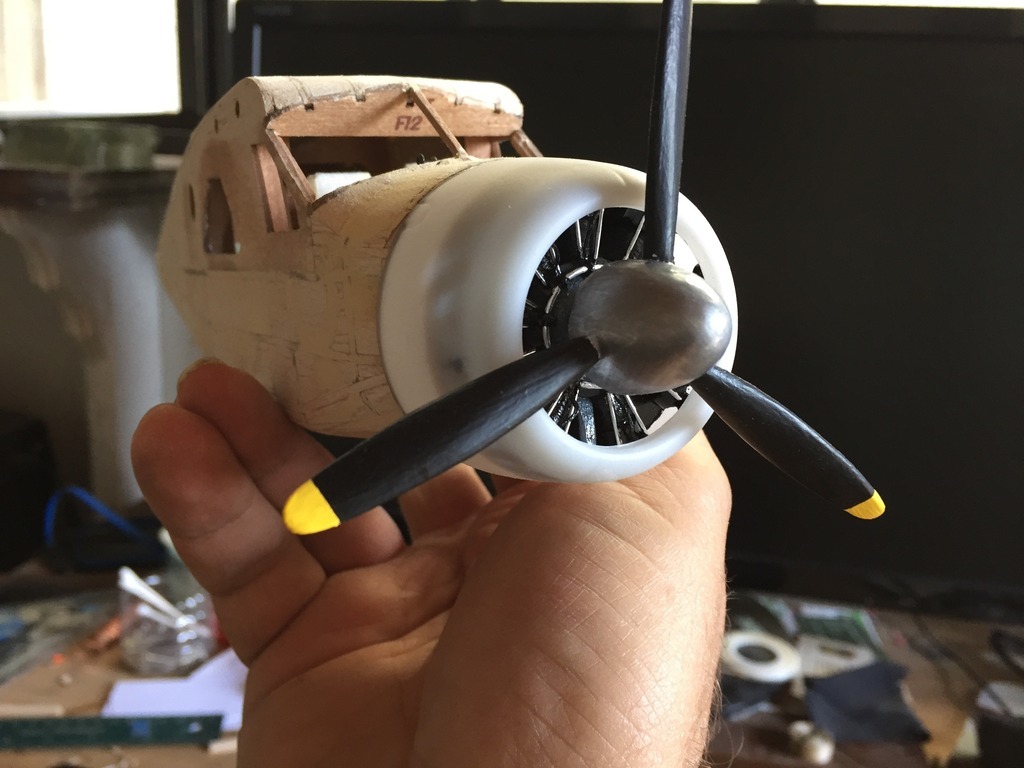
the propeller came from David Duckett. I had mentioned that I was having some trouble locating a suitable prop and he made and shipped me this one!! I had no idea it was coming. of course it looks perfect. |
| heywooood, Image # 38332 | 15 Apr 17 11:35 |

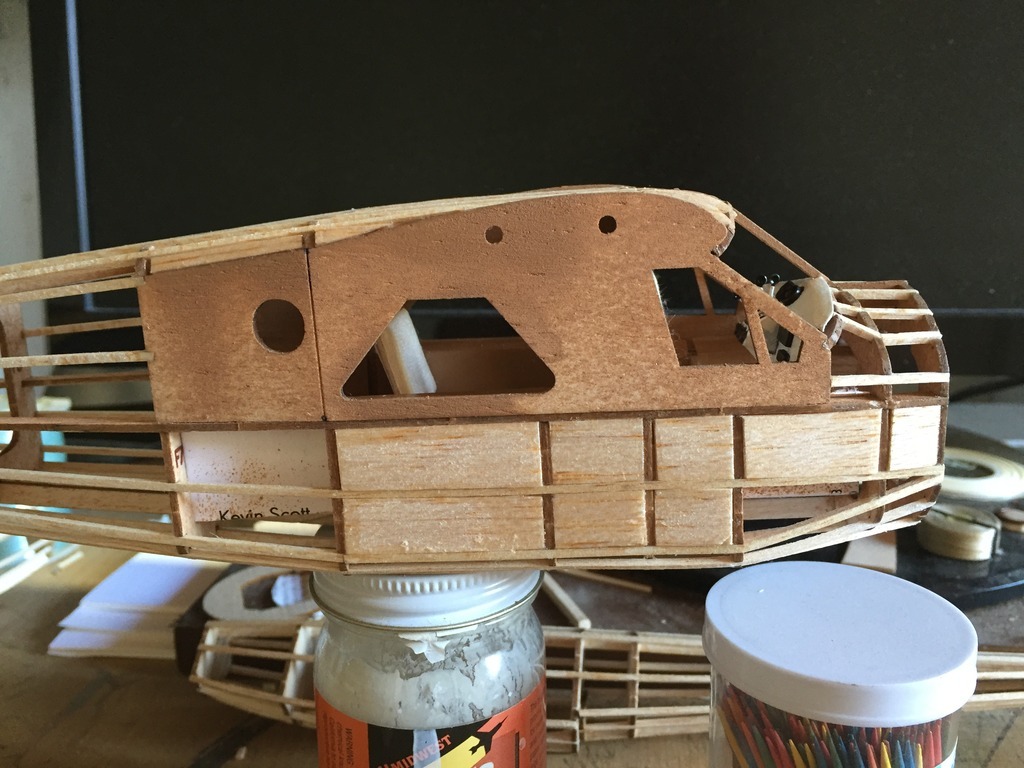
all of the major pieces are framed - just needing to be filled |
| heywooood, Image # 38331 | 15 Apr 17 11:34 |
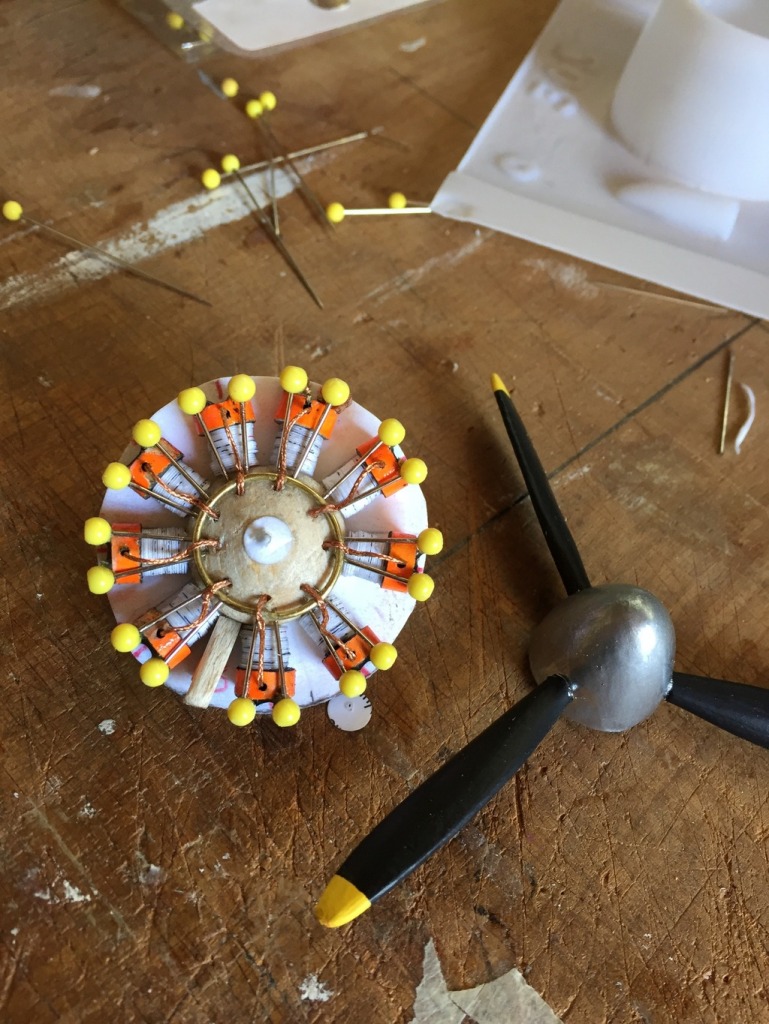
my dummy P&W motor..parts of a pencil, some paper circles from a hole punch and some pins. the crankcase is a shaped piece of balsa block |
| heywooood, Image # 38330 | 15 Apr 17 11:32 |
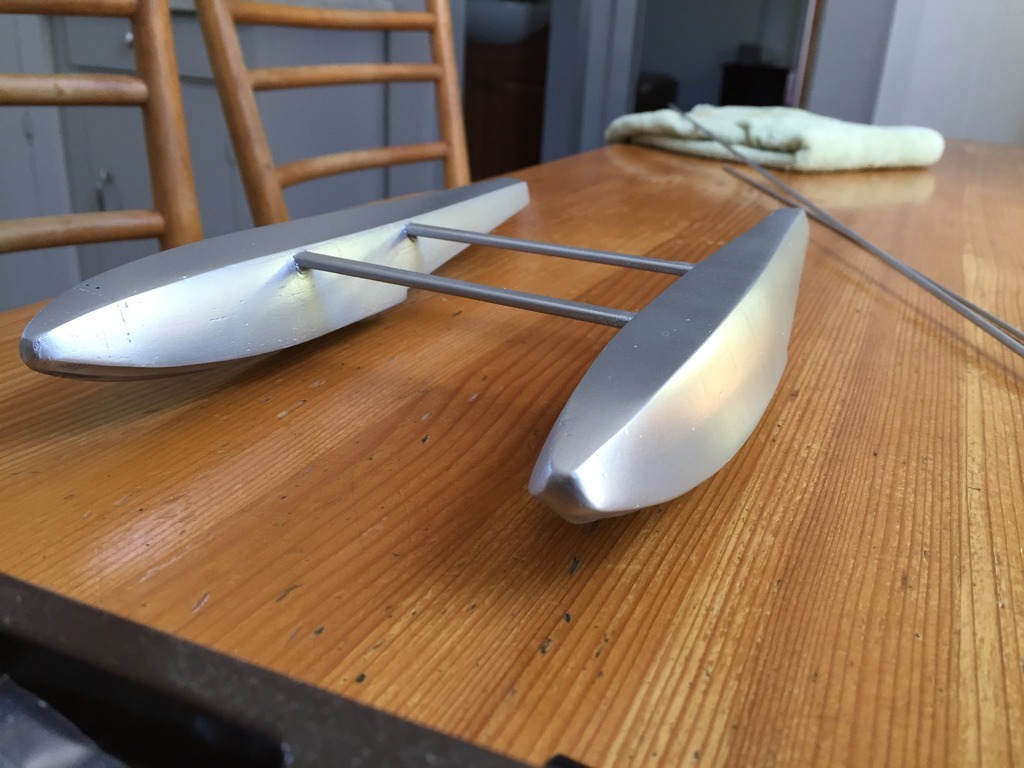
FLoats!.. |
| heywooood, Image # 38329 | 15 Apr 17 11:32 |
wings are attached..I used some strip plastic from Evergreen to seal the wing root seams.. |
| heywooood, Image # 38328 | 15 Apr 17 11:31 |
infill |
| heywooood, Image # 38327 | 15 Apr 17 11:31 |
|
| heywooood, Image # 38326 | 15 Apr 17 11:30 |
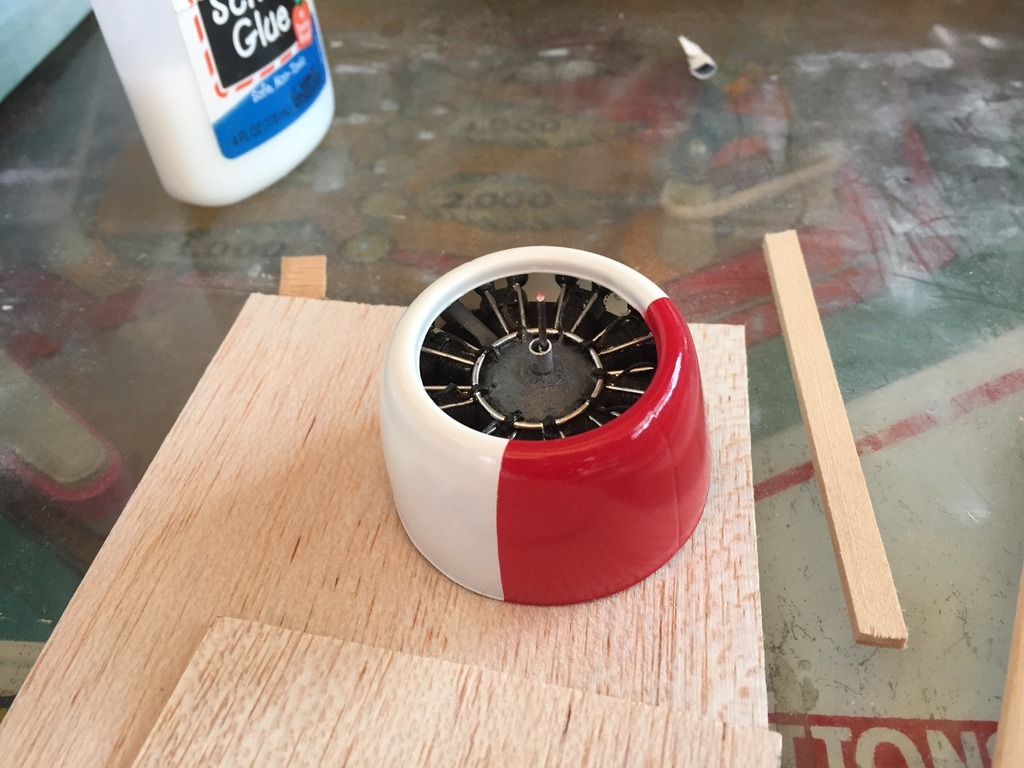
the engine I made fits into the cowl - luckily |
| heywooood, Image # 38325 | 15 Apr 17 11:30 |
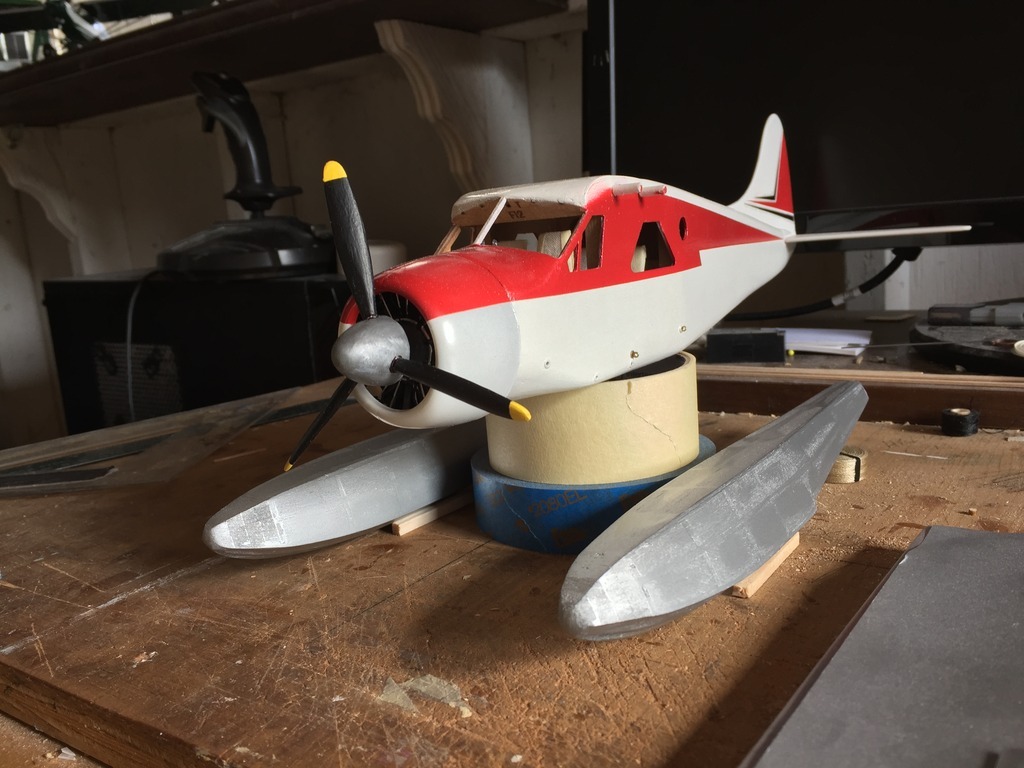
just trying to get a feel for the floats mounting spacing.. |
| heywooood, Image # 38324 | 15 Apr 17 11:29 |
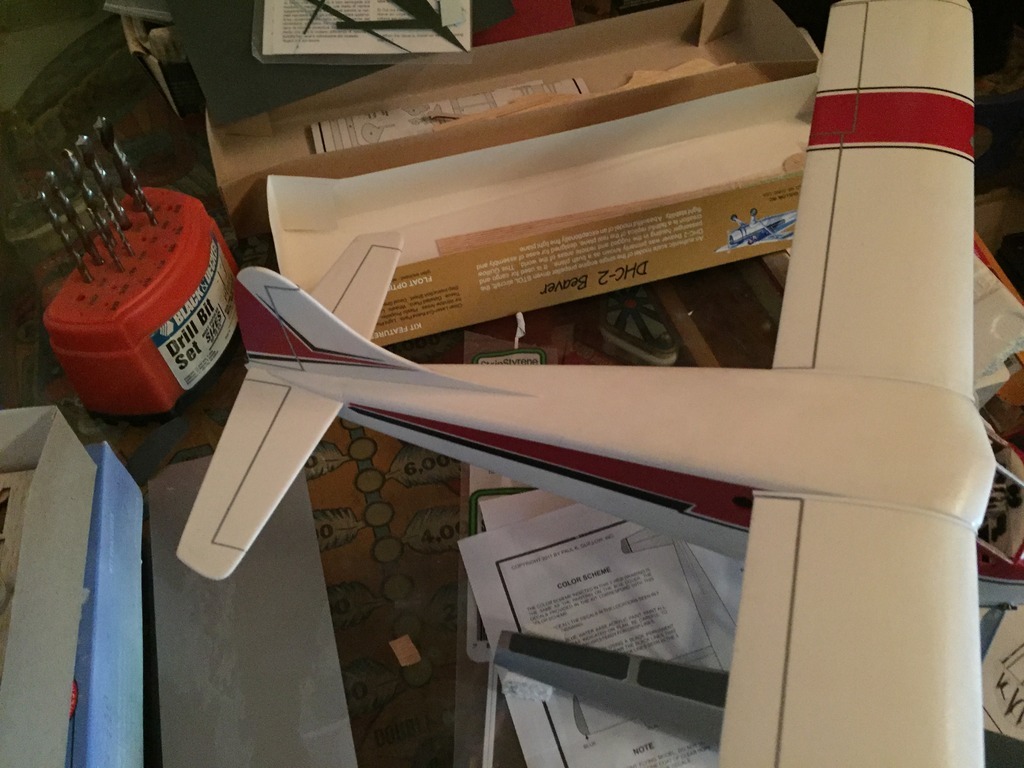
fuse is painted |
| Build Thread, Page :
[ 1 ] 2 (27 posts, 20 posts per page, 2 pages in total)
|
[ Next > ] |
