| Build Thread, Page :
[ 1 ] 2 (27 posts, 20 posts per page, 2 pages in total)
|
[ Next > ] |
| scigs30, Comment for image # 17454 | 01 Jul 10 09:27 |
| Looks great, is that Esaki or kit tissue? |
| Richardsk, Comment for image # 17454 | 01 Jul 10 06:59 |
| Very pretty! Too bad about the battle damage. |
| CPN, Comment for image # 18214 | 11 Jun 10 20:04 |
| We mixed it up with some BF-109s... |
| Creosotewind, Comment for image # 18214 | 11 Jun 10 06:01 |
| Ohhhh, it hit some bad flak over enemy territory. |
| CPN, Image # 18214 | 06 Jun 10 13:16 |
I don't have it in me to tinker with this thing anymore. I am going to put this one aside for awhile and start pecking away at a different project. |
| CPN, Image # 18213 | 06 Jun 10 13:15 |
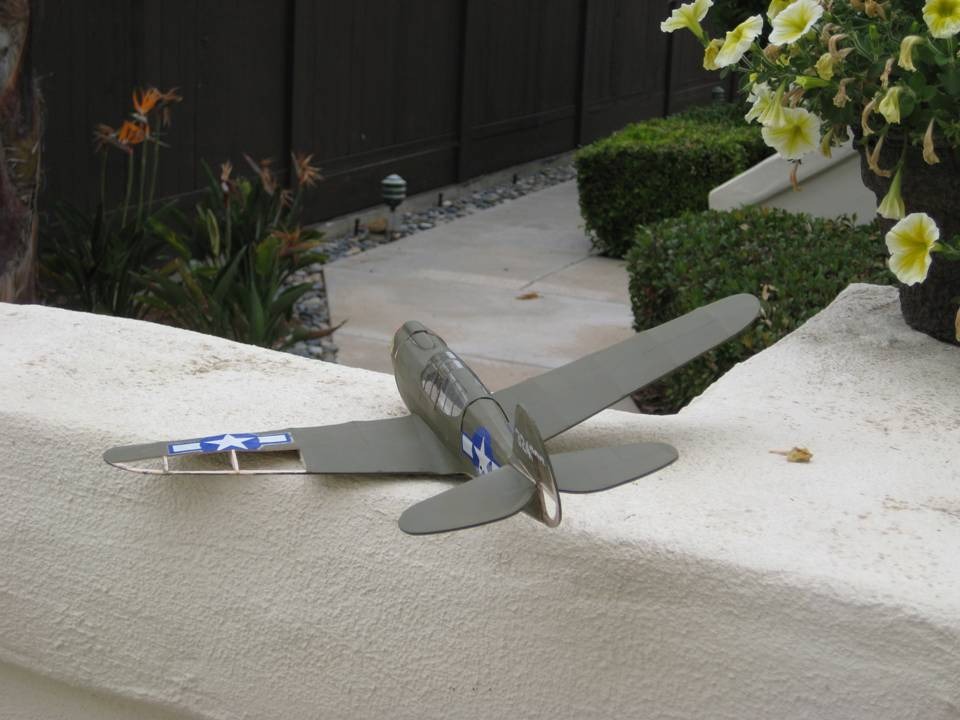
The plane did not come through flight testing okay. We had some decent flight, then one not so decent... |
| Creosotewind, Comment for image # 18068 | 03 Jun 10 11:05 |
| Time and experience are probably the two biggest factors for the quality models you see. Time, in that you can't rush certain things. Paint needs time to dry, etc. Mistakes will happen. You'll learn more trying to fix a mistake than if everything goes absolutely smooth. Take a look at my Piper Cub. Lot's of opportunities for me to learn on that build. Even when everything goes right, evaluate what you have done and what to do to make it better next time. I probably spend more much time thinking about how to build a part as I do building it. Finally, the most important thing is to have fun. |
| CPN, Image # 18070 | 24 May 10 04:31 |
|
| CPN, Image # 18069 | 24 May 10 04:31 |
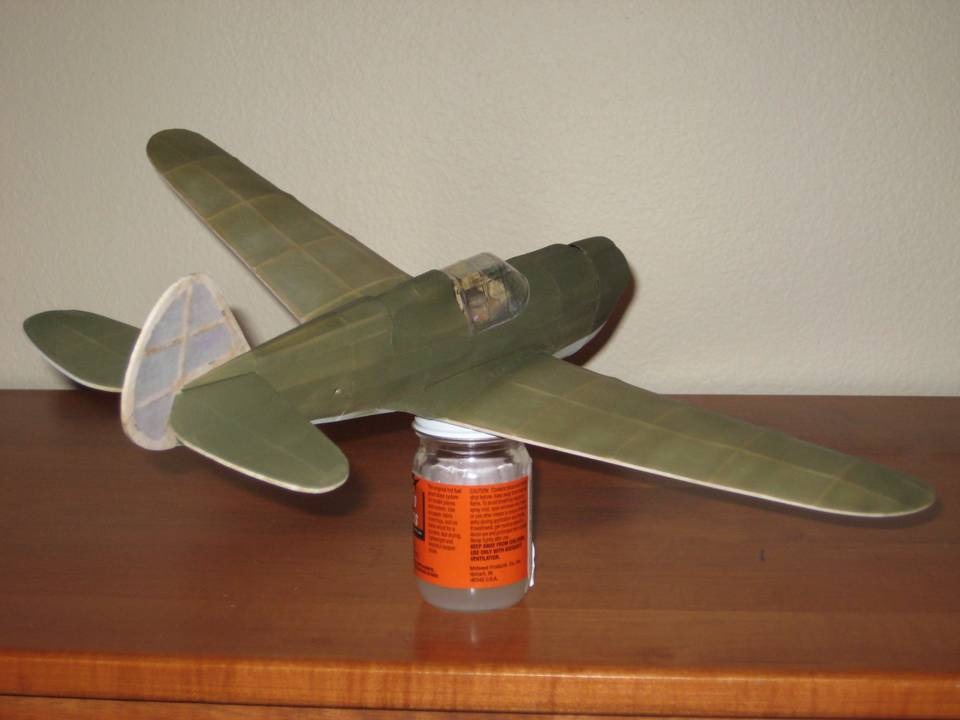
As you can see, I ran out of sirbrush propellant mid job here. |
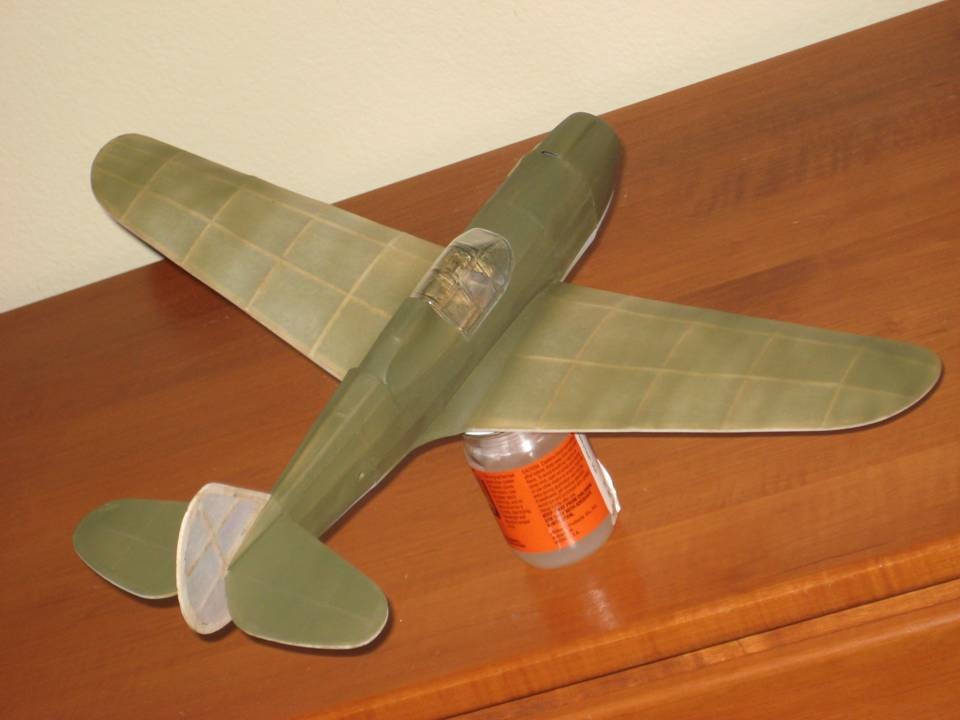
| CPN, Image # 18068 | 24 May 10 04:30 |
You can see several mistakes here that I have to correct later - the olive drab overspray for one, the spot on the stabilizer where the masking tape pulled some of the paint off as well. I am going to apply some sanding sealer to the bottom wing fillet area to try to smooth out some of the gaps. This thing is supposed to fly but I can't look at a poorly finished area, especially after seeing everyone here magnificent efforts. |
| pakasit1812, Comment for image # 17434 | 12 Apr 10 14:31 |
| I even like the airframe after wet covered without dope.
Try this.... go to the kitchen...mix flour/water in a small cup...boil it till it turns sticky paste...apply the paste on the frame and wet cover it with tissue....let dry.
What turns out is no dope stain on the frame. Beautiful ! ! ! |
| CPN, Comment for image # 17434 | 12 Apr 10 12:10 |
| Concur. His Diels P-40 is what I had in mind when building this P-40. John Ernst and Scigs30's models are excellent examples of how I want mine to turn out. |
| Creosotewind, Comment for image # 17434 | 12 Apr 10 09:41 |
| Oh yeah, John Ernst. |
| Creosotewind, Comment for image # 17434 | 12 Apr 10 09:23 |
| Gotta agree with you. Some of the folks here have really sharp looking planes with no paint, just colored tissue. Who was it that inked his own markings? Those planes looked really cool. |
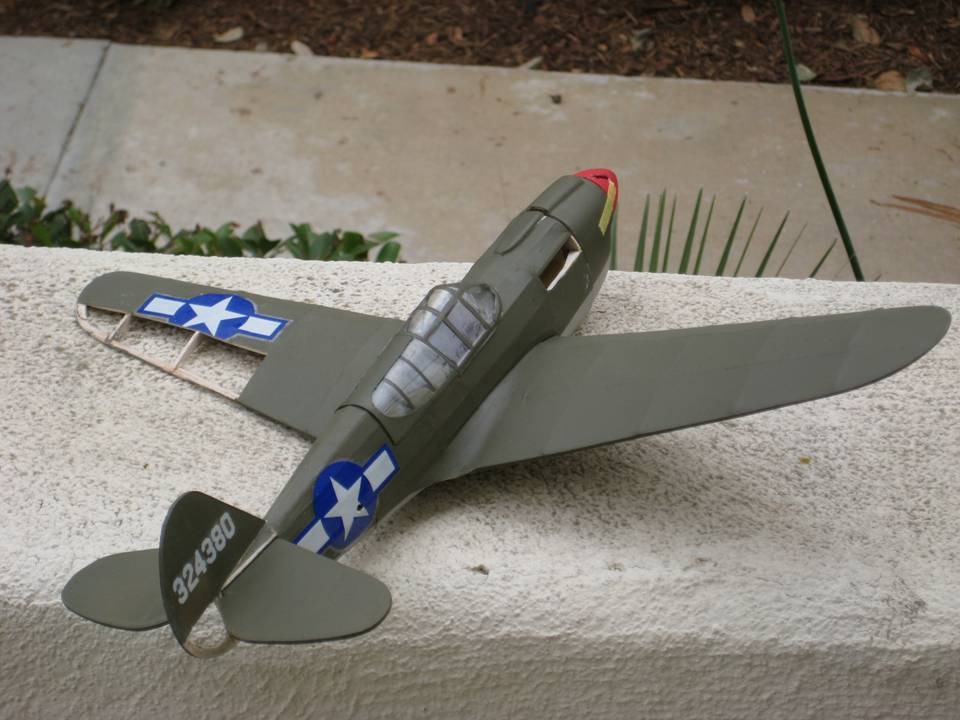
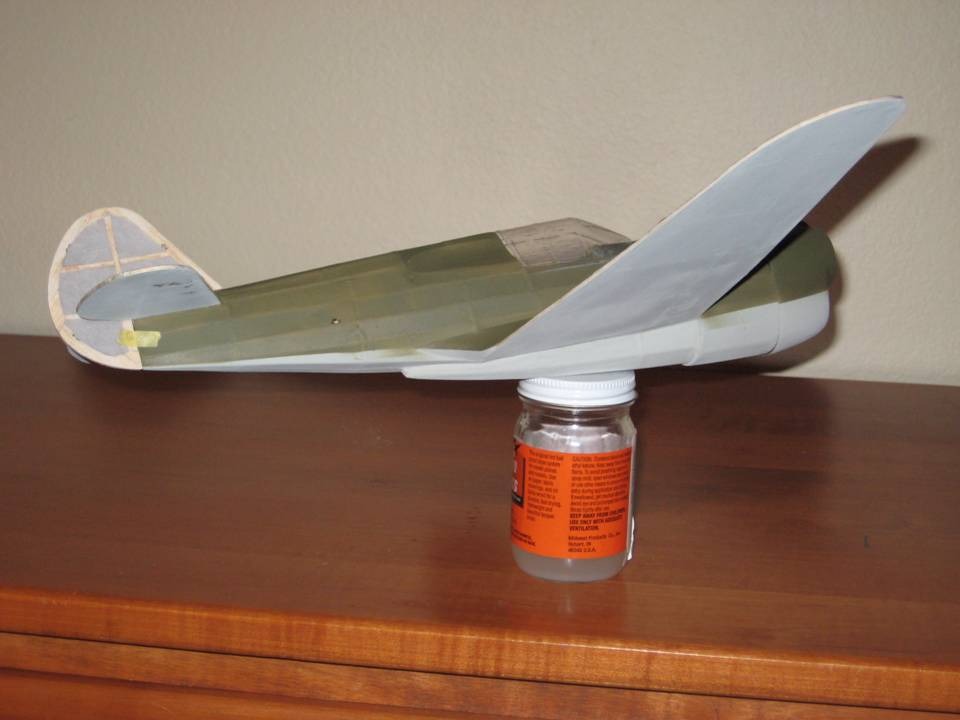
| CPN, Image # 17454 | 11 Apr 10 16:49 |
Next stop, paint shop! |
| pakasit1812, Comment for image # 17445 | 11 Apr 10 11:49 |
| What a sharp cut fillet! ! !
Thanks for sharing the know-how. |
| CPN, Image # 17445 | 11 Apr 10 09:22 |
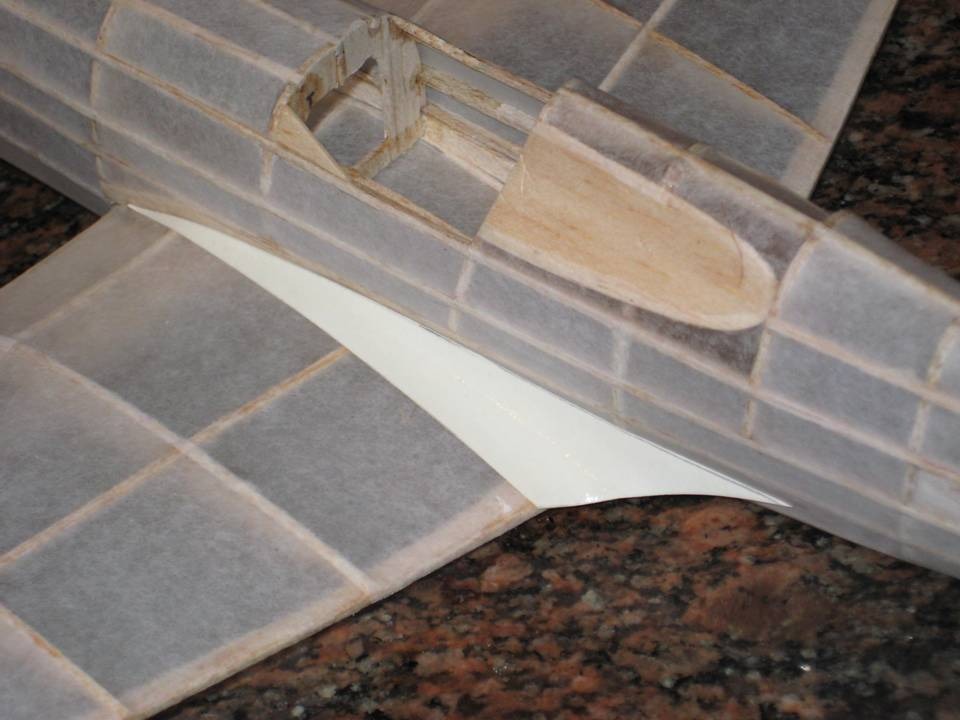
Fillets are one of the hardest things for me to do right. I think I have finally figured out how to get acceptably light results. I start by tracing the plan outline onto parchment paper (I use it instead of wax paper) and then cut out a balsa template. I trace that onto very thick drawing paper. I soak the fillet in warm water, put it in place, futz with it until it looks right and then "paint" it with white glue. The other side came out well too. |
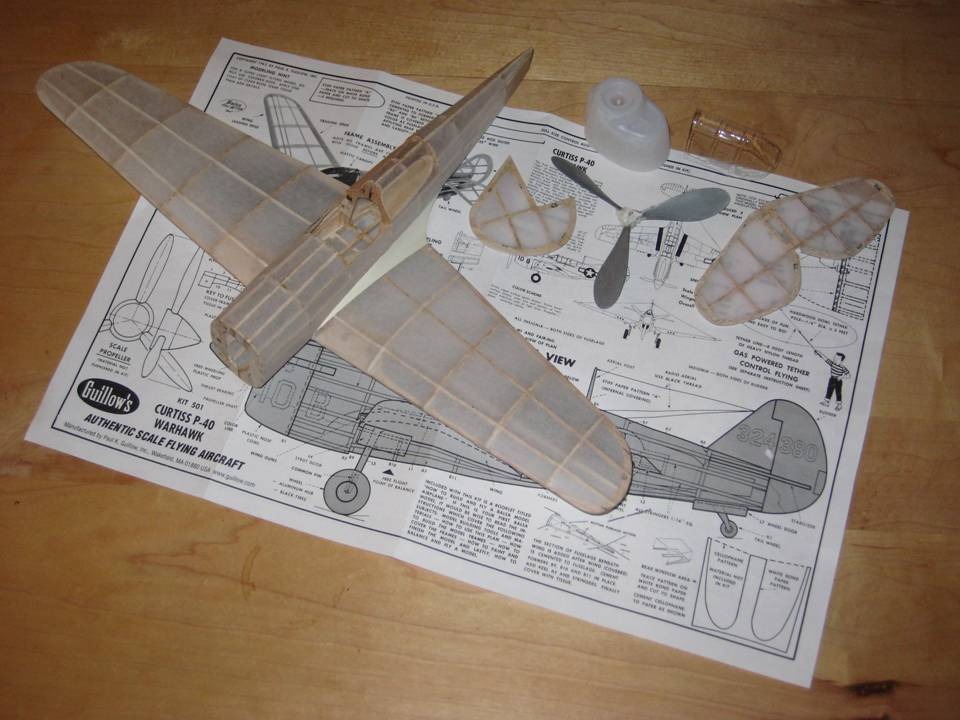
| CPN, Image # 17434 | 10 Apr 10 17:10 |
I love it when a kit finally becomes a plane for the first time. I also love the look of doped tissue over the framework - sometimes I don't want to paint them. |
| CPN, Image # 17433 | 10 Apr 10 17:08 |
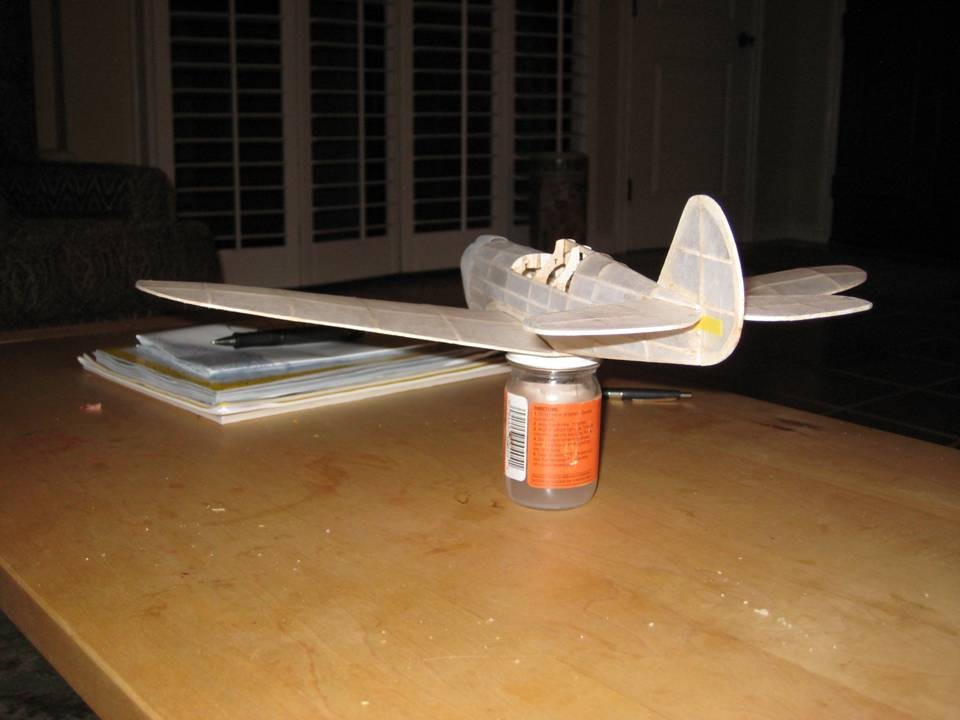
Here's all the parts taped together for a test fit. I had to do some shimming and sanding to get the stab level and the wing / fuse fit was way off. The last P-40 I build fit together perfectly, so I'm going to blame myself, not the kit. |
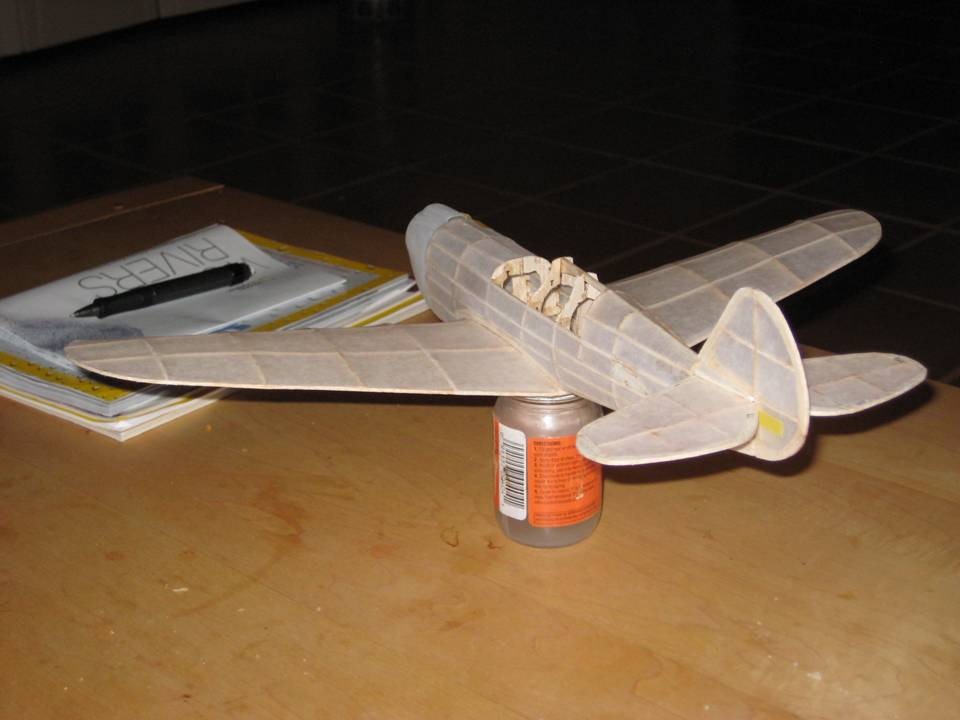
| CPN, Image # 17432 | 10 Apr 10 17:07 |
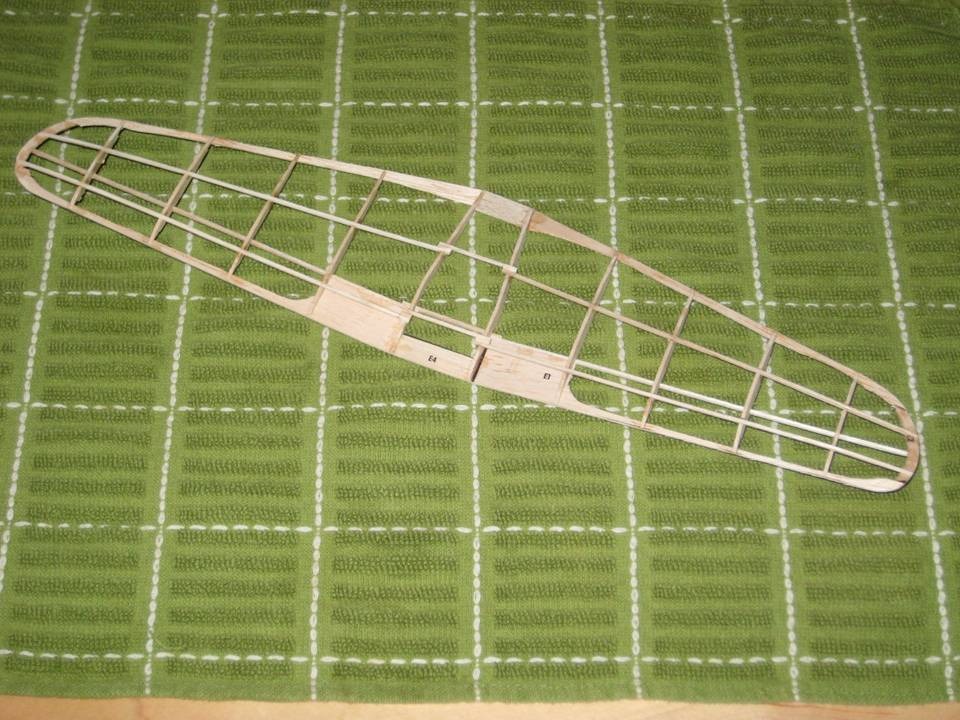
Here you can see all the wood I've taken out of the wing. Despite all this, once I covered (Guillows silkspan) and doped it, the structure was still amazingly stiff. |
| Build Thread, Page :
[ 1 ] 2 (27 posts, 20 posts per page, 2 pages in total)
|
[ Next > ] |
