| Build Thread, Page :
[ 1 ] 2 (23 posts, 20 posts per page, 2 pages in total)
|
[ Next > ] |
| mlriley540, Comment for image # 20185 | 28 Jul 18 23:22 |
| I built this 33 years ago, was about 70% done when it was damaged in an accident. I kept it a while and then threw it away, should have finished it. |
| TWA1985, Comment for image # 20189 | 22 Nov 10 22:47 |
| Very nice, I think the paint job looks very realistic. Great idea with the tooth picks! |
| Dale1416, Comment for image # 20189 | 22 Nov 10 13:27 |
| Thanks, appreciate the comments. I like the way this one turned out too. |
| jgood, Comment for image # 20189 | 22 Nov 10 04:25 |
| I nearly missed this. Very nice work, looks really good. |
| Roring40, Comment for image # 20189 | 22 Nov 10 00:21 |
| You have crafted a very nicely built and detailed model- well done. |
| poppy, Comment for image # 20189 | 21 Nov 10 20:22 |
| Just super work! |
| Dale1416, Comment for image # 20189 | 21 Nov 10 18:35 |
| I enjoyed looking at other examples of this model on The Virtual Aerodrome site. These German planes always have interesting paint schemes. |
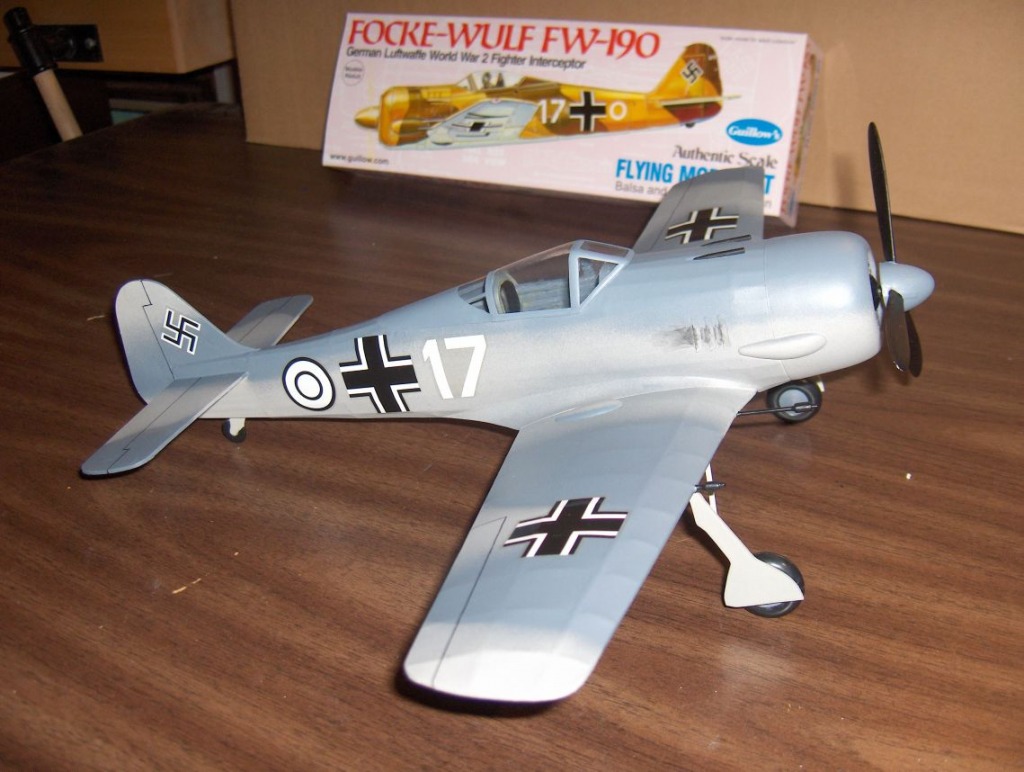
| Dale1416, Image # 20189 | 21 Nov 10 18:30 |

The cylinder detail was printed from a Dumas plan. I usually make a scale propeller instead of what comes with the kit. Rather than using the supplied decals to represent the fuselage guns, I used round tooth pics....the same as I did for the wing guns. |
| Dale1416, Image # 20188 | 21 Nov 10 18:25 |

Close-up of cockpit area and rear window. |
| Dale1416, Image # 20187 | 21 Nov 10 18:23 |
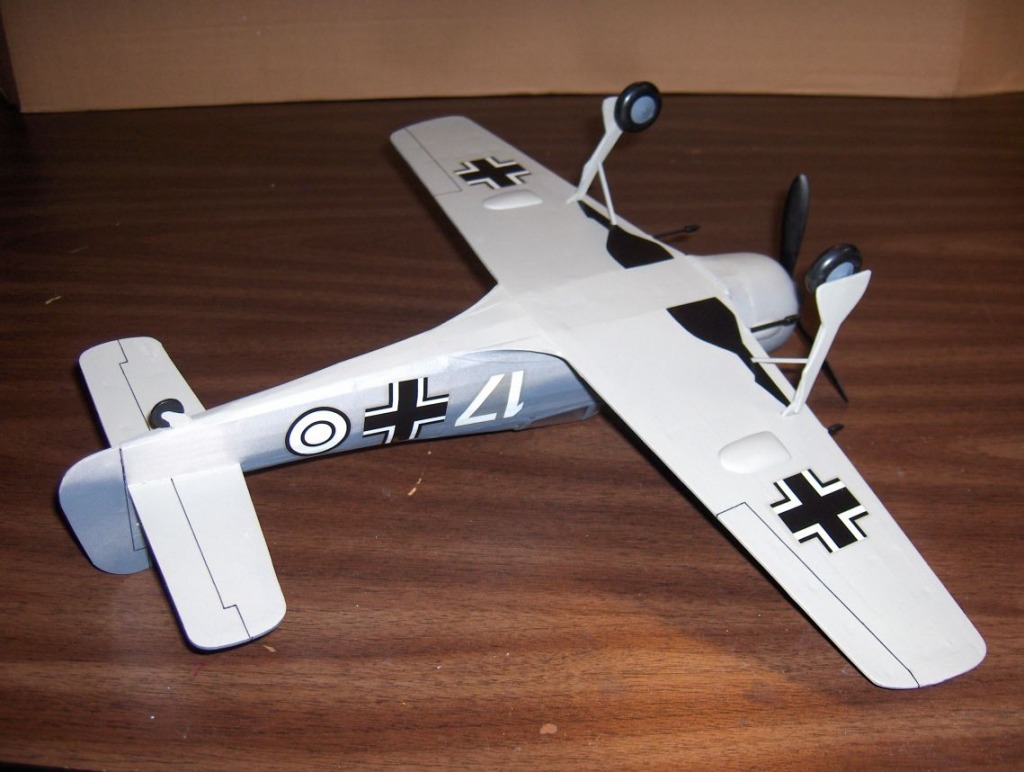
Underside details. Notice the unusual landing gear angle. |
| Dale1416, Image # 20186 | 21 Nov 10 18:23 |
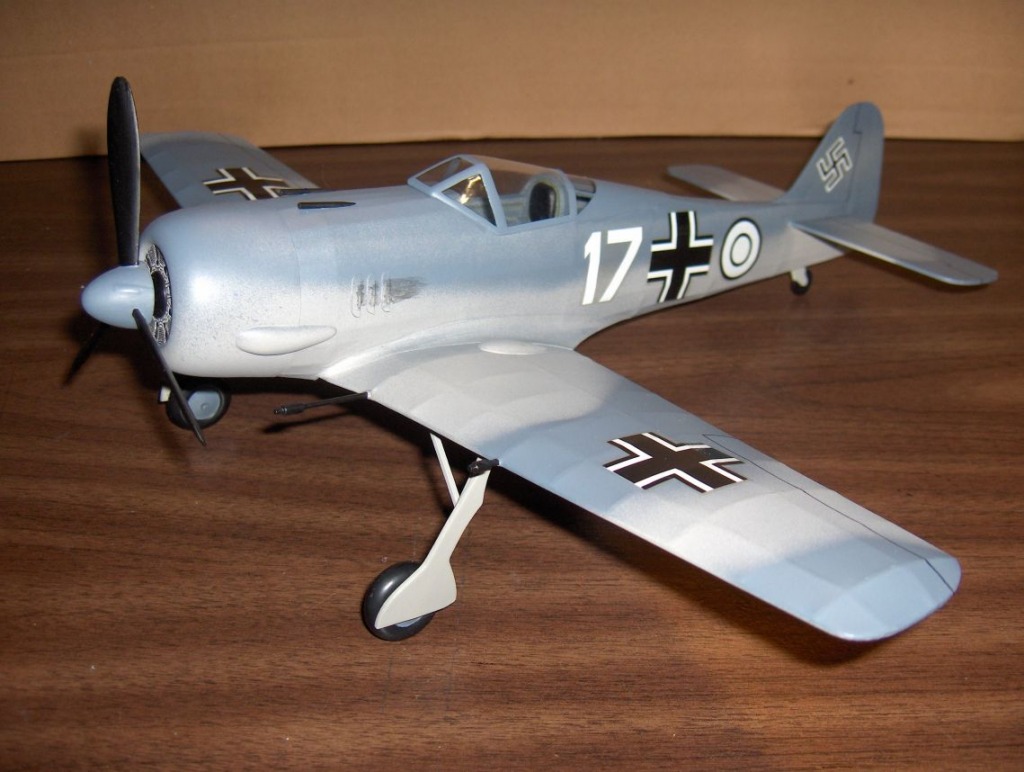
Front view showing the odd slanted orientation of the landing gear. |
| Dale1416, Image # 20185 | 21 Nov 10 18:22 |
This was my first attempt at this type of a paint scheme, but I was pleased with the results. |
| Dale1416, Image # 20184 | 21 Nov 10 18:21 |
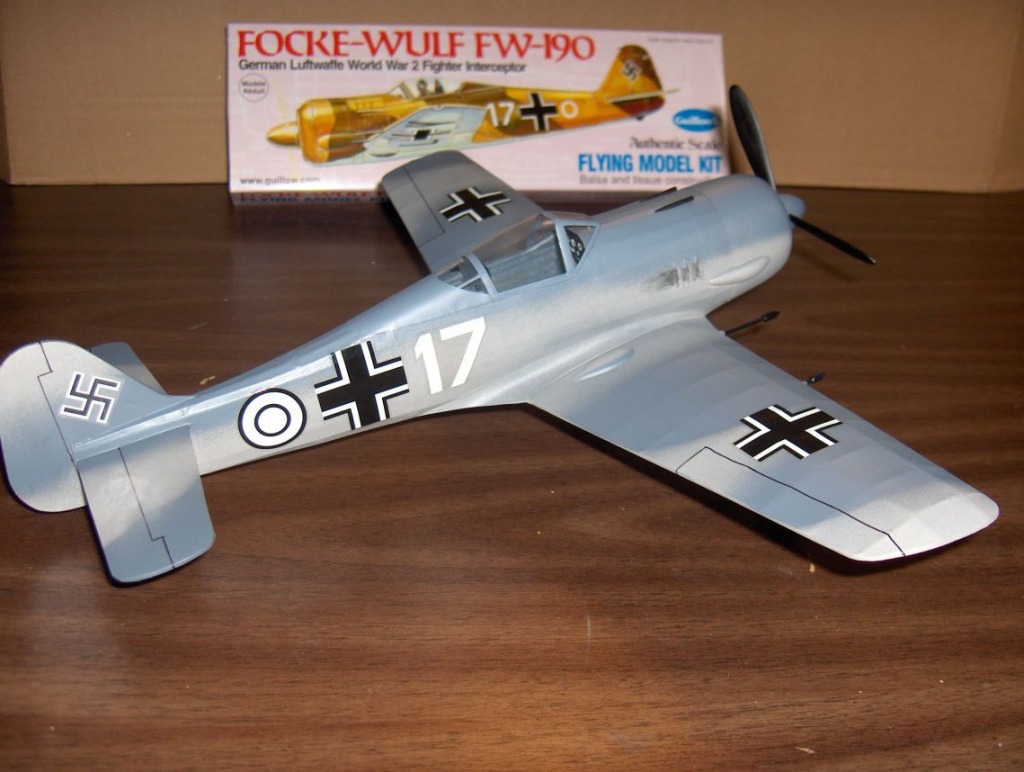
Completed model with decals and additional details such as elevators, ailerons, etc. |
| Dale1416, Image # 20183 | 21 Nov 10 18:19 |
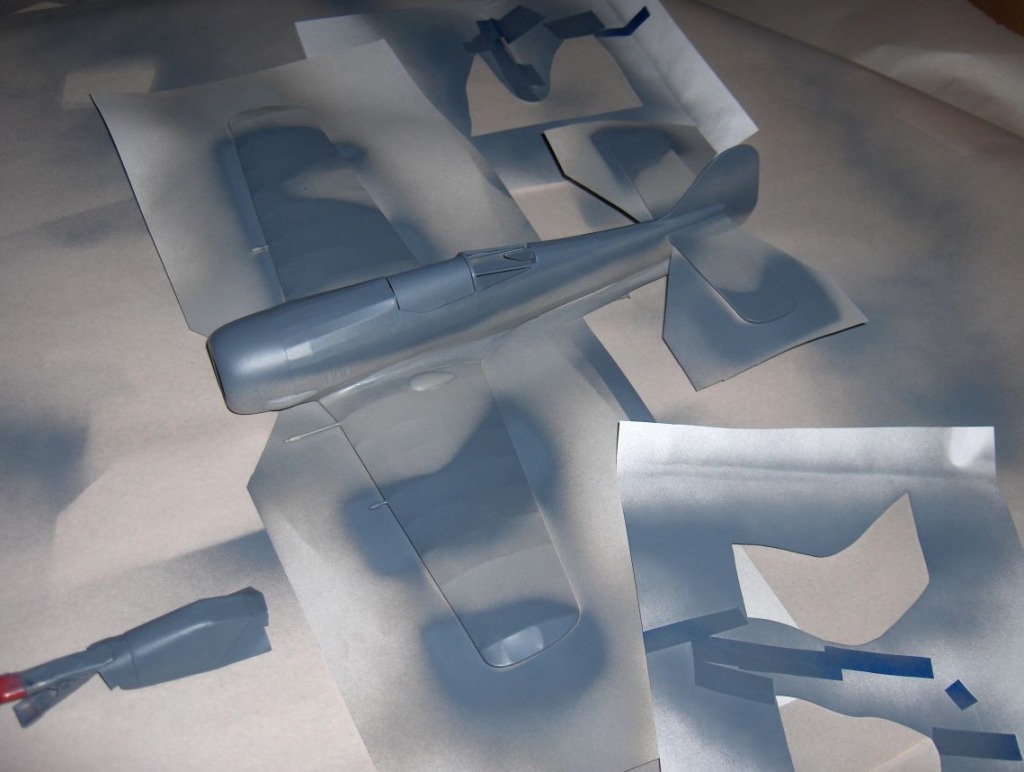
To apply the camouflage scheme I used regular paper patterns as shields. With the help of an extra set of hands holding the shields just above the surface, I was able to produce a softer edge while spraying the Testors FS 36251 Aggressor Gray. It looks blue in the pictures, but actually its a subdued gray paint scheme. |
| Dale1416, Image # 20182 | 21 Nov 10 18:10 |

Before this picture was taken, the bottom of the plane was painted with Testors 1226 Flat Aircraft gray. This picture shows the top surface being sprayed with Testors FS 36118 Gunship Gray. |
| Dale1416, Image # 20180 | 21 Nov 10 18:05 |
Wing fairings added and cockpit rear window details. |
| JohnG., Comment for image # 20177 | 21 Nov 10 18:02 |
| Very Nice work... :-) |
| Dale1416, Image # 20179 | 21 Nov 10 18:00 |
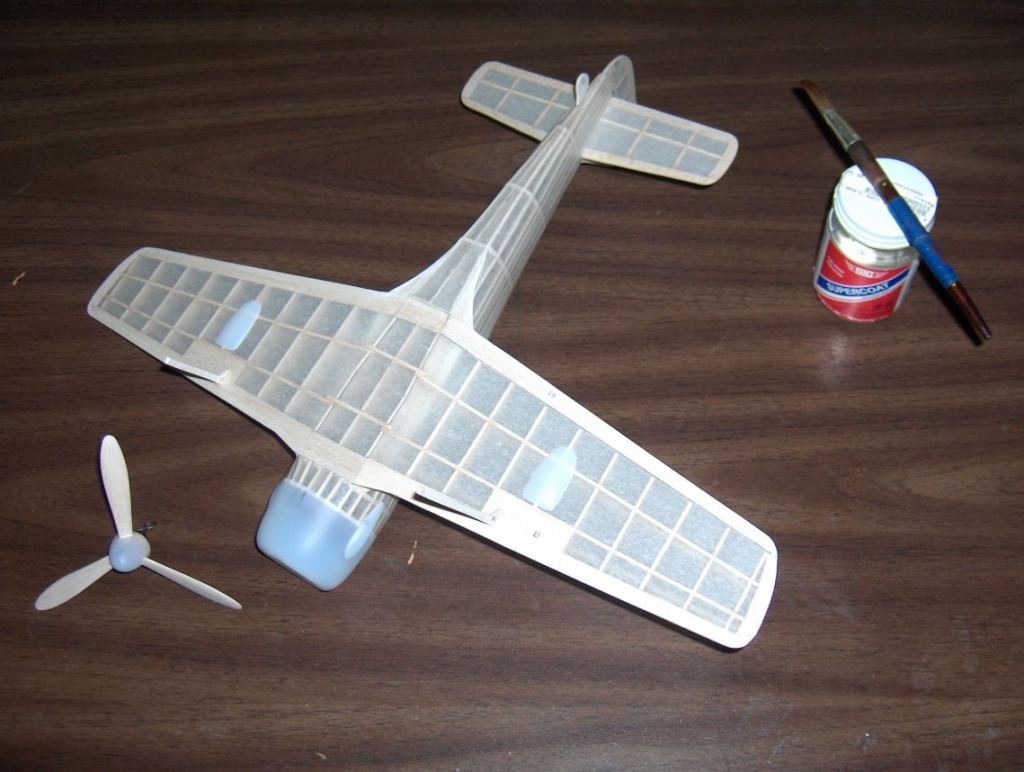
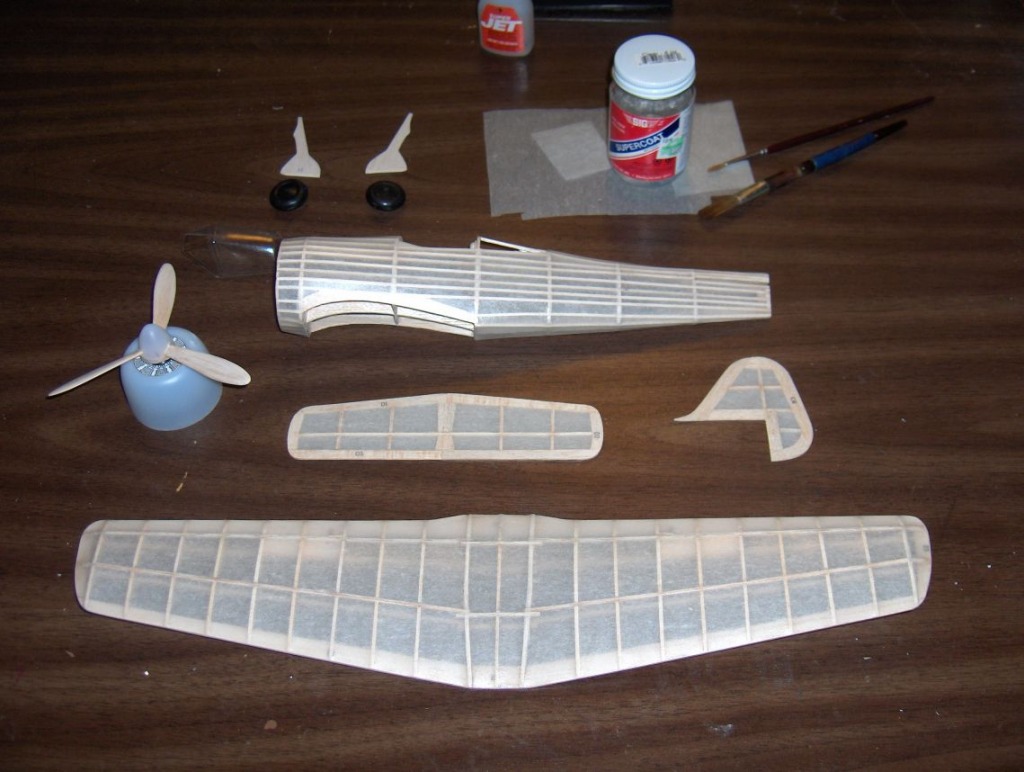
Final assembly of main components. |
| Dale1416, Image # 20177 | 21 Nov 10 17:57 |
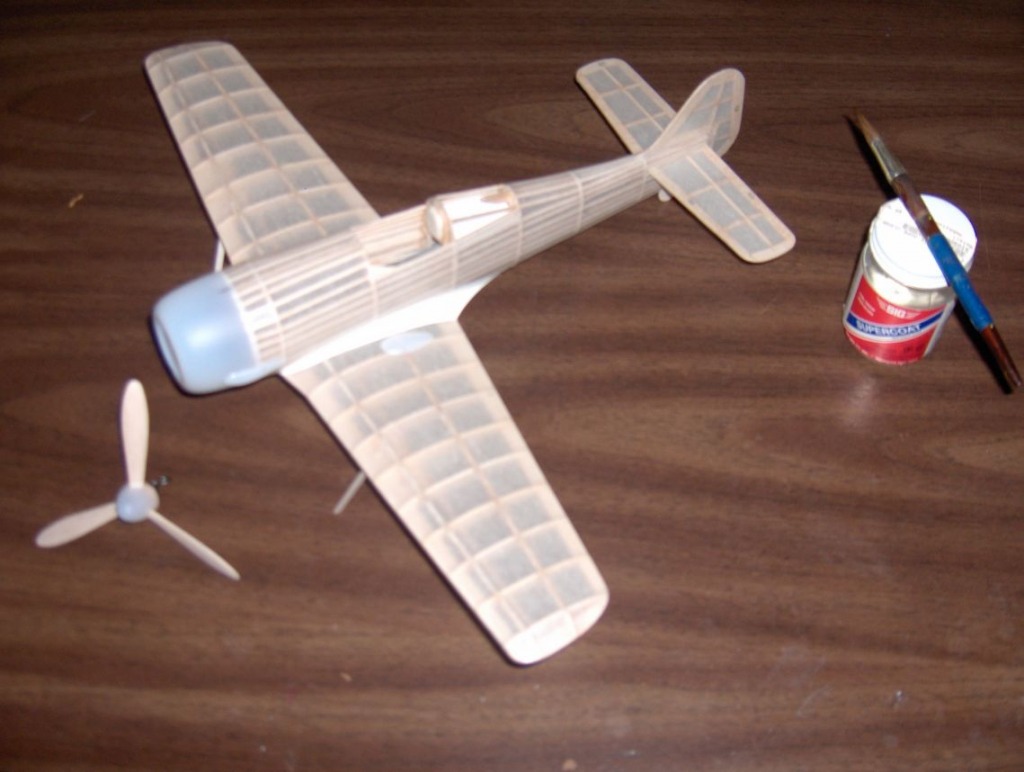
I applied one coat of clear dope. |
| Dale1416, Image # 20176 | 21 Nov 10 17:55 |
Everything is papered and nice and taut. |
| Build Thread, Page :
[ 1 ] 2 (23 posts, 20 posts per page, 2 pages in total)
|
[ Next > ] |
