| Build Thread, Page :
[ 1 ] 2 3 4 5 (86 posts, 20 posts per page, 5 pages in total)
|
[ Next > ] |
| heywooood, Comment for image # 43932 | 22 Jun 22 20:55 |
| nice engineering and quality of workmanship here for sure! |
| edbecky, Comment for image # 43932 | 22 Jun 22 08:33 |
| This is nice. You really do some great work. |
| bobgood, Comment for image # 43933 | 21 Jun 22 21:49 |
| I love the Whirlwind! Sleek shape.... |
| BriandKilby, Comment for image # 43932 | 21 Jun 22 19:24 |
| way to incorporate the rail into the flaps. |
| Don C, Comment for image # 43933 | 21 Jun 22 19:11 |
| Very nice, Ed. |
| edtherenderman, Comment for image # 43932 | 21 Jun 22 17:43 |
| Here is a picture of the design. http://www.virtualaerodrome.com/image_detail.html?p_aircraft_id=732&p_user_id=1412&p_image_id=43731 I have a bunch of pictures in this area of the blog of the mockup I made to test out the function. |
| edtherenderman, Comment for image # 43932 | 21 Jun 22 17:40 |
| Thanks Brian. Yes, they are on slides. The arms pivot inside the flaps and there is a pin in the outer edge that slides in a track along the bottom surface of the wing. |
| BriandKilby, Comment for image # 43932 | 21 Jun 22 17:31 |
| looks good ed! the flaps just slide out? |
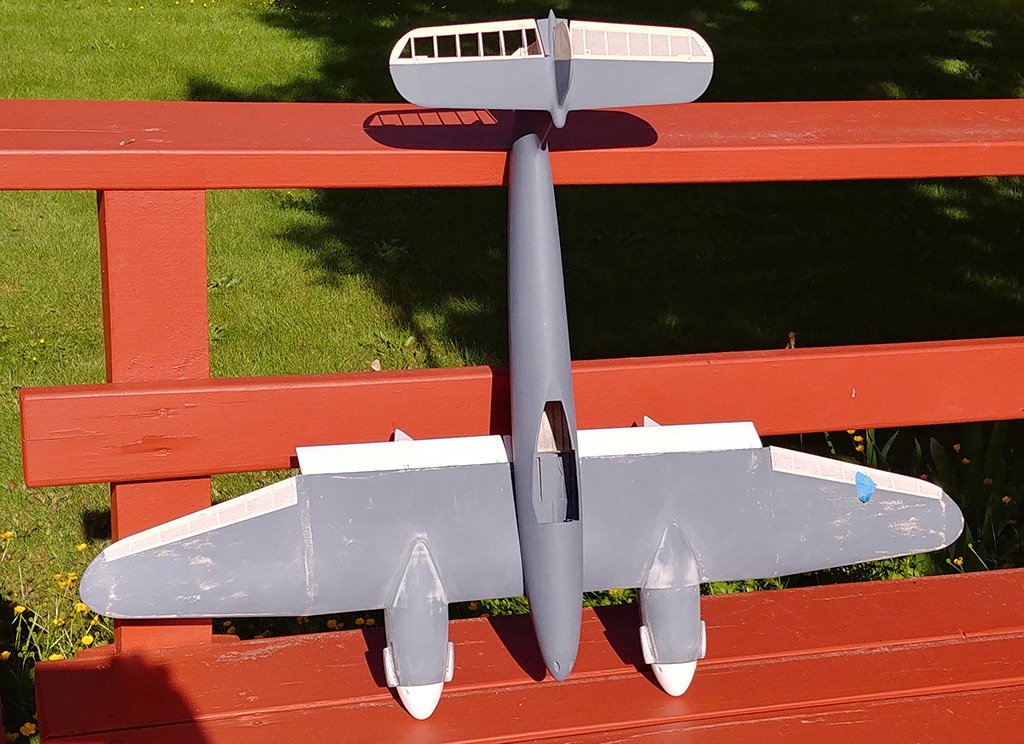
| edtherenderman, Image # 43933 | 21 Jun 22 11:25 |

Flaps up! |
| edtherenderman, Image # 43932 | 21 Jun 22 11:17 |
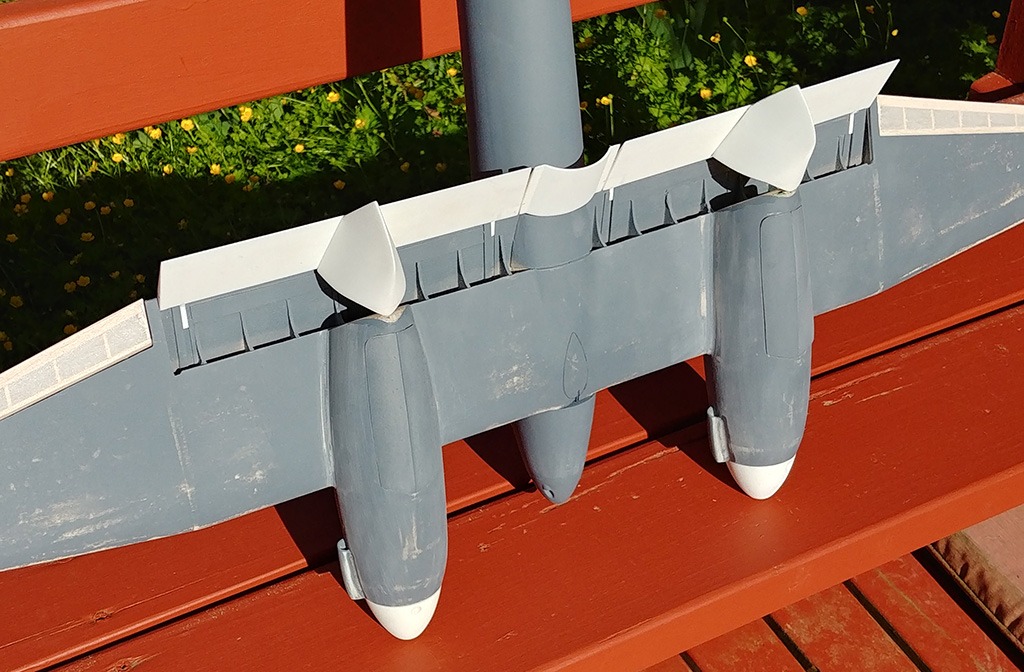
Closeup of flaps |
| edtherenderman, Image # 43931 | 21 Jun 22 11:17 |
Underside with flaps deployed. |
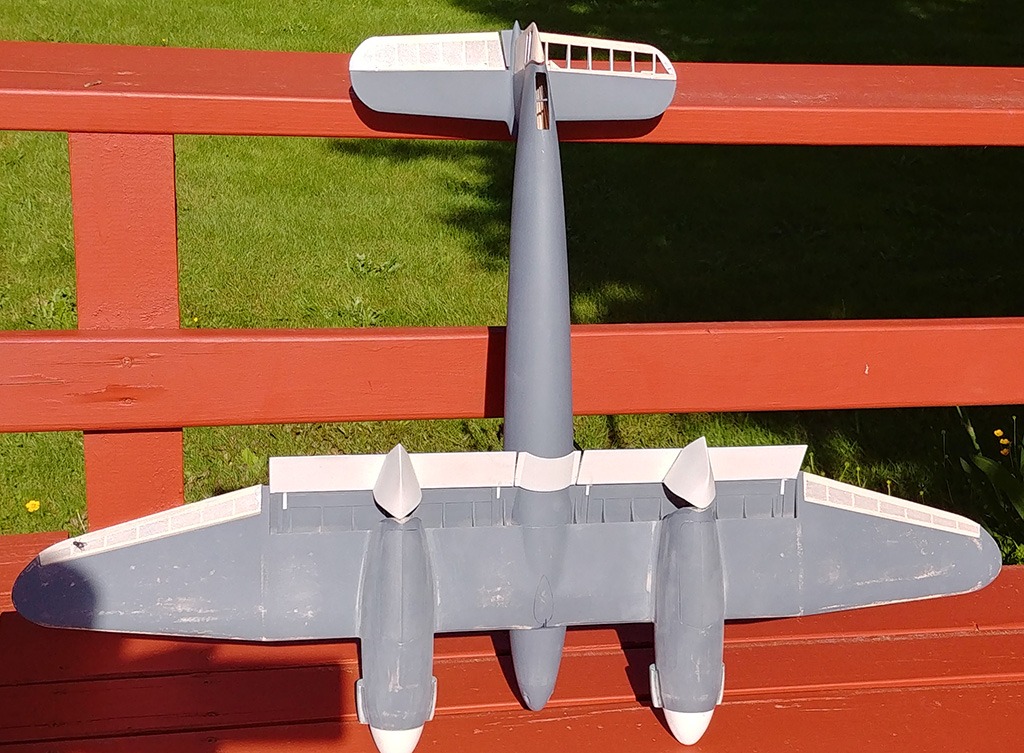
| edtherenderman, Image # 43930 | 21 Jun 22 11:16 |
Whirlwind is still slow going, but things are going to start moving quickly soon. Still filling and sanding fuse / wings and adding details, like exhaust shrouds. Here it is from the top with the flaps deployed and spinners on. First day of summer and finally have a good day outside in the PacNW, so taking outside pictures today. |
| edtherenderman, Image # 43916 | 02 Jun 22 08:13 |
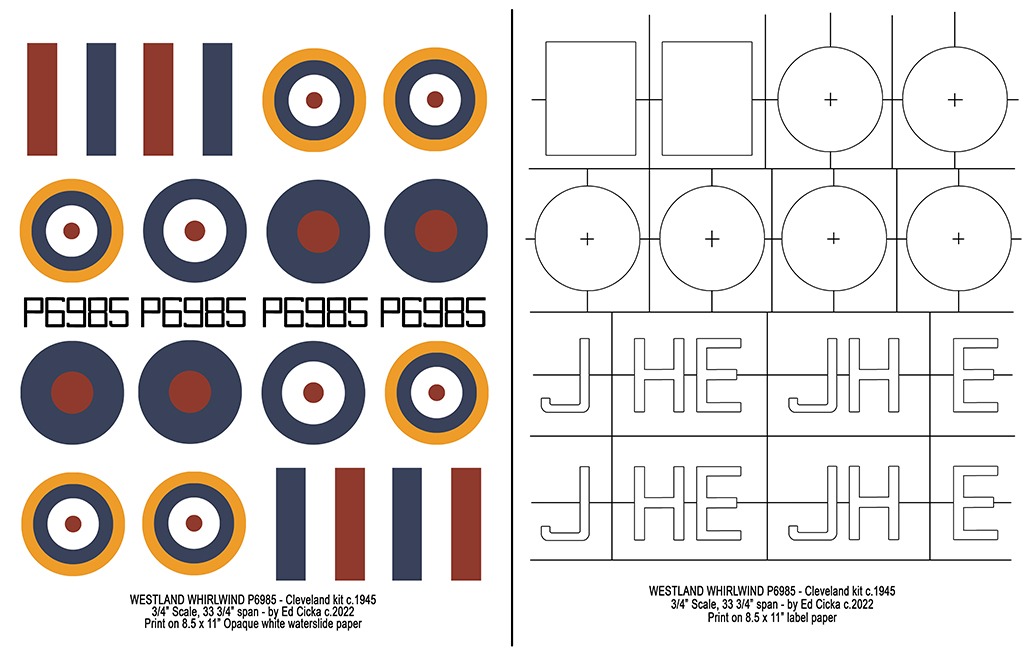
Here are the decal sheets. The left sheet will be inkjet printed on waterslide paper, the right sheet are the masks that I will use on the aircraft to paint a white undercoat. Although the waterslide decal paper is opaque white, it is not completely opaque, so I have to paint a white undercoat before applying the decals. |
| edtherenderman, Image # 43915 | 02 Jun 22 08:05 |

Quick update on Whirlwind. Work is still progressing, but it feels like nothing is getting completed. However, pushing to have all minor assemblies ready soon. Spent last weekend working on printing the cockpit, building and covering the ailerons, and working on the decal sheet. Here is the cockpit printed out. I still have the seat and some supports to print, but I ran out of resin and the place I normally get it has ran out, so I’ve bought a different kind to see if it will work. Some potentially messy experimentation is needed first! |
| edtherenderman, Image # 43902 | 19 May 22 19:21 |
|
| edtherenderman, Image # 43901 | 19 May 22 19:21 |

|
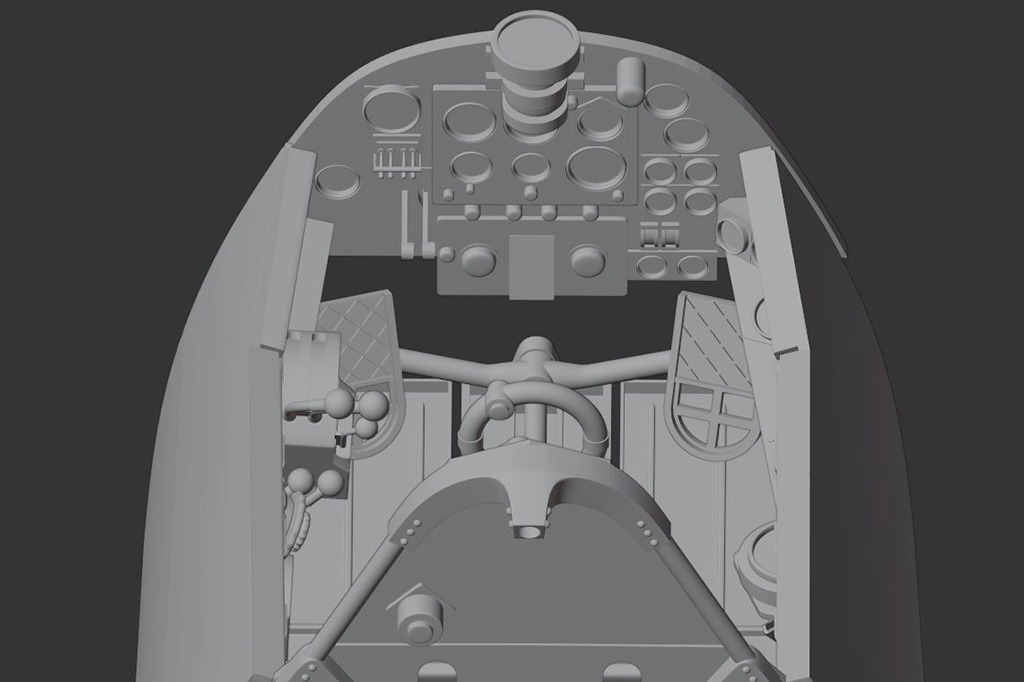
| edtherenderman, Image # 43900 | 19 May 22 19:21 |
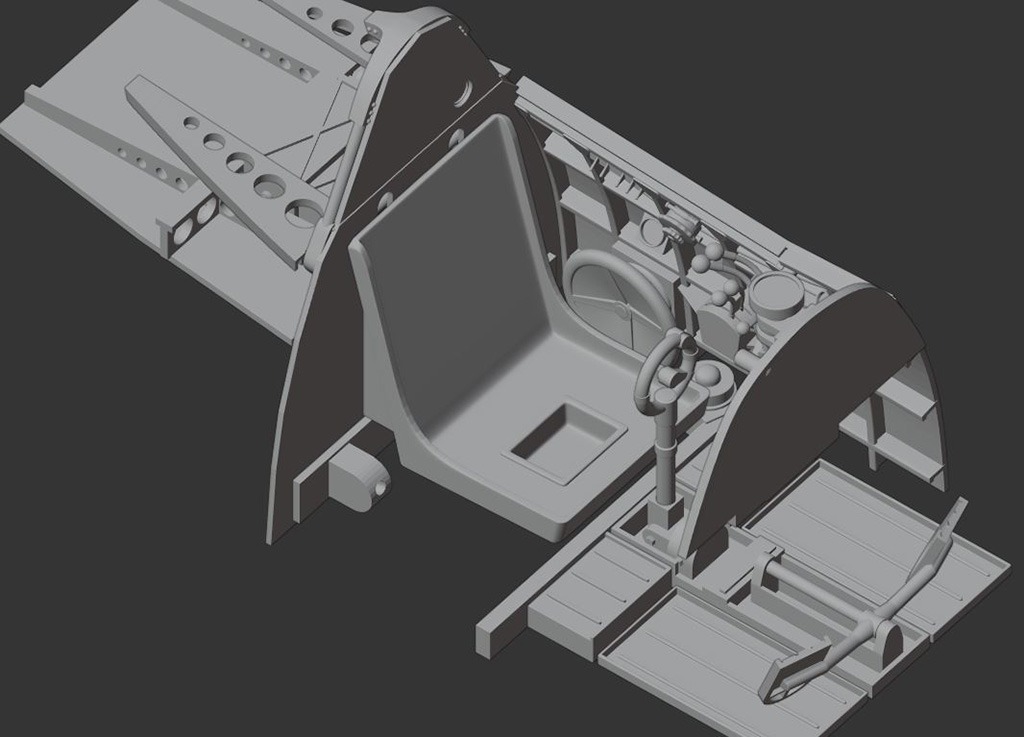
The other thing that has kept me busy on the Whirlwind is the cockpit. 3D modeling it to print it out. Lots of details, but hard to get good references. Some pictures on-line, but with such a limited production run and no remaining examples, hard to come by. Some “Artistic License” has been used. |
| BriandKilby, Comment for image # 43898 | 16 May 22 19:43 |
| nice components. |
| Don C, Comment for image # 43898 | 16 May 22 16:47 |
| Looks nice and smooth. |
| edtherenderman, Image # 43898 | 16 May 22 10:46 |

It’s been almost two months since I posted something on the Whirlwind, so here you go! Been busy doing odds and ends as well as major stuff. In the picture, I vacu-formed the canopy and 3D printed the canopy frame. Covered the rudder and elevator with silkspan. Painted the landing gear. Not in the picture, I’ve covered the fuse, empennage, wings and nacelles in silkspan. I’ve primed and sanded the wings and nacelles to smooth finishes and have attached the nacelles to the wings. I 3D printed the filler pieces that go between the top of the nacelle and the wings, attached and filled with spackling compound. I still need to sand them smooth. Still have a lot to do, but it is moving slowly forward. |
| Build Thread, Page :
[ 1 ] 2 3 4 5 (86 posts, 20 posts per page, 5 pages in total)
|
[ Next > ] |
