| Build Thread, Page :
[ 1 ] 2 (38 posts, 20 posts per page, 2 pages in total)
|
[ Next > ] |
| David Duckett, Comment for image # 4262 | 28 Aug 07 11:08 |
| Drying time usually depends on the thickness. Stir the ENTIRE jar and add small amounts of water to thin it out |
| plasticbuddha, Comment for image # 4262 | 28 Aug 07 11:00 |
| David - I am unfortunately poor so no DD spray for me. I have learned a great deal thus far thanks to sage advice and all of the quasi tutorials from the numerous "build" pics that you, poppy and others have posted. Poppy - thank you for the insight. You are most certainly correct. I'm only surprised that I haven't managed to poke a hole in the covering yet, what with all of the handling thus far. A question for either you or DD - I'm getting inconsistent curing out of the Hobbylite filler- sometimes the application cures and sometimes it remains tacky. With regards to the printed directions, am I supposed to stir the ENTIRE jar or just what I scoop out? |
| poppy, Comment for image # 4262 | 28 Aug 07 10:41 |
| Building with balsa is very forgiving. With care and some filler and sanding, you can get it right. If not satisfied, it can be removed and redone, unlike plastics. There is no magic, just patience. |
| plasticbuddha, Comment for image # 4264 | 28 Aug 07 02:27 |
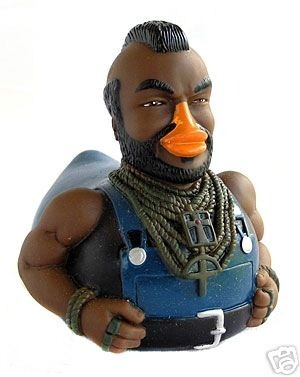
| For all of the David Duckett fans and disciples out there. A limited edition bath toy " David Duckett as Mr. D" I can almost hear him now:"I PITY THE FOOL WHO DOES'NT DOUBLE UP ON THEIR STRINGERS!!!" (my apologies to James :p) |
| plasticbuddha, Image # 4264 | 28 Aug 07 02:24 |
|
| David Duckett, Comment for image # 4262 | 27 Aug 07 20:02 |
| They do make such a thing but it costs a Gazillion dollars and can only be delivered by private jet, say, a Boeing 777. If you're poor, just keep building. Look at all you have already learned! |
| plasticbuddha, Comment for image # 4262 | 27 Aug 07 19:52 |
| This pig is so going to be tail heavy!!!! |
| plasticbuddha, Comment for image # 4262 | 27 Aug 07 19:51 |
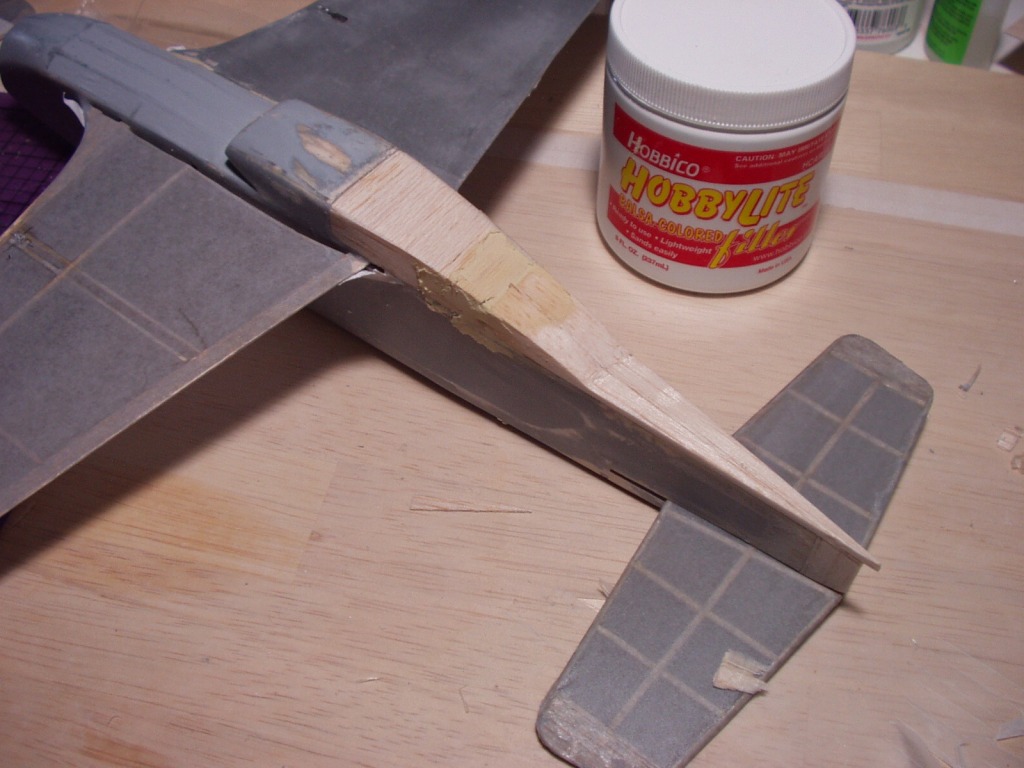
| Everything is pretty rough at this point. I'm trying out Mr. "D"s "Magic Filler". Too bad they don't make "David Duckett's Instant Museum Quality Spray"... just spray onto a jumbled pile of balsa wood and it automatically transforms into a museum model!!!! |
| plasticbuddha, Image # 4262 | 27 Aug 07 19:47 |
|
| plasticbuddha, Comment for image # 4250 | 27 Aug 07 19:46 |
| Hey guys! Thanks for the very kind words of encouragement. :) I'm getting somewhat frustrated at this pig as it's eating up too much bench time. I still have to get back to the PT-17 build. |
| moostang51, Comment for image # 4250 | 27 Aug 07 18:10 |
| Aha... the hook is set. The more you research the more you adjust or correct. One of the first rules of building is just say NO!!! Only you know what's correct as far as the build goes. My wife says "You're just being anal." Whatever!!!! |
| supercruiser, Comment for image # 4250 | 27 Aug 07 16:02 |
| Looking good. If I build this model again, changing the radiator scoop and the nose to a more scale appearance is something i would likely do.
|
| plasticbuddha, Comment for image # 4250 | 27 Aug 07 07:18 |
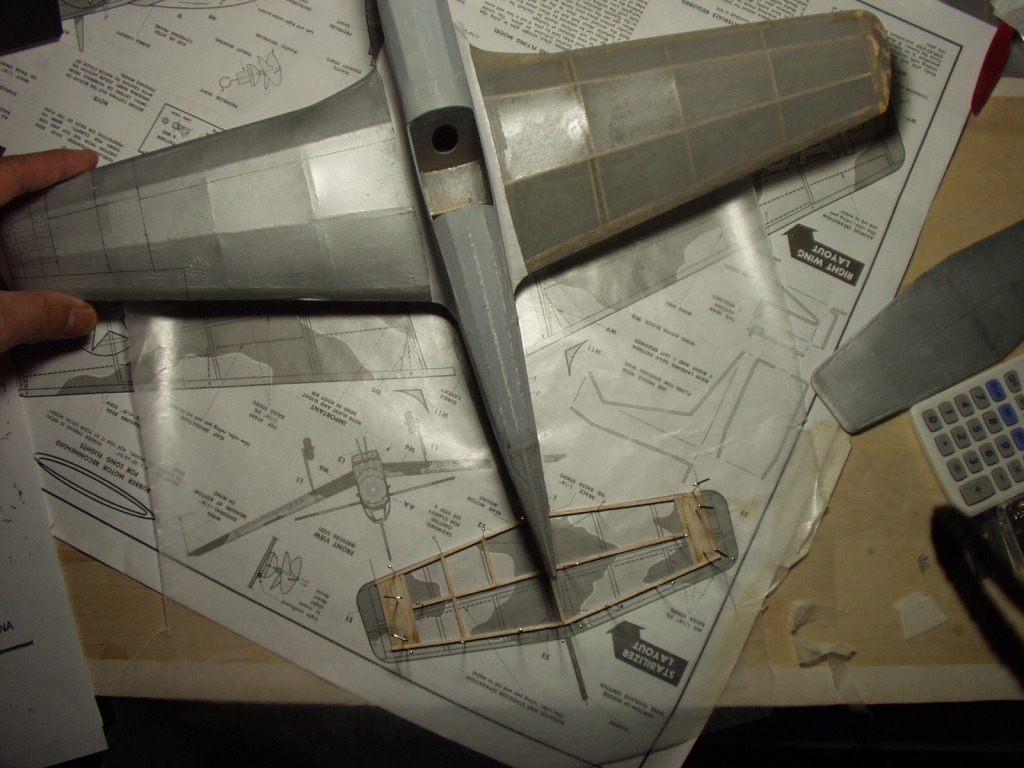
| While I was at it, I am also correcting the profile of the rear fuselage/radiator fairing. The kit's was too shallow and short. I guess this is a good example of "in for a penny, in for a pound"!! Ugh, I wish I never started this mess. |
| plasticbuddha, Image # 4250 | 27 Aug 07 07:16 |
|
| plasticbuddha, Comment for image # 4233 | 26 Aug 07 06:23 |
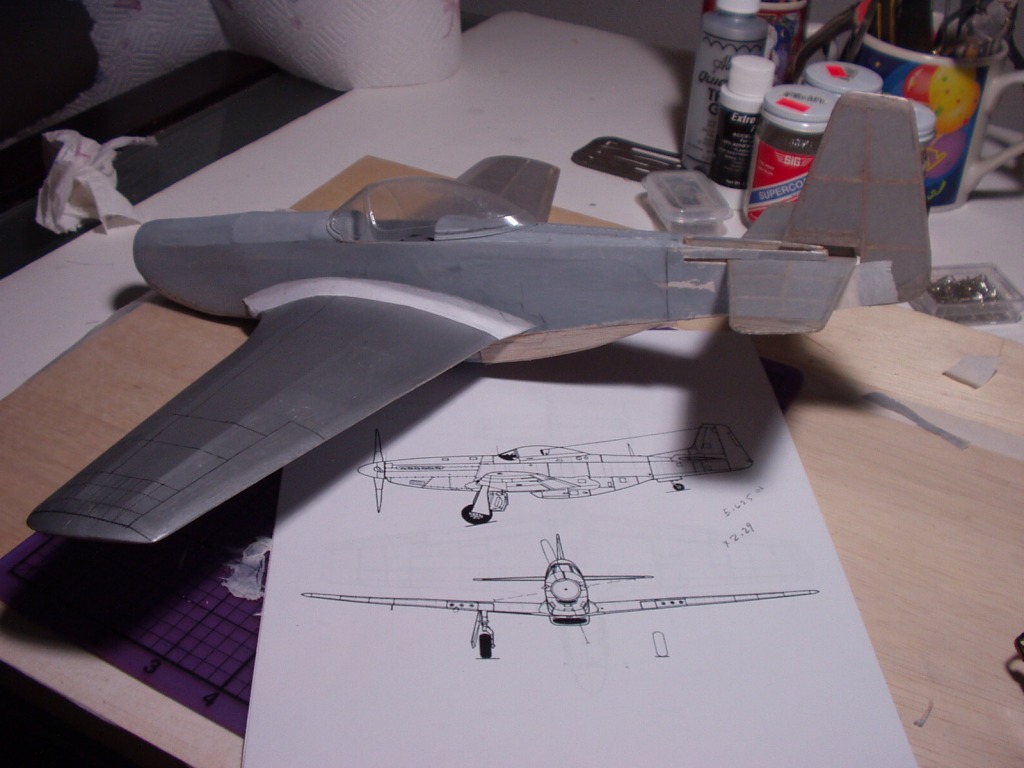
| Something didn't quite jive... I kept thinking that the bubble canopy was too large. So I checked the drawings that I found on-line. Turns out that the stabilzer was too large, the tail was short by at least 1". That's why the rear of the plane didn't look to scale. I guess Guillows did a little bit of re-engineering to get better flight characteristics (check out the extreme dihedral on the plan). I'm probably wasting my time trying to correct things. After all, it's a 10 dollar kit. It will be interesting if I can still get this brick to fly after it's all said and done!! :) |
| plasticbuddha, Image # 4233 | 26 Aug 07 06:14 |
|
| John M Oshust, Comment for image # 4226 | 25 Aug 07 17:30 |
| I think the silver grey looks great, I agree on the canopy but it may look smaller after you frame it it. |
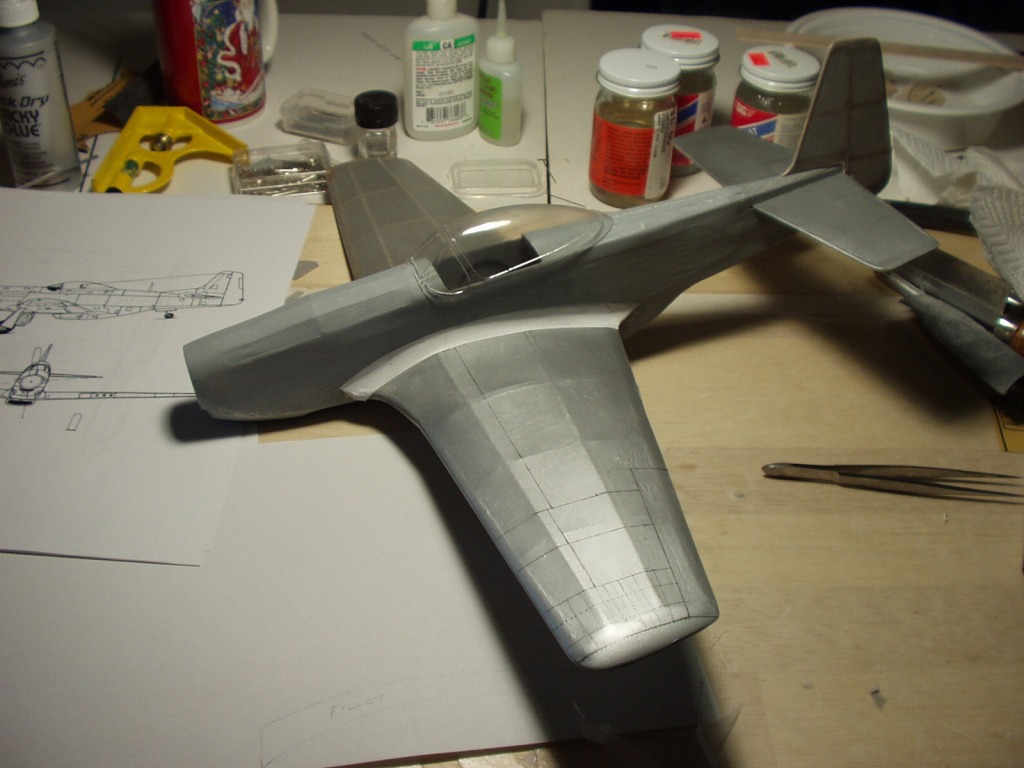
| plasticbuddha, Comment for image # 4226 | 25 Aug 07 15:59 |
| Very slow progress. Messed around with silver florist's spray. Pretty durable finish. Also trying my hand at paper wing fillet/fairings. For some reason, the bubble canopy looks totally out of scale (too big)! |
| plasticbuddha, Image # 4226 | 25 Aug 07 15:54 |
|
| jgood, Comment for image # 4192 | 24 Aug 07 08:22 |
| Looking very nice, PB. Very neat work. |
| Build Thread, Page :
[ 1 ] 2 (38 posts, 20 posts per page, 2 pages in total)
|
[ Next > ] |
