| Build Thread, Page :
1 [ 2 ] 3 4 (63 posts, 20 posts per page, 4 pages in total)
|
[ < Prev ] [ Next > ] |
| simpleflyer, Comment for image # 9464 | 07 Oct 08 00:55 |
| Thank you, gentlemen. Compliments from craftsmen of your caliber are greatly appreciated. |
| John M Oshust, Comment for image # 9464 | 06 Oct 08 20:14 |
| Magnificent!!! Bravo! |
| David Duckett, Comment for image # 9464 | 06 Oct 08 18:39 |
| Beautiful! |
| poppy, Comment for image # 9464 | 06 Oct 08 18:38 |
| Wow! Another one that would make Orville and Wilber proud. Wonderful craftsmanship!! |
| simpleflyer, Image # 9464 | 06 Oct 08 18:12 |

Structure completed. Remainder of the rigging, carving the second prop and a few small details left to finish. |
| simpleflyer, Image # 9461 | 05 Oct 08 22:22 |

Fuselage mated to wings. |
| simpleflyer, Image # 9448 | 04 Oct 08 16:21 |

Elevator and rudder assembled. Fuselage frame started. Looks like we will meet our 12-17-08 deadline. |
| simpleflyer, Image # 9441 | 03 Oct 08 18:16 |

Thread wing bracing in place. Elevator and rudder surfaces covered. |
| simpleflyer, Comment for image # 9427 | 02 Oct 08 00:53 |
| Thanks, Poppy. How are you coming along in getting your lake home in order? You are indeed lucky that one of trees didn't fall on it. |
| simpleflyer, Image # 9437 | 02 Oct 08 00:39 |

Motor and prop dirve train test fit prior to installation. |
| poppy, Comment for image # 9427 | 01 Oct 08 09:03 |
| This is looking GREAT! |
| simpleflyer, Image # 9427 | 30 Sep 08 17:08 |

Wing struts glued in place and more small bits built. |
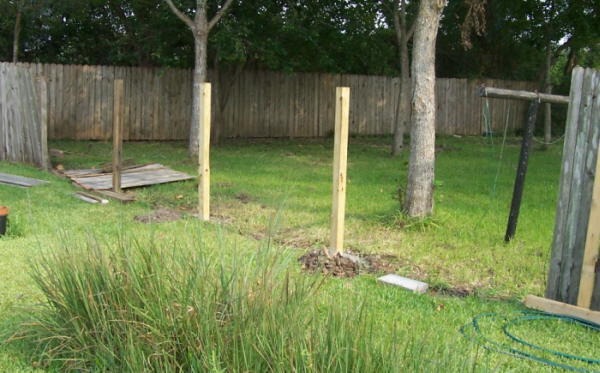
| simpleflyer, Image # 9426 | 30 Sep 08 17:05 |
Outdoor project done for now. |
| simpleflyer, Image # 9376 | 20 Sep 08 23:17 |
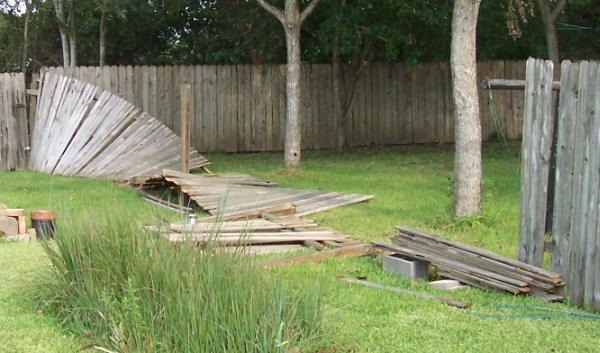
The strut installation in the previous pic is our response to the modification to our fence by Hurricane Ike which passed 30 miles east of here last Sathurday. |
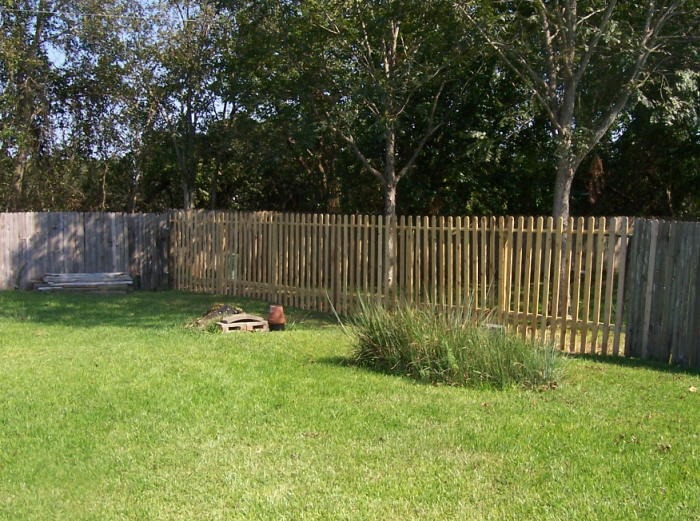
| simpleflyer, Image # 9375 | 20 Sep 08 23:10 |
The two light colored posts in the center of the pic are our current strut installation. |
| David Duckett, Comment for image # 9230 | 02 Sep 08 09:48 |
| Two comments: I built it strictly per instructions and this is much better. This is the one and only thing I ever covered dry and I was surprised when it actually worked. |
| poppy, Comment for image # 9230 | 02 Sep 08 06:33 |
| These are perfect! |
| simpleflyer, Image # 9234 | 01 Sep 08 15:26 |
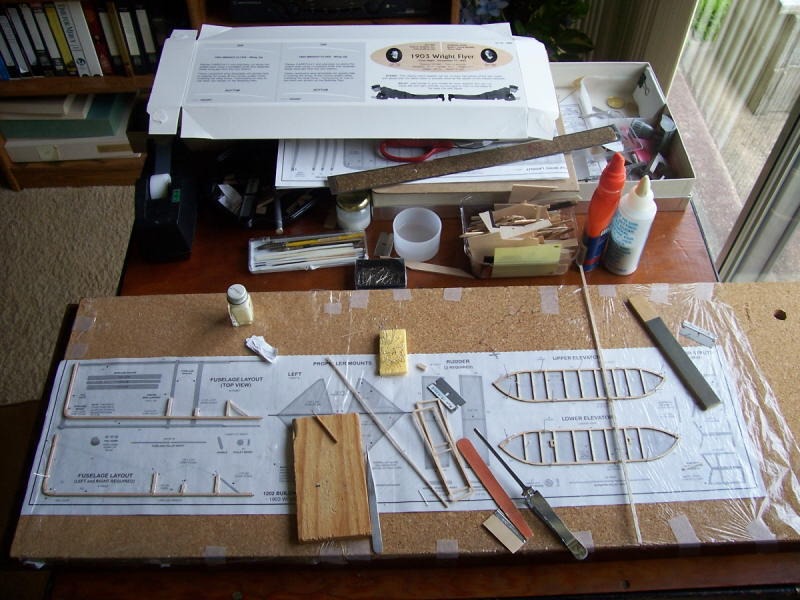
Assembling some of the small bits. |
| John M Oshust, Comment for image # 9230 | 01 Sep 08 15:00 |
| Nice work...Purrrfect! |
| simpleflyer, Comment for image # 9230 | 01 Sep 08 14:09 |
| Thanks, Barnstormer. We covered with dry kit supplied tissue. Using 50/50 mix of water and white glue per the instructions. We followed DD's hint of laying the wing inverted and taping the ends of the tissue snugly over the center of the wing surface. Then we applied the glue/water mix thru the paper starting at the back spar and middle of the wing and worked out to the edges in all directions. When the bottom half was done, we removed the wing from the board and folded the paper over the trailing edge. The we began painting starting at the center moving toward the leading edge and toward the wing tips. litte at a time sligly tugging on the paper to keep it taut. All the while, only painting thru the paper over the wood parts of the wing. Also wet the trailing edge well and pinch the paper over the thread per the instructtions. When the wing is dry, pin it down and very gently spritz it with a fine mist of water and let it dry. Do each side one at a time. The wing should be nice and taut after this. Pin the wing down and then quickly brush an even coat of glue/water between the wing ribs. We found that brushing along the span of the wing, tip to tip, resulted in less of a chance of the damp paper sagging and meeting the other surface and sticking to it. Only place where we had this happen was at the rear of the wide bay on the bottom wing and it is most evident on the bottom side so it will not be very noticeable in the completed model. Check the Wright build in David Duckett's Hangar, he has excellent pictures of the process. Al |
| Build Thread, Page :
1 [ 2 ] 3 4 (63 posts, 20 posts per page, 4 pages in total)
|
[ < Prev ] [ Next > ] |
