| Build Thread, Page :
1 [ 2 ] 3 (43 posts, 20 posts per page, 3 pages in total)
|
[ < Prev ] [ Next > ] |
| jgood, Comment for image # 6400 | 05 Feb 08 06:01 |
| Amazing work, John. It looks like it might start floating off the desk right now. SO the top wing is permanently attached now? Covering will be added in place? |
| John M Oshust, Comment for image # 6394 | 04 Feb 08 23:12 |
| So delicate I could never build one of these! |
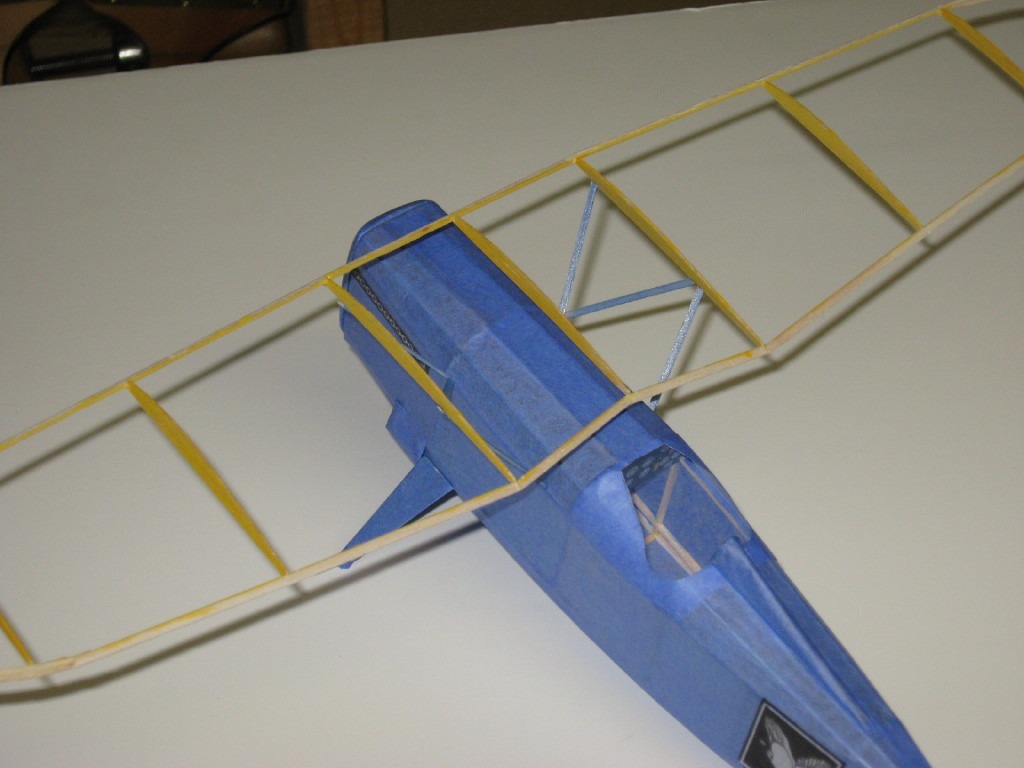
| John Cooper, Image # 6400 | 04 Feb 08 22:43 |
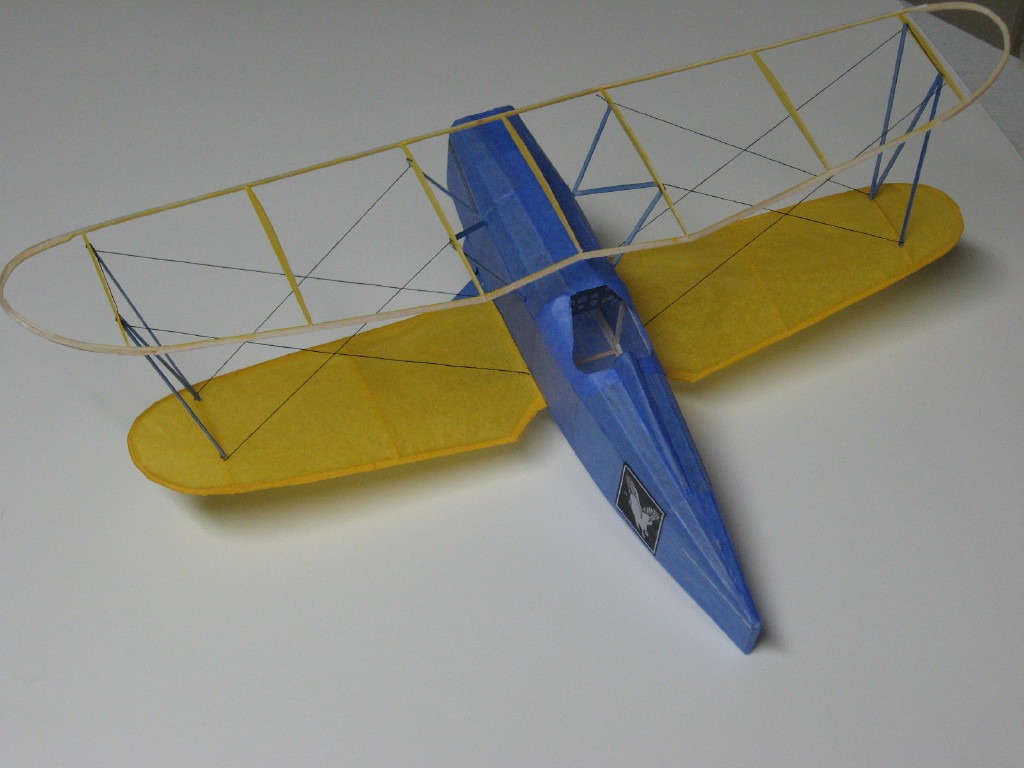
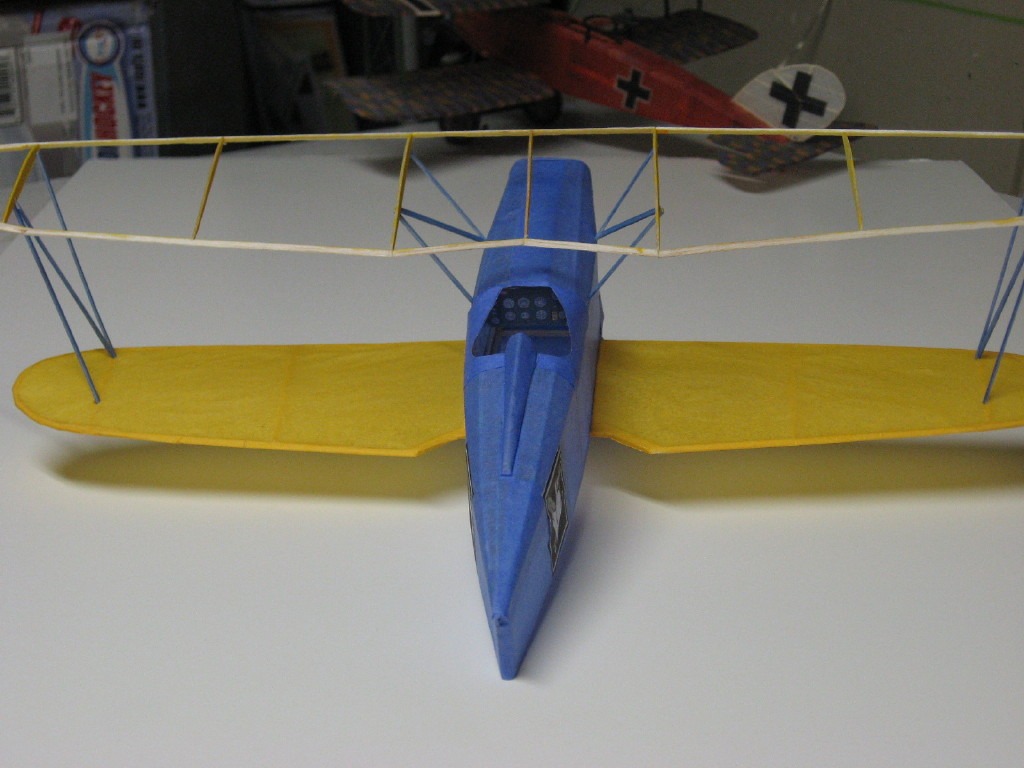
Rigging is done with a needle and thread and is sewn through the structure. Note that the proper dihedral is now restored. |
| John Cooper, Image # 6399 | 04 Feb 08 22:40 |
The frail structure bends and looses it dihedral under the weight of the wings. Bracing wire is essential. |
| John Cooper, Image # 6398 | 04 Feb 08 22:38 |
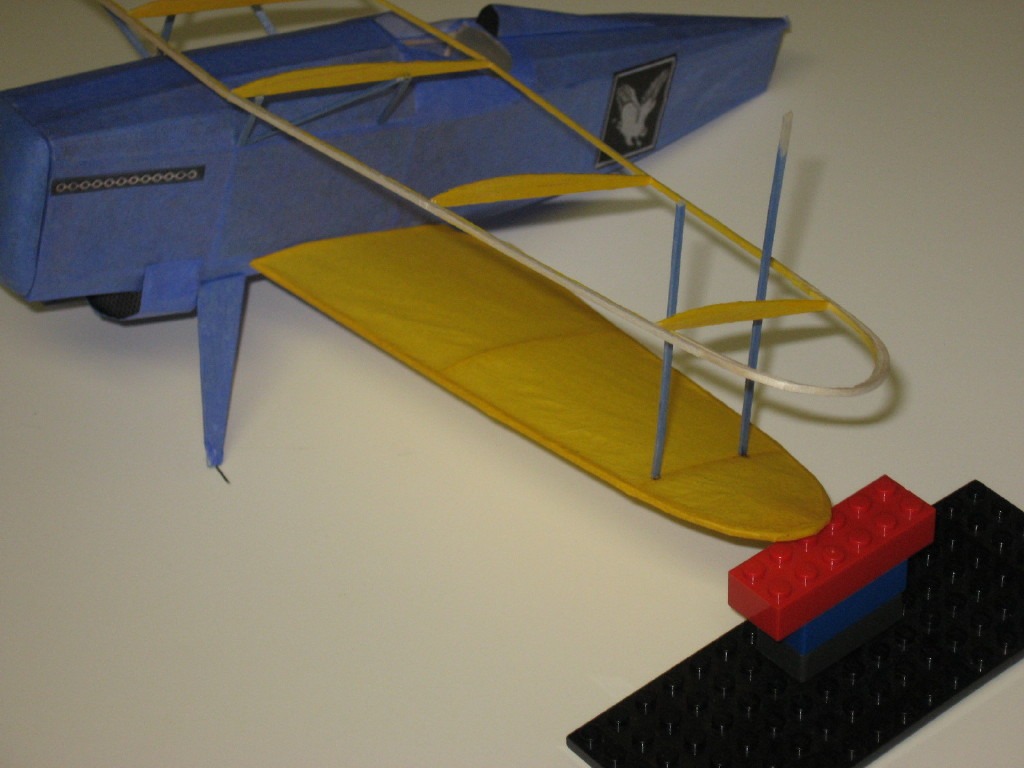
Lego makes a great jig to line up the wings. |
| John Cooper, Image # 6397 | 04 Feb 08 22:37 |
Interplanes are installed on the lower wing first. |
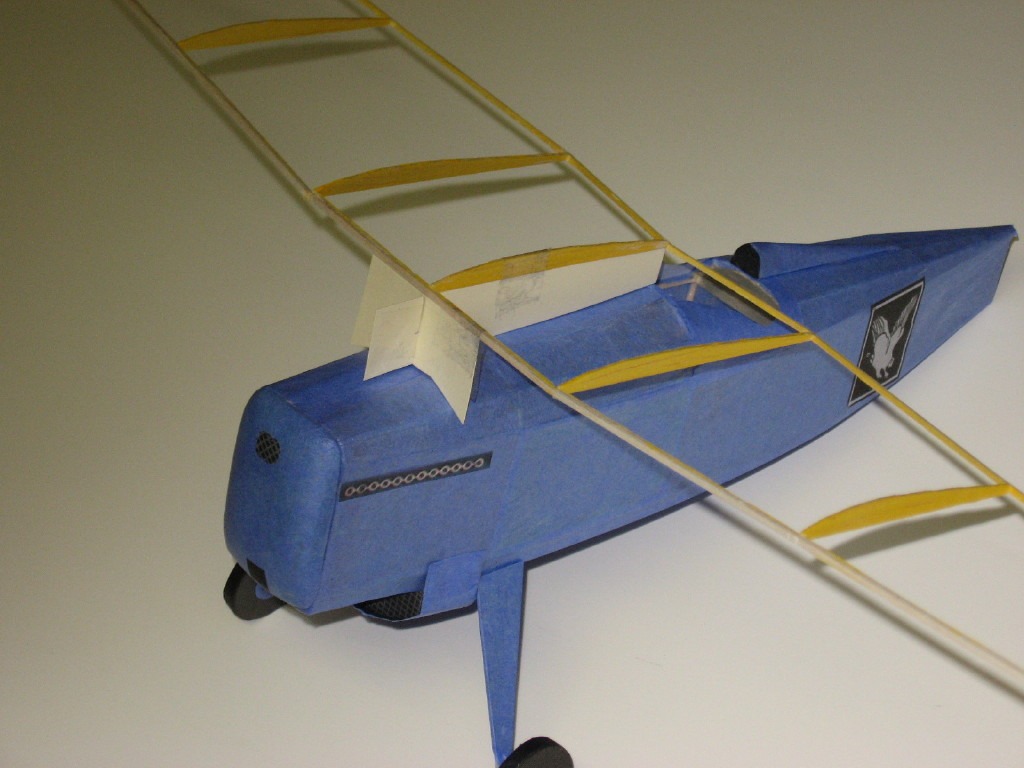
| John Cooper, Image # 6396 | 04 Feb 08 22:36 |
At this weight and size, a tiny drop of CA is all that is needed to cement the cabanes in place. |
| John Cooper, Image # 6395 | 04 Feb 08 22:34 |
A blatant violation of the Guillows rule: "All frames covered with tissue before assembly" |
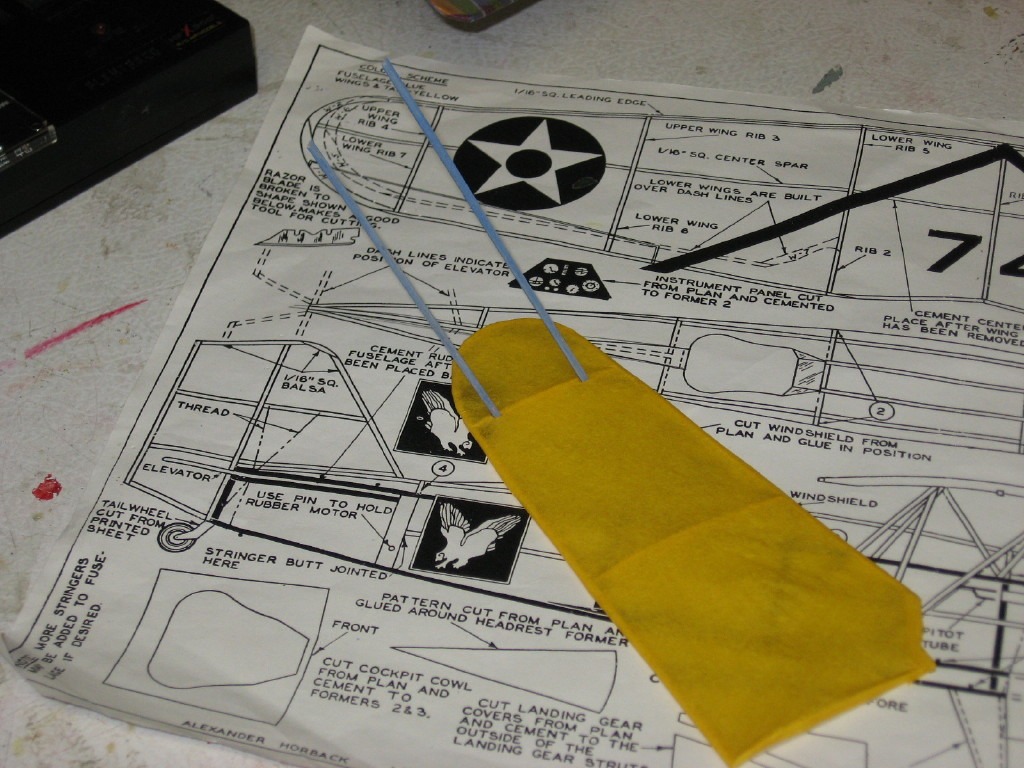
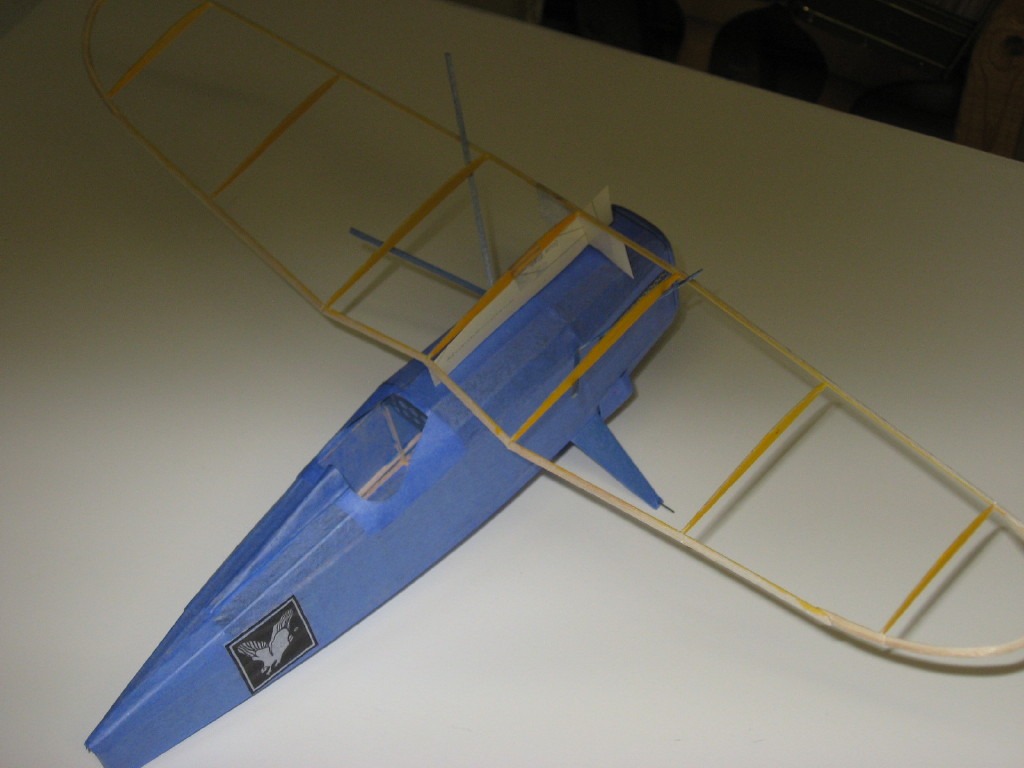
| John Cooper, Image # 6394 | 04 Feb 08 22:32 |
A card stock jig holds the wing for the cabane struts to be installed |
| John Cooper, Image # 6393 | 04 Feb 08 22:30 |
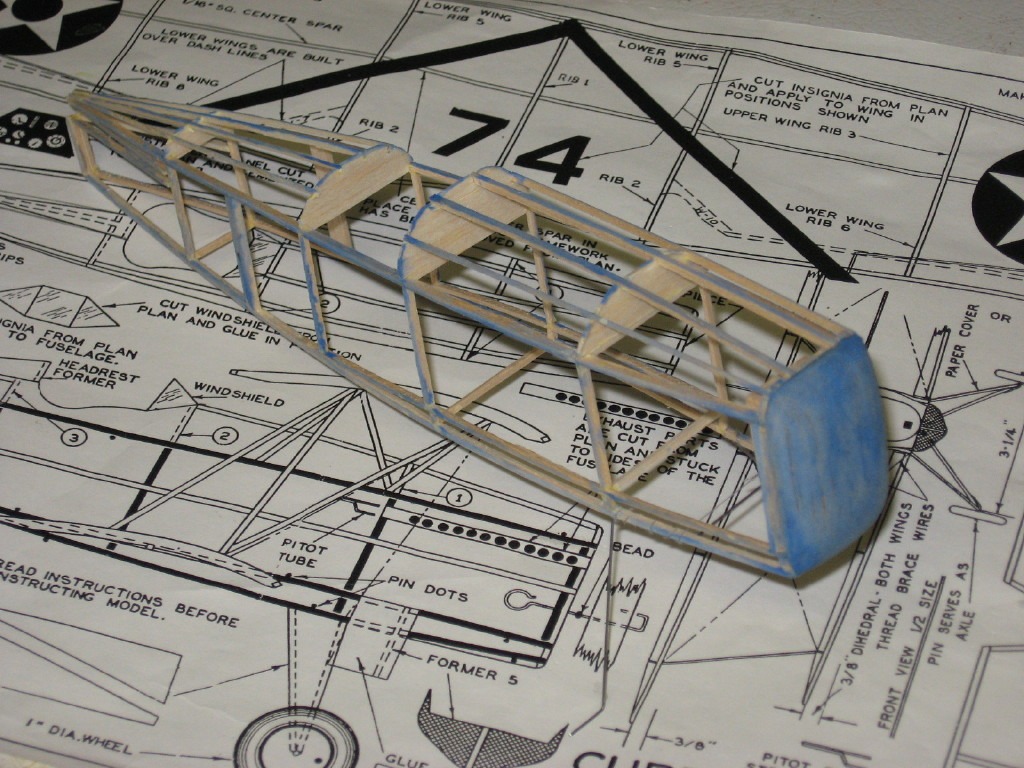
The cockpit area was built from light tracing paper laminated with tissue paper. |
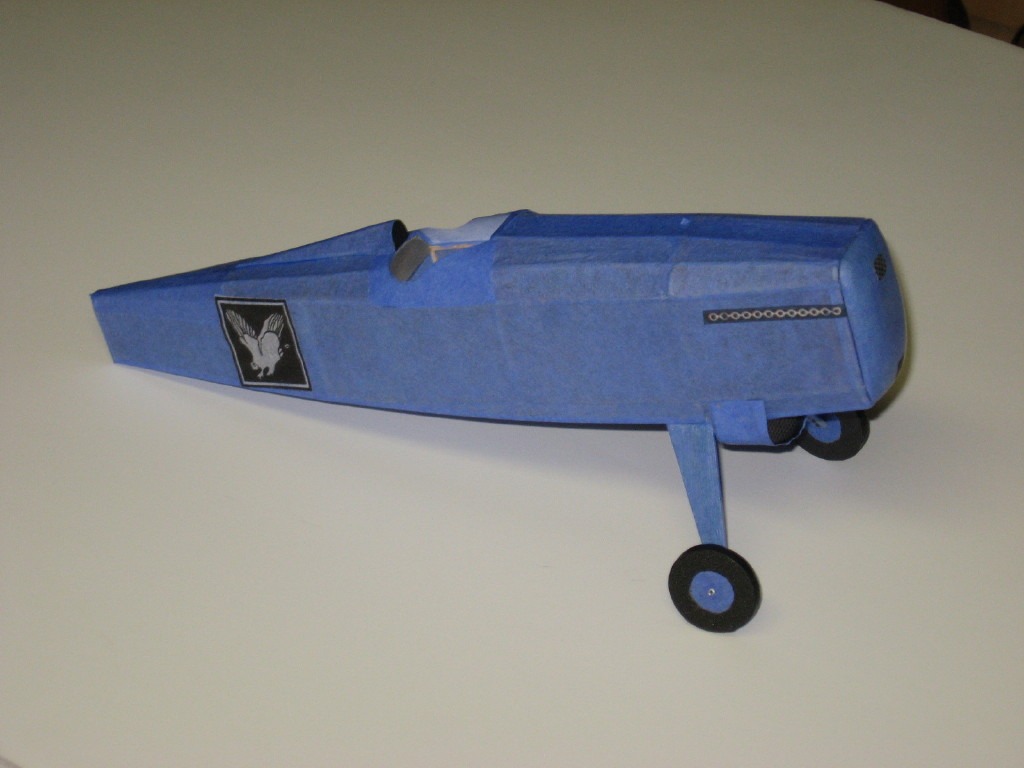
| John Cooper, Image # 6228 | 29 Jan 08 22:49 |
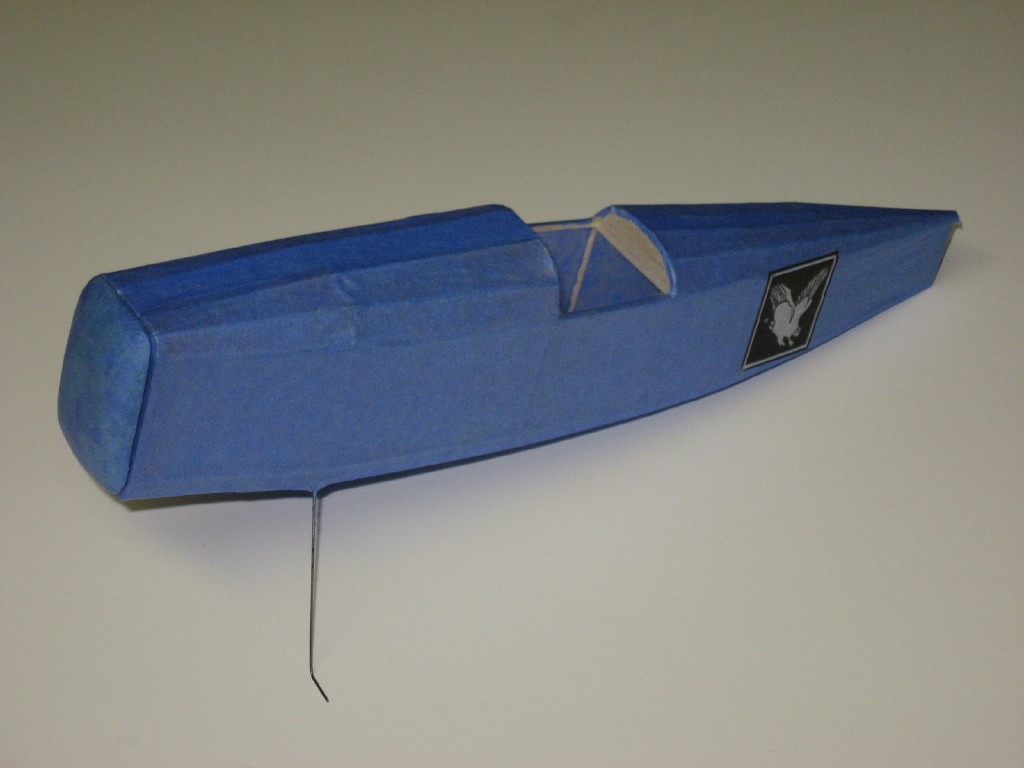
The covered fuselage reveals the scale inaccuracies of this dime scale plan. |
| John Cooper, Image # 6225 | 29 Jan 08 22:43 |
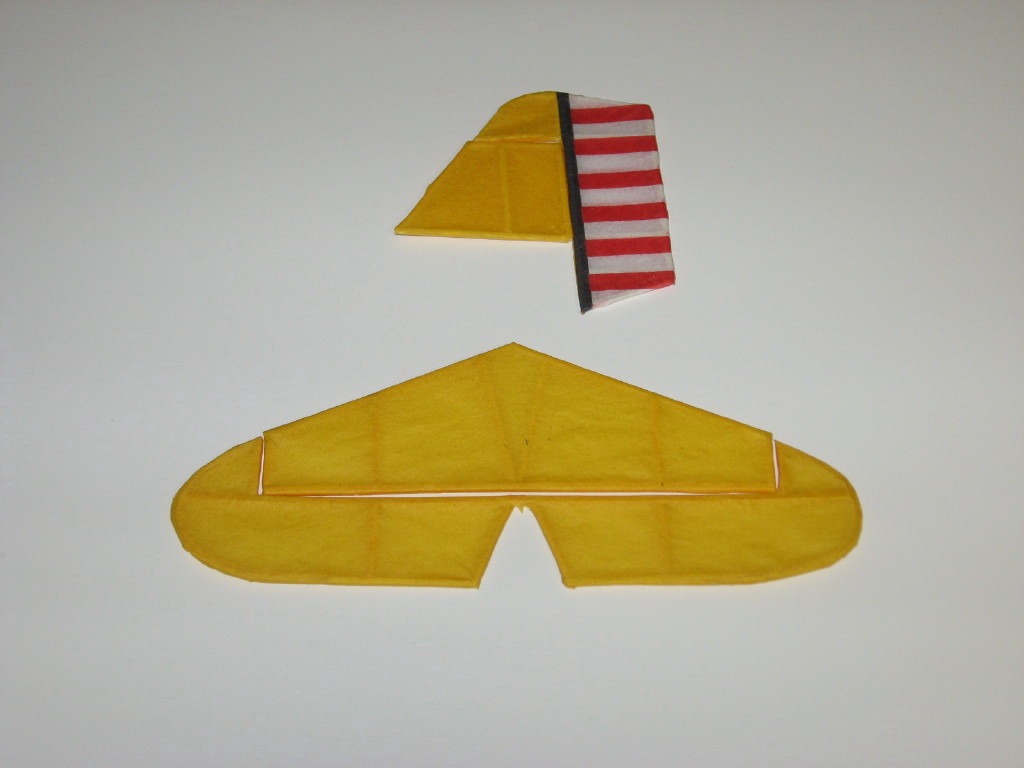
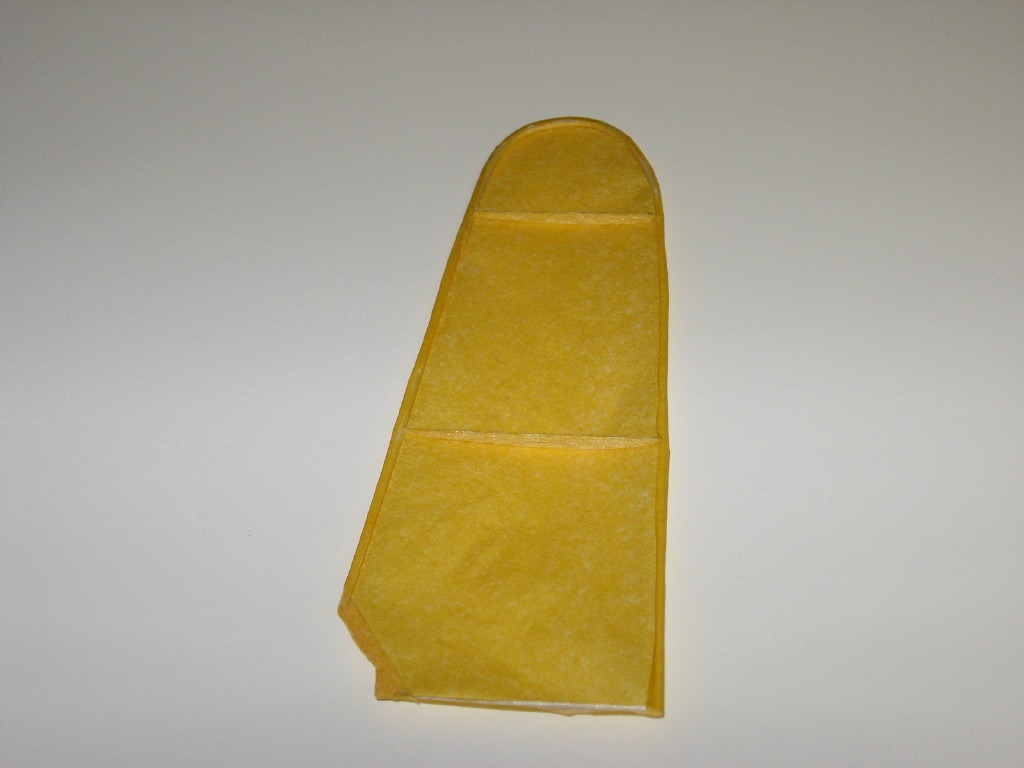
I made separate control surfaces on the tail, in case I decide to convert this rubber powered plane to micro R/C. |
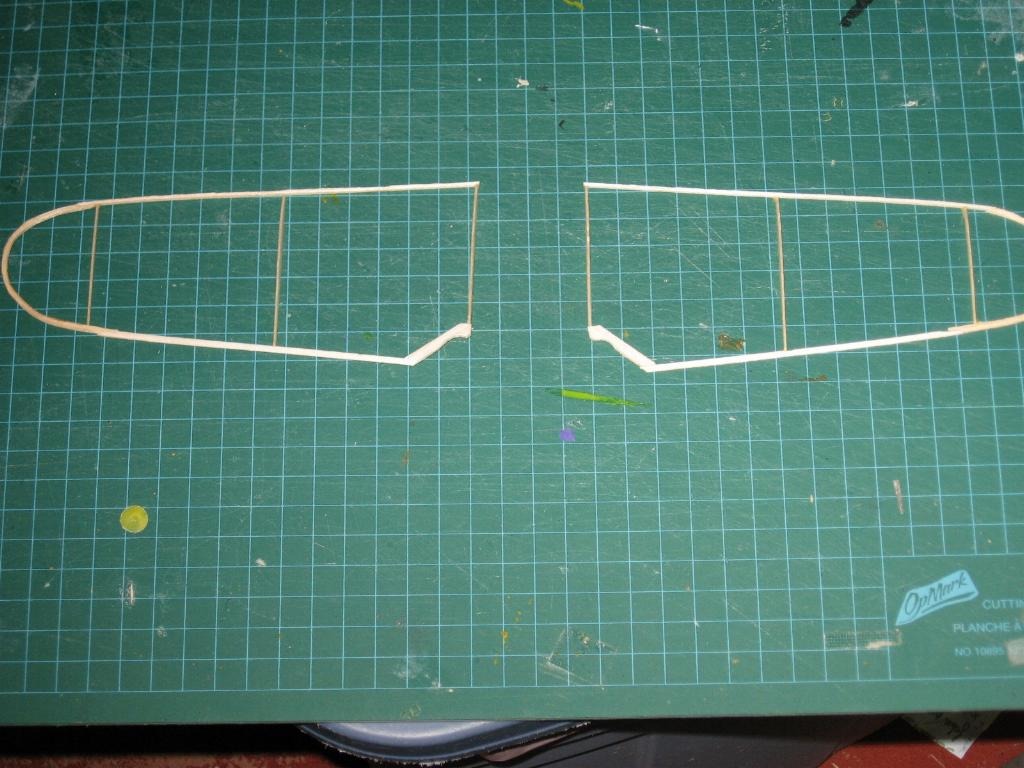
| John Cooper, Image # 6223 | 29 Jan 08 22:40 |
Completed bottom wing. Weight of 1 wing is 0.25g. |
| John Cooper, Image # 6219 | 29 Jan 08 22:38 |
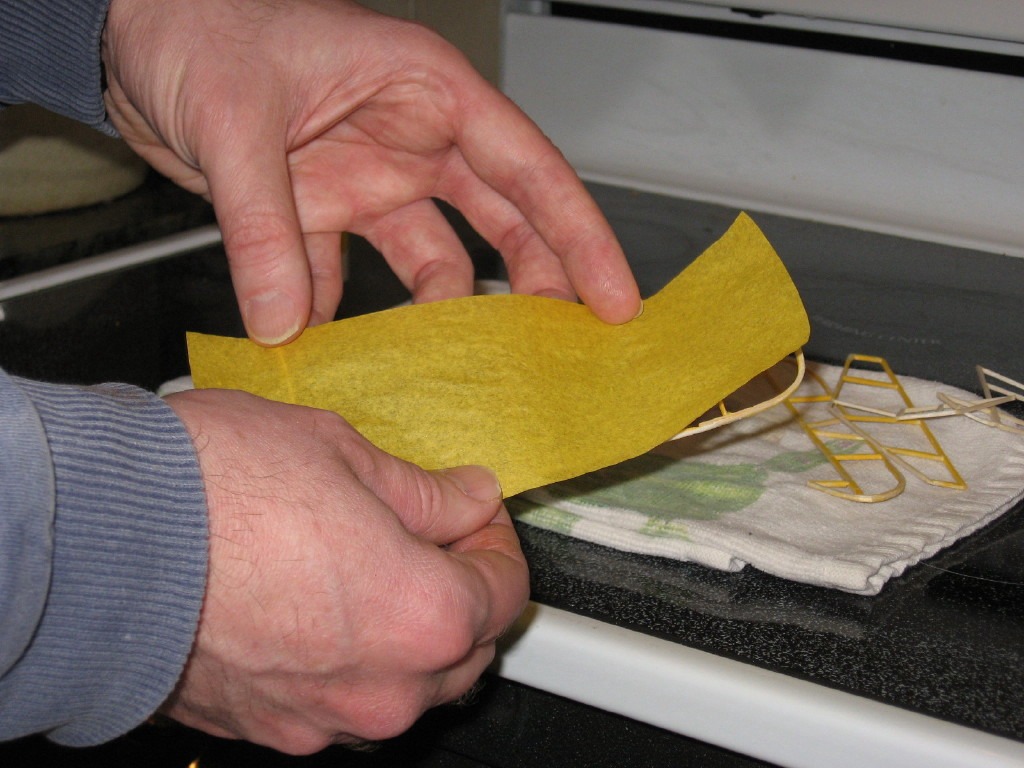
I applied the tissue over an oven with the door slightly open. This guarantees that the tissue is absolutely dry and won't warp later. This is could be a real problem on a flimsy frame like this. |
| John Cooper, Image # 6216 | 29 Jan 08 22:35 |
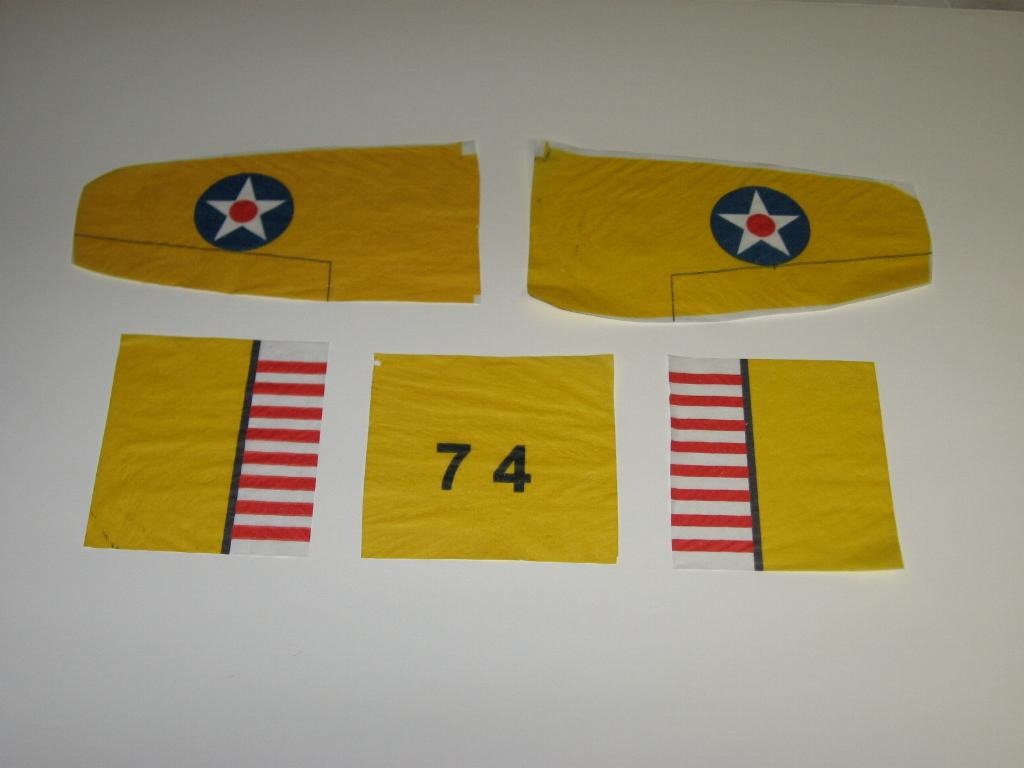
Printing completed. I did 2 passed on low print intensity. |
| John Cooper, Image # 6215 | 29 Jan 08 22:32 |
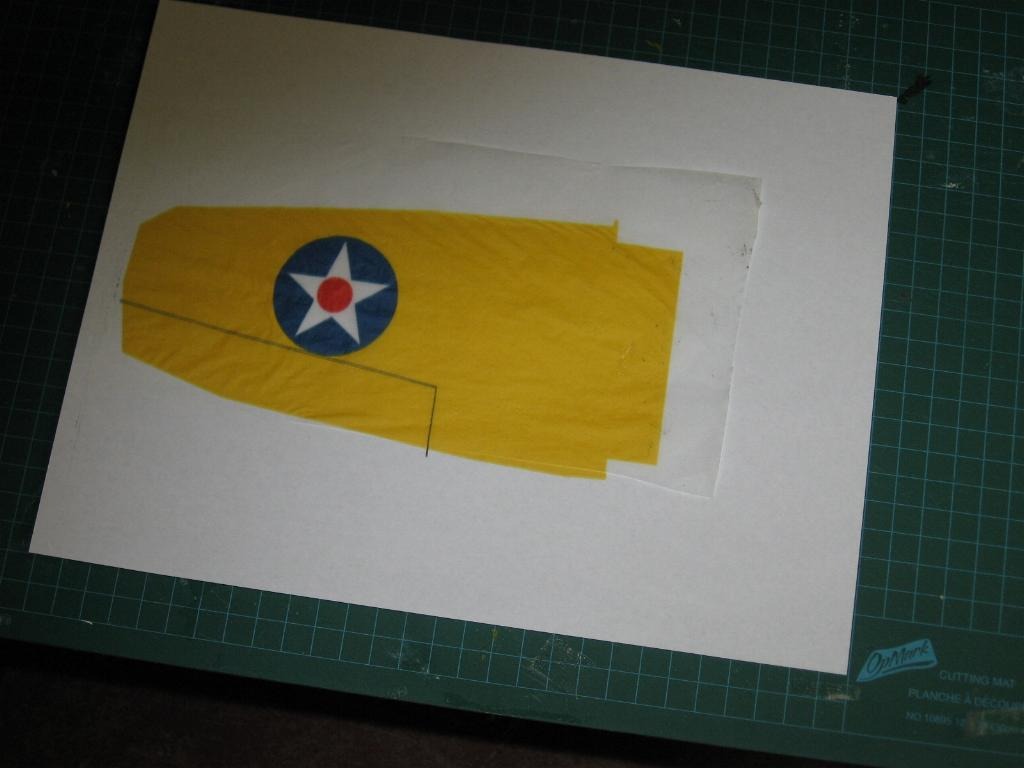
I used an inkjet printer to put the details on pre-shrunk domestic white tissue. |
| John Cooper, Image # 6214 | 29 Jan 08 22:29 |
I gave the fuselage a very thin coat of paint. This will make the covering seem more opaque, because the balsa will be less visible. |
| John Cooper, Image # 6213 | 29 Jan 08 22:27 |
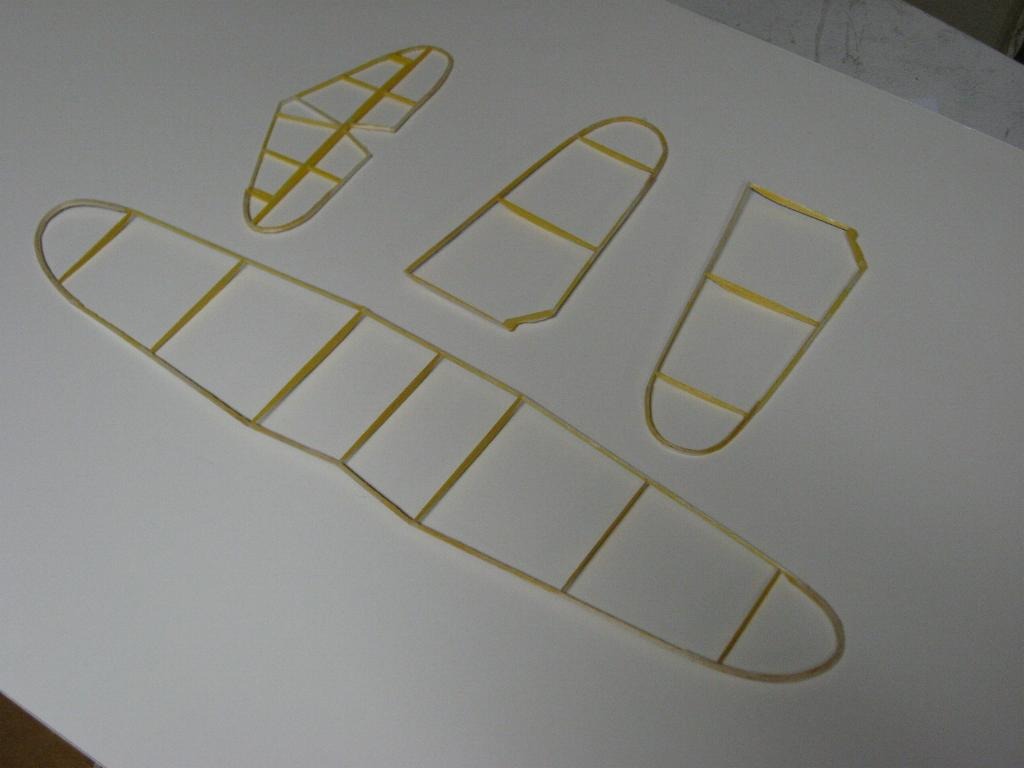
Because the flying surfaces will be covered on the top onlt, I put a very light coat of paint on the exposed wood. |
| John Cooper, Image # 6212 | 29 Jan 08 22:25 |
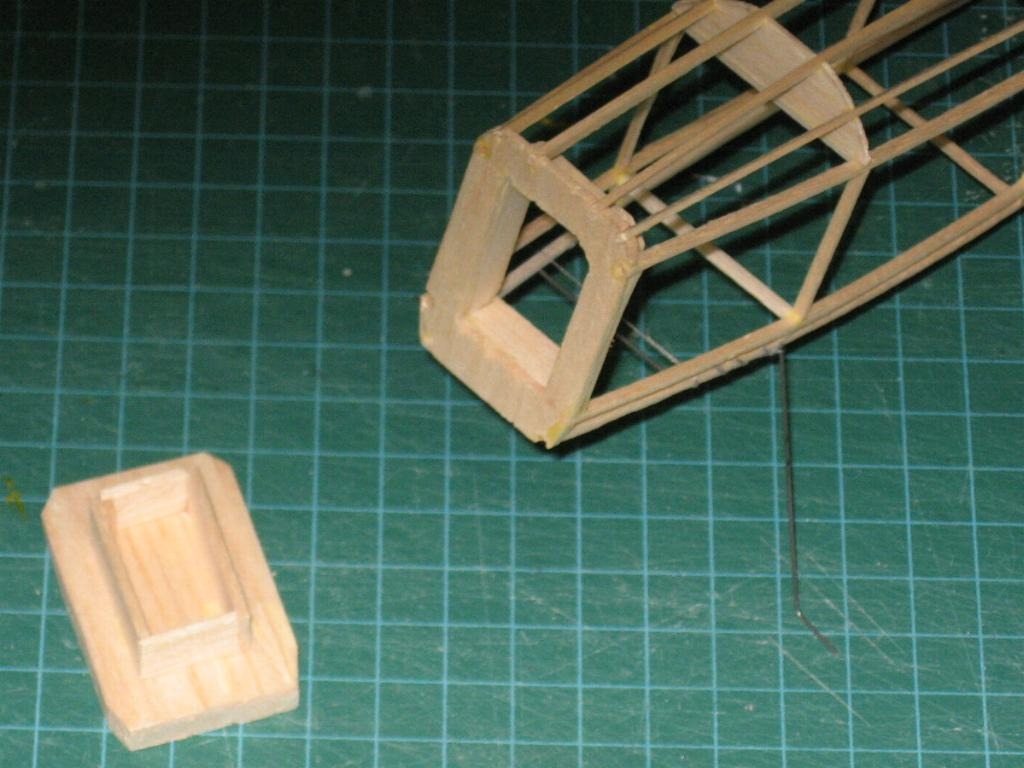
The removable nose block is a deviation from the plans. |
| John Cooper, Image # 6211 | 29 Jan 08 22:24 |
The bottom wings simply but against the fuselage sides. |
| Build Thread, Page :
1 [ 2 ] 3 (43 posts, 20 posts per page, 3 pages in total)
|
[ < Prev ] [ Next > ] |
