| Build Thread, Page :
1 [ 2 ] 3 (48 posts, 20 posts per page, 3 pages in total)
|
[ < Prev ] [ Next > ] |
| moostang51, Image # 2458 | 25 Feb 07 18:07 |
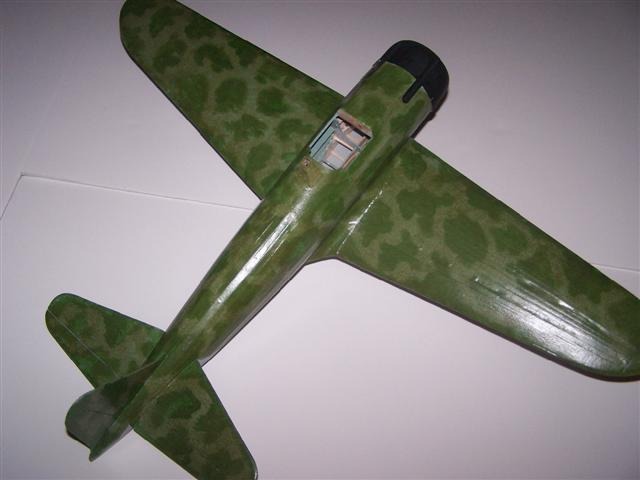
Camo finished with moveable surfaces attached. |
| flyguy172, Comment for image # 2440 | 19 Feb 07 20:11 |
| Looks great! It's really coming together now. |
| moostang51, Image # 2440 | 19 Feb 07 18:46 |
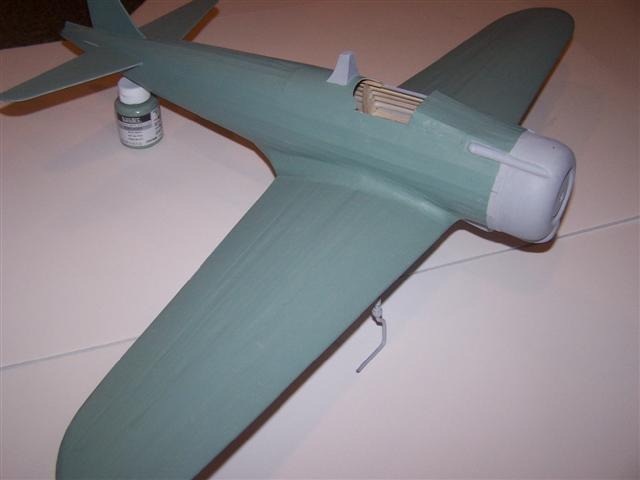
Every coat is better and better. Two light grey primer and first base camo coat. |
| moostang51, Image # 2439 | 19 Feb 07 18:43 |
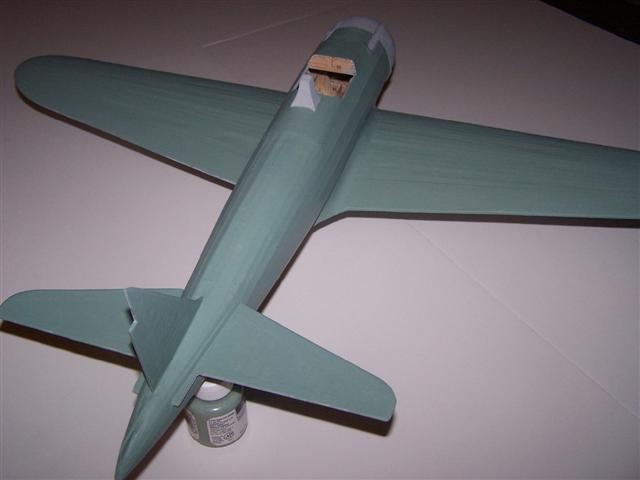
First coat Arctic Green base camo. |
| jgood, Comment for image # 2429 | 18 Feb 07 18:38 |
| This is looking very nice Moostang. |
| lenard, Comment for image # 2428 | 18 Feb 07 18:07 |
| Nice touch, can't wait to see it when its finished |
| moostang51, Image # 2430 | 18 Feb 07 17:51 |
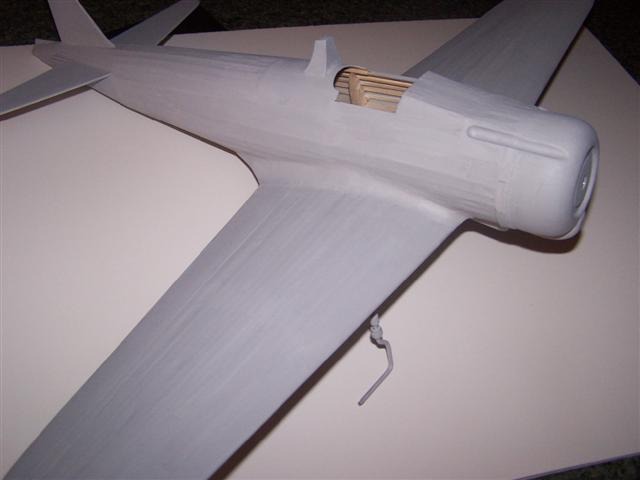
Almost ready for final painting. A touch of filler and 400 sanding first. |
| moostang51, Image # 2429 | 18 Feb 07 17:49 |
Two coats of light grey liquitex primer |
| moostang51, Image # 2428 | 18 Feb 07 14:35 |
Cowling gills added. A little filler and sanding should do the trick |
| moostang51, Image # 2427 | 18 Feb 07 14:33 |
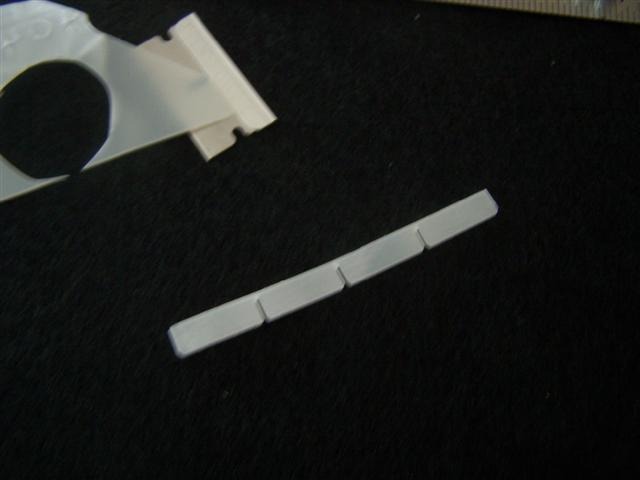
Making of cowling gills from scrap styrene. |
| gleno, Comment for image # 2414 | 12 Feb 07 09:45 |
| Thats the ticket! no mater how much effort you put into a scale model this size, the first thing that catches the eye is the business end!! Its a shame flying scale models cant always carry a prop that does justice to the workmanship and attention to detail that goes into the rest of the aircraft. top stuff mate! look forward to seeing it finished.:) |
| moostang51, Image # 2414 | 11 Feb 07 18:41 |
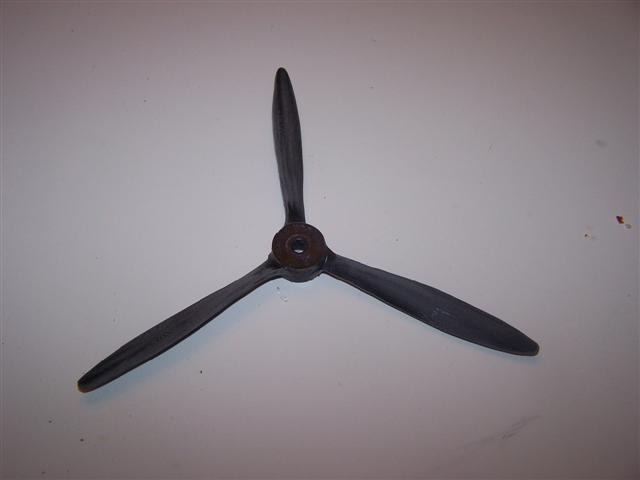
This was a Master Airfix 9x7 prop that I trimmed down with a Dremel after gluing on the scale design from plan sheet. |
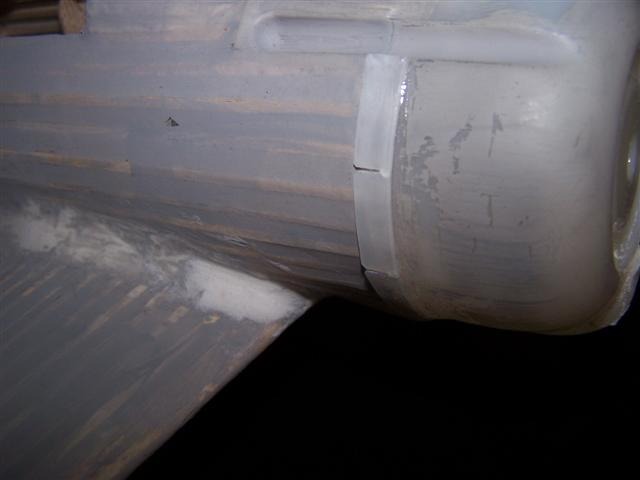
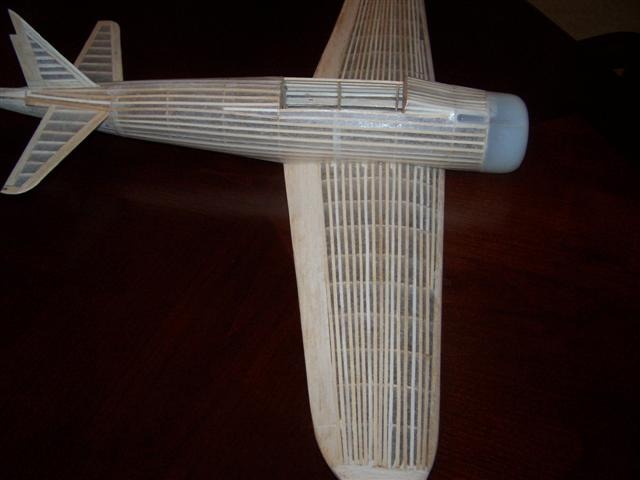
| moostang51, Image # 2413 | 11 Feb 07 18:38 |

Hopefully a little sanding can smooth the fairings out prior to paint. I really didn't enjoy this part of construction. |
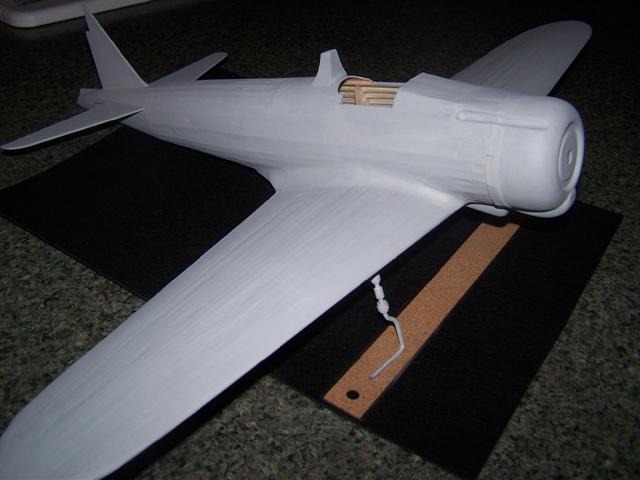
| moostang51, Image # 2412 | 11 Feb 07 18:35 |
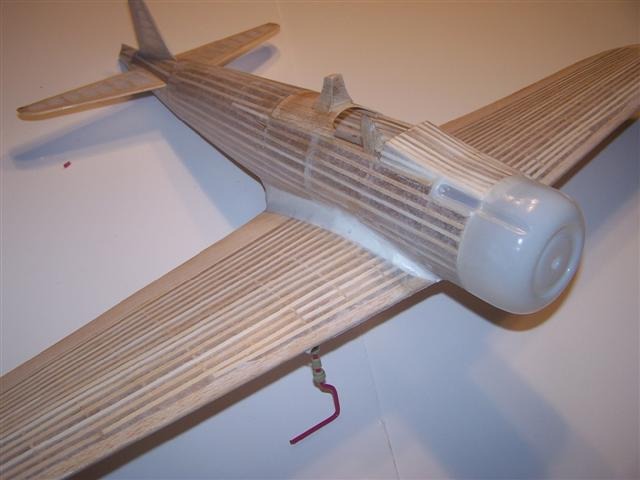
Fairings, armorplate and landing gear installed. |
| gleno, Comment for image # 2393 | 05 Feb 07 06:48 |
| wow thats looking realy good! almost a shame to put colour on it!! top job mate! :) |
| moostang51, Comment for image # 2391 | 05 Feb 07 04:27 |
| Used their tissue with wet covering method. Hope to find a little heavier tissue for the next project as a couple of tears happened when stretching and smoothing. I'm hooked on the wet though as one sheet can cover a lot more area and contours to all the curves much better. 60/40 white glue for the adhesive and two applications of 50/50 "lite-dope" for the sealing. No more sagging, but whew! what an odor. |
| jgood, Comment for image # 2391 | 04 Feb 07 21:53 |
| Looks very good Moostang. Covered with the kit supplied tissue? |
| David Duckett, Comment for image # 2393 | 04 Feb 07 19:22 |
| You certainly should be! Great work!! |
| moostang51, Image # 2393 | 04 Feb 07 19:02 |
Thanks David for all your hints. I'm very happy with the final construction. |
| moostang51, Image # 2392 | 04 Feb 07 19:01 |
Coloring to be from the Saipan Theatre with olive markings on a sea foam green background. Well anyway I'll give it a try! |
| Build Thread, Page :
1 [ 2 ] 3 (48 posts, 20 posts per page, 3 pages in total)
|
[ < Prev ] [ Next > ] |
