| Build Thread, Page :
[ 1 ] 2 3 (51 posts, 20 posts per page, 3 pages in total)
|
[ Next > ] |
| Steven Dietz, Image # 10122 | 08 Dec 08 19:25 |
second time filling. filled little spot after sanding |
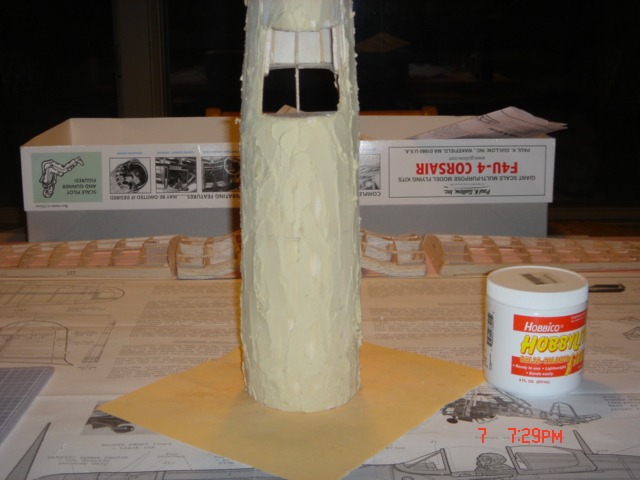
| Steven Dietz, Image # 10121 | 08 Dec 08 19:23 |
inserted plastic in slots for sliding canopy |
| Steven Dietz, Comment for image # 10112 | 08 Dec 08 12:08 |
| thanks, mdmorgan37. i already have sanded it close & used hobbylite to fill any void . i like the planking. you can leave the wood high & have enough to sand to get it uniform & smooth. plus the balsa sheets you buy are so much softer & workable. how many coats & what grit do you sand to. thanks, steve |
| mdmorgan37, Comment for image # 10112 | 07 Dec 08 21:41 |
| once you sand that off your fuse wil come to life an take shape. hobbielite will sand real for you dont have to use no more then 280 grit to get it down. an for the color it doent matter doent matter you should primer over it before you paint. the squadren green just shows all the boo boos you made while planking.if have look at alot of picutre on here you noticed that when people here that use hobbielite because of it lite brown color you cant see an there flawes an mistake in builind. dont get me wrong on that there are some real professional on here that been at this for quit some time an dont make to many mistake, but know how to hide them.i think that there are misleading picture on build that you dont see |
| Steven Dietz, Comment for image # 10112 | 07 Dec 08 20:45 |
| might give that a try on the next coat, sounds like a great idea,thanks |
| Luke War, Comment for image # 10112 | 07 Dec 08 20:08 |
| I wonder if you could put a few drops of food coloring in the water when you thin out the filler...dunno if it would have any adverse effects on the wood though. Any thoughts? |
| Steven Dietz, Comment for image # 10112 | 07 Dec 08 19:10 |
| wish i had a different color fill |
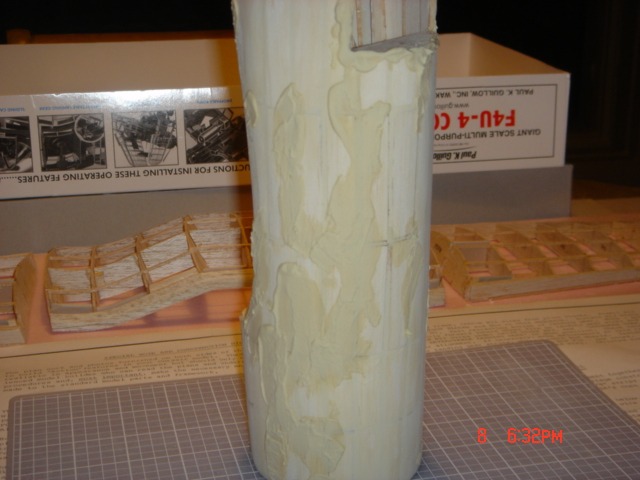
| Steven Dietz, Image # 10112 | 07 Dec 08 19:08 |
first coat of fill . let dry & sand again. |
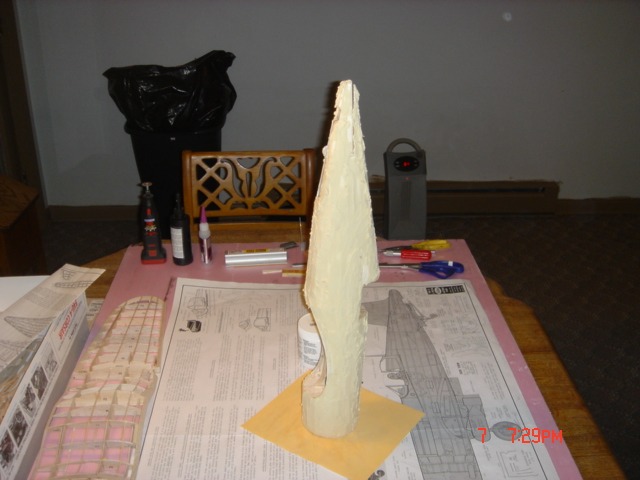
| Steven Dietz, Image # 10111 | 07 Dec 08 19:05 |
sanded & filled |
| Steven Dietz, Comment for image # 10097 | 07 Dec 08 15:21 |
| thanks for your help mdmorgan37 |
| mdmorgan37, Comment for image # 10097 | 07 Dec 08 02:09 |
| the color of the hobbylite hides gaps will the pictures
|
| mdmorgan37, Comment for image # 10097 | 07 Dec 08 01:59 |
| looks great steven, i start with the squadren green an ran out an i tryed the hobbylite. it was a little easyer to use the the green. |
| Steven Dietz, Comment for image # 10099 | 06 Dec 08 22:59 |
| thanks again for everyone's help |
| Steven Dietz, Comment for image # 10099 | 06 Dec 08 22:58 |
|
| David Duckett, Comment for image # 10099 | 06 Dec 08 18:30 |
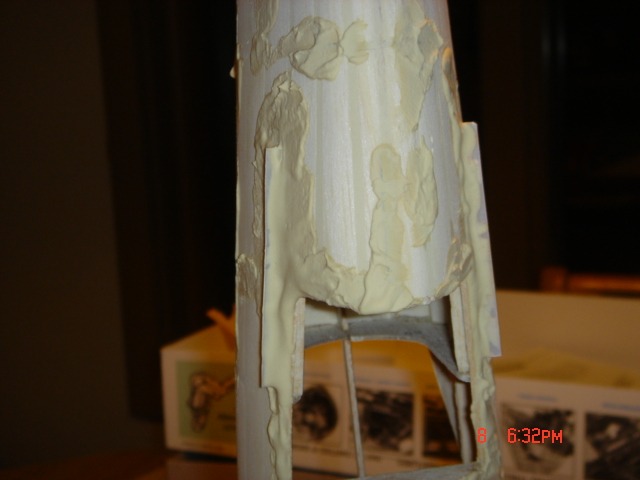
| Generally the "L" parts are fillers for the fuselage and that's what this is. The hole is, as Steve M says, where the wire would go for movable elevators. |
| Steven Dietz, Comment for image # 10099 | 06 Dec 08 17:07 |
| thanks for your help guy's. i just didn't want to plank over it . when i don't know what it is. |
| Steven Dietz, Comment for image # 10099 | 06 Dec 08 17:04 |
|
| SteveM, Comment for image # 10099 | 06 Dec 08 16:14 |
| If all else fails, call Guillow's on Monday and ask. |
| Xanadu, Comment for image # 10099 | 06 Dec 08 16:03 |
| I am pretty sure its a brace, an opening would not be numbered. |
| SteveM, Comment for image # 10099 | 06 Dec 08 14:26 |
| Looks like a passage for the wire that holds the elevator halves together (if making movable tail surfaces). |
| Build Thread, Page :
[ 1 ] 2 3 (51 posts, 20 posts per page, 3 pages in total)
|
[ Next > ] |
