| Hangar |
Aircraft |
Category |
Date |
Preview |
| David Duckett | Dave Diels Engineering, Inc Kit #29 Hawker Typhoon Mk 1B | Build | 10-Apr-15 14:33 | 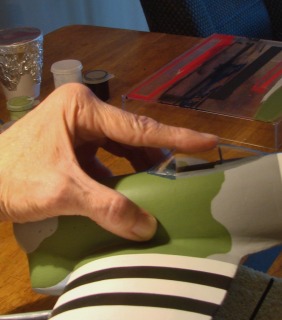 | | Views : 536 | | Gently pressing down on the canopy will force the sides into contact with the fuselage. Put a very small drop on each side, about where my finger is, to secure. Finally put a small drop at the rear. Once securely in place, I used the pin to apply VERY small amounts of CA around the eges to seal. I filled a couple of small gaps with white glue. |
| David Duckett | Dave Diels Engineering, Inc Kit #29 Hawker Typhoon Mk 1B | Build | 10-Apr-15 14:29 | 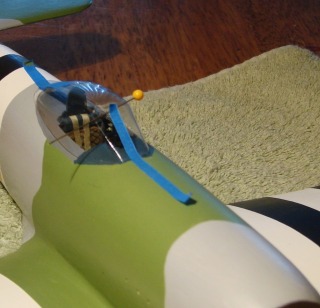 | | Views : 479 | | See the pin? Use a straight pin to put a TINY amount of medium CA at the very edge of the front. While true that CA will fog plastic, used in very small amounts it won't show. VERY SMALL AMOUNTS! |
|
| Hangar |
Aircraft |
Category |
Date |
Preview |
| David Duckett | Dave Diels Engineering, Inc Kit #29 Hawker Typhoon Mk 1B | Build | 10-Apr-15 14:27 | 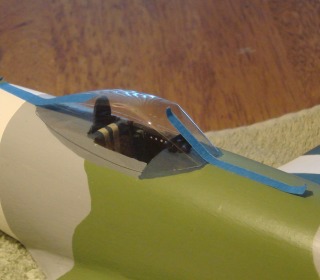 | | Views : 484 | | Canopy 101: The canopies in Diels kits are molded without frames so they are smooth all over. They are also made of very thin plastic. You must trim the extra material away from the molded piece to make it fit. You MUST cut as carefully as you can, making small cuts until it fits. I painted the cockpit interior outside the lines to insure everything inside is covered. THen start by taping the canopy in place front and rear, making sure it is aligned properly. |
| David Duckett | Dave Diels Engineering, Inc Kit #29 Hawker Typhoon Mk 1B | Build | 10-Apr-15 14:16 | 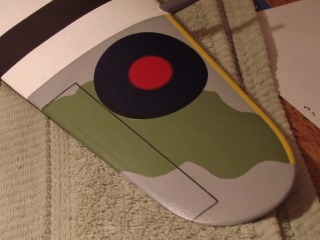 | | Views : 437 | | Et Voila! |
|
