| Build Thread, Page :
1 2 3 [ 4 ] 5 6 7 8 9 10 11 >> (309 posts, 20 posts per page, 16 pages in total)
|
[ < Prev ] [ Next > ] |
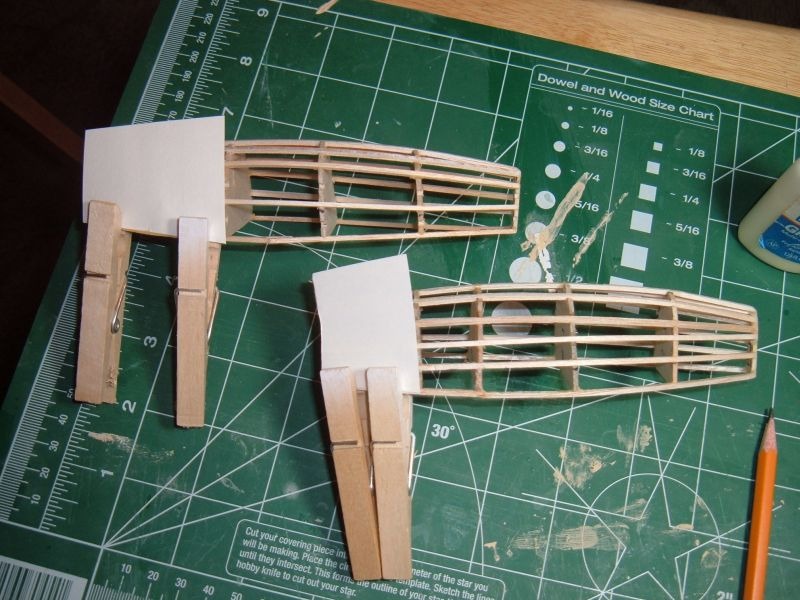
| poppy, Comment for image # 8044 | 27 Apr 08 14:54 |
| Working with wood requires patience. Slow and easy. After cutting, lightly sand the stringers on the right to give desired line. And sand that right longeron to equal the one on the left. |
| sweetwillie, Comment for image # 8044 | 27 Apr 08 14:46 |
| When I went to bed last night, I had pretty much decided that this was going to be my last balsa model. I'm going with plastic, I can't handle this frustration. Modeling is supposed to be fun. Not avenues for anger and wanting to throw it against the wall. Which I wanted to do several times, especially when I would hear the snap of ANOTHER broken stringer, But I hung in there, and realize there's still hope. |
| sweetwillie, Comment for image # 8044 | 27 Apr 08 14:39 |
| This is as far as I've gone with the sheeting. And, so far, I like this idea of using different sheeting. I could go with 1/16 and sand it down. Unless I get a better idea, I'm going with it. |
| John M Oshust, Comment for image # 8044 | 27 Apr 08 14:24 |
| From this photo I thnk you can get by with it. Use thicker sheeting on one side and sand to shape. All part of making the final shape beautious! |
| sweetwillie, Image # 8044 | 27 Apr 08 14:09 |

The fuse appears to curve to the right. What can I do about it? |
| sweetwillie, Comment for image # 8022 | 26 Apr 08 11:06 |
| Even after I measured at least twice or 3 times before I cut. I would still get it wrong. My old eyes, just don't see the same image twice in a row. What with tri-focals and a film that covers my pupils every time I blink it's a trial. |
| sweetwillie, Image # 8022 | 26 Apr 08 11:00 |
Using card stock, I attached the bottom edge of the engine nacelles. |
| sweetwillie, Comment for image # 8004 | 25 Apr 08 13:42 |
| I used Elmer wood filler that John O uses, and it's a lot cheaper than Micro fill and using Poppy's technique of dipping a finger in water and adding a dollop of filler I applied it in a circular motion. I was able to achieve the best filler application since I started building. I'll have to give it another application of filler, but there are only 3or 4 places to fix.
|
| sweetwillie, Comment for image # 7627 | 08 Apr 08 21:43 |
| Thanks, Barney, It is a Blue, as soon as I get it decaled. I'm waiting 48 hours to let the Future get good and dry. |
| sweetwillie, Comment for image # 7627 | 08 Apr 08 21:25 |
| Thanks, Barney, It is a Blue, as soon as I get it decaled. I'm waiting 48 hours to let the Future get good and dry. |
| Barnstormer, Comment for image # 7627 | 08 Apr 08 19:51 |
| Looking very nice. Must be a Blue Angel. |
| sweetwillie, Image # 7627 | 08 Apr 08 17:24 |
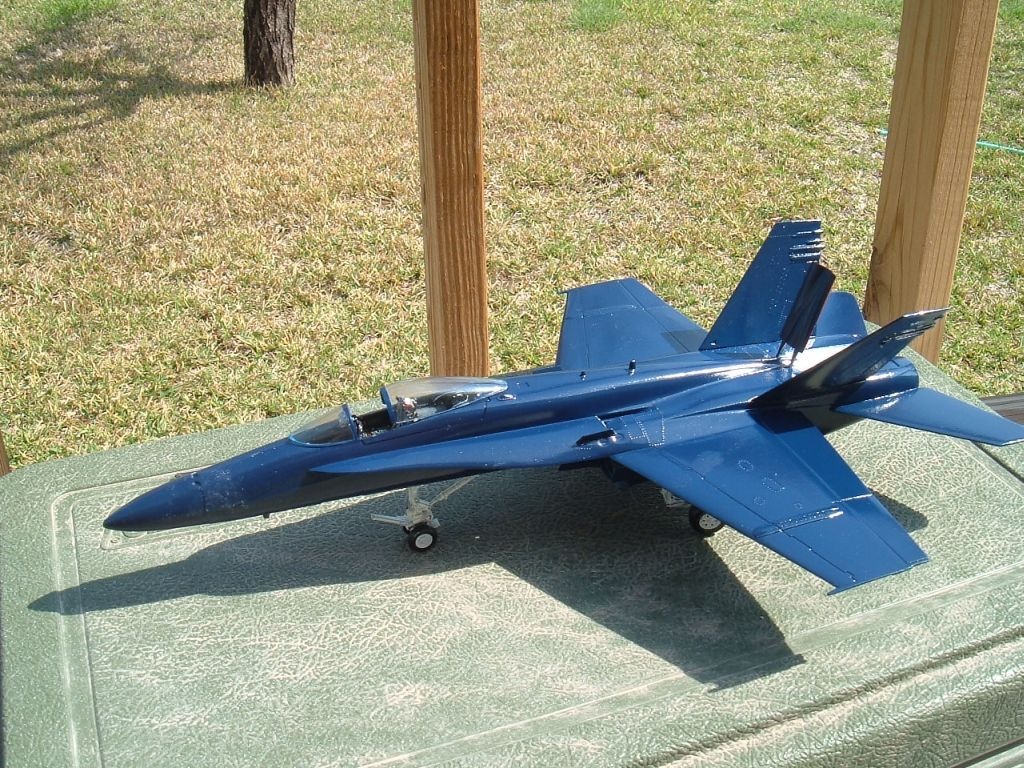
I've put 4 coats of Navy Blue with my airbrush and 4 coats of Future, tomorrow i"ll decal it. |
| sweetwillie, Image # 7626 | 08 Apr 08 17:23 |
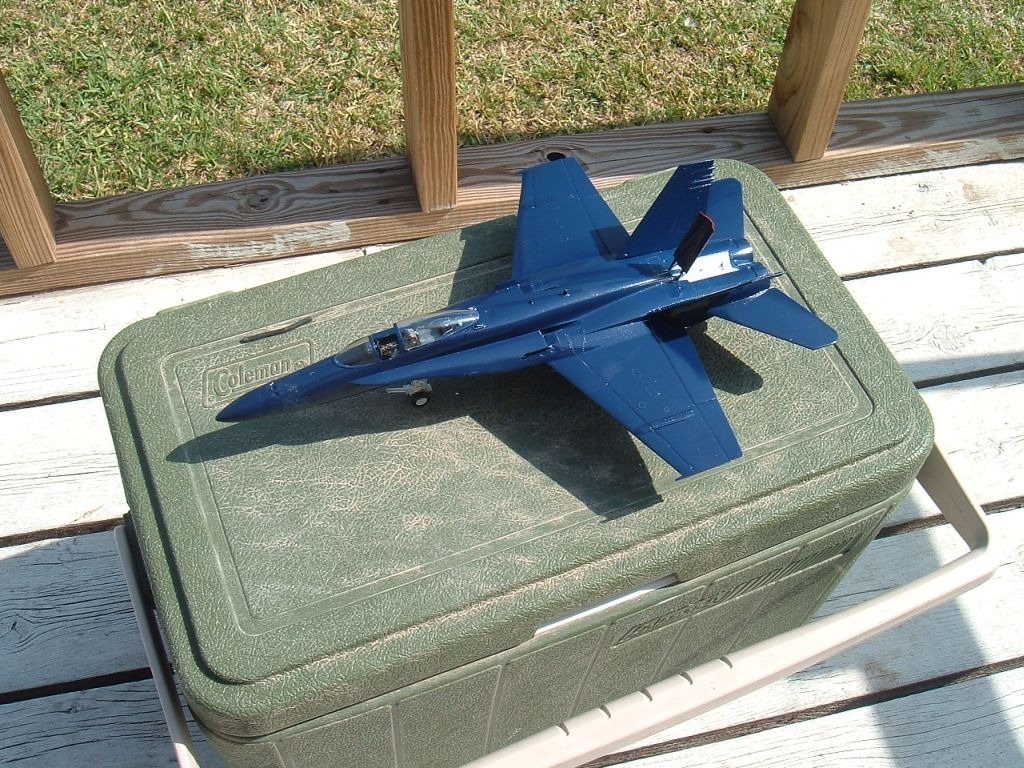
a model I'm building for a friend |
| sweetwillie, Image # 7625 | 08 Apr 08 17:14 |
better focus |
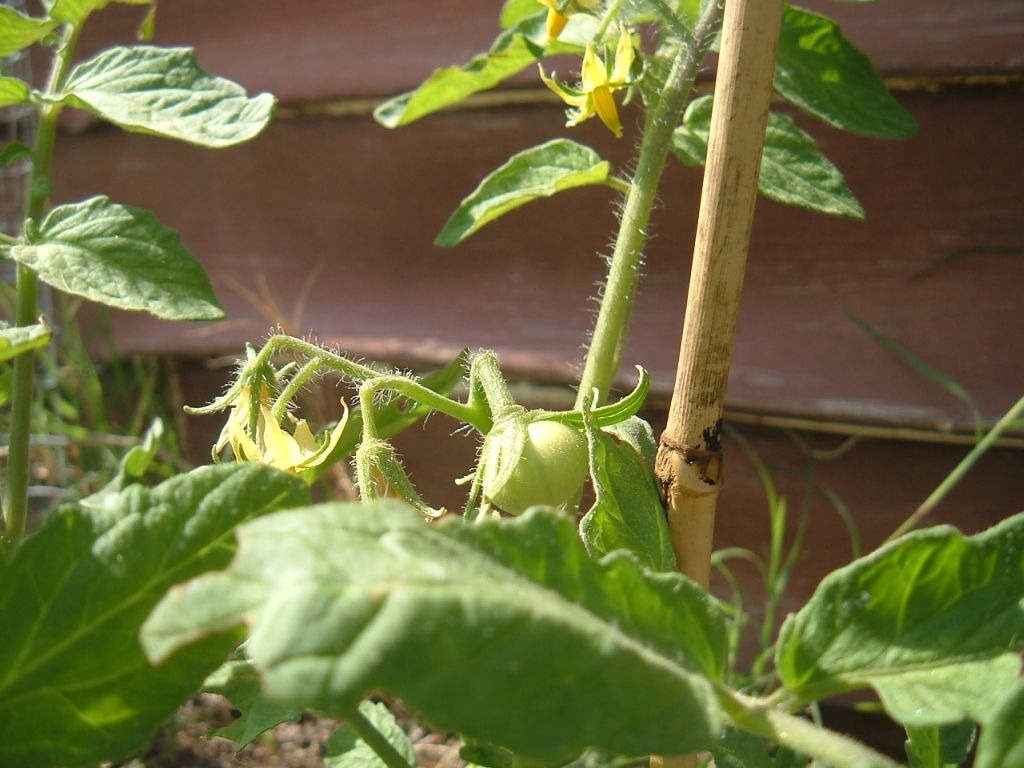
| sweetwillie, Image # 7624 | 08 Apr 08 17:12 |
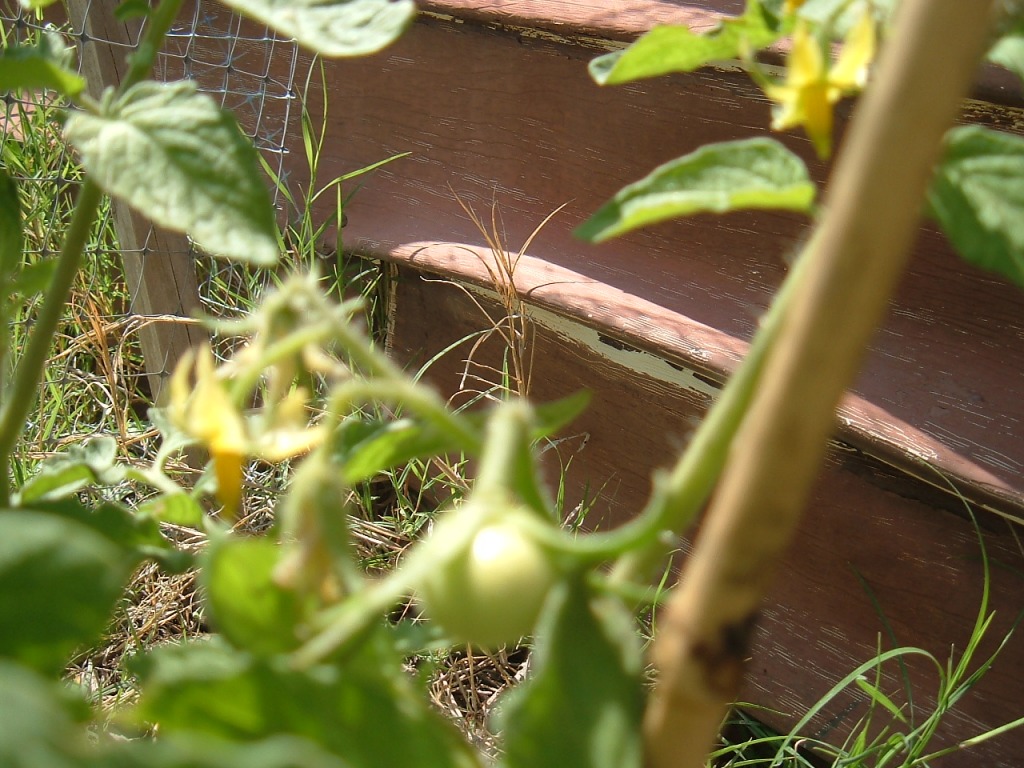
My first tomato, |
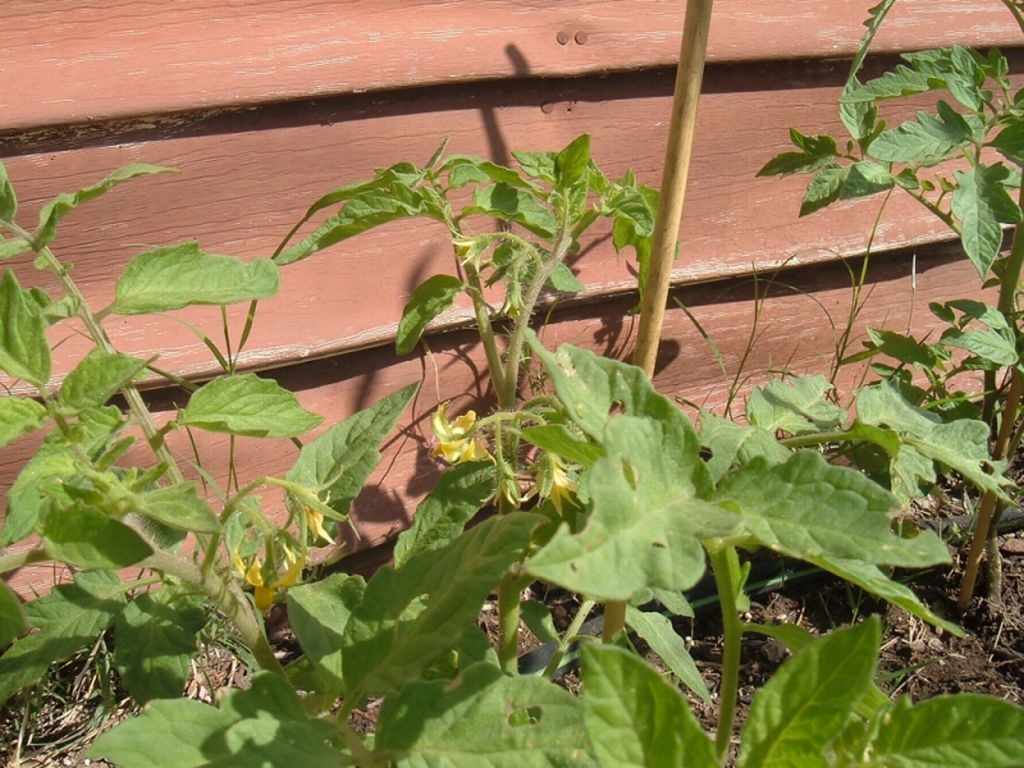
| sweetwillie, Image # 7586 | 06 Apr 08 11:43 |
A touch of spring to make you forget about the snow. |
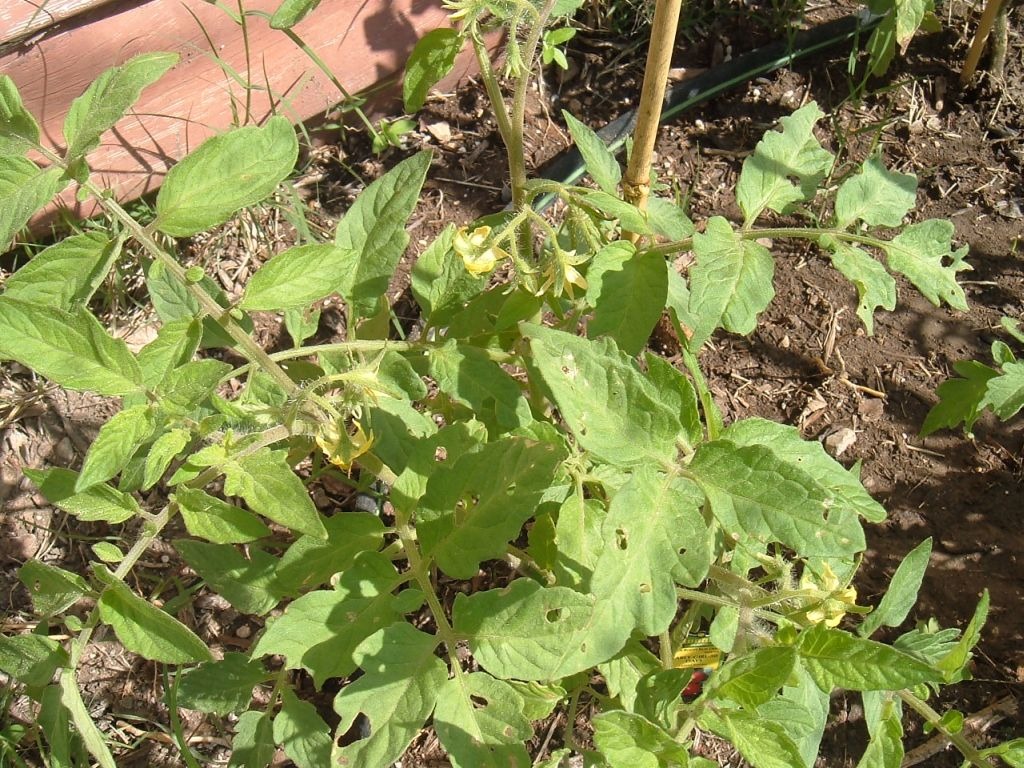
| sweetwillie, Image # 7585 | 06 Apr 08 11:42 |
My tomoto plants are blossoming! |
| RodN, Comment for image # 7502 | 02 Apr 08 03:11 |
| Sweetwillie, this is one mighty fine looking Tomcat. Very well done indeed!!! |
| poppy, Comment for image # 7501 | 01 Apr 08 20:42 |
| Well done! Paint and detailing perfecto! |
| jgood, Comment for image # 7501 | 01 Apr 08 19:03 |
| Looks really good SW! |
| Build Thread, Page :
1 2 3 [ 4 ] 5 6 7 8 9 10 11 >> (309 posts, 20 posts per page, 16 pages in total)
|
[ < Prev ] [ Next > ] |
