|
Main Menu
User Login
View By Aircraft
Users Aircraft
|
| Build Thread, Page :
1 [ 2 ] 3 4 5 (81 posts, 20 posts per page, 5 pages in total)
|
[ < Prev ] [ Next > ] |
| scigs30, Image # 12870 | 19 Jun 09 18:33 | 
|
| scigs30, Image # 12869 | 19 Jun 09 18:32 | 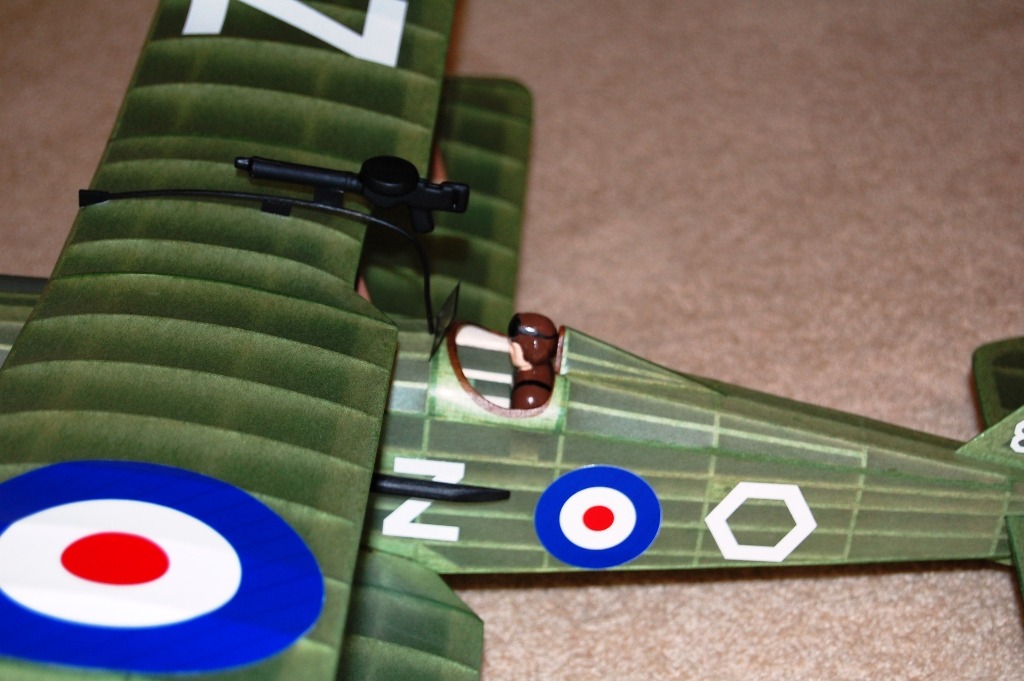
|
| scigs30, Image # 12868 | 19 Jun 09 18:32 | 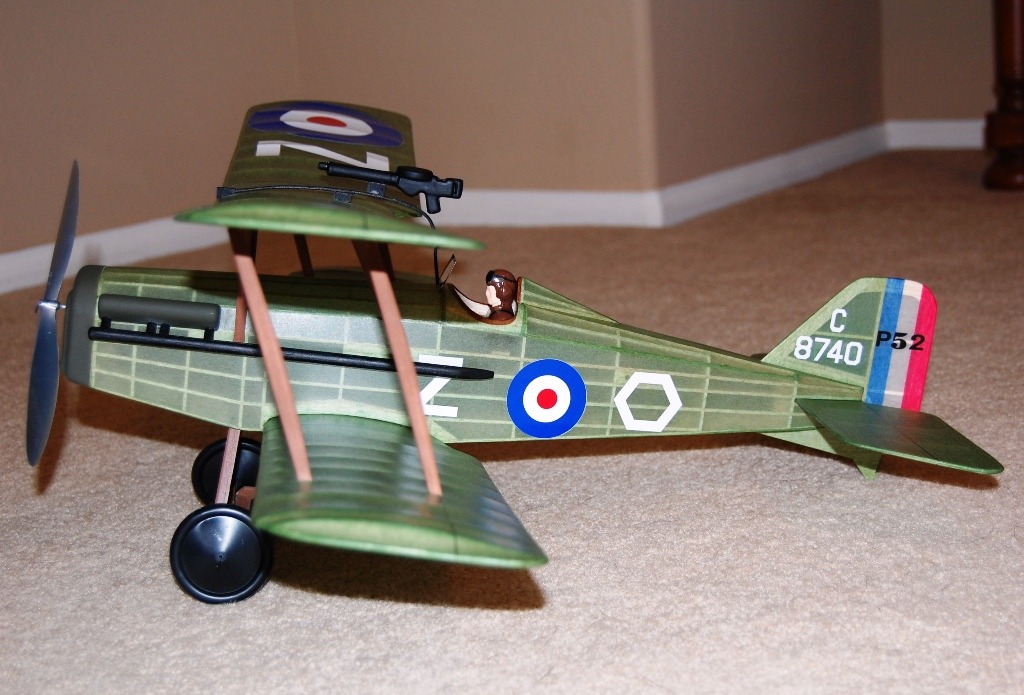
|
| scigs30, Image # 12867 | 19 Jun 09 18:31 | 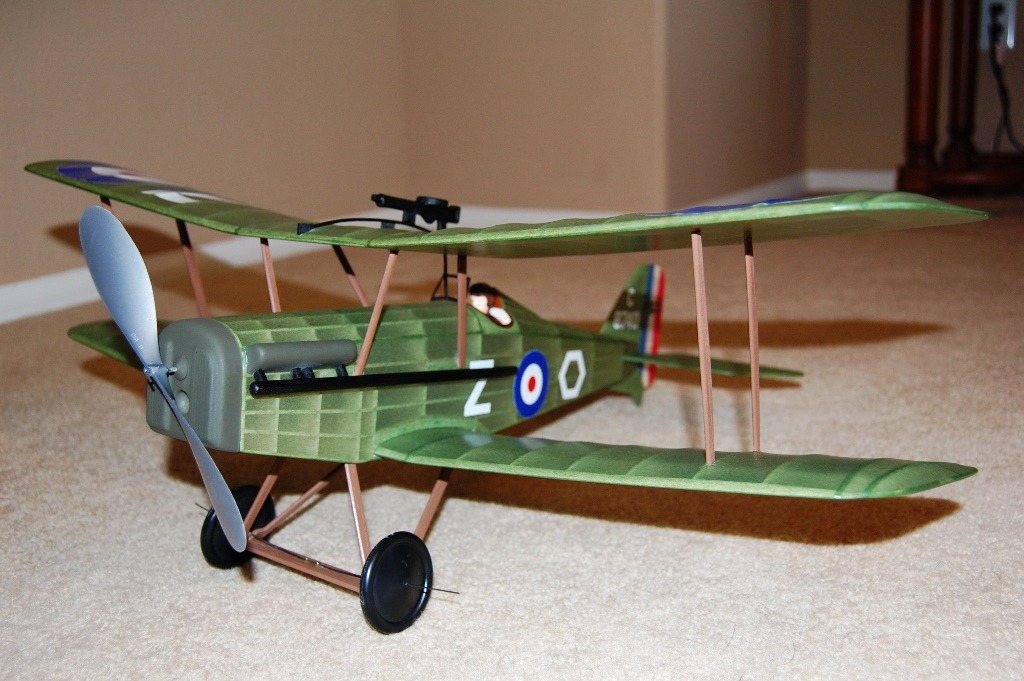
|
| scigs30, Image # 12866 | 19 Jun 09 18:31 | 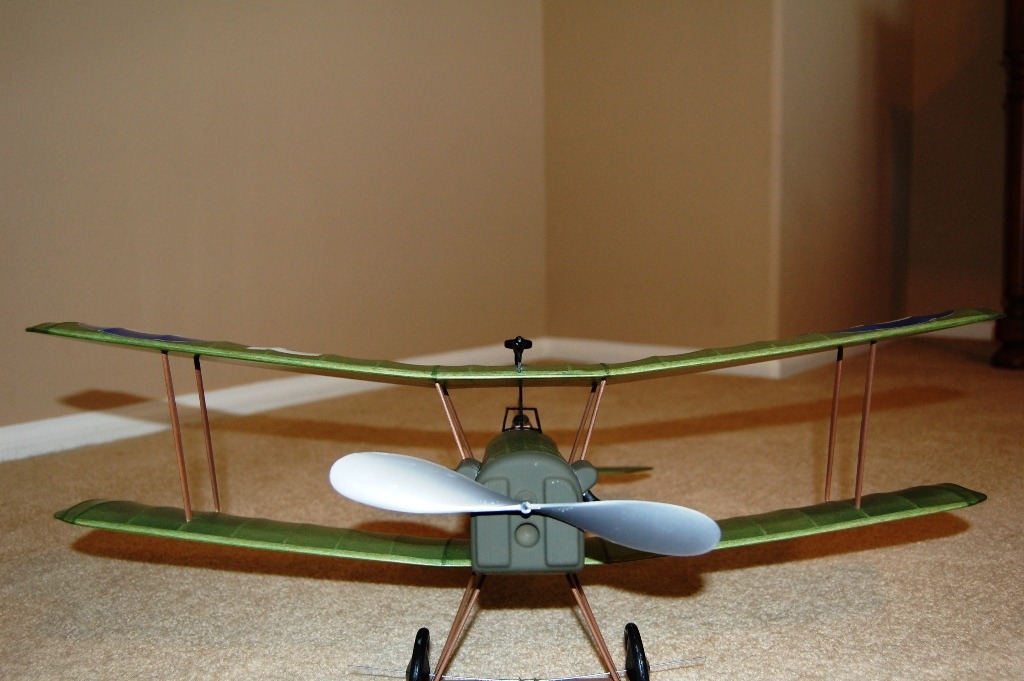
|
| scigs30, Image # 12865 | 19 Jun 09 18:30 | 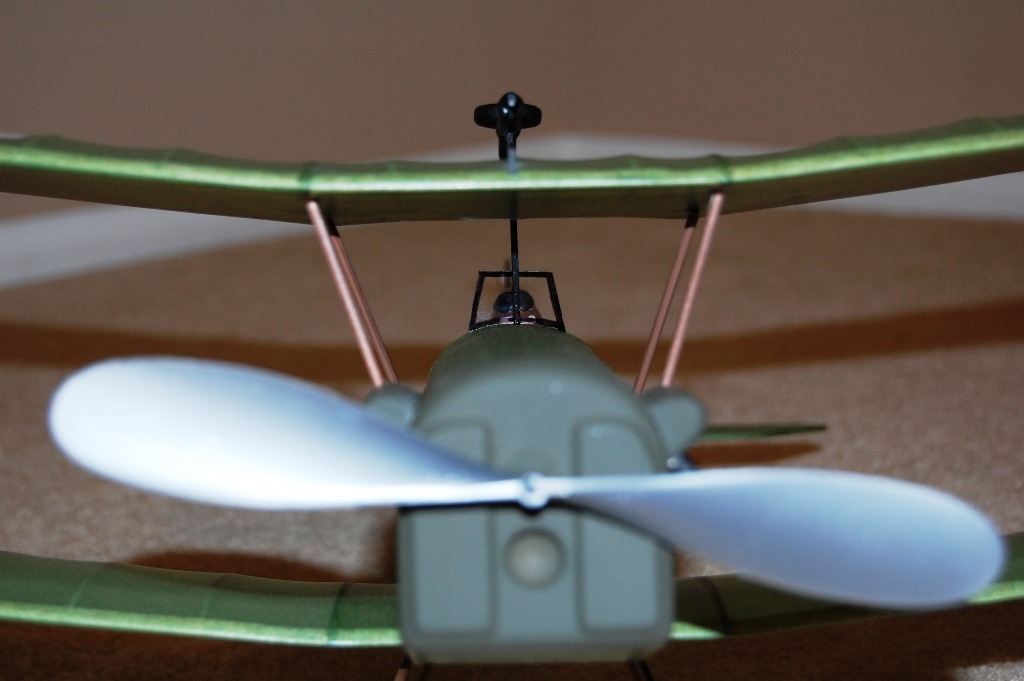
|
| scigs30, Image # 12864 | 19 Jun 09 18:30 | 
|
| scigs30, Image # 12863 | 19 Jun 09 18:29 | 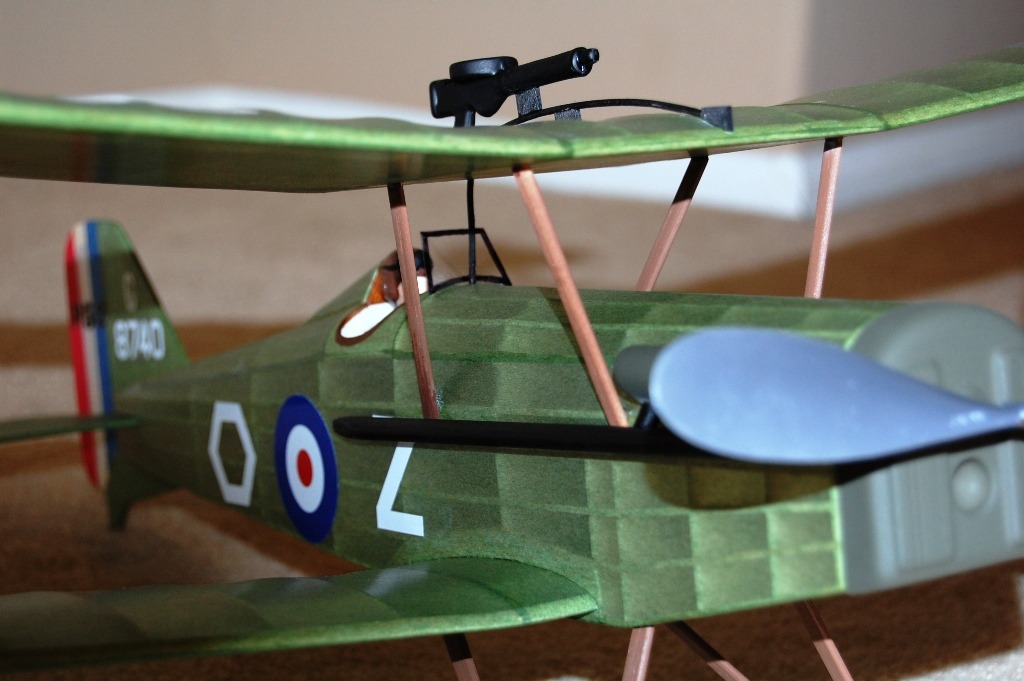
|
| scigs30, Image # 12862 | 19 Jun 09 18:29 | 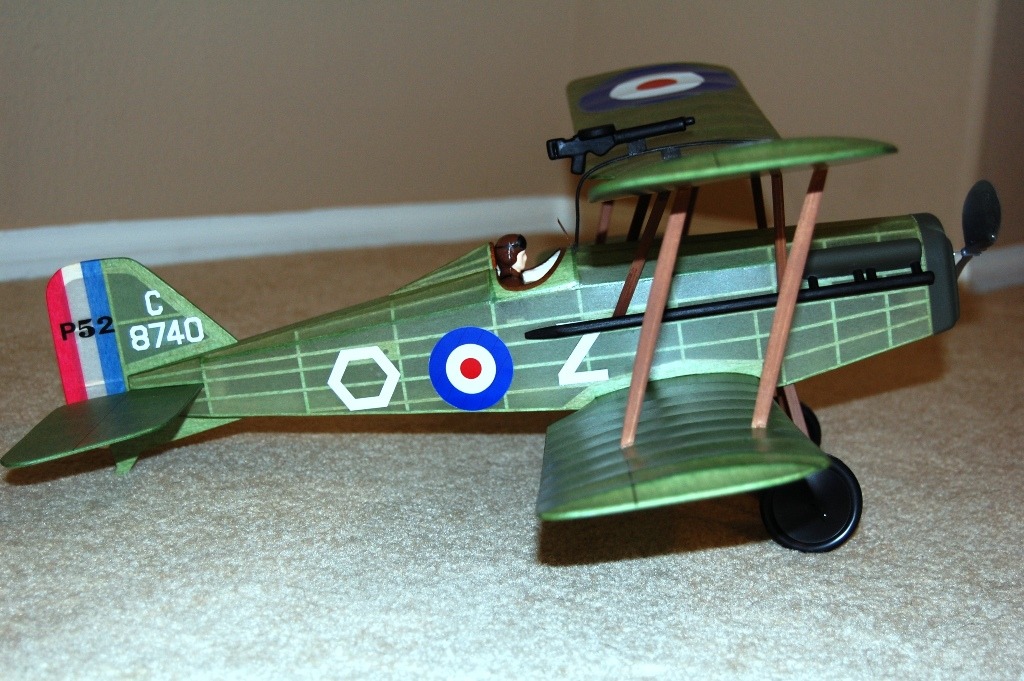
|
| scigs30, Image # 12861 | 19 Jun 09 18:28 | 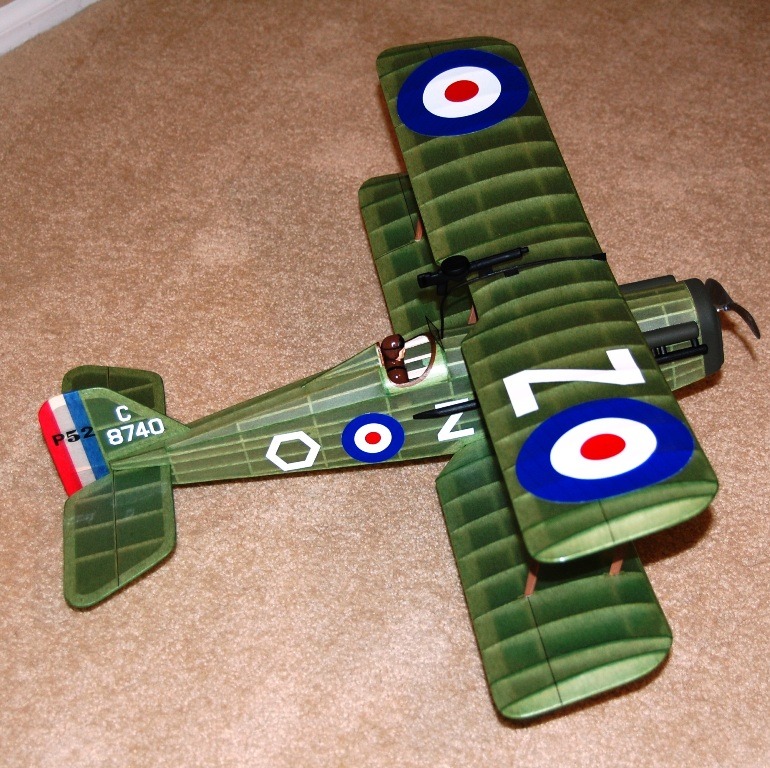
|
| rhysleo, Comment for image # 12851 | 19 Jun 09 11:01 | | wow thanks! i'll be sure to keep those tips in mind while i build models. |
| scigs30, Comment for image # 12851 | 19 Jun 09 10:47 | | I do plan on flying this bird, I have a few more details and I have to paint the bare wood that's showing on the struts. I left that unpainted until I had a solid glue joint. Covering just takes time plain and simple. I have been building off and on for over 25 years and I still find flaws in my covering. Here are the lessons given to my by my uncle 25 years ago, hope it helps.
1. Build straight and sand smooth. Scallop formers where tissue will not attach. Can't cover up a sloppy structure.
2. No matter how bad the build is going, always finish it. More completed birds the more experience.
3. Domestic tissue is ok, Esaki is the best.
4. Use diluted Elmers Glue All mixed with water 50/50.
5. Pre-Shrink the tissue on a frame for delicate structures.
6. Apply the diluted glue to the frame then attach the tissue. If you want a tight covering then lightly tug on the tissue and press it into the wood. If a wrinkle develops, try to smooth it out. If it is a difficult wrinkle then use water to loosen up the glue and smooth it out, works all the time.
7. To prevent stress wrinkles, use hard wood for were the tissue attaches, top and bottom longerons, root ribs ect.
8. After you trim the tissue, apply glue with finger to the edges to that is seals it down and makes for smooth edges.
9. Shrink a little at a time with alcohol, don't soak it and don't use a heat gun.
10. After it is all shrunk brush on 2 coats of dope. I use Aerogloss thinned 50/50. I tried Krylon, but did not give me a smooth finish like dope.
I hope this helps, just remember to take your time and stick with it. This hobby is fun and rewarding. |
| rhysleo, Comment for image # 12851 | 19 Jun 09 10:14 | | that is great. looks very good. i would also like some lessons (i really need them!). |
| jgood, Comment for image # 12851 | 19 Jun 09 10:11 | | I second that. I am in awe of your skill, scigs. I would like a few days of lessons, please! I take it you are flying this? |
| pfinn, Comment for image # 12851 | 19 Jun 09 03:00 | | Absolutley pristine. Probably one of, if not the cleanest executions I've seen. Just look at that reflecting surface. Dead nuts flat with a perfect gradiant towards the tail. I'm almost speechless. Just unbelievable. |
| scigs30, Image # 12853 | 19 Jun 09 00:52 | 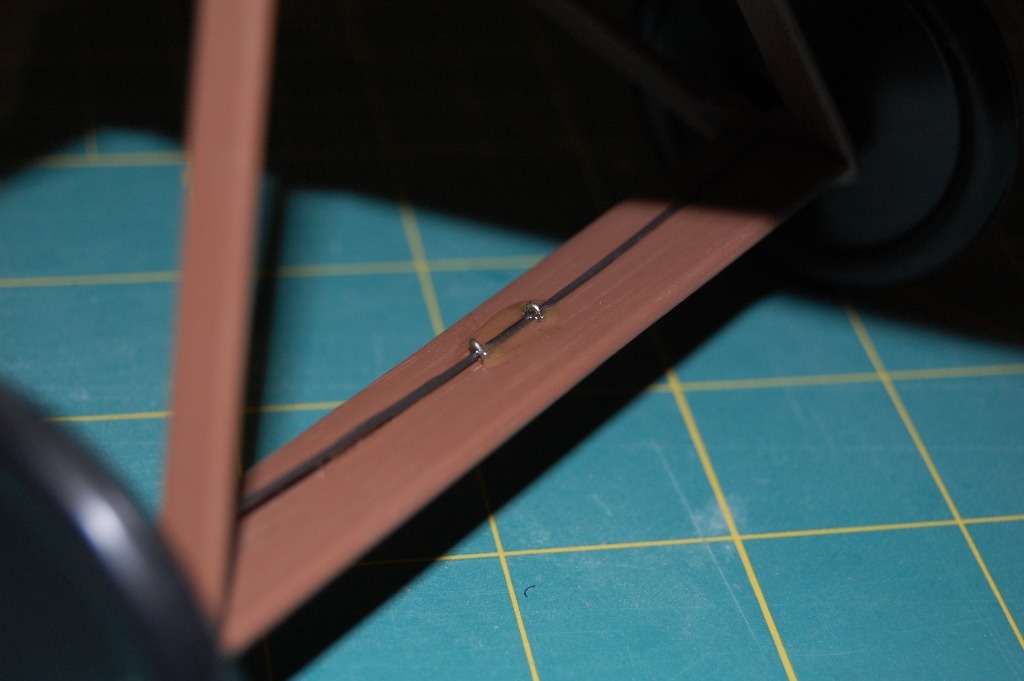
|
| scigs30, Image # 12852 | 19 Jun 09 00:51 | 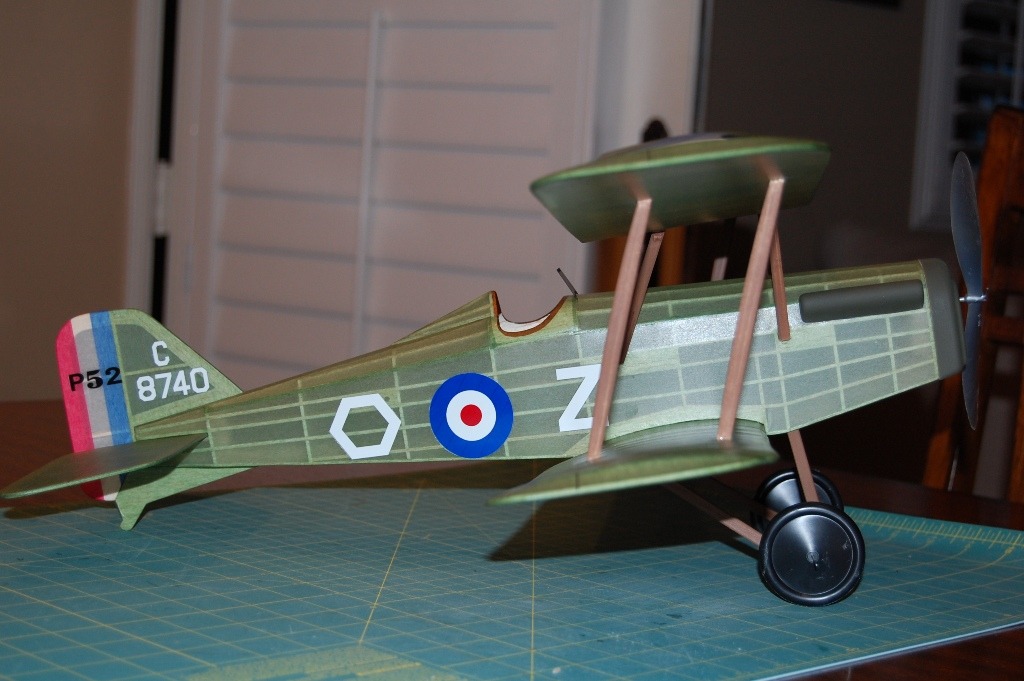
|
| scigs30, Image # 12851 | 19 Jun 09 00:50 | 
|
| scigs30, Image # 12850 | 19 Jun 09 00:50 | 
|
| scigs30, Image # 12849 | 19 Jun 09 00:50 | 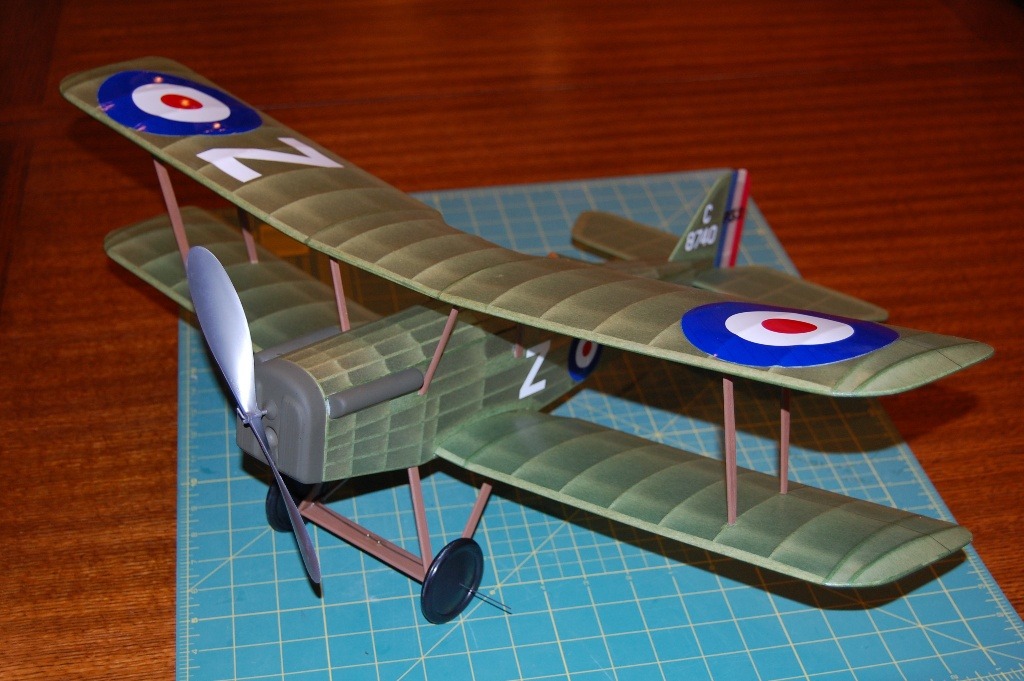
Almost done |
| Build Thread, Page :
1 [ 2 ] 3 4 5 (81 posts, 20 posts per page, 5 pages in total)
|
[ < Prev ] [ Next > ] |
|
