|
Main Menu
User Login
View By Aircraft
Users Aircraft
|
| Build Thread, Page :
1 2 3 [ 4 ] 5 (89 posts, 20 posts per page, 5 pages in total)
|
[ < Prev ] [ Next > ] |
| scigs30, Image # 18543 | 07 Jul 10 10:30 | 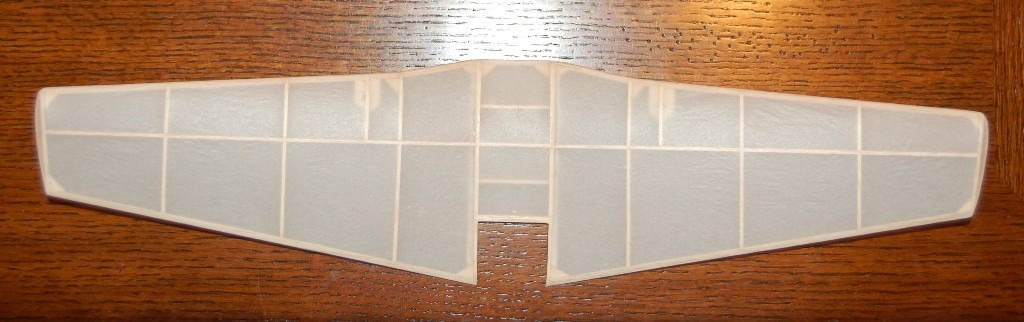
Wing is ready for shrinking. After shrinking twice on the frame, there is still some shrink left, but still I have to put it on nice and tight to ensure proper shrinking. |
| scigs30, Image # 18542 | 07 Jul 10 10:28 | 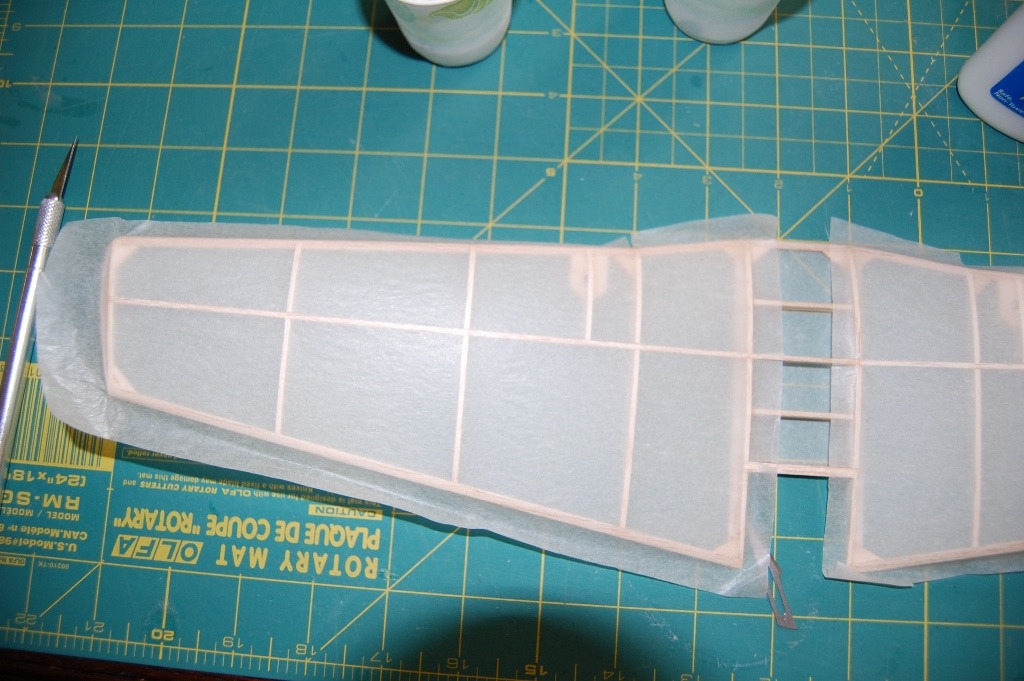
|
| scigs30, Image # 18541 | 07 Jul 10 10:28 | 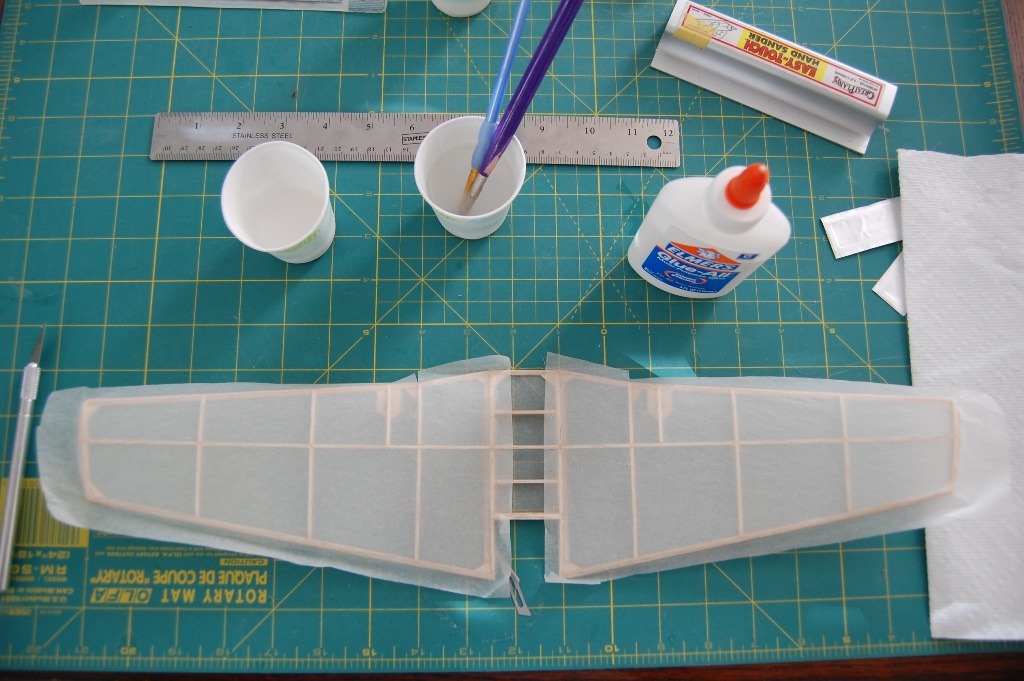
I also cover the top of the wing tight so there will be no wrinkles. |
| scigs30, Image # 18540 | 07 Jul 10 10:27 | 
Here I am re covering the wing. Once again I pre shrunk the tissue twice on the frame and then glue it tight onto the wing. |
| scigs30, Comment for image # 18513 | 07 Jul 10 09:09 | | If the frame is light weight, the non pre shrunk tissue will cause warps and stress wrinkles by pulling on the light structure. Pre Shrunk tissue decreases the chance of that happening. |
| pakasit1812, Comment for image # 18513 | 06 Jul 10 02:40 | | Thanks,now I understand how you pre shrink Esaki tissue.
A little bit more on the subject, what would be the difference of the end results between pre shrunk and non
pre shrunk? Does Esaki shrink too much if applied
straight on the airframe thus it warps the frame? I've no experience on Esaki. Thanks in advance,scigs |
| scigs30, Comment for image # 18513 | 05 Jul 10 16:35 | | I only pre shrink Japanese/Esaki tissue and not domestic tissue, since Japanese tissue shrinks a lot. I have an old wooden picture frame the size of a sheet of Japanese tissue. I brush my thinned out glue mixture on the frame then attach the tissue. When the glue is dry, I mist the tissue with water or alcohol. The tissue will tighten up but there is still pretty good shrinking left. Normally if the structure is strong, I only pre shrink it once, but if the structure is light and fragile, then I will spray some more water on the tissue to shrink it again. |
| pakasit1812, Comment for image # 18513 | 05 Jul 10 13:32 | | Please, let me learn from you scigs.What is the advantage of pre-shrunk tissue and how do you pre-shrink it? Correct me if I am wrong. The pre-shrunk tissue will not have no room to shrink anymore when applied on surface. |
| scigs30, Comment for image # 18513 | 05 Jul 10 07:01 | | Well, I woke up this am and noticed the stress wrinkles on the wing have increased, so I decided to remove the covering from the wings. Trust me this is pretty easy to do since I cover with diluted white glue. I first cut the tissue away then brush water over the attached tissue. I have to let this soak in through the 2 coats of dope, but when it reaches the glue, the tissue releases super easy. Now I am going to add a little brace at the root rib then pre shrink the tissue twice and re cover the wing. |
| scigs30, Comment for image # 18515 | 05 Jul 10 05:57 | | It is the same one. I covered one side with the stringers on and it did not look right so I removed the top one and left the bottom. This still did not look right with covering so I removed both. |
| Richardsk, Comment for image # 18515 | 05 Jul 10 05:11 | | Is this another version or the same one with the side stringers deleted? Three bladed prop looks good. |
| NiteSeer, Comment for image # 18513 | 05 Jul 10 03:24 | | Incredible job of covering! |
| scigs30, Image # 18515 | 04 Jul 10 13:39 | 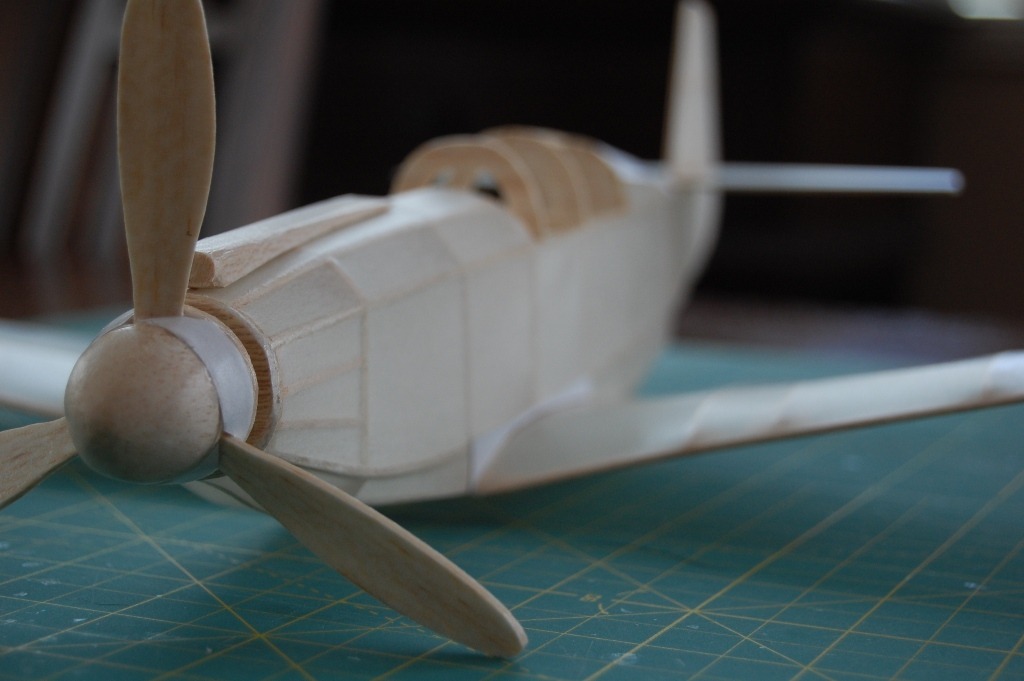
|
| scigs30, Image # 18514 | 04 Jul 10 13:39 | 
|
| scigs30, Image # 18513 | 04 Jul 10 13:39 | 
|
| scigs30, Image # 18512 | 04 Jul 10 13:38 | 
|
| scigs30, Image # 18511 | 04 Jul 10 13:38 | 
|
| scigs30, Image # 18510 | 04 Jul 10 13:38 | 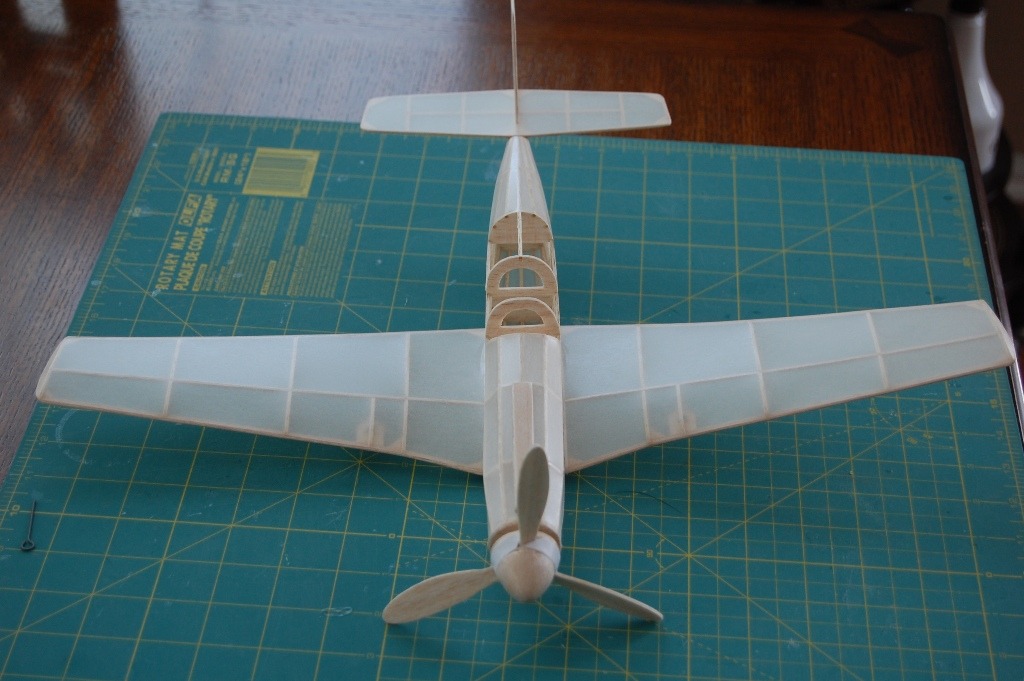
|
| scigs30, Image # 18509 | 04 Jul 10 13:37 | 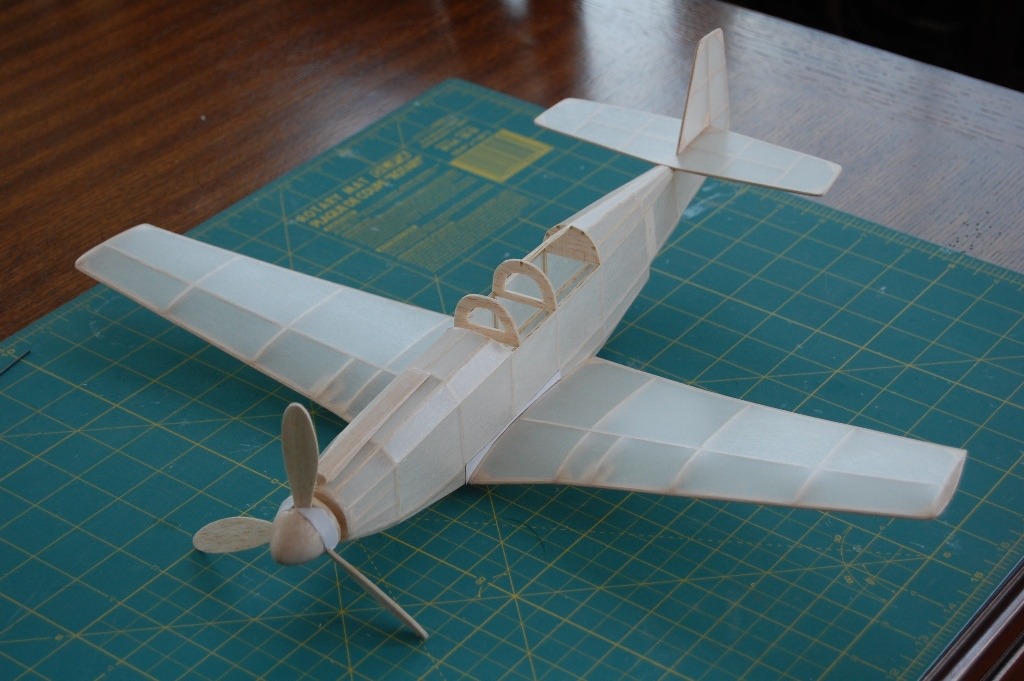
|
| scigs30, Image # 18508 | 04 Jul 10 13:37 | 
I covered the wing and fuselage with Japanese tissue pre-shrunk on a picture frame. I applied the tissue with thinned down white glue and shrunk with light mists of water. Everything looked great after shrinking but 1 hour later, my wing developed small stress winkles at the root ribs. knowing I was going to use Japanese tissue, I added some gussets, but I should have laminated two 1/16 root ribs to prevent the stress wrinkles. At this point the stab and rudder have not been covered so I pre shrunk the tissue again on a small frame and then covered the tail surfaces. If I used Domestic tissue then I probably would not have had those issues, but man I sure like the look of white Japanese tissue. I like both types of tissue equally and really don't prefer one over the other. I did remove the side stringers since they did not look right under the tissue. 2 coats of dope have been applied and now she is off to the paint shop. The prop is built per the plans for display only, I won't try to fly her with the balsa prop, probably use a peck prop. |
| Build Thread, Page :
1 2 3 [ 4 ] 5 (89 posts, 20 posts per page, 5 pages in total)
|
[ < Prev ] [ Next > ] |
|
