| Build Thread, Page :
1 [ 2 ] 3 (52 posts, 20 posts per page, 3 pages in total)
|
[ < Prev ] [ Next > ] |
| jerry campbell, Image # 18524 | 05 Jul 10 09:07 |
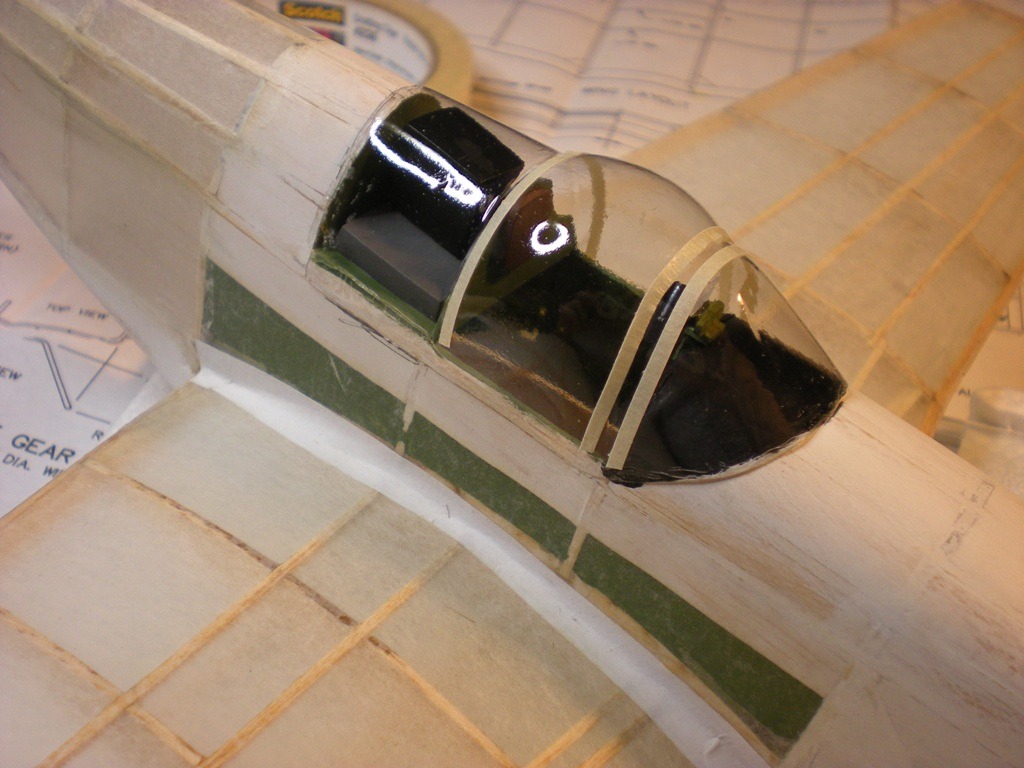
I usually start masking in the middle depending on the size and shape of the canopy. |
| jerry campbell, Image # 18523 | 05 Jul 10 09:04 |
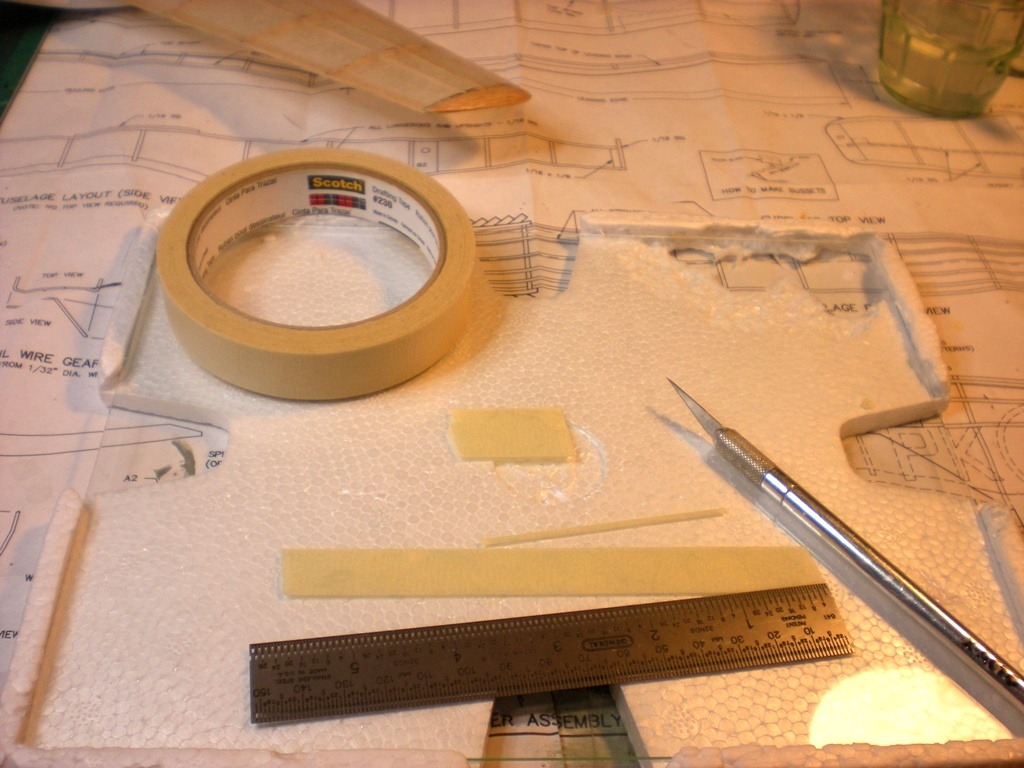
Because its easy to clean and provides a hard surface for cutting I use a piece of picture frame glass I purchased at a frame shop to use as a cutting board for cutting pieces of Scotch Drafting Tape. Drafting Tape is less sticky than masking Tape. A very sharp no.11 blade is very important, as is a steel straight edge. |
| jerry campbell, Image # 18522 | 05 Jul 10 08:56 |
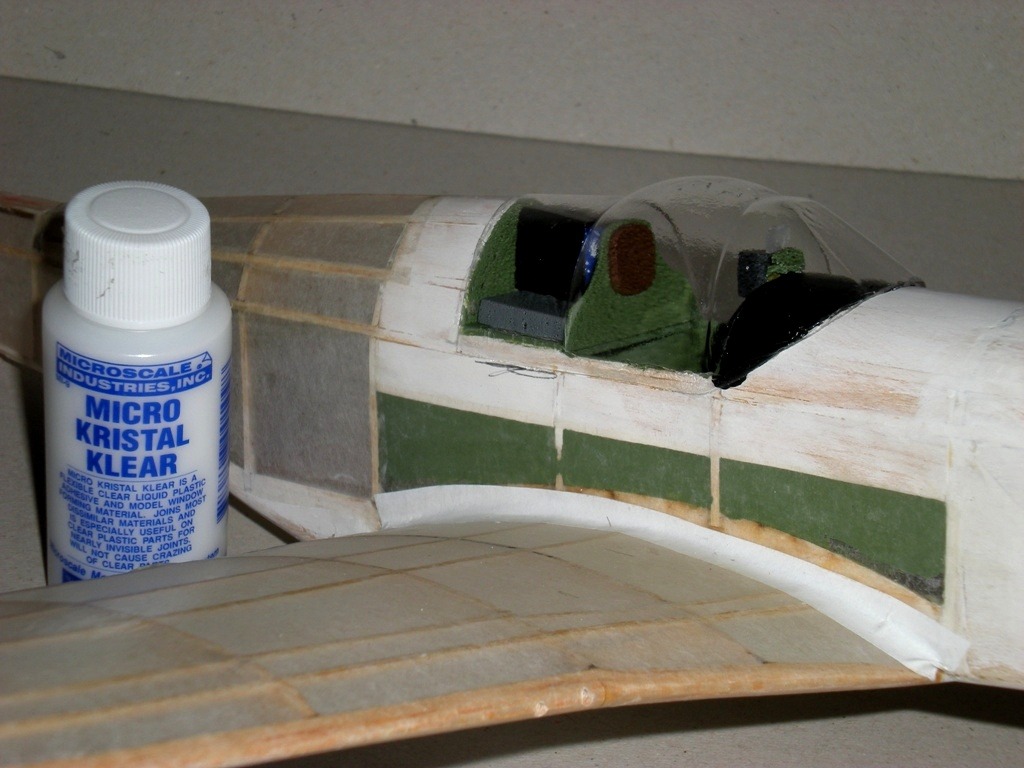
The canopy was glued into place using Micro Kristal Klear, which dries is 15 minutes and will not craze the plastic and is almost clear when dried. |
| jerry campbell, Image # 18521 | 05 Jul 10 08:52 |
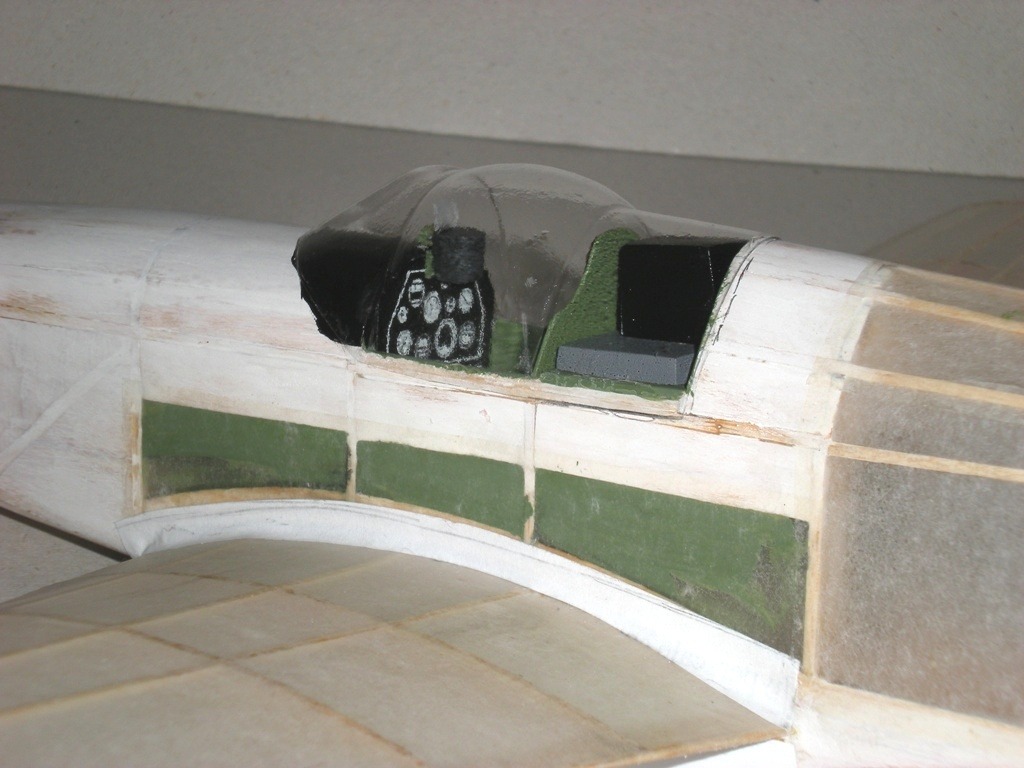
To get rid of any scratches and protect the canopy during masking coat of Future was brushed on to the vacu canopy. |
| John M Oshust, Comment for image # 18498 | 03 Jul 10 10:17 |
| Wonderful...like the cooling vent! |
| JohnG., Comment for image # 18498 | 03 Jul 10 09:34 |
| Awfully nice, Jerry. The finished product is going to be a knockout!! |
| David Duckett, Comment for image # 18498 | 03 Jul 10 09:20 |
| "I got to admit it's getting better, it's getting better all the time". |
| jerry campbell, Image # 18498 | 03 Jul 10 08:52 |
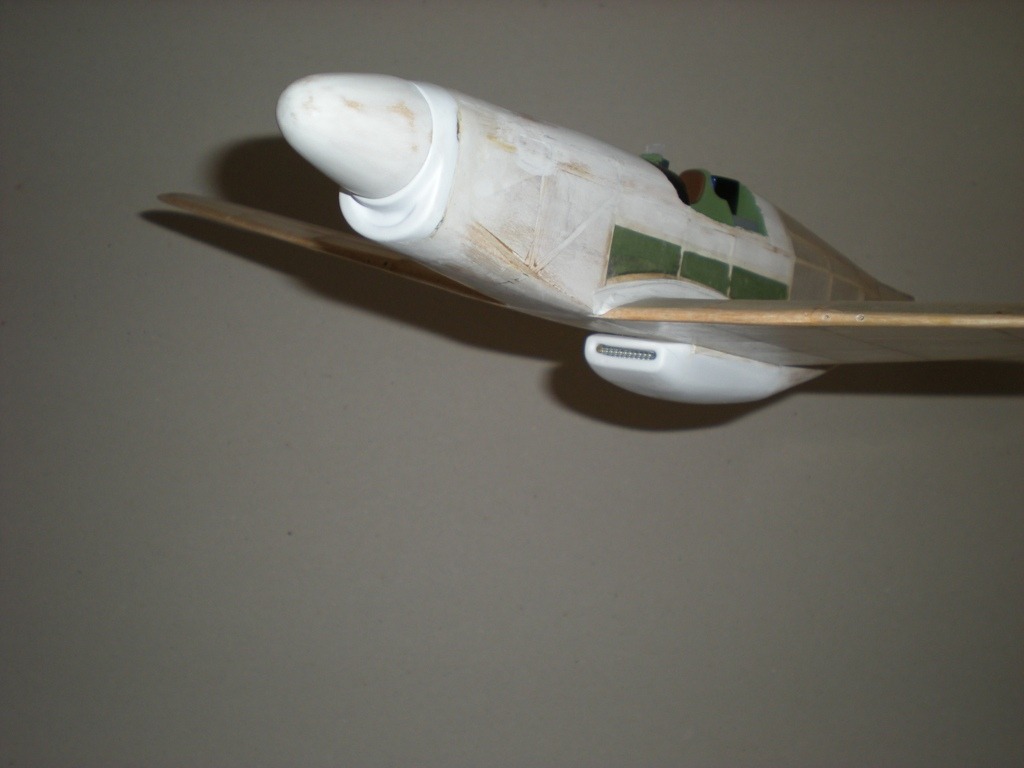
It is beginning to look a lot like a mustang. |
| jerry campbell, Image # 18497 | 03 Jul 10 08:50 |
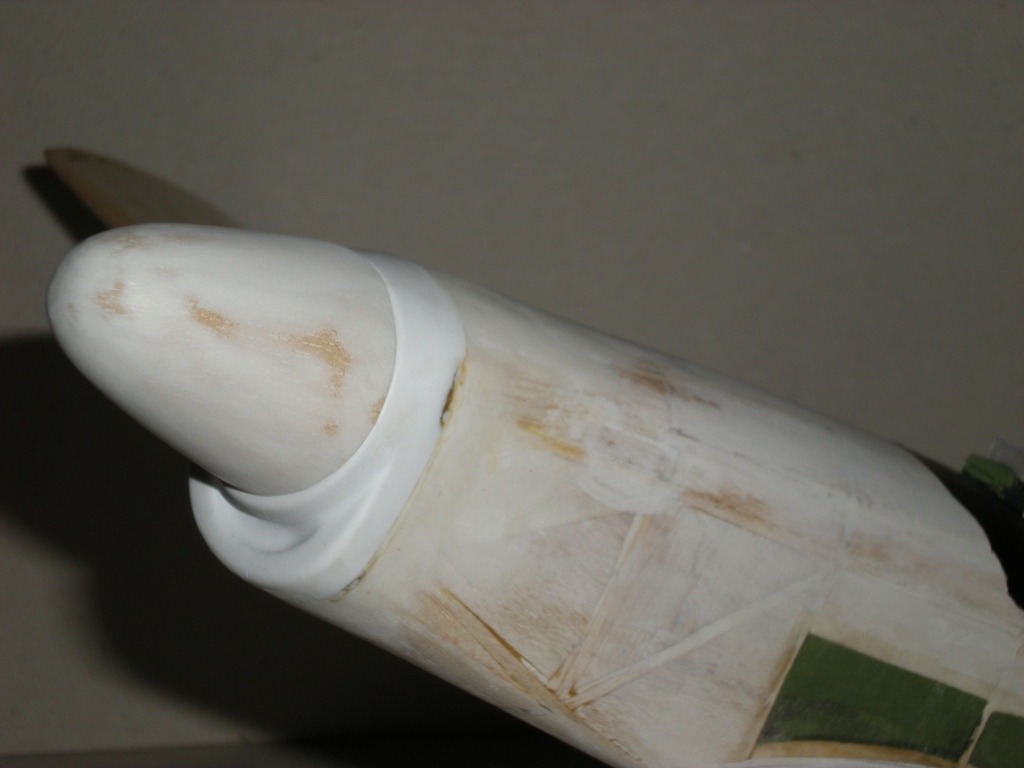
The wooden spinner is added. |
| jerry campbell, Image # 18496 | 03 Jul 10 08:49 |
|
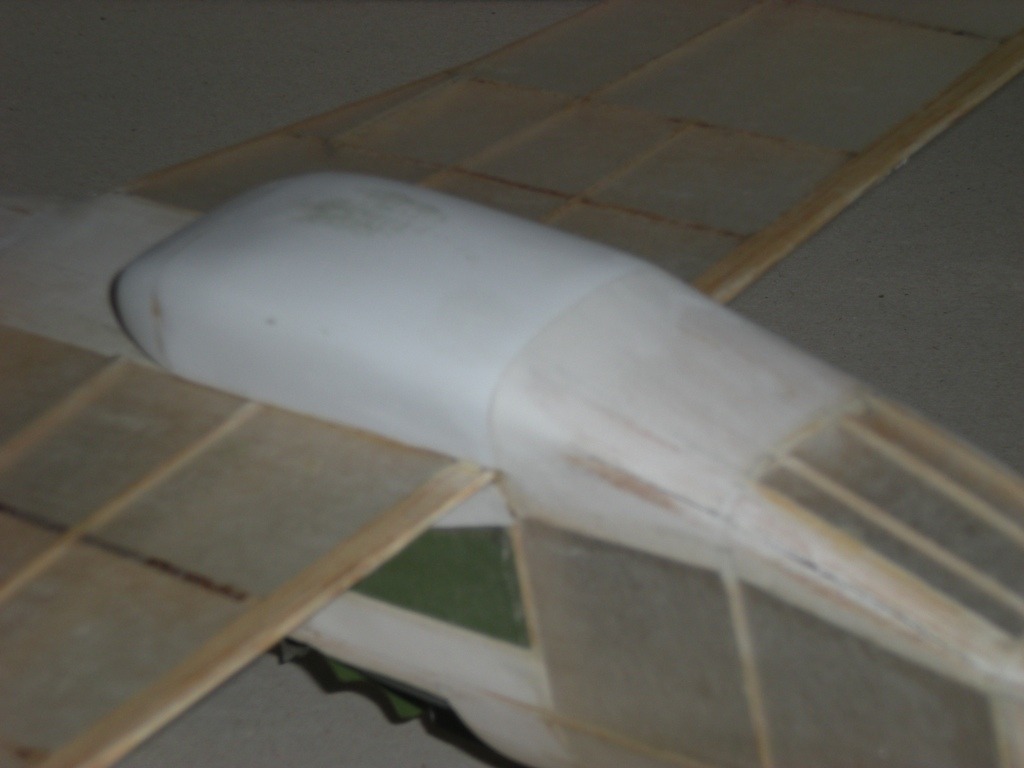
| jerry campbell, Image # 18495 | 03 Jul 10 08:48 |

The under belly oil cooler intake is added with the liberal use of filler and sanding sticks. |
| jerry campbell, Image # 18494 | 03 Jul 10 08:45 |
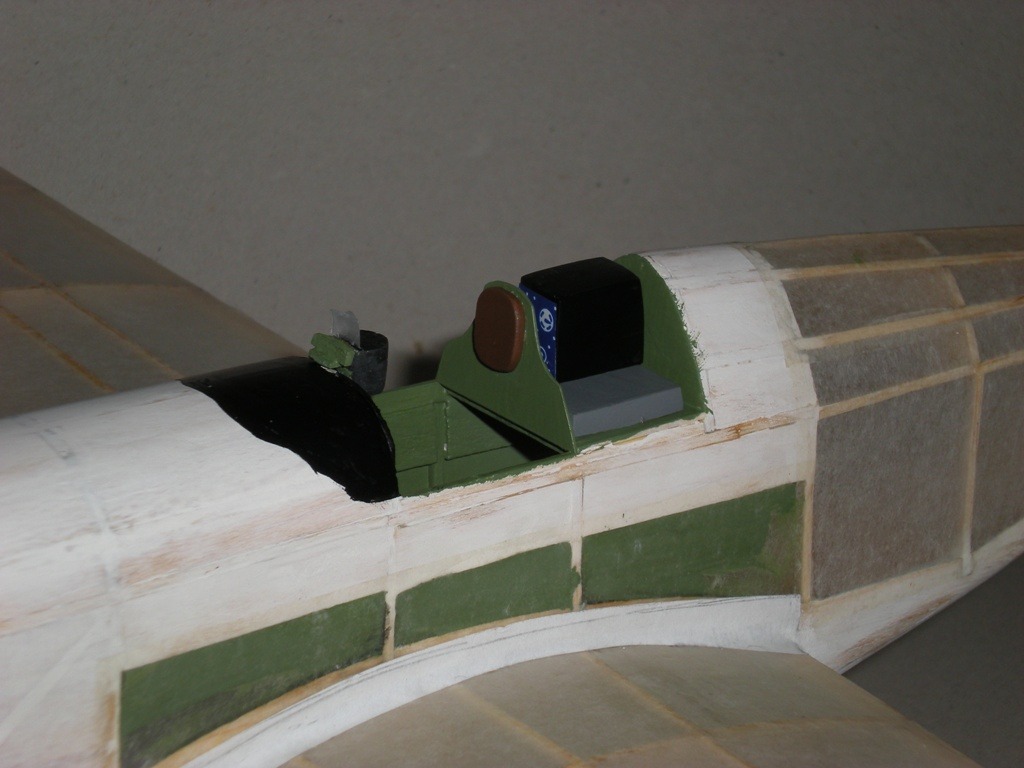
The gunsight is wood with the addition of clear plastic sight. Just these few rudimentry pieces of a cockpit add a lot to the model. |
| jerry campbell, Image # 18493 | 03 Jul 10 08:36 |
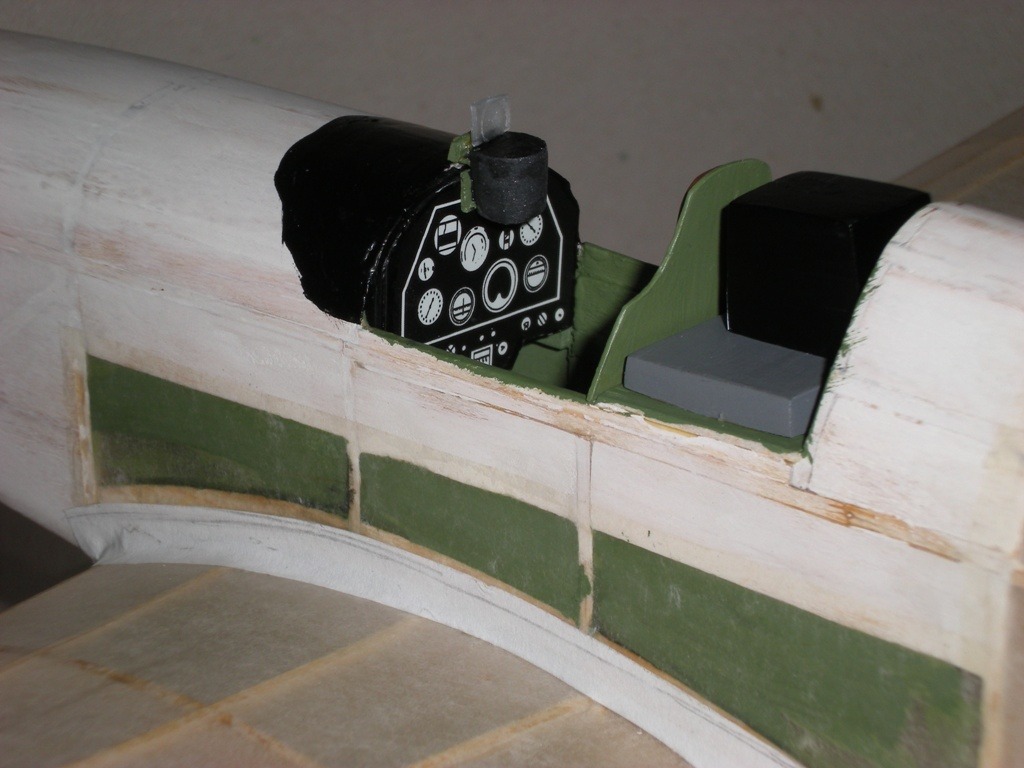
I used a decal in the scrap box (I believe from the Guillows P-51D kit) and glued to a piece of 10 thous plastic. The interior is painted Tamiya cockpit grreen. |
| jerry campbell, Image # 18471 | 30 Jun 10 05:16 |
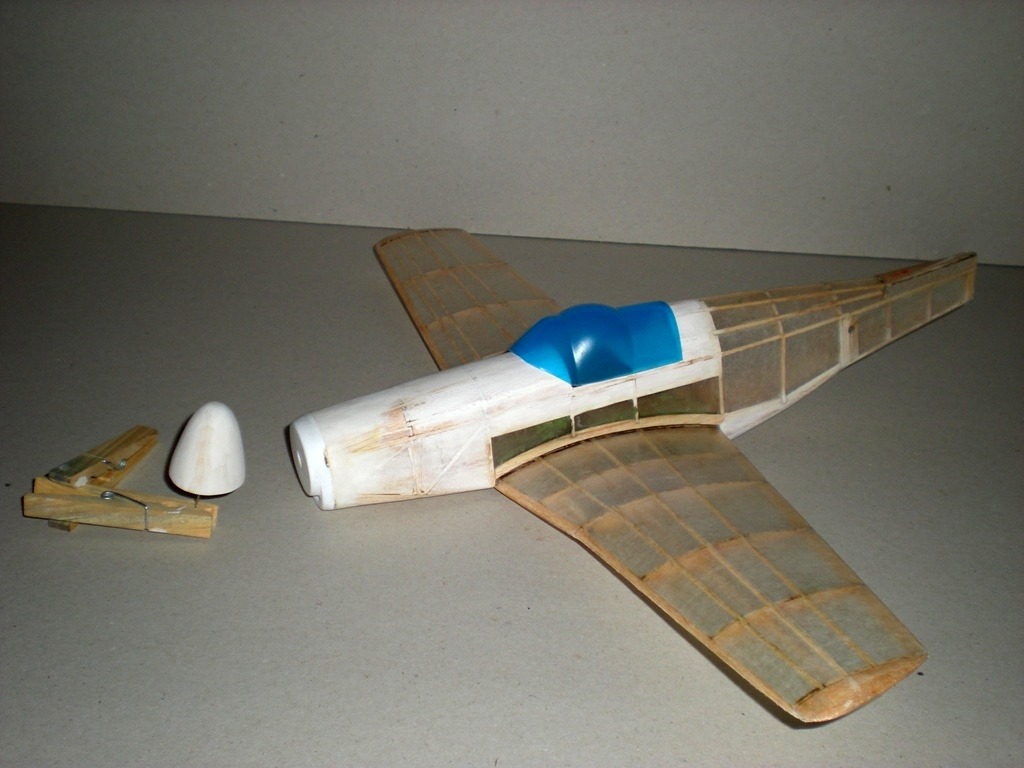
The papering is finished and the wing is tacked on to check pit. The canopy is being checked for fit; the blue on the canopy is a protective covering that will be removed before painting. The suplied vacu spinner is useful for flying but useless for display. \i fashioned this one from wood, which was a days project by itself. |
| jerry campbell, Image # 18470 | 30 Jun 10 05:10 |
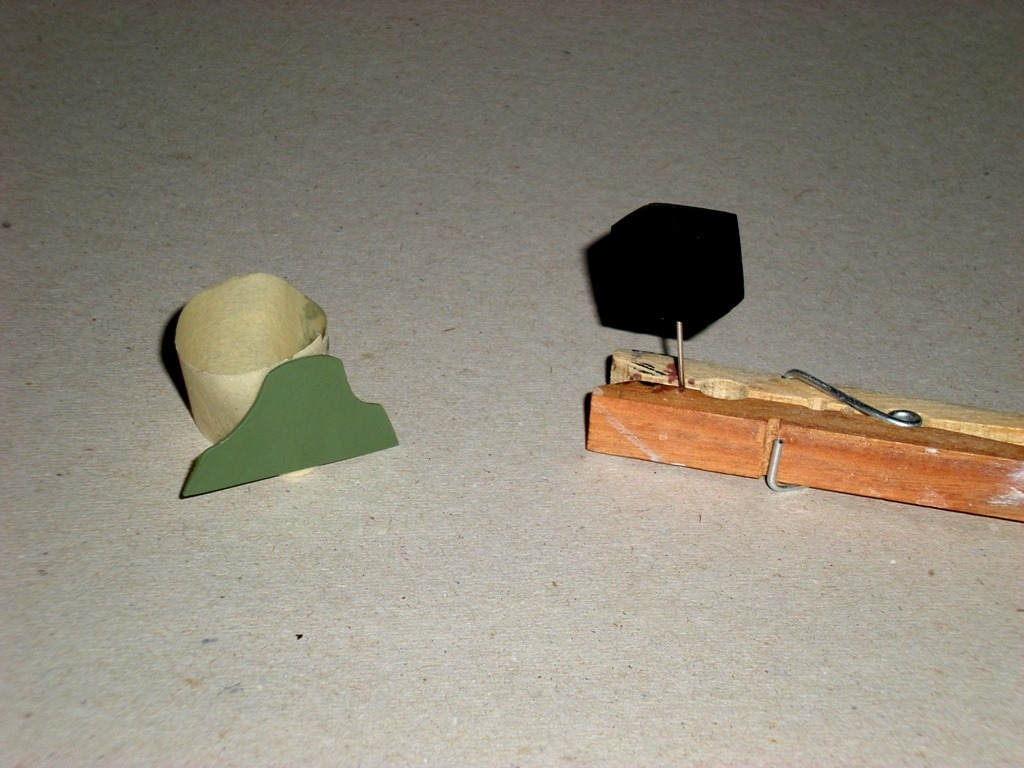
The armor plate headrest is madeout of 10 thousands plastic sheet and painted Tamiya green. The radio has been painted gloss black getting ready for a scrap decal from the decal scrap box. |
| jerry campbell, Image # 18469 | 30 Jun 10 05:04 |
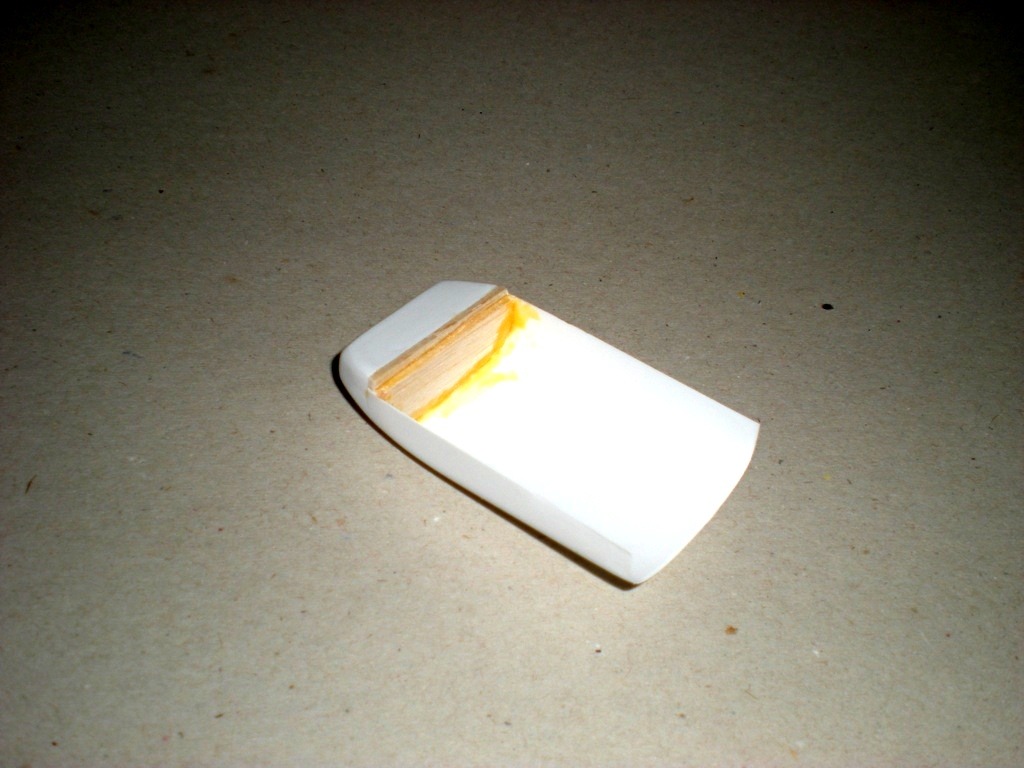
This is the balsa former I carved and glued to the inside of the oil cooler housing to provide a base to which to glue the intake. Afte which sanding is required to smooth the fit. |
| jerry campbell, Comment for image # 18429 | 28 Jun 10 23:49 |
| Sorry Bill, I meant close to say 1/24th scale, not 1/72 scale! Now I see what your comment was about. Must have been having a senior moment. |
| jerry campbell, Comment for image # 18438 | 28 Jun 10 09:17 |
| No, I've been working on it for a 4 or 5 days, but I just got around to putting the photos on V/A. |
| BillParker, Comment for image # 18429 | 28 Jun 10 09:07 |
| Here's a 4th of July present for everyone: Click Here! (those who are building P-51's anyway...) |
| Heinrich Dorfmann, Comment for image # 18438 | 28 Jun 10 08:15 |
| You built all this in one day ...? Gulp! |
| Build Thread, Page :
1 [ 2 ] 3 (52 posts, 20 posts per page, 3 pages in total)
|
[ < Prev ] [ Next > ] |
