| Build Thread, Page :
1 [ 2 ] 3 4 (64 posts, 20 posts per page, 4 pages in total)
|
[ < Prev ] [ Next > ] |
| jerry campbell, Image # 21100 | 09 Feb 11 16:37 |
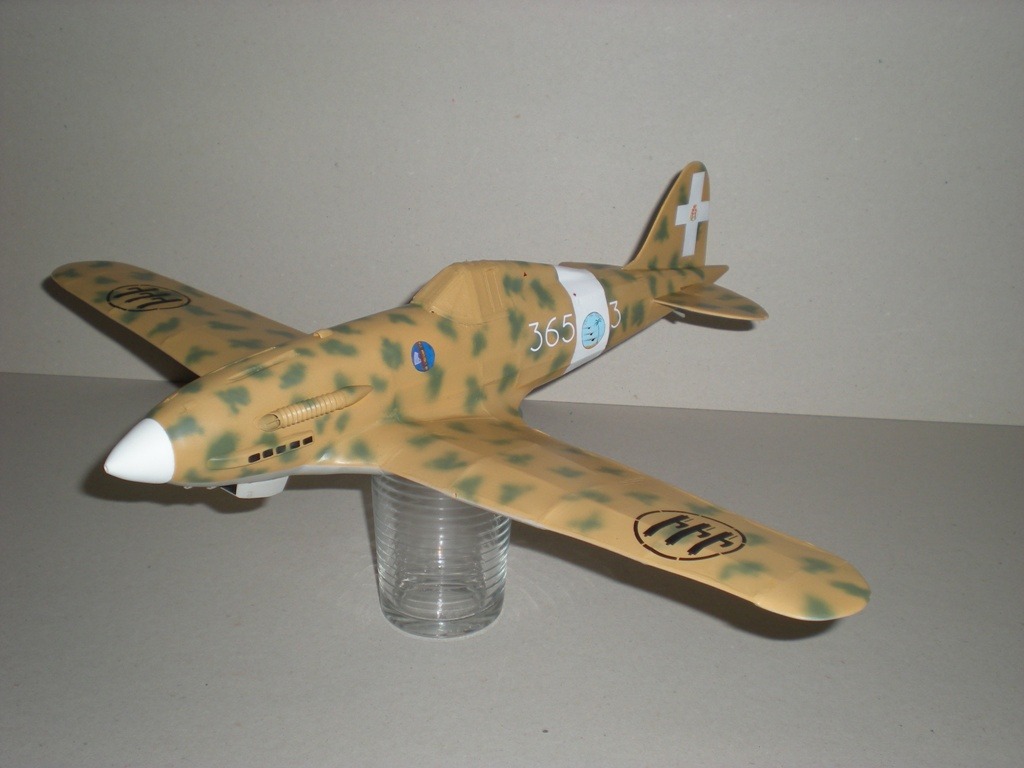
After all decals are applied a coat of Testor's Dullcoat is sprayed on. |
| jerry campbell, Comment for image # 21099 | 09 Feb 11 11:30 |
|
| jerry campbell, Image # 21099 | 09 Feb 11 11:26 |
The fuselage fascist marking and the house of savoy marking on the tail are paper cut supplie in the kit. |
| jerry campbell, Image # 21098 | 09 Feb 11 11:24 |
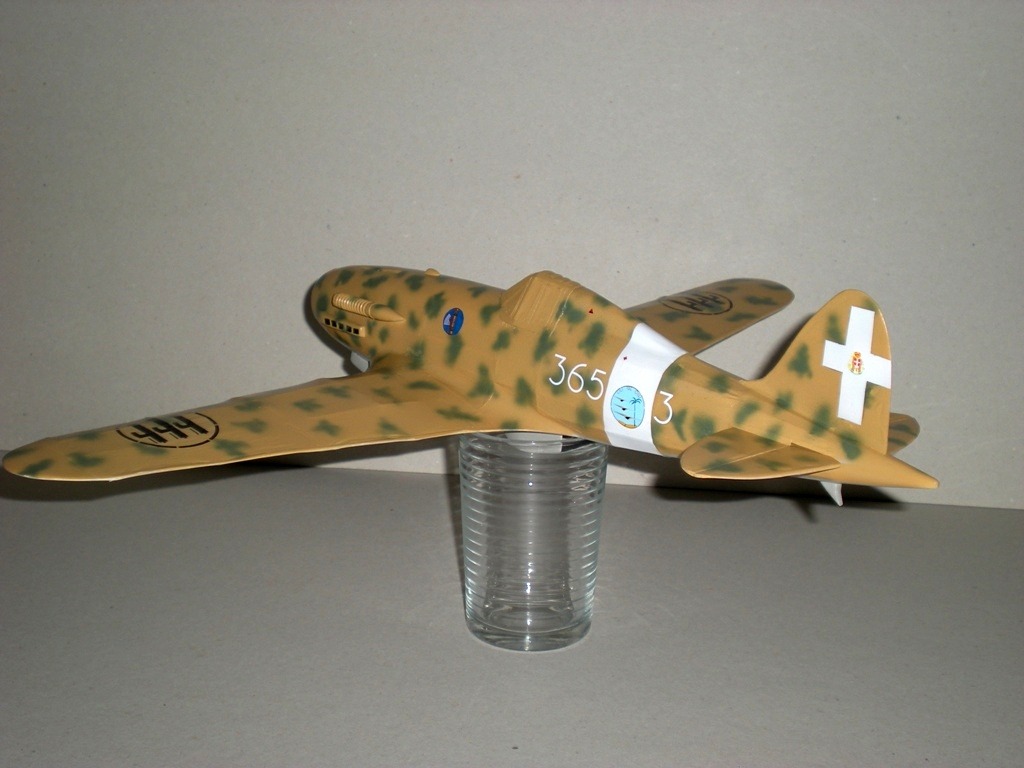
The decals are a combination of kit and after market CAM decals. |
| jerry campbell, Image # 21097 | 09 Feb 11 11:21 |
After touching up a coat of Future was sprayed overall and application of the decals can begin. I applied Micro decal Sol as I layed down each decal. |
| jerry campbell, Image # 21096 | 09 Feb 11 11:15 |
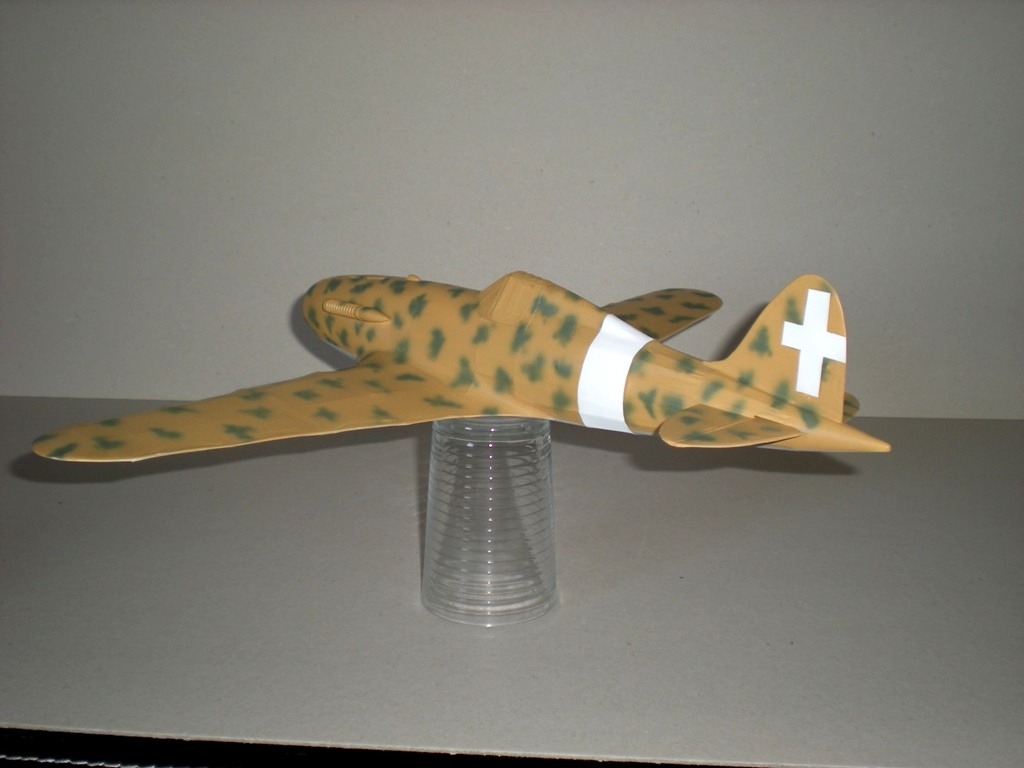
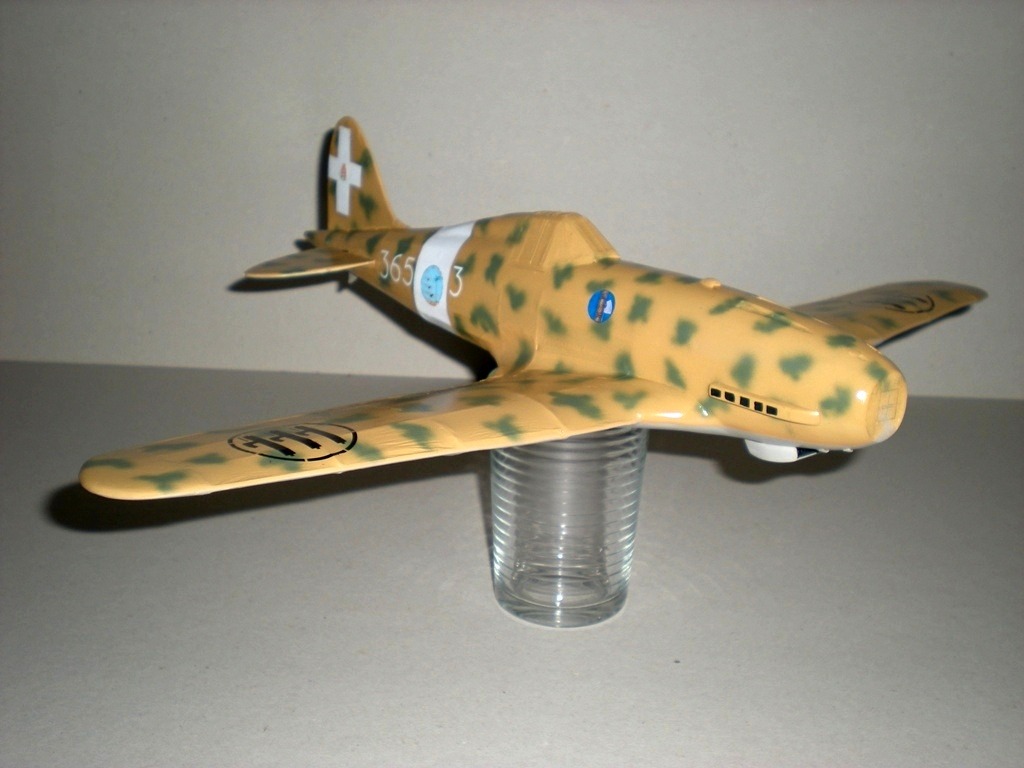
The fuselage band was easily done but the tail cross took a lot of measuring and cuting small strips of Drafting tape. Even using Drafting tape tiny dots of paint came up which had to be touched up. |
| jerry campbell, Image # 21095 | 09 Feb 11 11:10 |
Once the upper and lower surfaces are dry (overnight) the white fuselage band and the Italian tail cross is masked and painted white. |
| jerry campbell, Comment for image # 21068 | 07 Feb 11 14:52 |
| I use Tamiya Thinner. I purchase the large X20A 250 ml plastic jars. I keep two jars handy, one is dirty thinner for cleaning brushes and airbrush, the other is clean thinner for thinning paint and a final cleaning of the airbrush. I'm constantly adding thinner to the first two from a third clean jar of thiiner. I usually have several jars of thinner on hand. I've never used isopropyl-Alcohol, but I've been told it works very well, |
| RTD89, Comment for image # 21070 | 07 Feb 11 12:42 |
| Looking good, nice detail on the camo. |
| moostang51, Comment for image # 21068 | 07 Feb 11 11:05 |
| Nice Jerry. Do you use Tamiya thinner or just Isopropyl-Alcohol for thinning.I got so many tamiya paints, that I'm considering trying my still in the box Badger for the P-39. |
| poppy, Comment for image # 21067 | 07 Feb 11 10:11 |
| This is looking really good. The colors and camo are right on. |
| BillParker, Comment for image # 21067 | 07 Feb 11 10:07 |
| too kewl for skewl! |
| BriandKilby, Comment for image # 21067 | 07 Feb 11 09:30 |
| i like the desert camouflage, it's looks really good. |
| jerry campbell, Image # 21070 | 07 Feb 11 09:21 |
|
| jerry campbell, Image # 21069 | 07 Feb 11 09:20 |
|
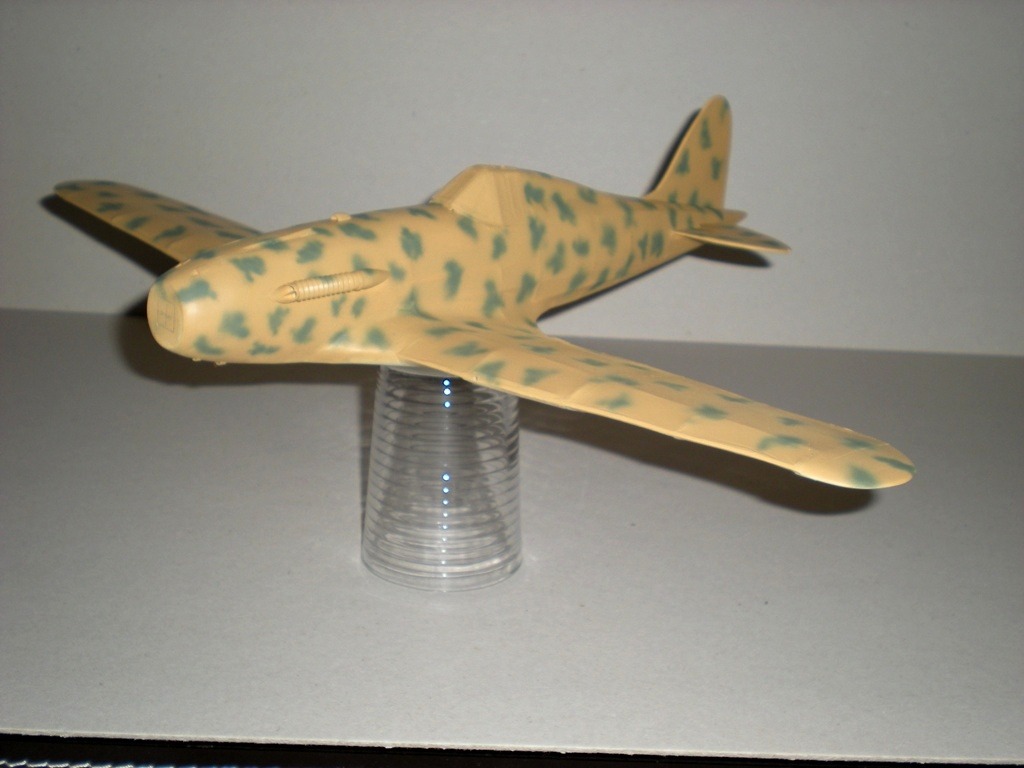
| jerry campbell, Image # 21068 | 07 Feb 11 09:20 |

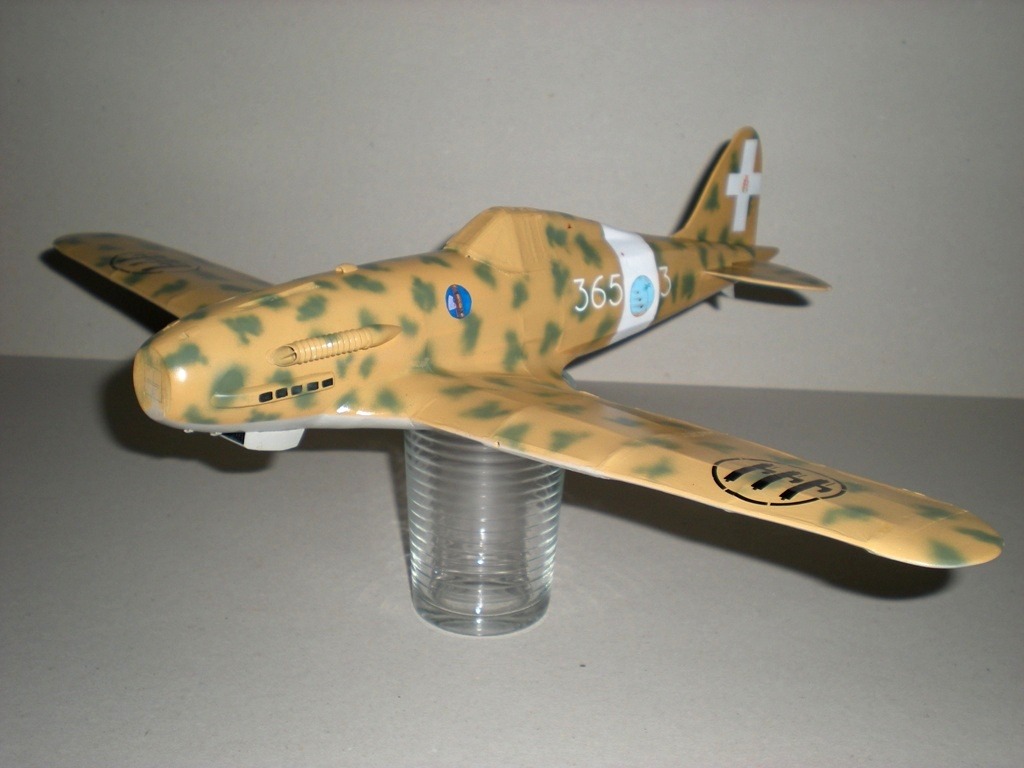
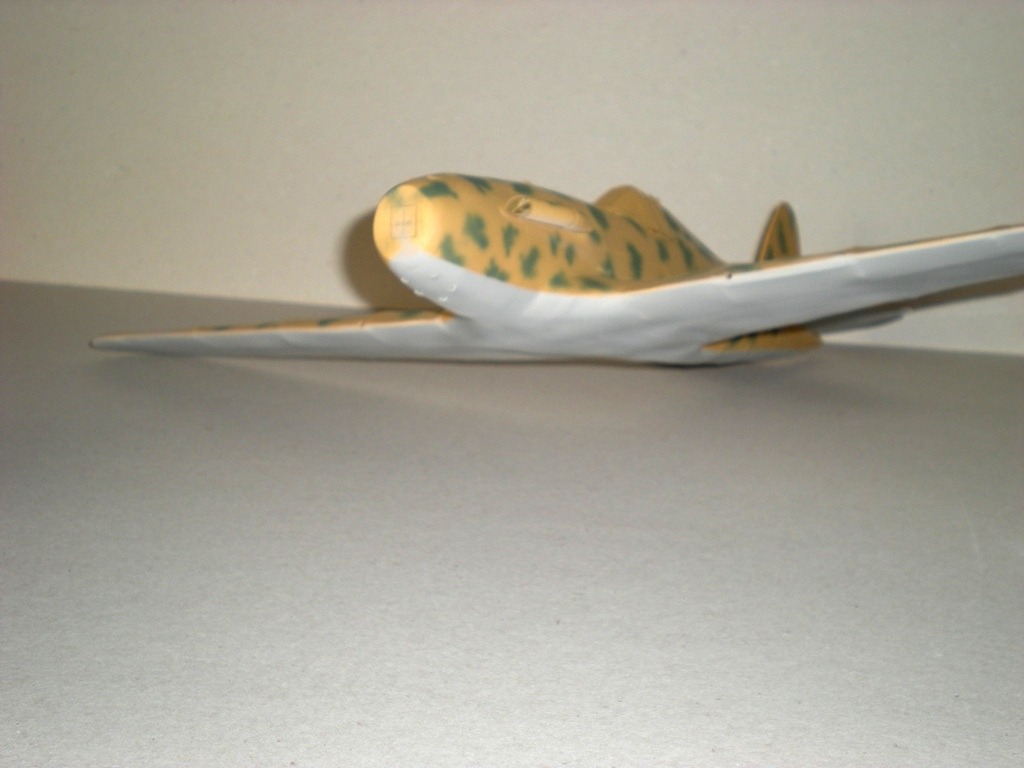
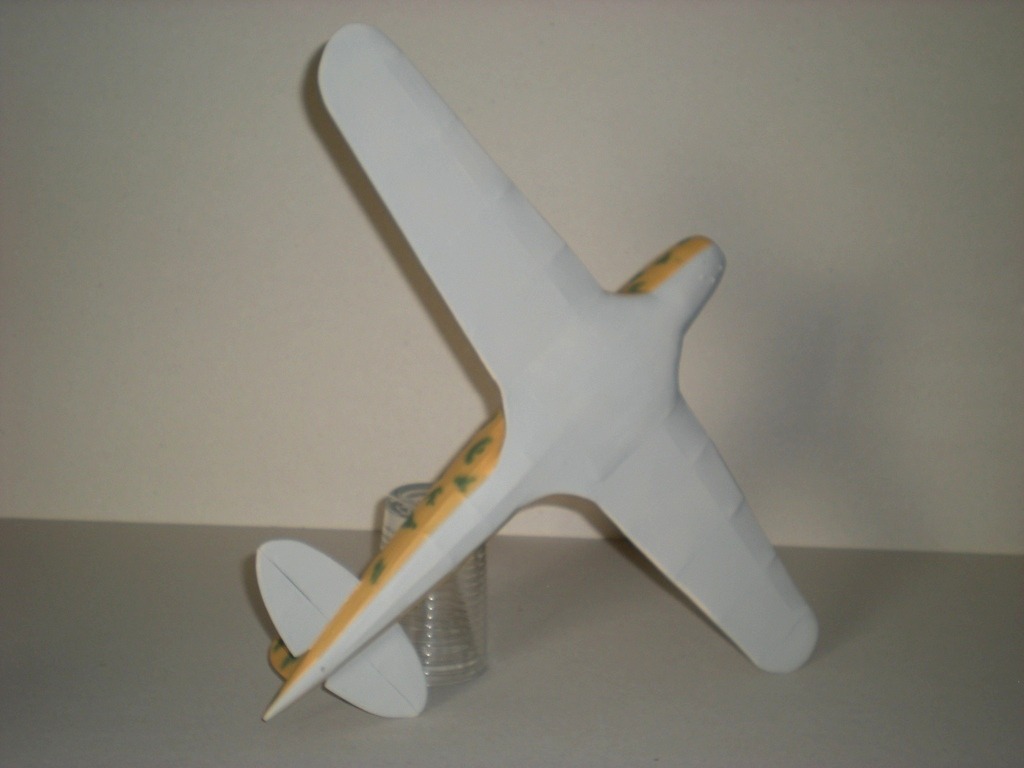
When the upper surfaces were dry, after masking with Drafting Tape the lower surfaces were airbrushed with Tamiya XF-29 Medium Grey lightened 35% with White. |
| jerry campbell, Image # 21067 | 07 Feb 11 09:15 |
|
| jerry campbell, Image # 21066 | 07 Feb 11 09:14 |
|
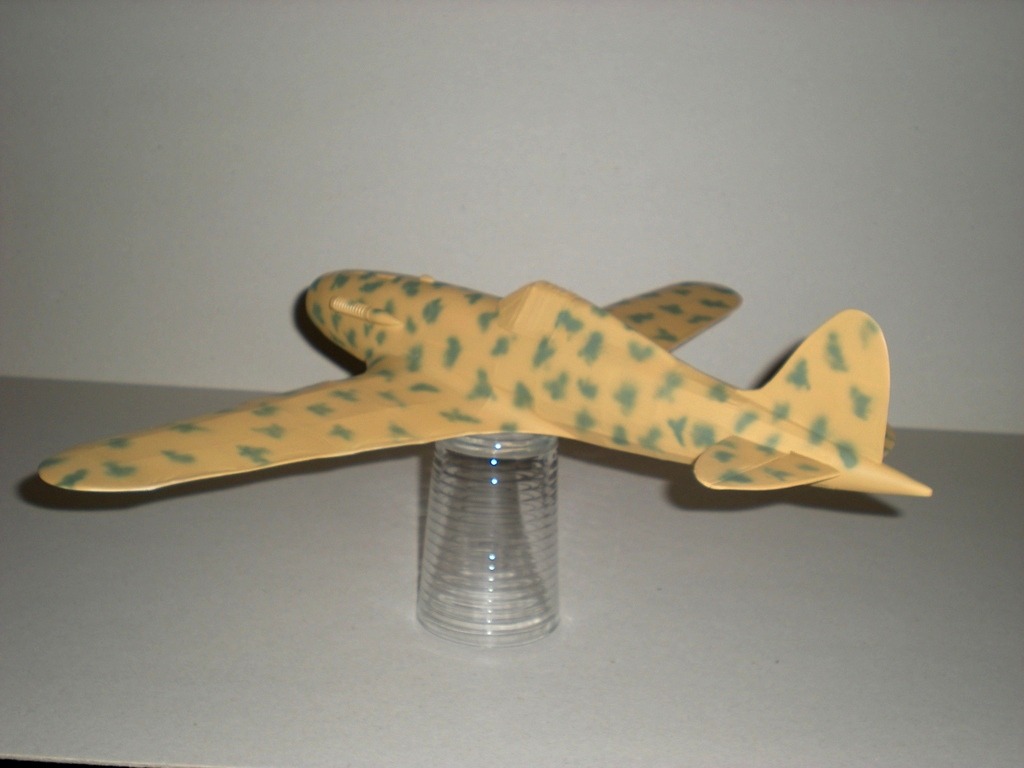
| jerry campbell, Image # 21065 | 07 Feb 11 09:13 |
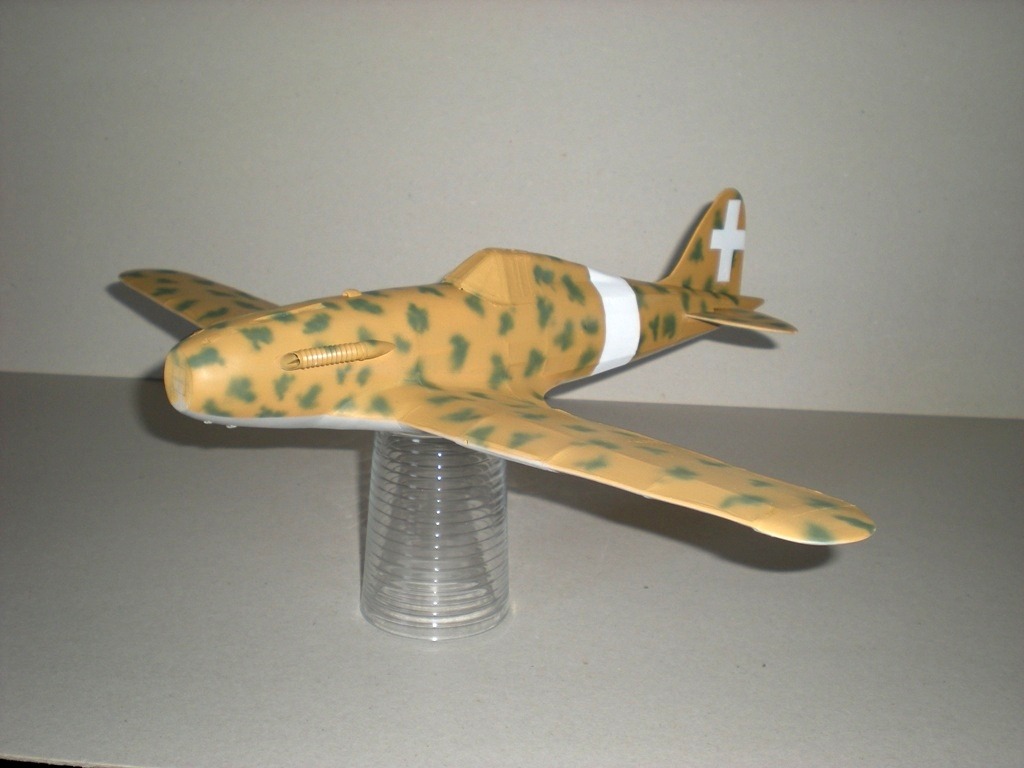
The upper surfaces have been airbrushed with Tamiya XF-59 Desert Yellow lightened with 20% White. When dry splotches of XF-13 JA Green lightened with 25% White were airbrushed. |
| BillParker, Comment for image # 20893 | 01 Feb 11 13:23 |
| I have a plan for this one blown up to 80"... The cammo job is what caught my eye! I'll be following your paint job closely... PICS! |
| Build Thread, Page :
1 [ 2 ] 3 4 (64 posts, 20 posts per page, 4 pages in total)
|
[ < Prev ] [ Next > ] |
