|
Main Menu
User Login
View By Aircraft
Users Aircraft
|
| Build Thread, Page :
1 [ 2 ] 3 4 (69 posts, 20 posts per page, 4 pages in total)
|
[ < Prev ] [ Next > ] |
| mattolson, Image # 3298 | 19 Jun 07 19:57 | 
Guillow bottom insignia same as top, but have not seen any authentic photos with such. Closest was fuselage type so I scanned those and wil make decals for bottom wings from side insignia. Hope the decal kit works! |
| mattolson, Image # 3297 | 19 Jun 07 19:53 | 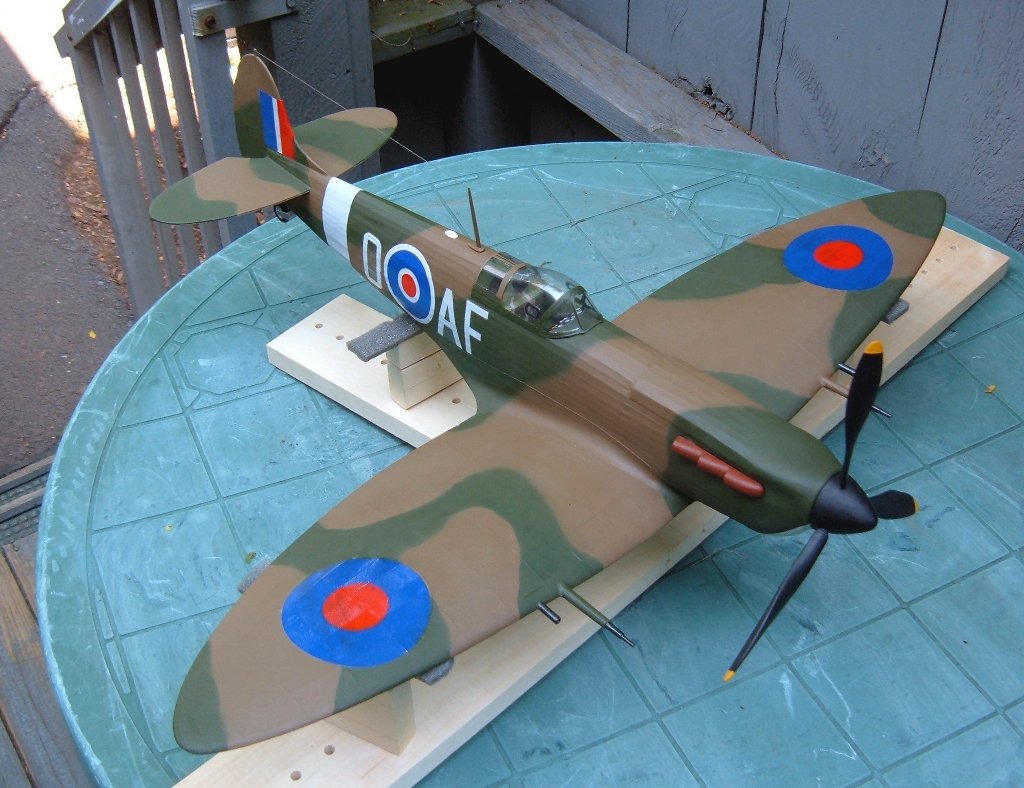
|
| mattolson, Image # 3296 | 19 Jun 07 19:52 | 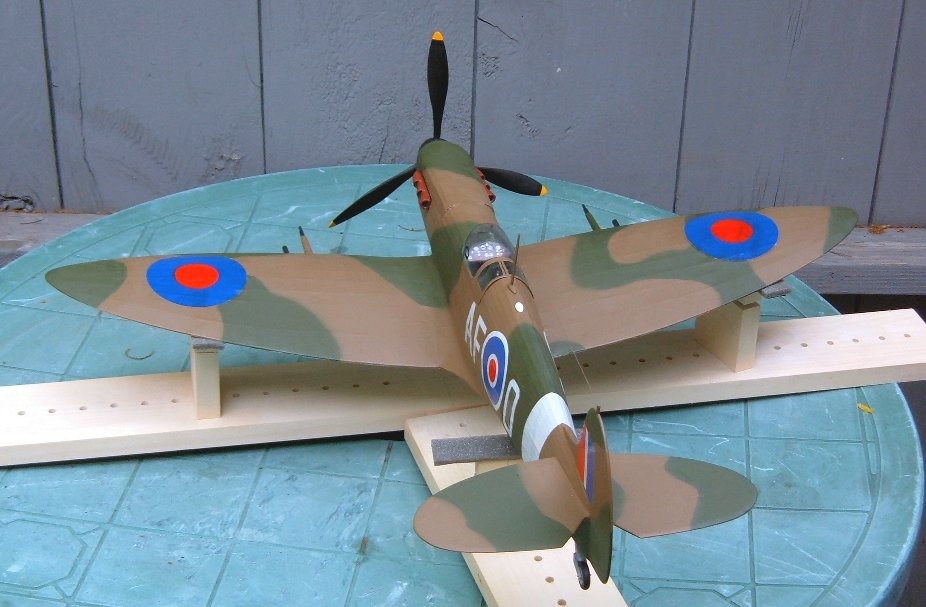
|
| mattolson, Image # 3295 | 19 Jun 07 19:52 | 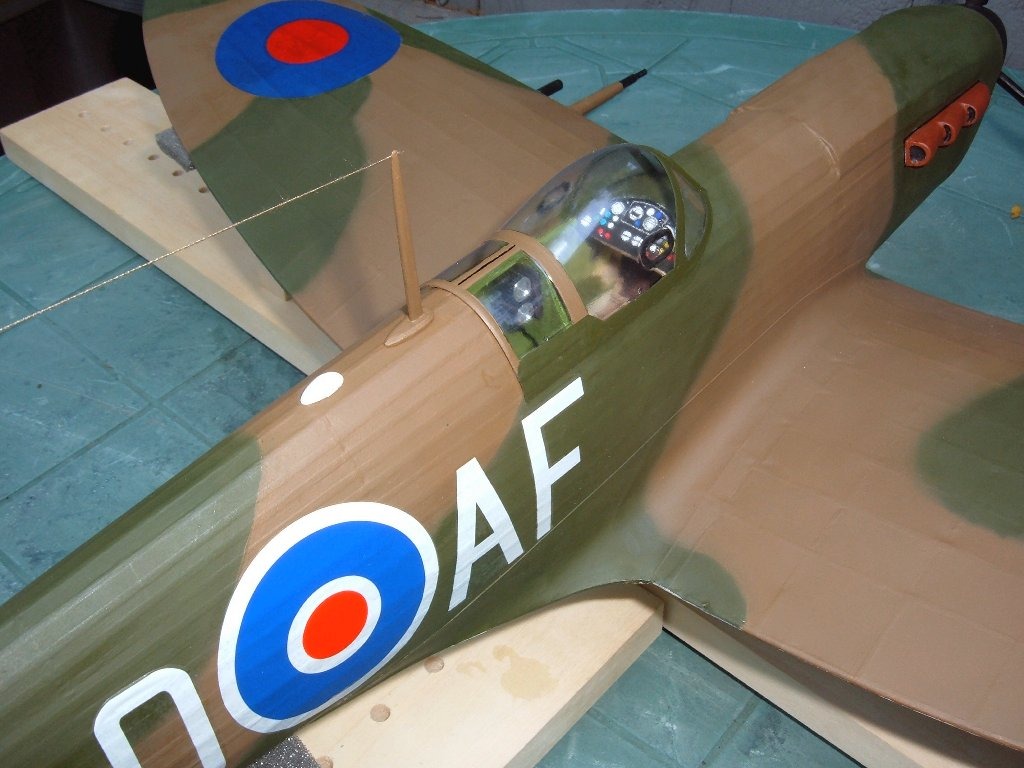
|
| mattolson, Image # 3294 | 19 Jun 07 19:51 | 
|
| mattolson, Image # 3293 | 19 Jun 07 19:50 | 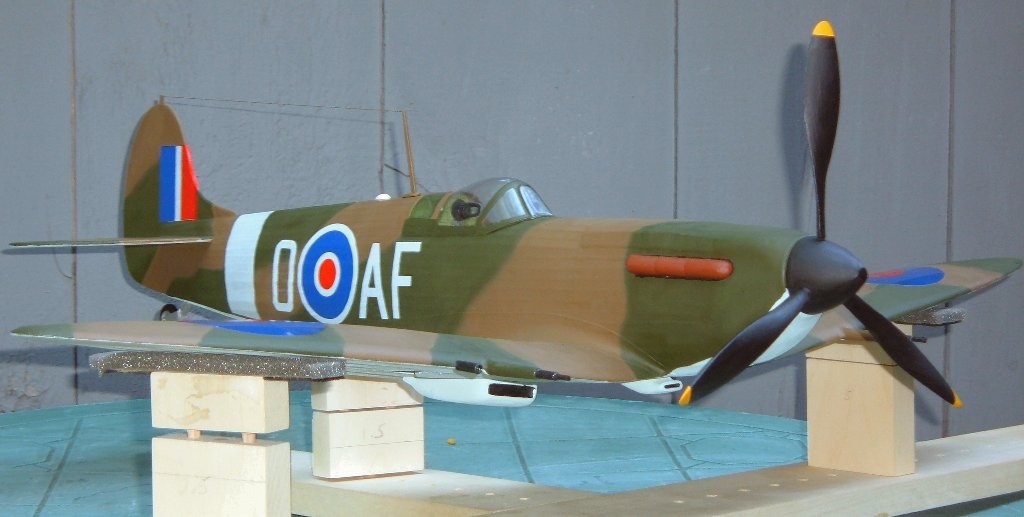
|
| mattolson, Image # 3292 | 19 Jun 07 19:49 | 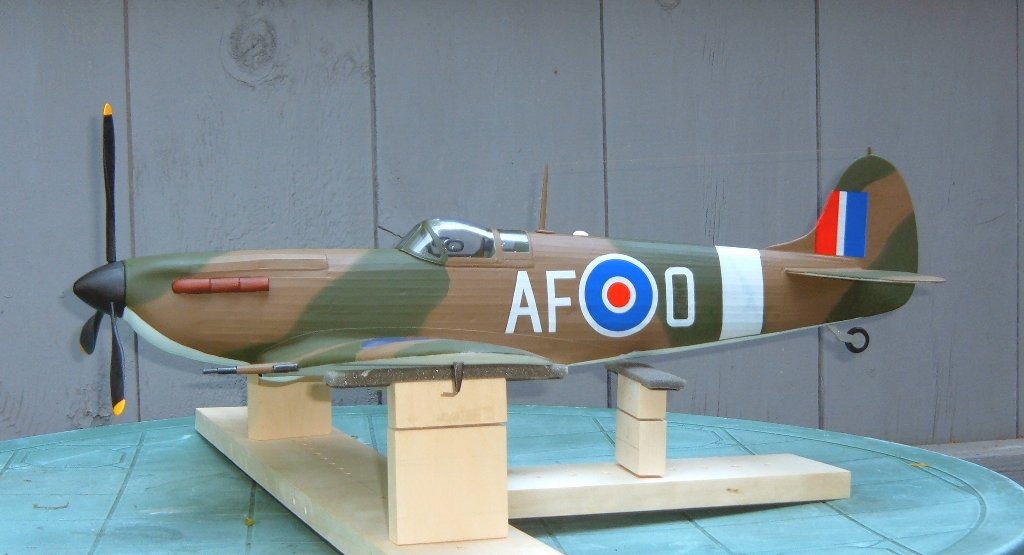
|
| mattolson, Image # 3291 | 19 Jun 07 19:48 | 
Finished except fr cntrl surface lines and such detail |
| Xanadu, Comment for image # 3158 | 11 Jun 07 21:55 | | Nice..........., I plan on taking up the airbrush as well.
This Spit is going to turn out great if this is a sign of things to come! |
| mattolson, Comment for image # 3158 | 11 Jun 07 21:49 | | I'm using Model Master enamels. That's what I cut my teeth on years ago with brushes, but its really a bear cleaning and switching colors on the airbrush. It looks like they have a good line of acrylic military colors now, so maybe I will switch to them. I'm sure it will be healthier and easier clean up! I have the Lib kit in my basement so I am monitoring your build carefully! |
| moostang51, Comment for image # 3158 | 11 Jun 07 18:06 | | Like the jig for supporting the aircraft. Airbrushing does take a lot of practice. It's actually easier to paint on a smaller scale model. The secret is good masking and mutiple light coats. Considering using it on the Lib. What type paint do you use? |
| mattolson, Image # 3161 | 10 Jun 07 19:34 | 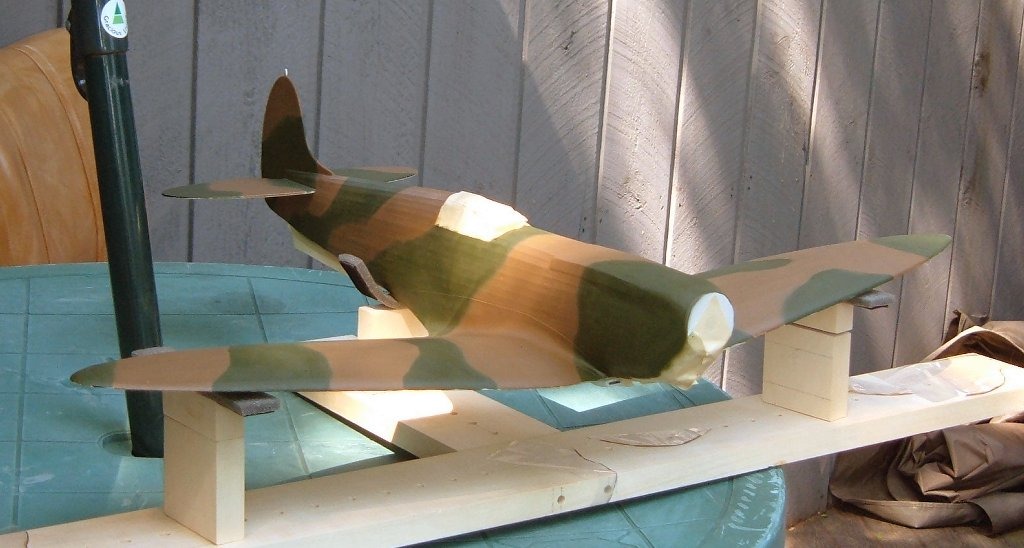
Paint in progress. |
| mattolson, Image # 3160 | 10 Jun 07 19:32 | 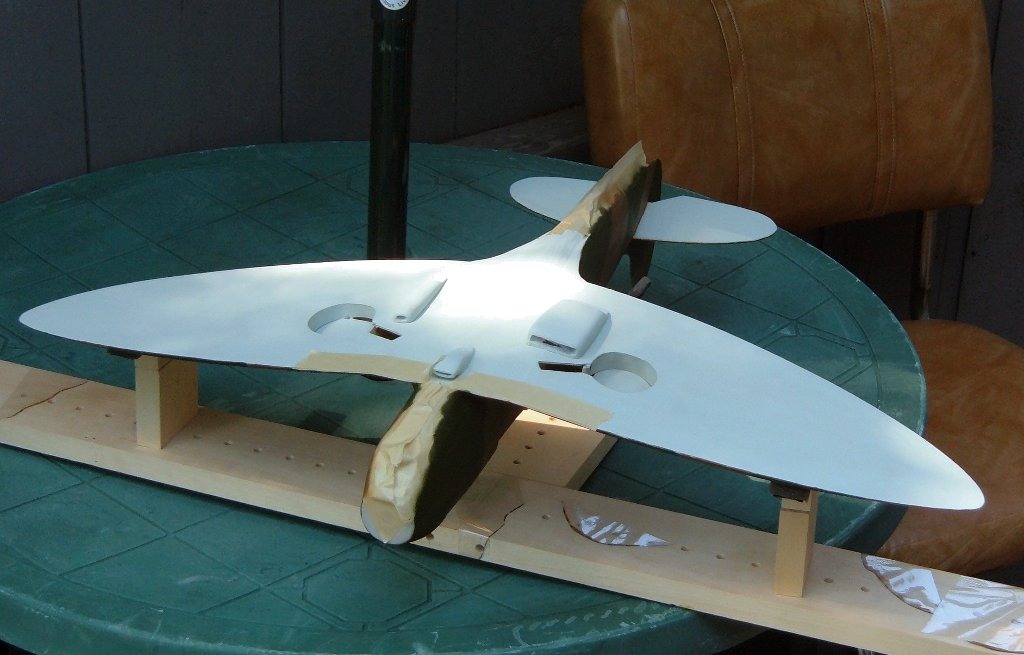
Paint in progress. |
| mattolson, Image # 3159 | 10 Jun 07 19:31 | 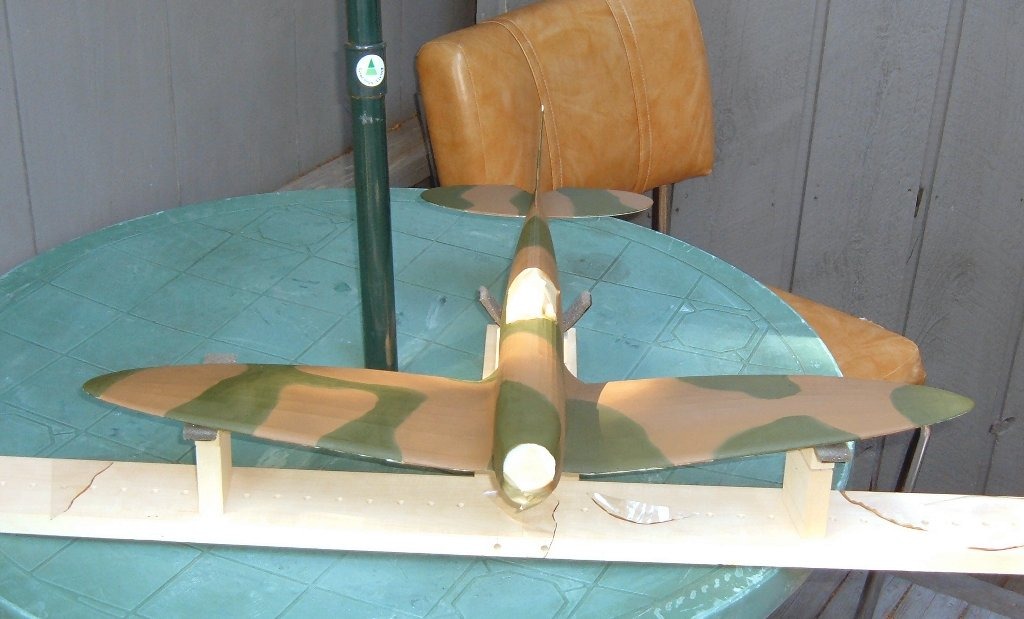
Paint in progress. |
| mattolson, Image # 3158 | 10 Jun 07 19:30 | 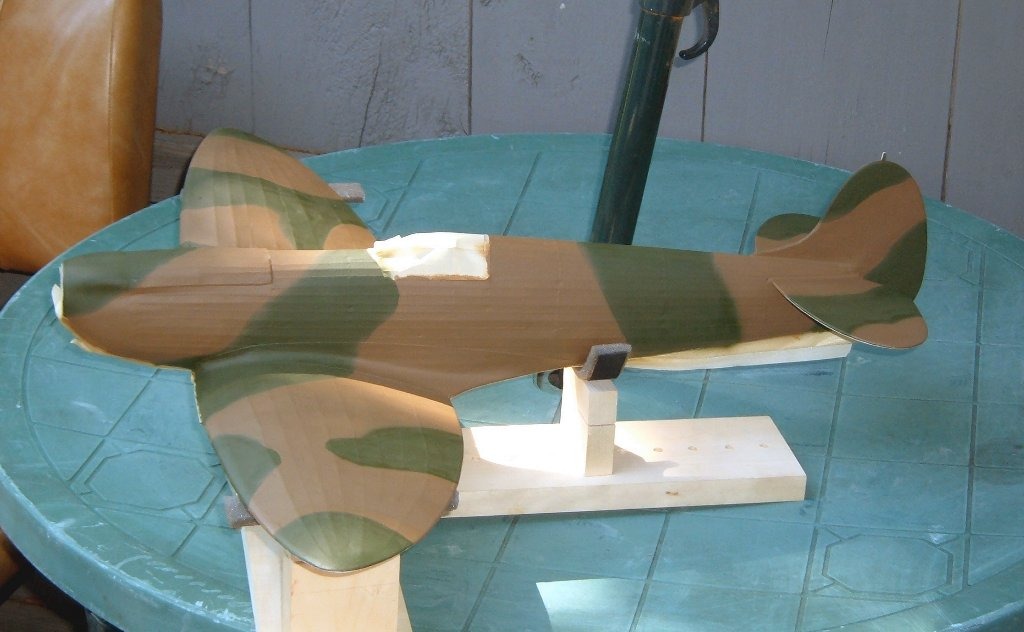
Painting in progress. Am learning how to use the airbrush. It will require some practice, but I like the airbrush look. |
| mattolson, Image # 2857 | 10 May 07 21:07 | 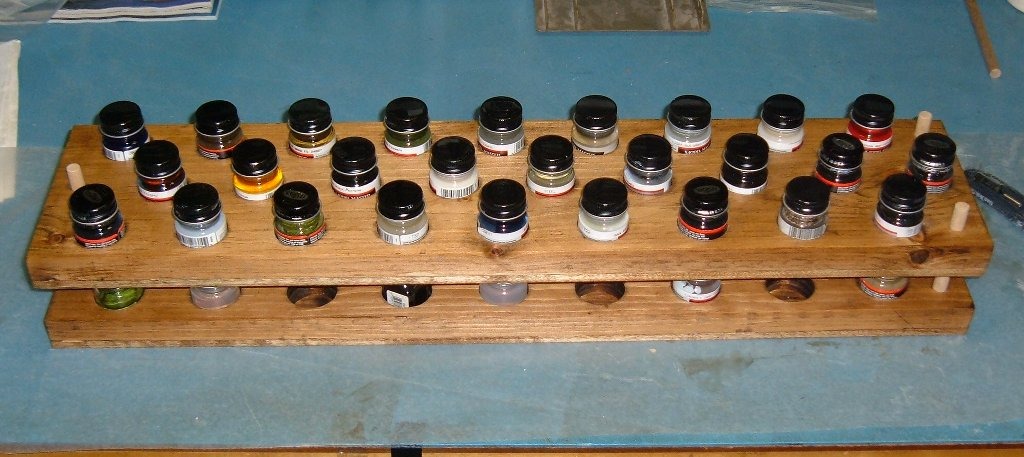
Paint holder with paint bottles. The new testors MM bottles have the paint name on the top of the label for easy ID. |
| mattolson, Image # 2856 | 10 May 07 21:06 | 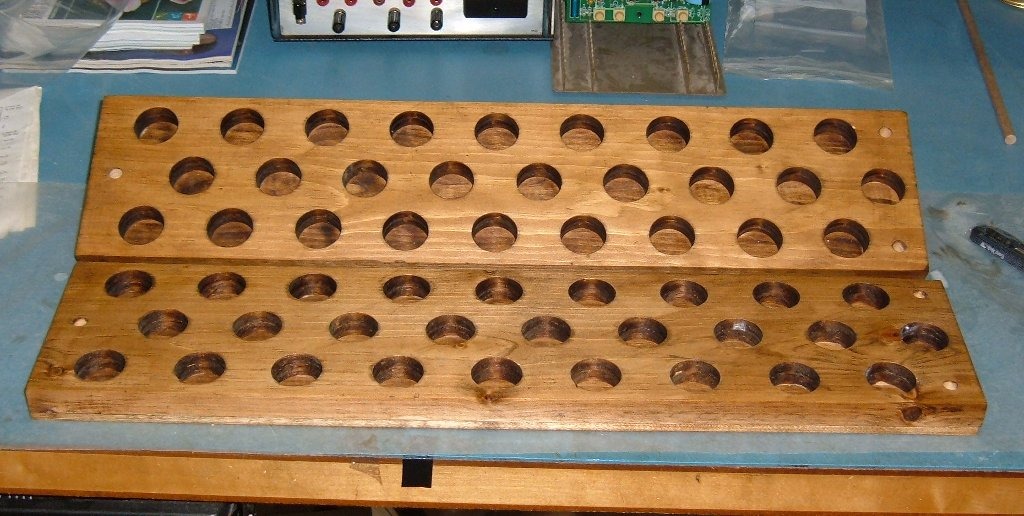
Off topic. I got tired of lifting up each paint bottle out of the box to see what it was, so I built this bottle holder. Most of my paints are testors Model Master 1/2 oz, so I built for that size although their 1/4 ounce bottles fit nicely also. I ma |
| flyguy172, Comment for image # 2735 | 17 Apr 07 17:29 | | I thought that looked like a capacitor. Yet another demonstration why everyone should have a "Magic Box" ;). |
| mattolson, Comment for image # 2741 | 17 Apr 07 13:29 | | Thanks. The wings were tough to cover. The bottom I wet covered OK (first time for wet process), but I didn't trust myself for the top. It took quite a long time to do each rib section dry. I started the fuselage wet, but the glue sealer (50-50) caused the tissue to stick too much before I could get good positioning, so I aborted and did it dry. |
| mattolson, Comment for image # 2735 | 17 Apr 07 13:19 | | No. The seat is a copy of the F4U Corsair's, trimmed down. The rest of the items were scratchbuilt from pictures gleaned off the web of actual aircraft and plastic models. The orange part is a capacitor from my electronic parts bin. I knew that would come in handy someday! |
| Build Thread, Page :
1 [ 2 ] 3 4 (69 posts, 20 posts per page, 4 pages in total)
|
[ < Prev ] [ Next > ] |
|
