| Build Thread, Page :
1 2 [ 3 ] 4 5 6 7 8 (144 posts, 20 posts per page, 8 pages in total)
|
[ < Prev ] [ Next > ] |
| FLYBOYZ, Comment for image # 21353 | 27 Feb 11 19:48 |
| Iam working on the china version |
| David Duckett, Image # 21354 | 27 Feb 11 15:42 |
|
| David Duckett, Image # 21353 | 27 Feb 11 15:41 |

|
| David Duckett, Image # 21352 | 27 Feb 11 15:40 |
|
| David Duckett, Image # 21351 | 27 Feb 11 15:40 |
|
| David Duckett, Image # 21350 | 27 Feb 11 15:39 |
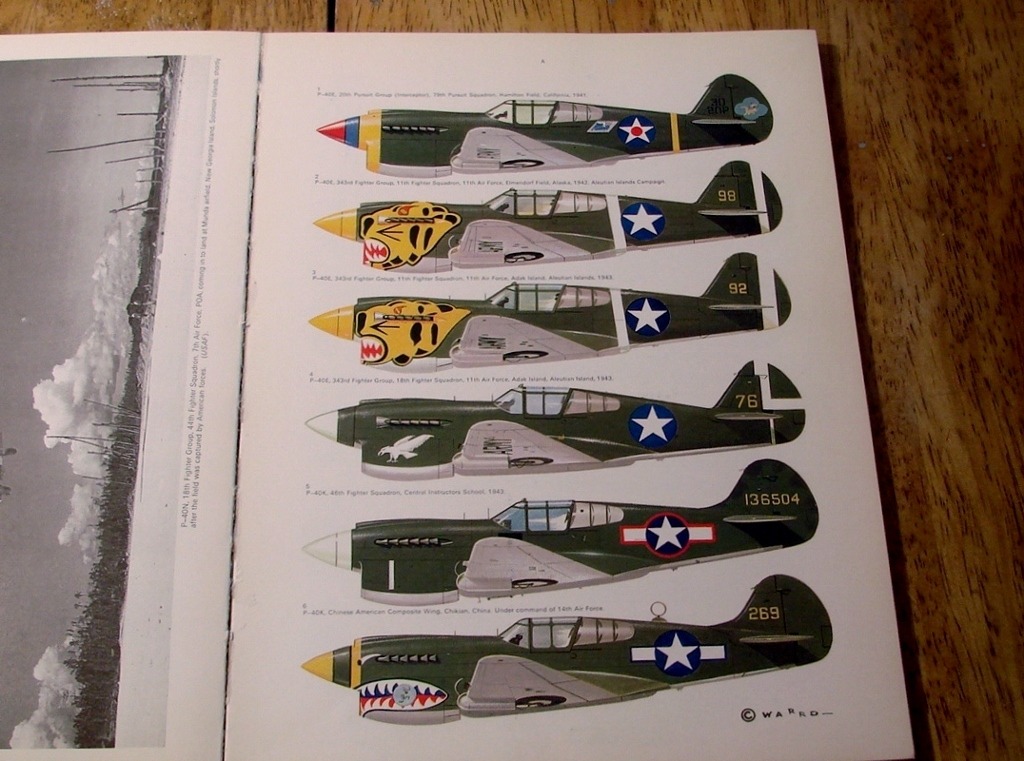
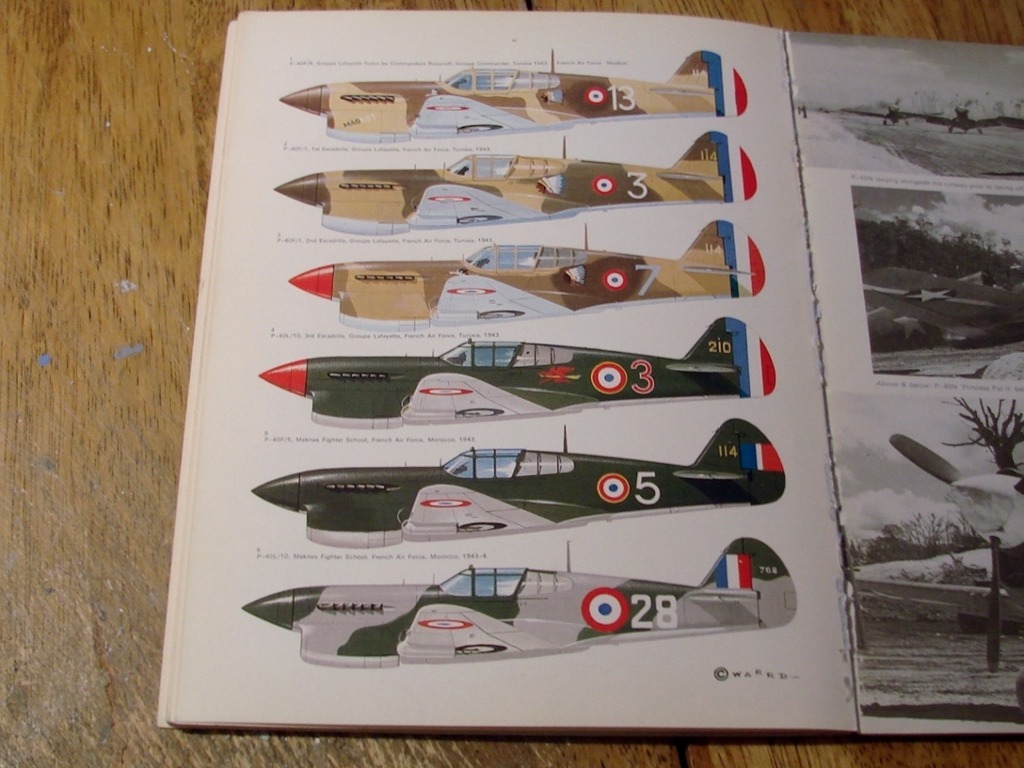
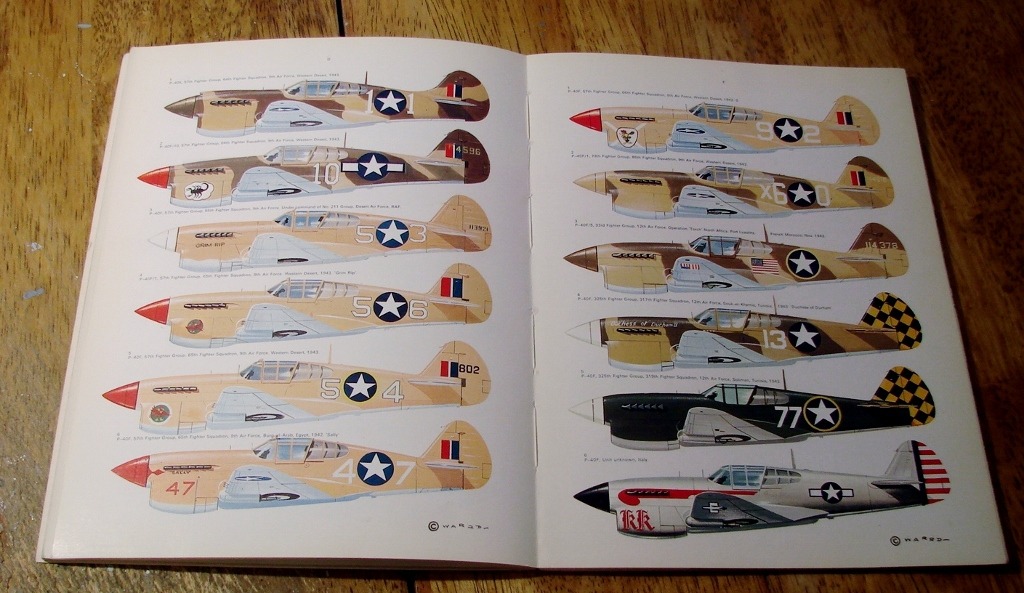
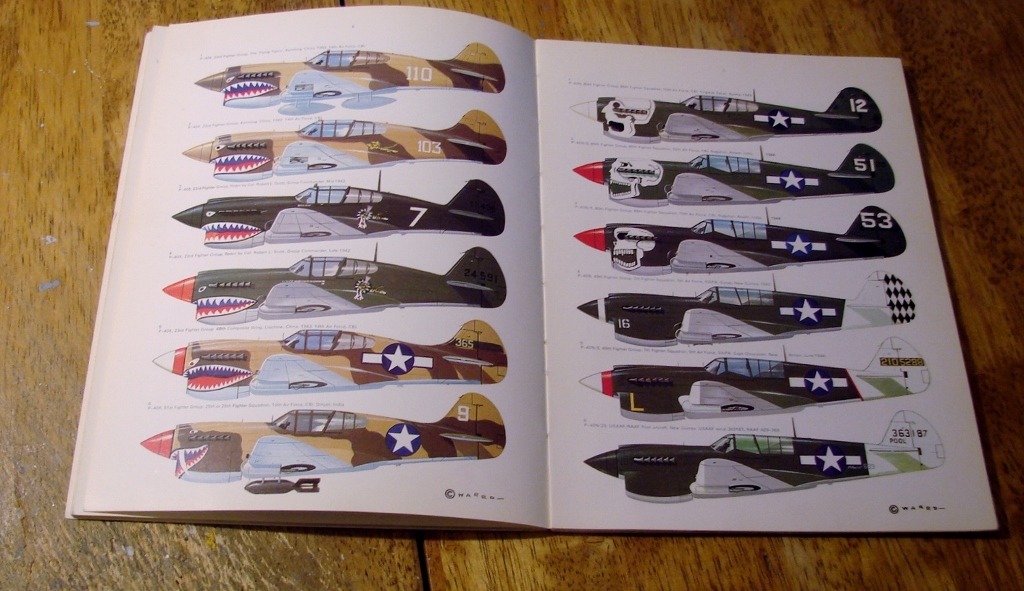
Color charts from the books. |
| RTD89, Comment for image # 10657 | 05 Jan 11 13:54 |
| Thank you for the knowledge David! |
| David Duckett, Comment for image # 10657 | 04 Jan 11 02:31 |
| I often double the number of stringers, especially for curved areas like the top and bottom of the fuselage. I find it helps maintain the proper shape. I have soft balsa in several sizes, 1/8", 3/32", 3/16", and 1/4", for filling the spaces. I use Hobbico filler, pictured here, and Sherwin-Williams Shrink-Free Spackling for fillers. The S-W product is cheaper than Hobbico but is actually quite well suited for this process. Check the build thread for the Mustang. It's important to let the filler dry thoroughly before sanding but it's also important to not let it sit for a long time before sanding as it gets harder with age. Also, Filler is for gaps, not gullies. I would suggest the S-W product and I think that once you use it you'll see just how easy it is. |
| RTD89, Comment for image # 10657 | 03 Jan 11 21:32 |
| Are you doubling the amount of stringers and then filling the gaps? What are you using for the filler? |
| David Duckett, Comment for image # 10657 | 26 Dec 10 20:05 |
| Click on the "build thread", just below the "Guillows Series.." at the top left of this image. That will show the process step by step. I use it on many models so look on threads for more than just this model. Also you can click on the "next" and "prev" words above the photo to go forward and back in this build. If that doesn't help, I'll get back with you in the morning to fully explain it. |
| RTD89, Comment for image # 10657 | 26 Dec 10 19:26 |
| Can you explain this process of filling to me? I would like to try it on my P-40. |
| jgood, Comment for image # 10844 | 19 Feb 09 06:48 |
| Amazing work as usual, David. The details on this one are really exquisite. |
| David Duckett, Comment for image # 10844 | 18 Feb 09 09:18 |
| No, these are in the kit. |
| mdmorgan37, Comment for image # 10844 | 18 Feb 09 09:07 |
| did you make you own decals for that?
|
| poppy, Comment for image # 10851 | 16 Feb 09 10:09 |
| JFB!! |
| David Duckett, Comment for image # 10843 | 15 Feb 09 08:12 |
| Thanks, all. Yeah, it is a bit crazy. Some might even say obsessive ;-) I'm the same about painting on canvas but for the moment models are more fun. I did take a couple of days off from this to do a painting for The Vietnam Center at Texas Tech University whose Director spoke at our dedication banquet in Louisiana last year. |
| wingspanner, Comment for image # 10843 | 15 Feb 09 07:39 |
| Yet another beauty David. Didn't realise how many planes you've churned out. You need to start www.davidduckettmuseum.com your next will be your 45th plane! |
| John M Oshust, Comment for image # 10844 | 14 Feb 09 20:05 |
| Impeccable....the hits keep coming |
| Barnstormer, Comment for image # 10843 | 14 Feb 09 18:33 |
| Outstanding!!! You just never cease to amaze me. Excellent P-40 Mr. Duckett. |
| SteveM, Comment for image # 10844 | 14 Feb 09 13:51 |
| This is a great angle for showing off the shark's face. Job well done, this is a fine looking P-40. |
| Build Thread, Page :
1 2 [ 3 ] 4 5 6 7 8 (144 posts, 20 posts per page, 8 pages in total)
|
[ < Prev ] [ Next > ] |
