| Build Thread, Page :
1 2 [ 3 ] 4 5 6 (114 posts, 20 posts per page, 6 pages in total)
|
[ < Prev ] [ Next > ] |
| scigs30, Image # 7085 | 12 Mar 08 23:30 |

I did not add the scale braces to the landing gear since landing gear is functional |
| scigs30, Image # 7084 | 12 Mar 08 23:29 |

|
| scigs30, Image # 7083 | 12 Mar 08 23:29 |
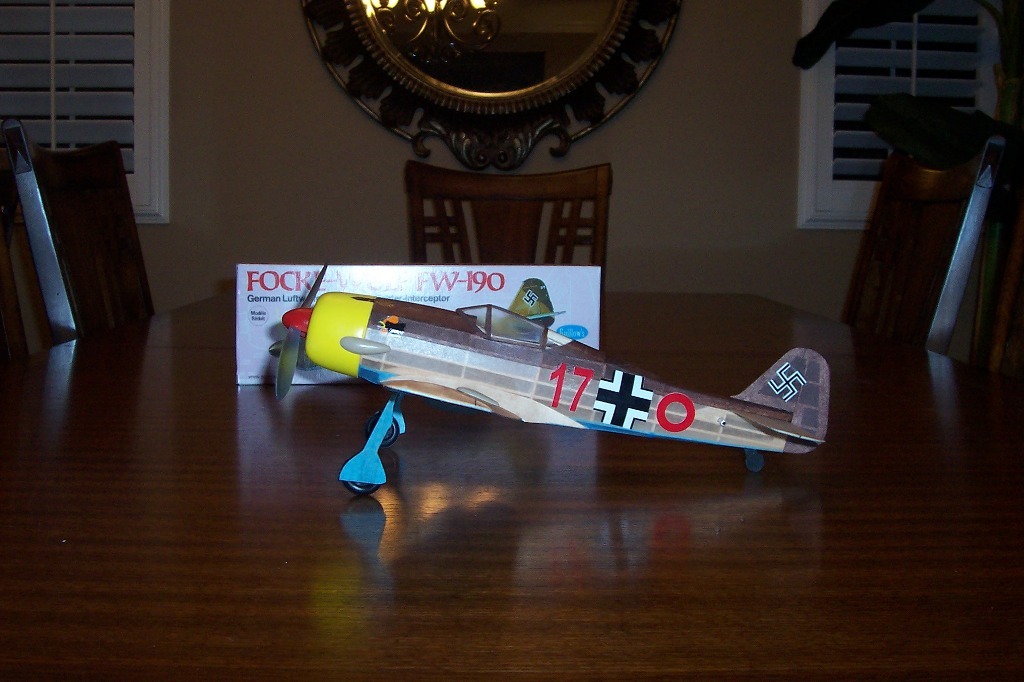
All done. Final wt. 31.4 grams. |
| Skip, Comment for image # 7061 | 11 Mar 08 13:28 |
| Excellant tutorial and photos of your fillet installation process. May I add that the proper fit for the fillet is also predicated on the proper positioning of the balsa fairing connection from the wing to the fuselage. (ie. vertically positioning on the fuselage) Positioning on the fuselage is most crucial. |
| scigs30, Image # 7061 | 11 Mar 08 00:04 |
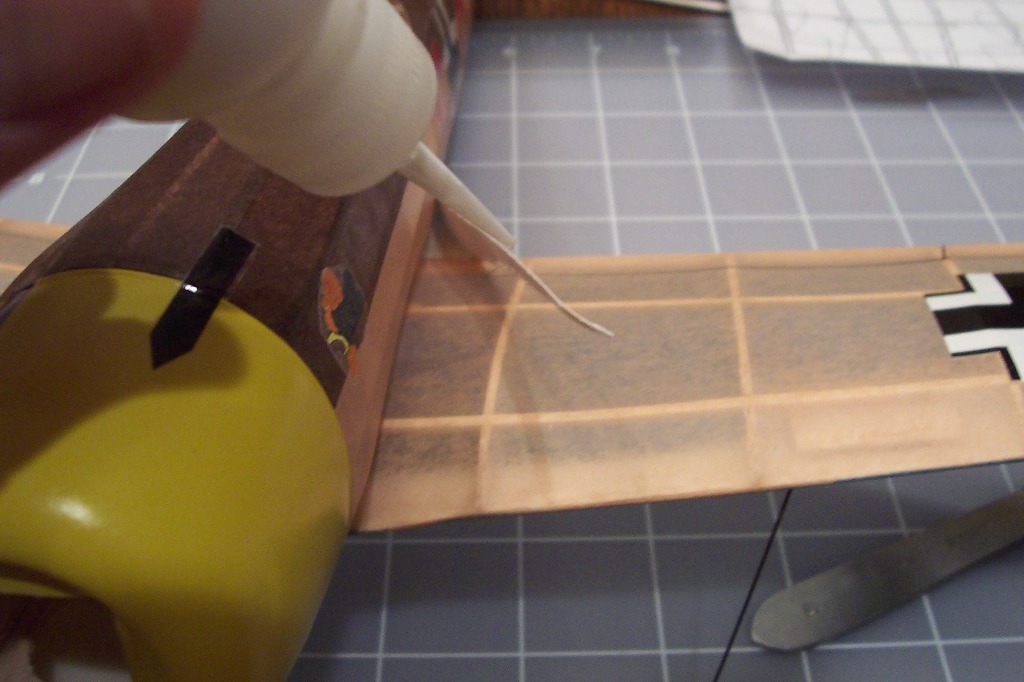
Just need to add some to glue to the front and the fillet is all done. Now I will start on the other side. |
| sweetwillie, Comment for image # 7058 | 11 Mar 08 00:04 |
| Another master of the craft! Great looking plane. |
| scigs30, Image # 7060 | 11 Mar 08 00:03 |

If a little glue squeezes out. I dampen a q tip and clean up the excess. |
| scigs30, Image # 7059 | 11 Mar 08 00:02 |
If the fillet needs more glue. I carefully add some into the space, this is where the small glue tip helps. |
| scigs30, Image # 7058 | 11 Mar 08 00:01 |
Moving onto the next section, adding a little bit of glue |
| scigs30, Image # 7057 | 11 Mar 08 00:00 |
Now I apply the fillet and let this section dry before moving on. |
| scigs30, Image # 7056 | 10 Mar 08 23:59 |

I first only apply glue to the rear portion of the fillet. I will put the fillet on in sections |
| scigs30, Image # 7055 | 10 Mar 08 23:58 |
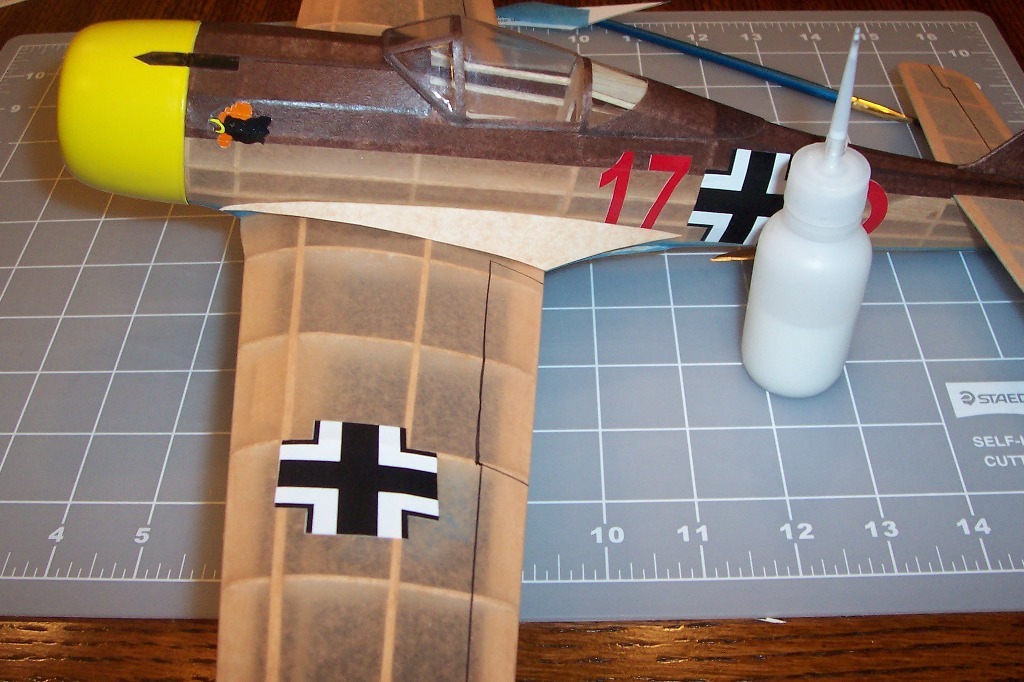
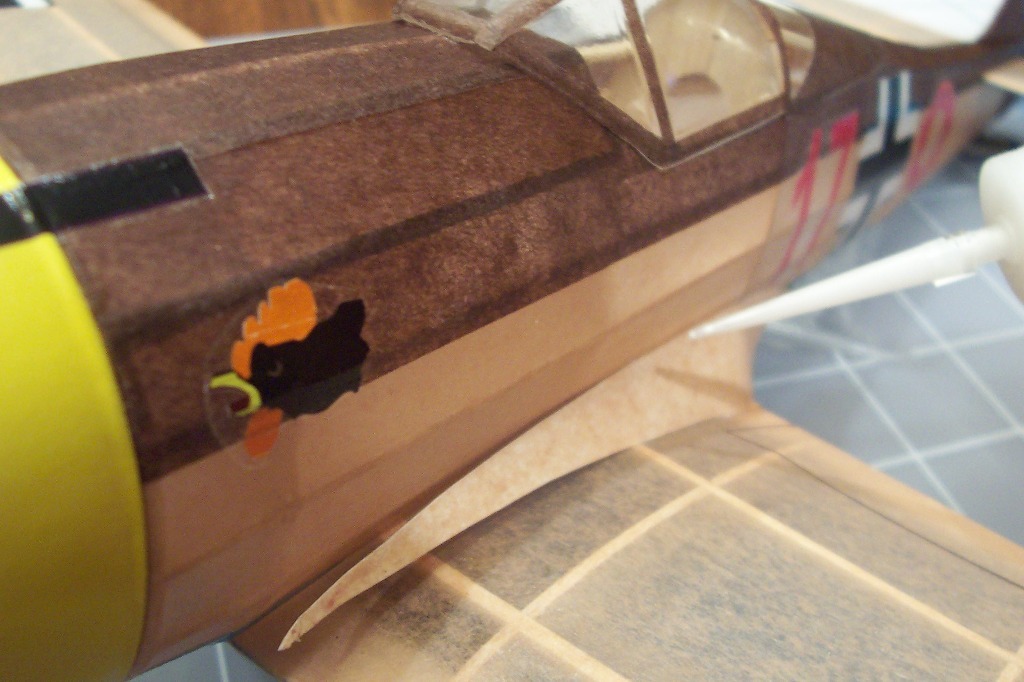
First I test fit the fillet, looks ok. Remember the wood gusset is already glued in place prior to adding the fillets. |
| scigs30, Image # 7054 | 10 Mar 08 23:57 |

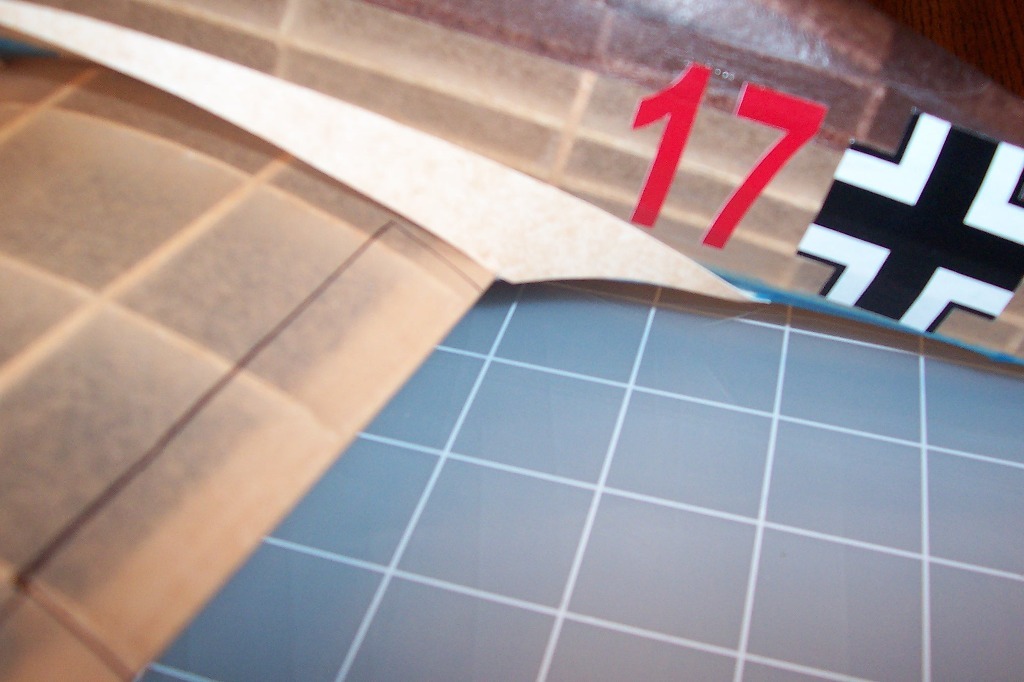
This is what should be left. |
| scigs30, Image # 7053 | 10 Mar 08 23:55 |
Cutting the second fillet. The first time the copied pattern was placed on the tissue side of the card stock. This time the tissue side is face down. This way you have a right and left sided fillet. |
| scigs30, Image # 7052 | 10 Mar 08 23:53 |
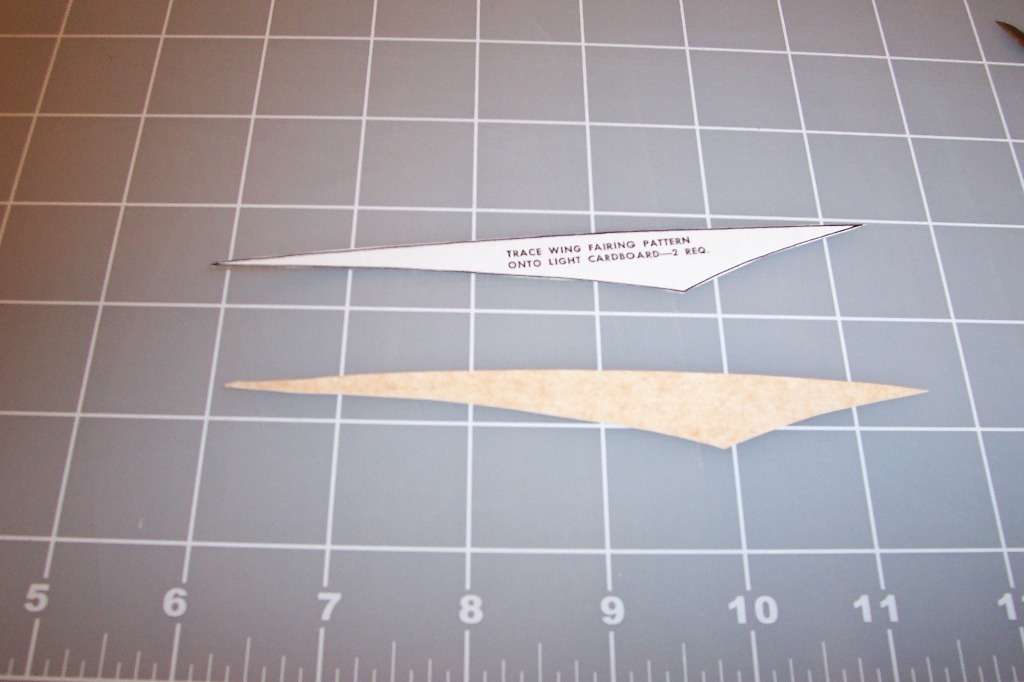
This is what it should look like when cut out. |
| scigs30, Image # 7051 | 10 Mar 08 23:53 |

I place the copied pattern over the tissue/card-stock and begin covering. |
| scigs30, Image # 7050 | 10 Mar 08 23:51 |

Some basic tools. Pencil, Elmers glue in a bottle with small tip added and sharp surgical scalpel. |
| scigs30, Image # 7049 | 10 Mar 08 23:50 |

I cut a piece of doped tissue and glue it to the paper with 3m glue spray. |
| scigs30, Image # 7048 | 10 Mar 08 23:49 |

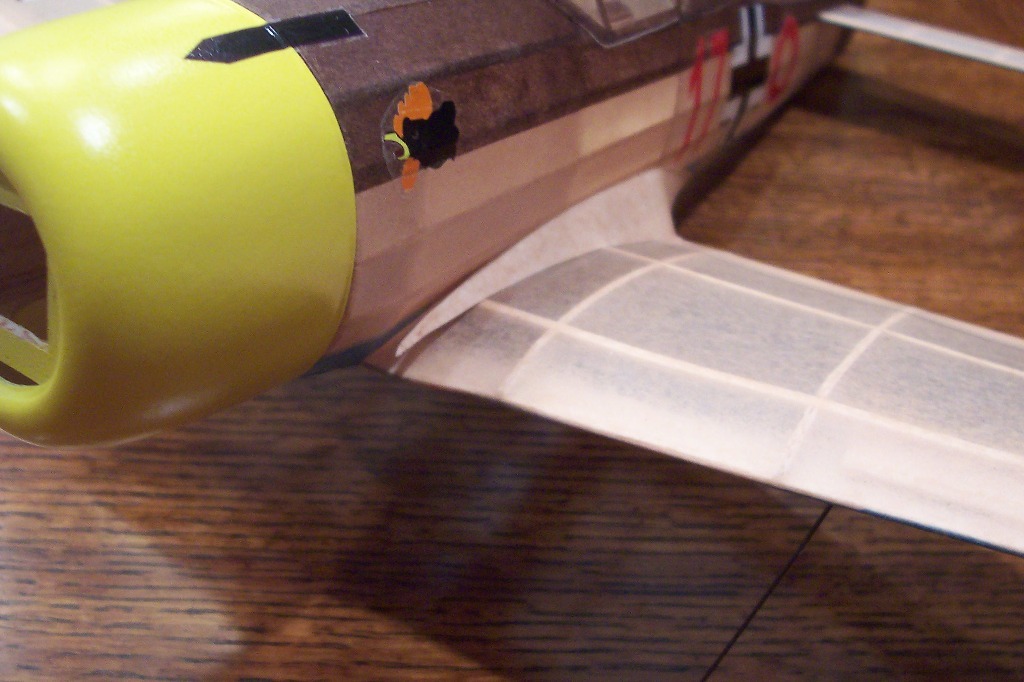
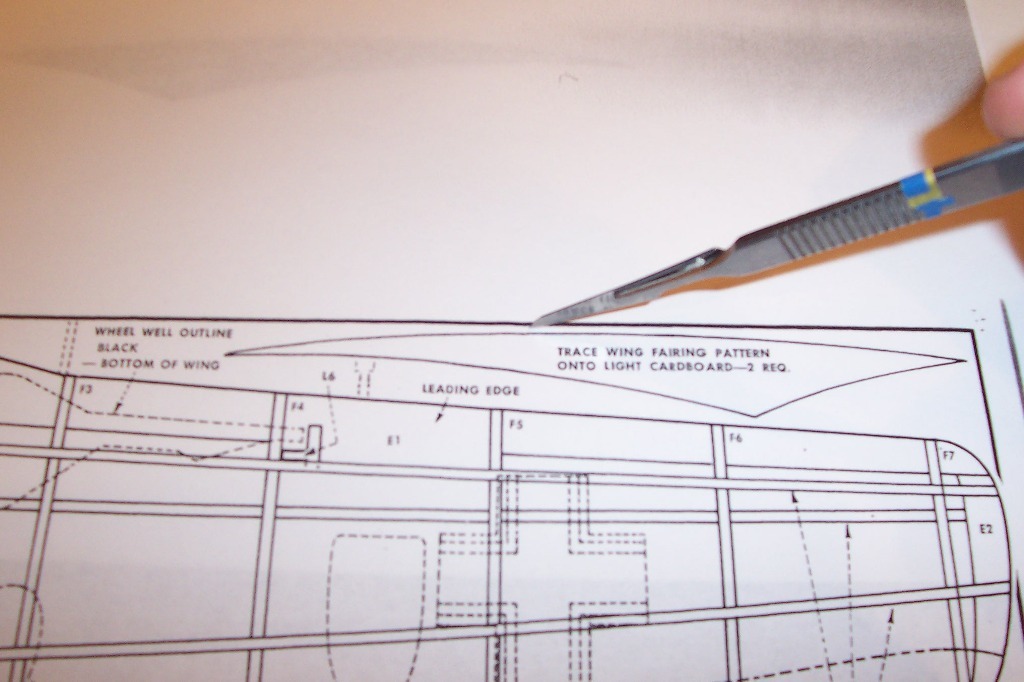
I am now adding my fillets. First I make two photo copies on regular copier paper and my fillets will be made from cardstock. |
| Brady, Comment for image # 6932 | 10 Mar 08 19:43 |
| how do you make your nose plugs? |
| Build Thread, Page :
1 2 [ 3 ] 4 5 6 (114 posts, 20 posts per page, 6 pages in total)
|
[ < Prev ] [ Next > ] |
