| Build Thread, Page :
1 [ 2 ] 3 (40 posts, 20 posts per page, 3 pages in total)
|
[ < Prev ] [ Next > ] |
| jerry campbell, Image # 32247 | 15 Sep 14 13:44 |
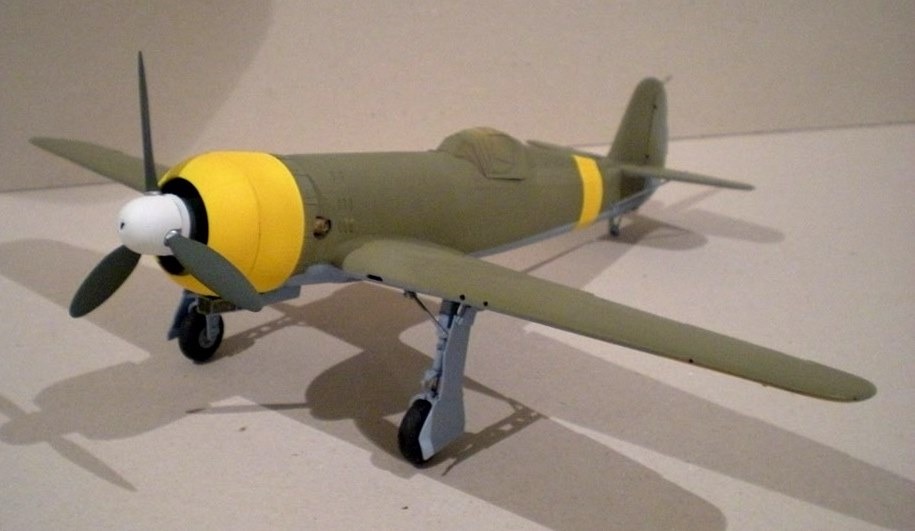
The basic paint is finished and the cowl is in place. The spinner and blades are temporarily in place. |
| jerry campbell, Image # 32246 | 15 Sep 14 13:40 |
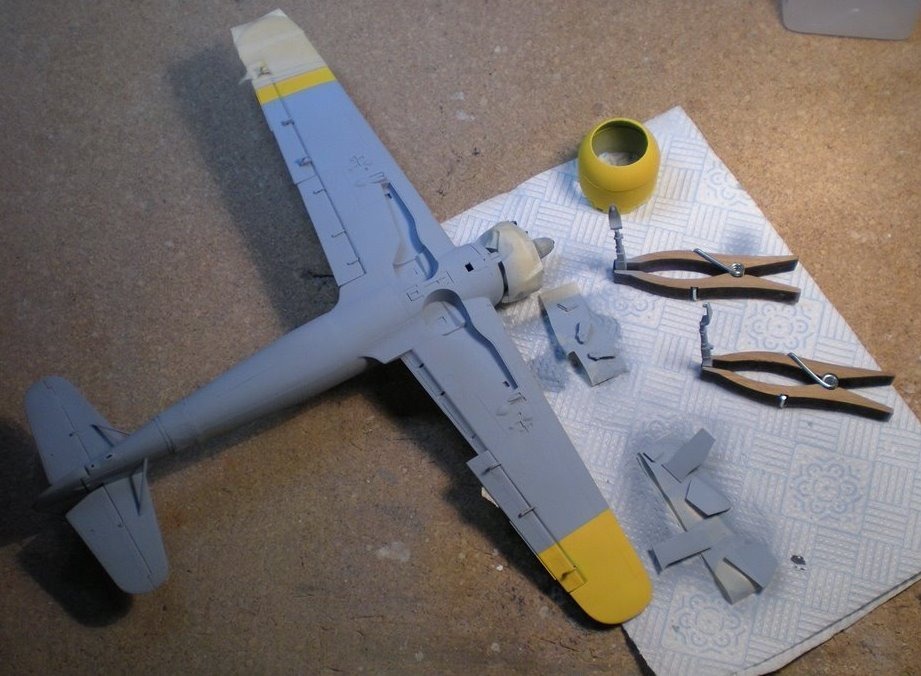
The painting begins, The instructions provide excellent painting refereces for the both the large and small parts. |
| jerry campbell, Image # 32245 | 15 Sep 14 13:38 |
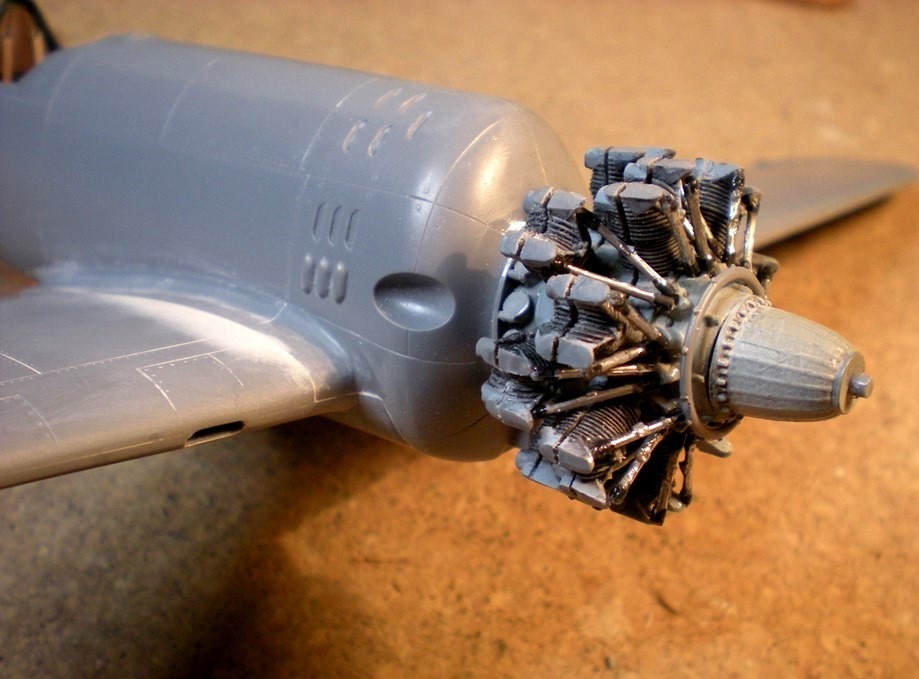
My engine is roughly finished to support the cowling. The side exhaust will simpley be glued in place. |
| jerry campbell, Image # 32244 | 15 Sep 14 13:36 |
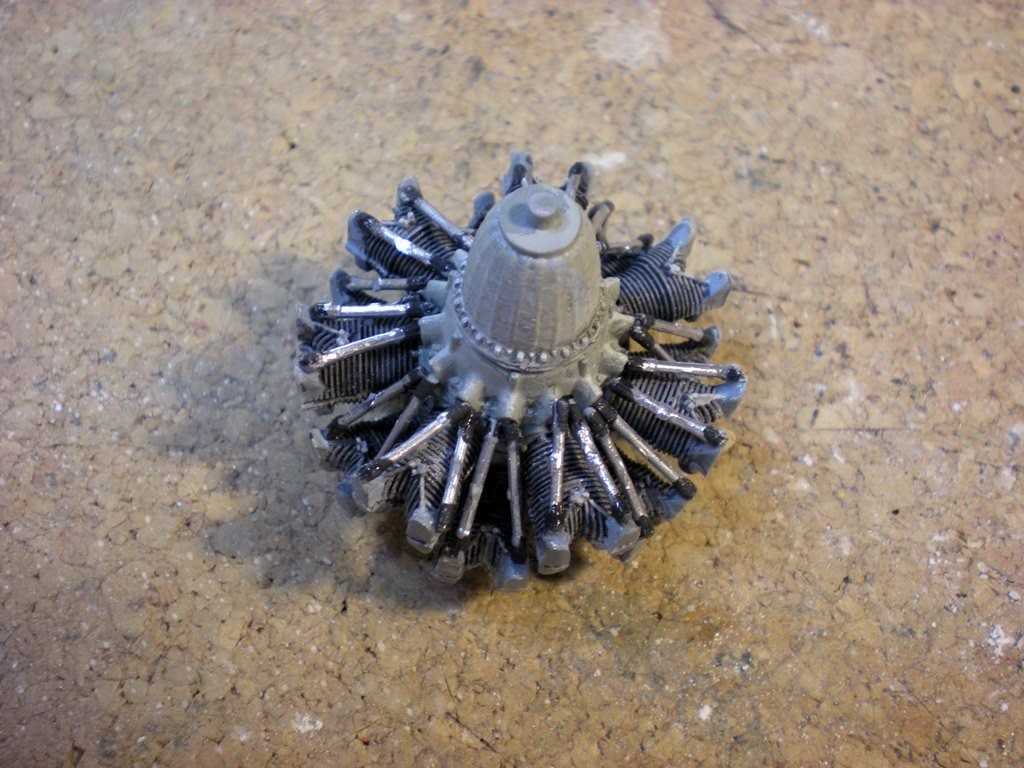
The engine is pretty complete, but is totally hidden in under the cowling and unless your finished kit is presented without a cowling their is no point in spending the time and effort to finish it. |
| jerry campbell, Image # 32242 | 15 Sep 14 13:29 |
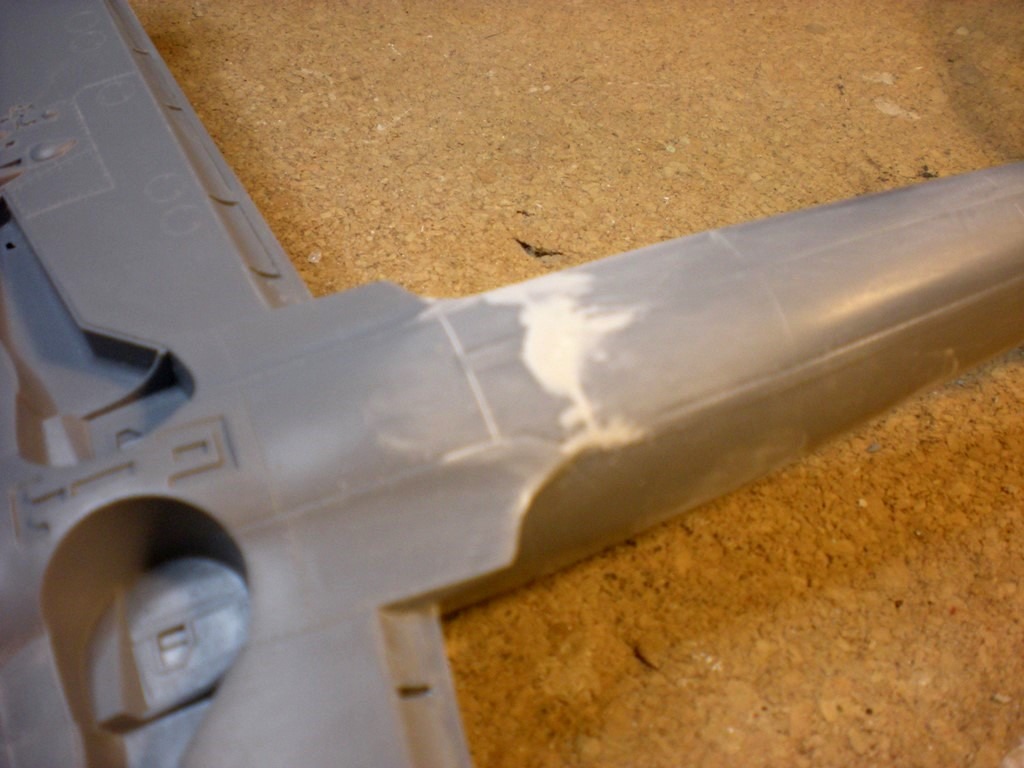
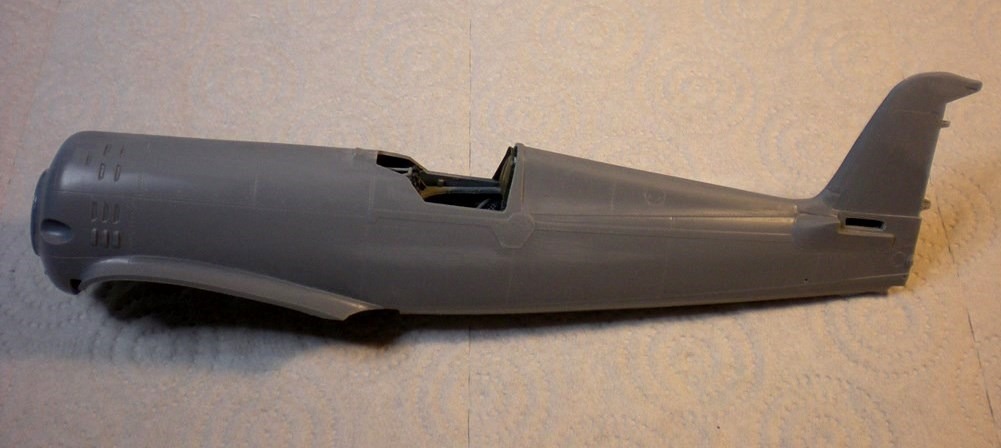
The lower wing joint also requires putty and sanding. |
| jerry campbell, Image # 32241 | 15 Sep 14 13:27 |
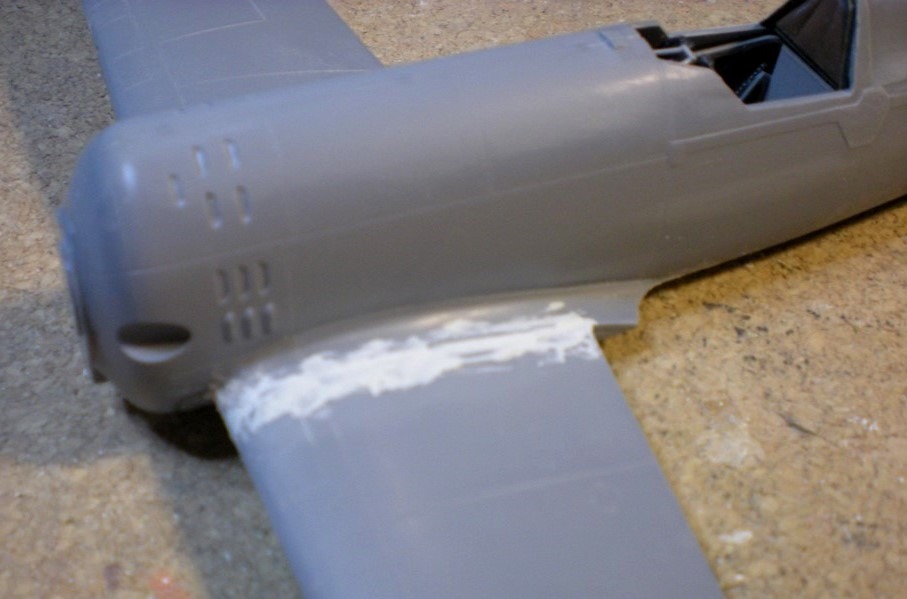
I find that Squadron White Putty the easiest to work with. |
| jerry campbell, Image # 32240 | 15 Sep 14 13:25 |
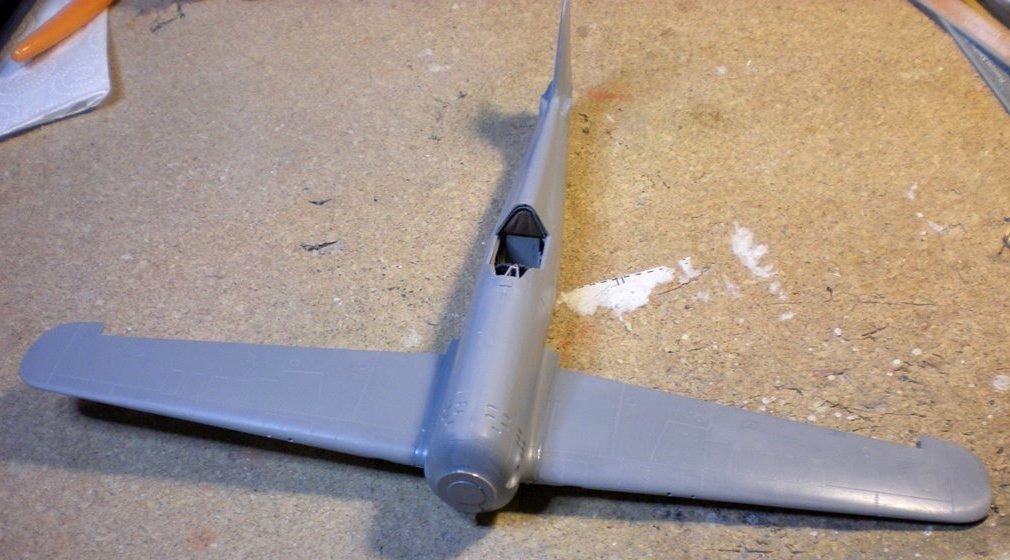
The wings fit well, but must be puttied, |
| jerry campbell, Image # 32239 | 15 Sep 14 13:23 |
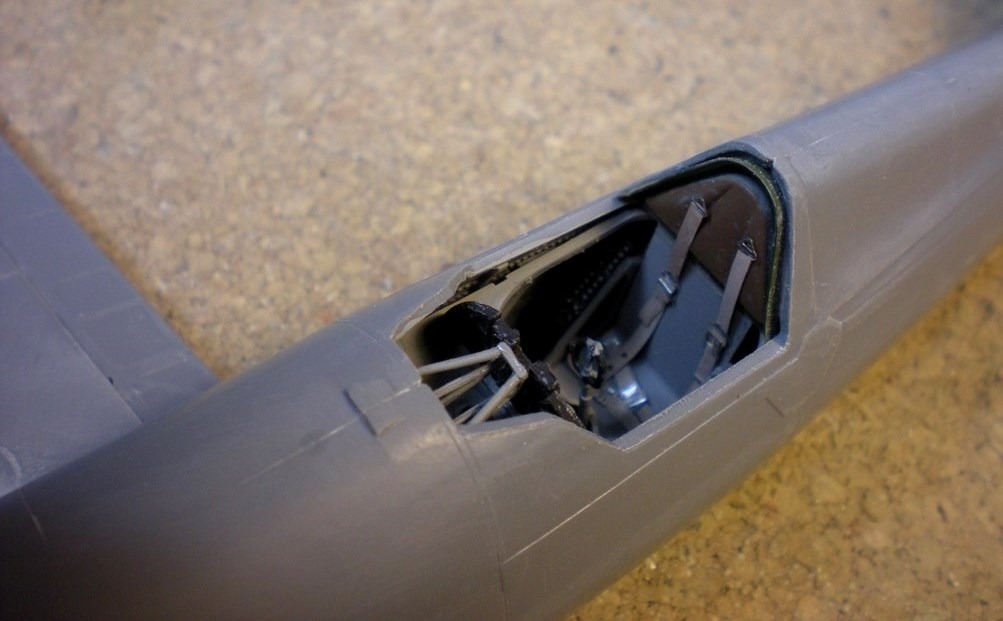
The decal sheet has decals for instruments that I did not use. The seat belts are photo-etched. |
| jerry campbell, Image # 32238 | 15 Sep 14 13:21 |
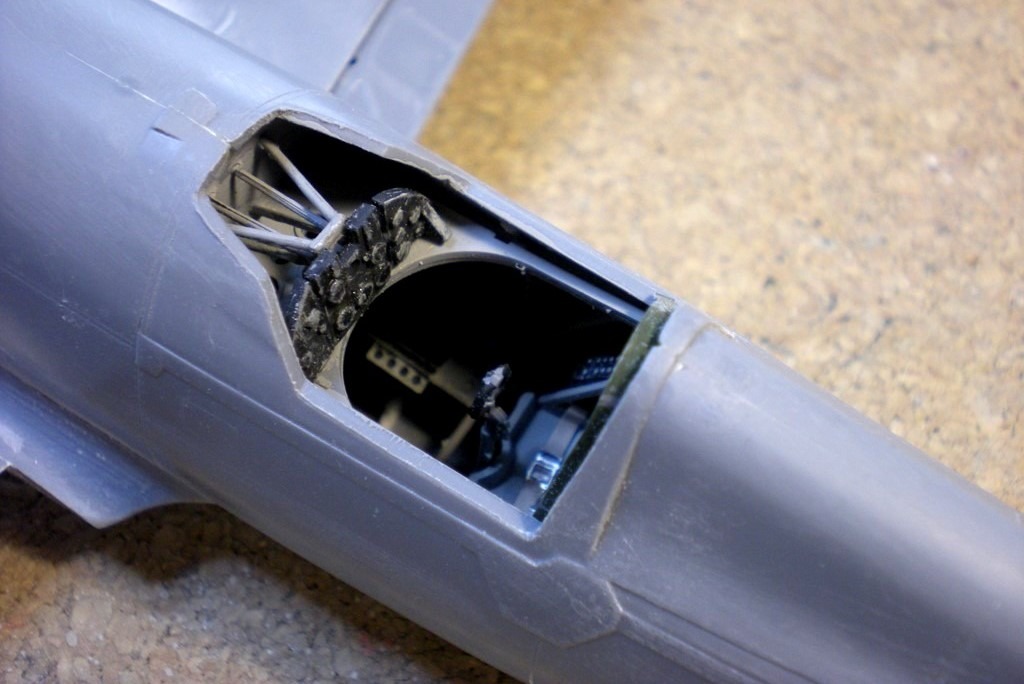
The Azur IAR 81C features a well done and very delecate cockpit which must be mounted before the fuselage sides are glued together. |
| jerry campbell, Comment for image # 32226 | 14 Sep 14 19:04 |
| And to be honest the fit on this kit is also very good as you will see in upcoming photos. |
| jerry campbell, Comment for image # 32226 | 14 Sep 14 19:02 |
| The surface detail on this Azur kit is superb, but it is still a limited production kit and has its difficulties as a plastic kit goes, but to me the uniqueness of the subject is well worth it. And of course my eyes appreciate it. |
| jgood, Comment for image # 32226 | 14 Sep 14 16:09 |
| Nice detailing on the cowl vents. |
| jerry campbell, Image # 32226 | 13 Sep 14 05:44 |
Because of lack of locating pins care must be taken when glueing together the parts. I use Micro Weld. |
| jerry campbell, Image # 32225 | 13 Sep 14 05:41 |
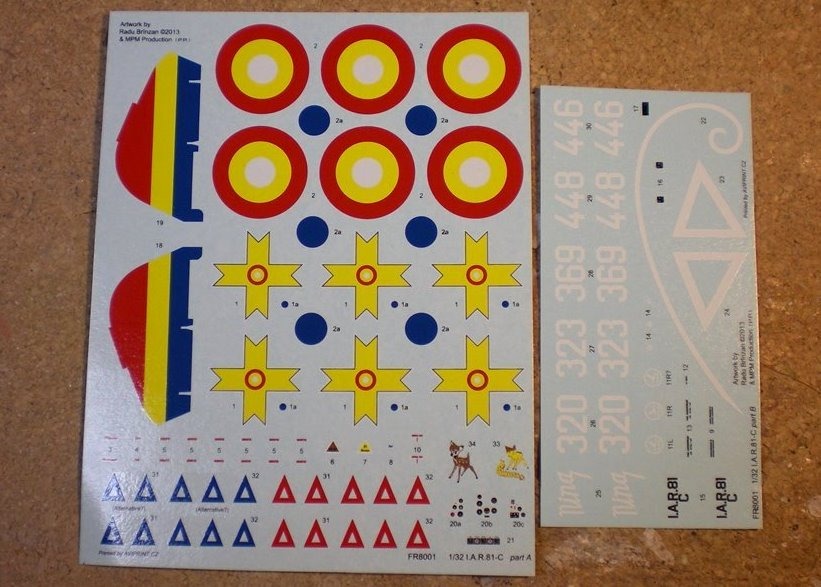
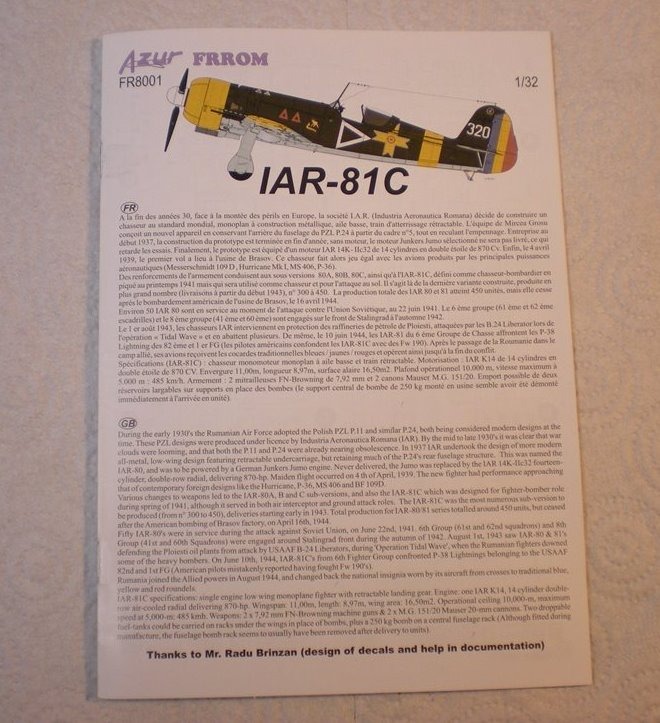
The decals are printed on two sheets allowing the builder to finish the IAR 81C in any of the five schemes shown in the booklet. |
| jerry campbell, Image # 32224 | 13 Sep 14 05:37 |

The booklet contains 5 pages of color schemes in full color. |
| jerry campbell, Image # 32223 | 13 Sep 14 05:34 |
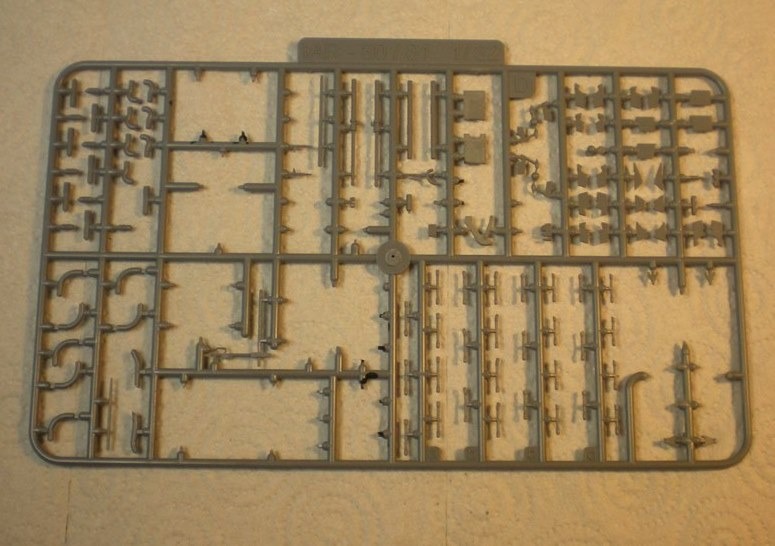
The parts are on 4 seperat sprues and must be removed carefully. I use a small sprue cutter. Each part should be cleaned up and trial fitted before glueing. |
| jerry campbell, Image # 32222 | 13 Sep 14 05:29 |
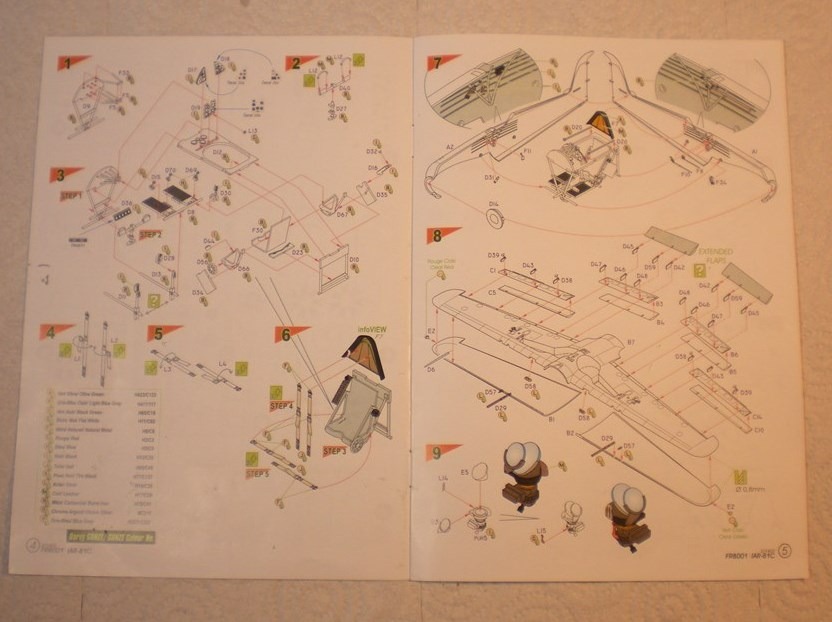
The pages of step by step instructions are well done and reflect the shape of the actual parts and should be followed closely in order to ID the smaller parts. |
| jerry campbell, Image # 32221 | 13 Sep 14 05:22 |
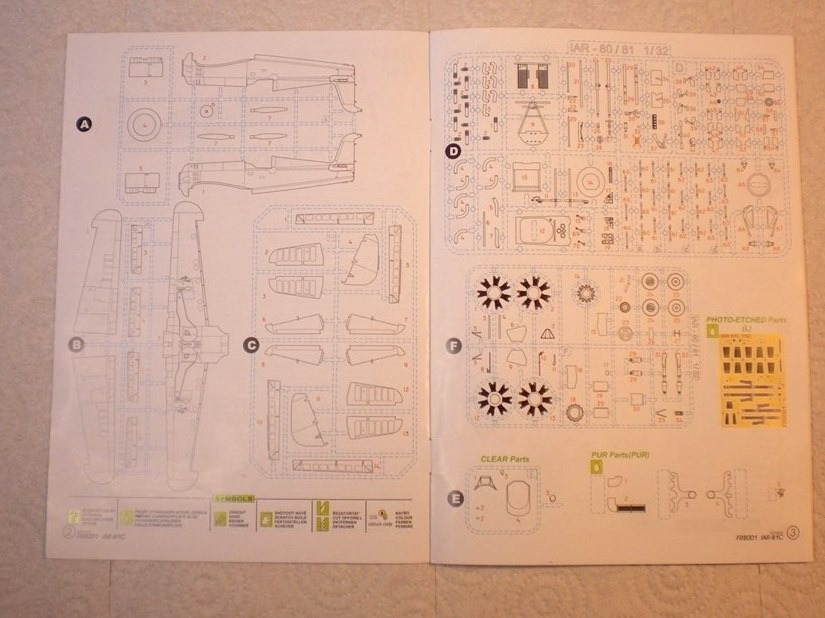
The two page parts diagram are very important for IDing parts during construction because there are no numbers on the sprue or plastic parts. |
| jerry campbell, Image # 32220 | 13 Sep 14 05:19 |
The Azur kit contains a beautifully done 16 page construction manual/booklet. |
| jerry campbell, Image # 32219 | 13 Sep 14 05:17 |
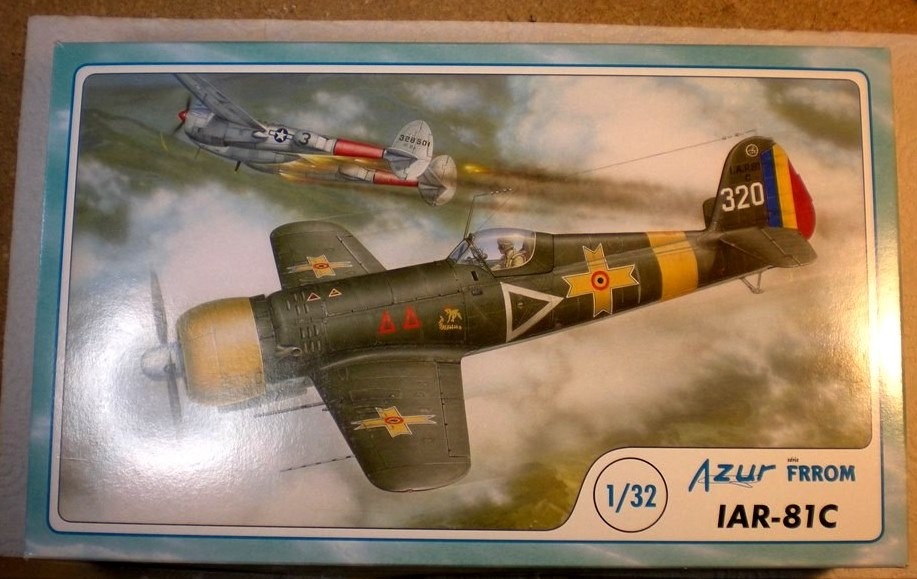
The Azur 1/32 scale Rumanian IAR 81C is a "Limited Run" injection molded plastic kit made in the Czech Republic. Limited Run kits are made from soft molded molds rather than hardened steel molds. Parts do not have locating pins and fit often requires a bit of filling and sanding. But subjects can be of lesser know aircraft such as this WW2 Rumanian fighter. |
| Build Thread, Page :
1 [ 2 ] 3 (40 posts, 20 posts per page, 3 pages in total)
|
[ < Prev ] [ Next > ] |
