| Build Thread, Page :
<< 3 4 5 6 7 [ 8 ] 9 10 (190 posts, 20 posts per page, 10 pages in total)
|
[ < Prev ] [ Next > ] |
| David Duckett, Image # 34493 | 15 Aug 15 06:53 |
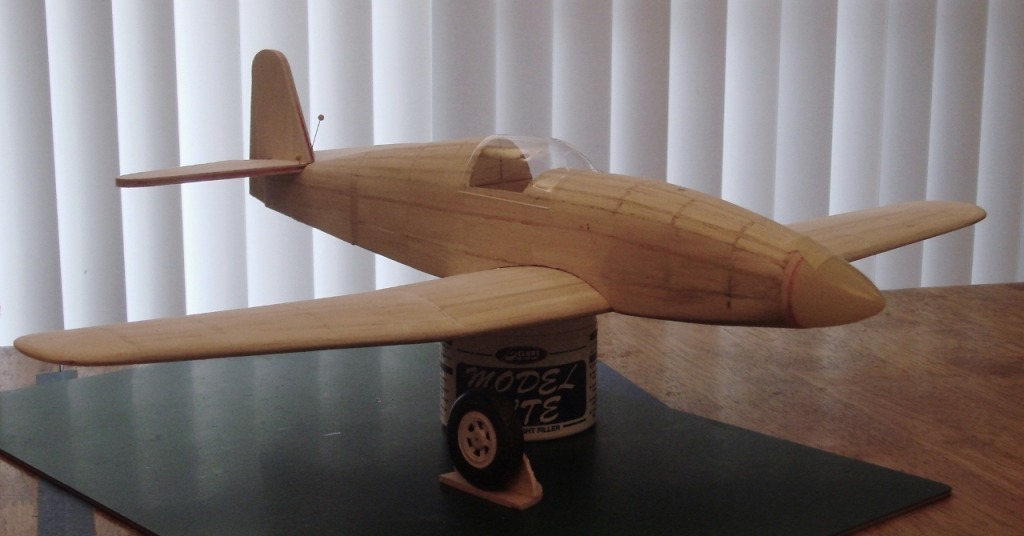
Stabilizer shaped, covered, doped, and attached |
| Xanadu, Comment for image # 34492 | 13 Aug 15 21:39 |
| Striking picture.
|
| David Duckett, Image # 34489 | 12 Aug 15 04:50 |
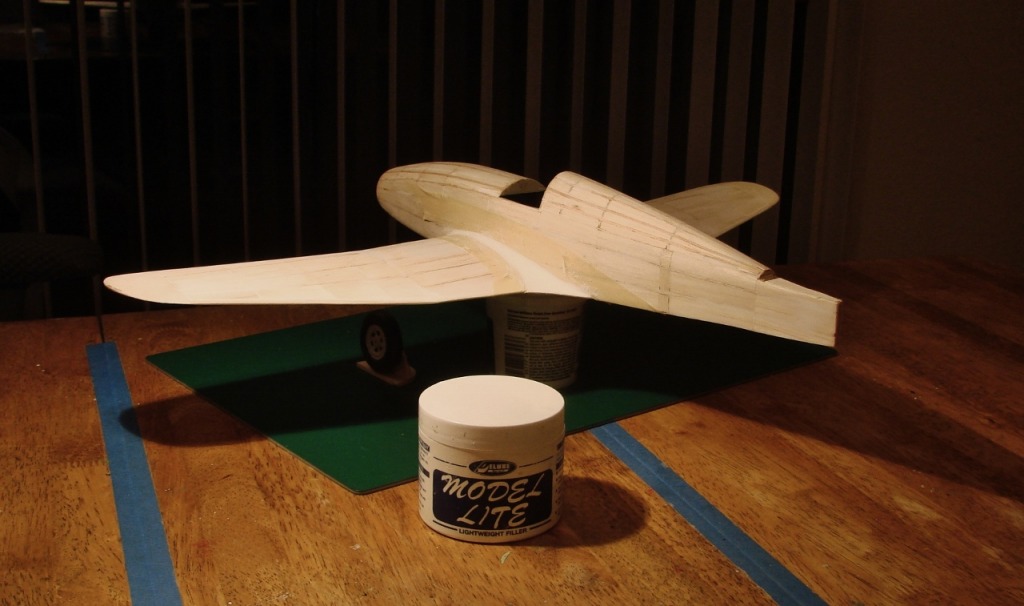
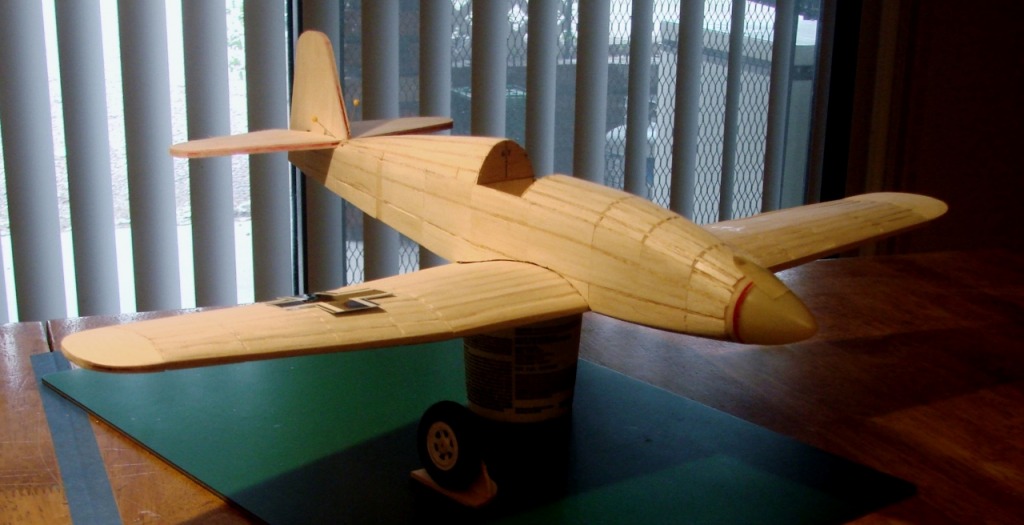
The wings and fuselage were given a second application of filler and sanded and then glued together. I have used this filler exclusively on the model and like the way it works. It's especially interesting that it doesn't clog the sandpaper. Making wing filets this way is by far the easiest way for me. I'll let this dry until daylight and sand it down and then give it another application of filler to smooth out the bumps. |
| BriandKilby, Comment for image # 34485 | 11 Aug 15 10:19 |
| it looks sort of like the Japanese ki 61 tony. |
| David Duckett, Comment for image # 34485 | 11 Aug 15 08:37 |
| Both the Japanese and the Soviets were impressed with the plane. The Russians bought 6 and the Japanese bought 3 which they developed further. The jigs and plans never arrived in Japan so none were made there. |
| lukebozek1, Comment for image # 34485 | 11 Aug 15 08:14 |
| They sent one or two to the Japanese and I believe they used it as a basis for a fighter they had. I believe less than 20 were built and sent to Romania or somewhere. |
| David Duckett, Image # 34488 | 10 Aug 15 18:32 |

I plan to use these colors + or -. |
| David Duckett, Image # 34487 | 10 Aug 15 18:31 |
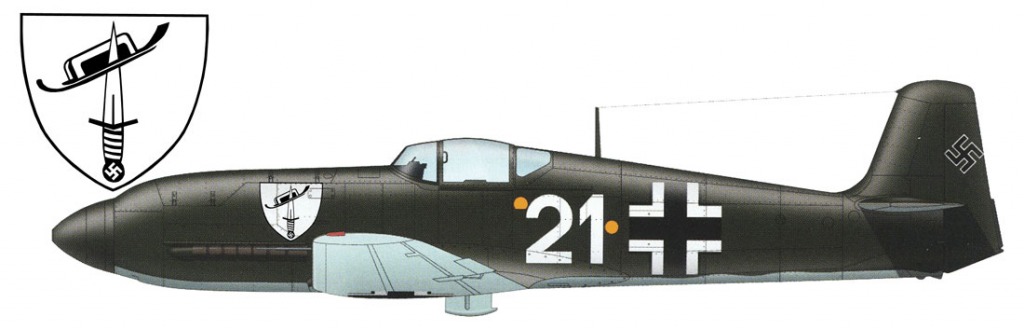
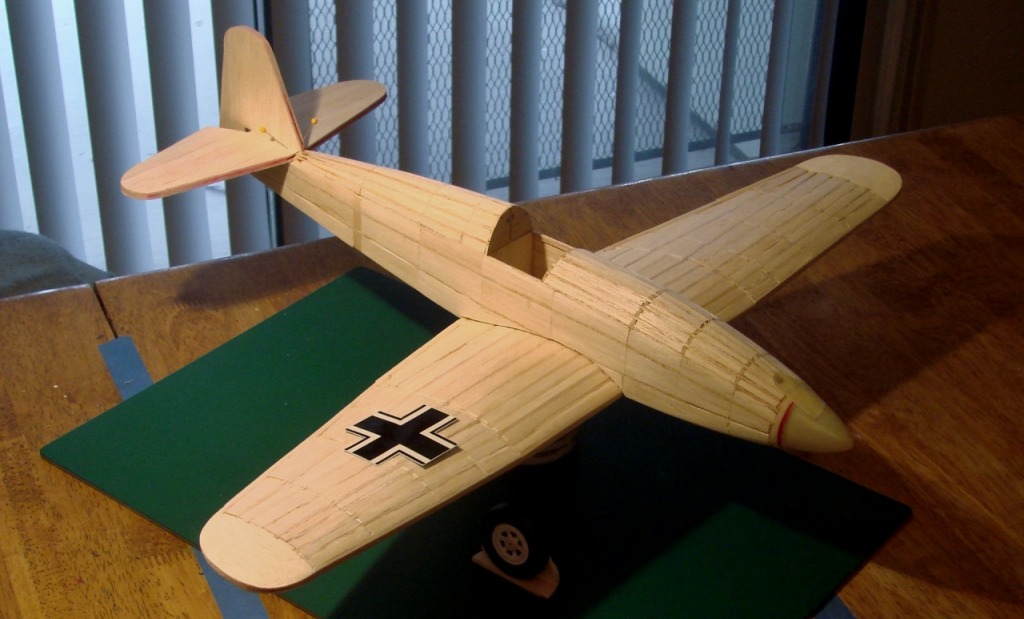
These are the markings/decals provided with the kit. |
| David Duckett, Image # 34486 | 10 Aug 15 18:29 |
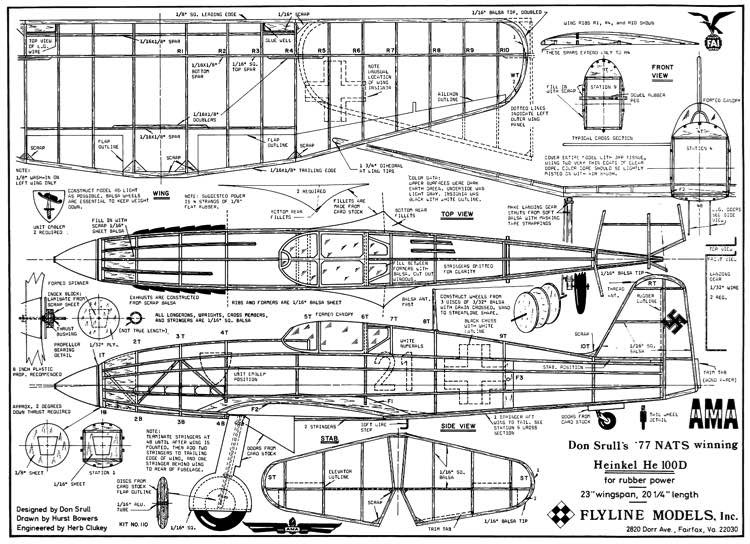
The plans. There's another one on Ebay right now. This has the most perfect canopy I've ever seen:-) |
| David Duckett, Comment for image # 34485 | 10 Aug 15 16:52 |
| Thanks. It really doesn't look like a fighter. :-) |
| rayl, Comment for image # 34485 | 10 Aug 15 07:17 |
| Very sleek David. |
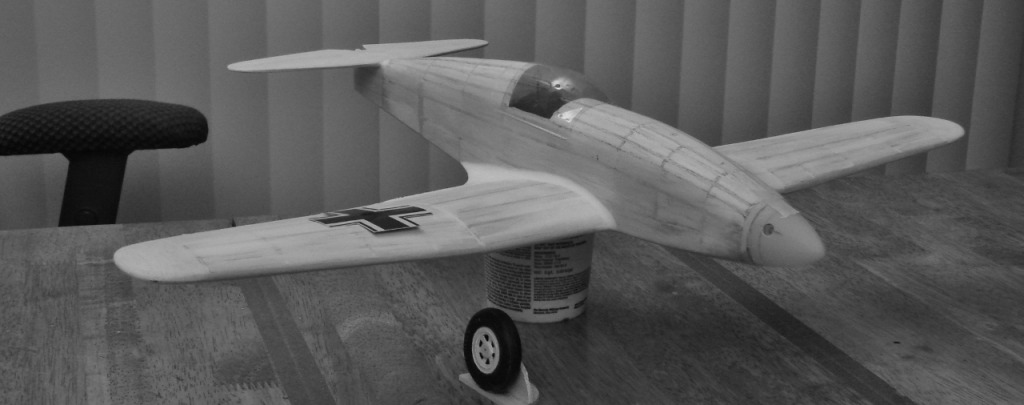
| David Duckett, Image # 34485 | 09 Aug 15 17:25 |
After first coat of filler |
| David Duckett, Image # 34475 | 07 Aug 15 18:32 |
|
| David Duckett, Image # 34473 | 07 Aug 15 18:31 |
Infill is complete and the two sections have been rough sanded. The tail feathers are laminations of 3 pieces of 1/16" stock. |
| David Duckett, Image # 34472 | 07 Aug 15 18:30 |
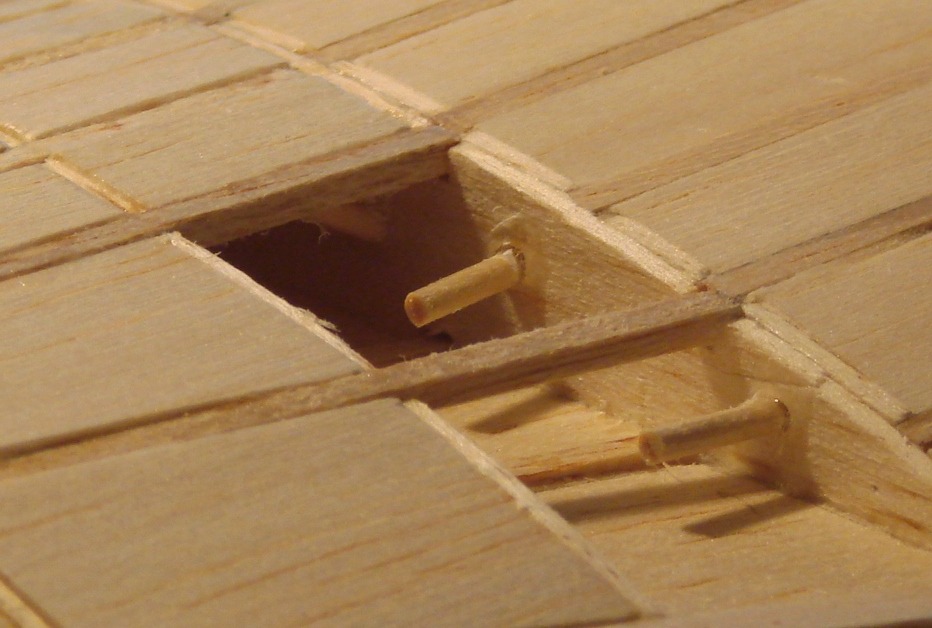
After gluing the sections together I CA'd in some toothpicks for strength. |
| David Duckett, Comment for image # 34470 | 06 Aug 15 20:03 |
| Thanks. Glue:-) |
| Skyediamonds1985, Comment for image # 34470 | 06 Aug 15 19:43 |
| Beautiful model DD. Just curious. How did you attach the outer wing panels to the central wing? From the previous photos, I could not see any signs of provisions being made for attaching the outer panels. -Sky |
| David Duckett, Comment for image # 34471 | 06 Aug 15 10:21 |
| This is before sanding. What looks like extra is sanded to blend in with the top. The dark wood in front of that is where the dowel would go for rubber and is kit wood. |
| Don C, Comment for image # 34471 | 06 Aug 15 09:50 |
| This is really a slick little plane. Why the added wood on the rear of the fuselage? By the way,in Chicago that little sticker would have "and often" added. |
| David Duckett, Comment for image # 34469 | 06 Aug 15 08:20 |
| I glued a piece of balsa between each rib because the only main spar is 1/16" by 1/8" and used 3/32" stringers. |
| Build Thread, Page :
<< 3 4 5 6 7 [ 8 ] 9 10 (190 posts, 20 posts per page, 10 pages in total)
|
[ < Prev ] [ Next > ] |
