| Build Thread, Page :
<< 4 5 6 7 8 [ 9 ] 10 11 (209 posts, 20 posts per page, 11 pages in total)
|
[ < Prev ] [ Next > ] |
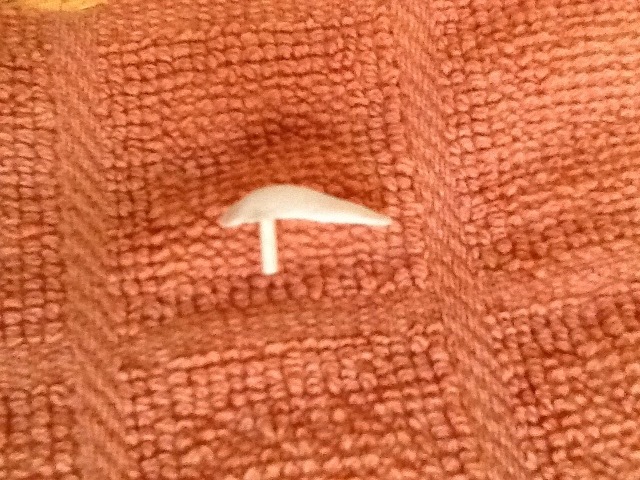
| Huey V77, Image # 37962 | 09 Feb 17 12:14 |

Ca'd them to the cowl. Now profile, WHAT a PAIN..... |
| Huey V77, Image # 37961 | 09 Feb 17 12:13 |
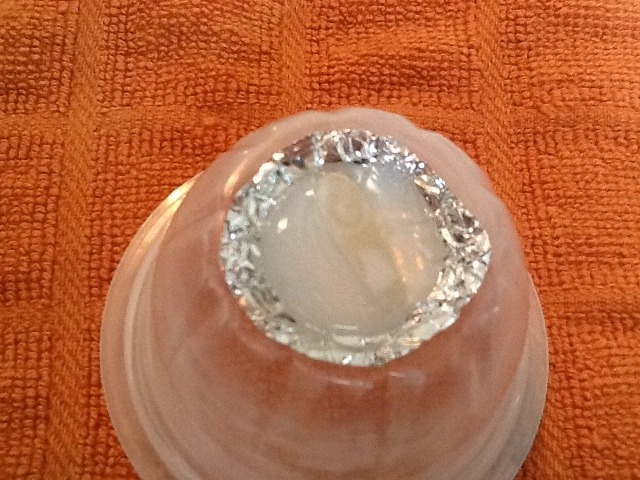
Made a mold from window seal RTV. |
| Huey V77, Image # 37960 | 09 Feb 17 12:12 |
Made a Beta from air dry clay |
| Huey V77, Comment for image # 37770 | 16 Jan 17 07:27 |
| It stopped here (county airport ) for fuel. What most people don't know, it burns 22 gal/ hr at 90 mph, Ouch! It's a beautiful restoration. |
| rayl, Comment for image # 37770 | 15 Jan 17 15:02 |
| There is a lot of history associated with this A/C. Google "Martin and Osa Johnson's African Air Safari". |
| Skyediamonds1985, Comment for image # 37770 | 15 Jan 17 12:53 |
| Beautiful picture of the -39. Lots of struts and minimal rigging. |
| Huey V77, Image # 37770 | 14 Jan 17 00:00 |
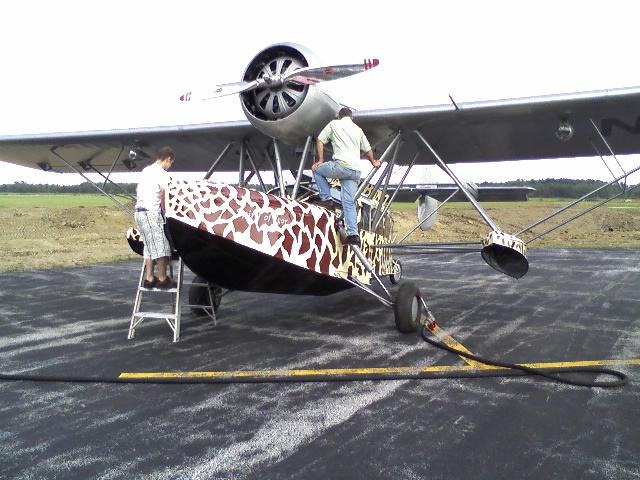
rayl, how about this one next? |
| Skyediamonds1985, Comment for image # 37750 | 10 Jan 17 16:30 |
| By "lumps" I'm assuming to mean blisters or rocker covers on the cowl. |
| Huey V77, Comment for image # 37750 | 10 Jan 17 08:04 |
| Thankx Ray I'll give it a try. |
| rayl, Comment for image # 37750 | 09 Jan 17 16:04 |
| Seriously though: One method (however time consuming)is to; [1] Make your master "lump", seal it with thin CA or primer to make it smooth. [2] Glue it to a back-plate then apply a good gob of silicone caulk or tub/sink seal over the lump insuring that there are no bubbles or voids. Let dry overnight then peel the silicone off of your master. [3] Use some 5-minute epoxy to cast however many "lumps" you require. Almost forgot: Before putting you silicone on the master, apply some sort of "release agent" to the master and back-plate. "Pam" cooking oil works well.
|
| rayl, Comment for image # 37750 | 09 Jan 17 15:54 |
| Walk to a door, grasp the frame firmly with both hands, bash head into the jamb until you have acquired enough lumps:-) :-). |
| Huey V77, Comment for image # 37750 | 09 Jan 17 14:45 |
| Okay, now how do I do the bumps? |
| rayl, Comment for image # 37750 | 09 Jan 17 14:01 |
| Easy-Peasy {if you use the right glue) ! |
| Huey V77, Image # 37751 | 09 Jan 17 13:55 |
|
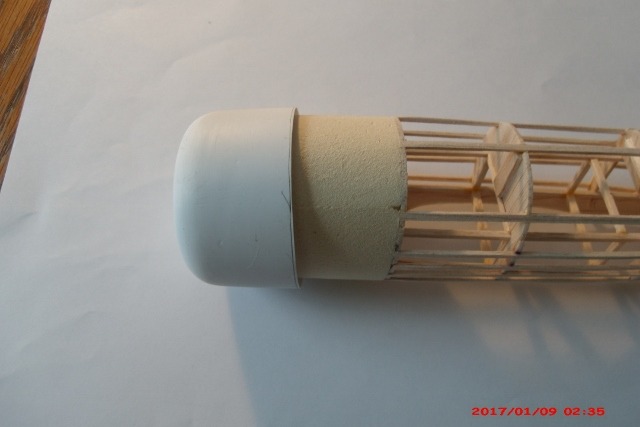
| Huey V77, Image # 37750 | 09 Jan 17 13:53 |
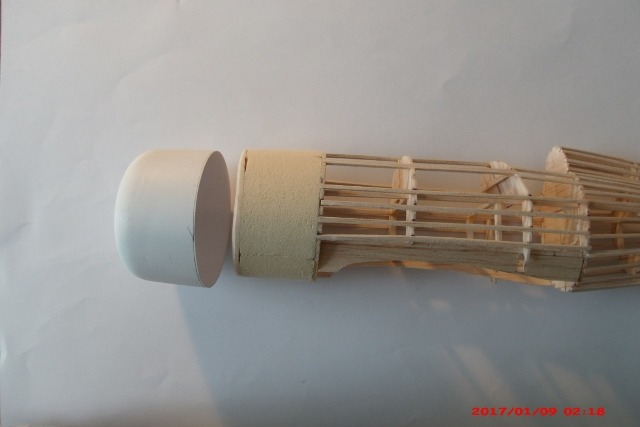
Too all of 5 minutes to contour. |
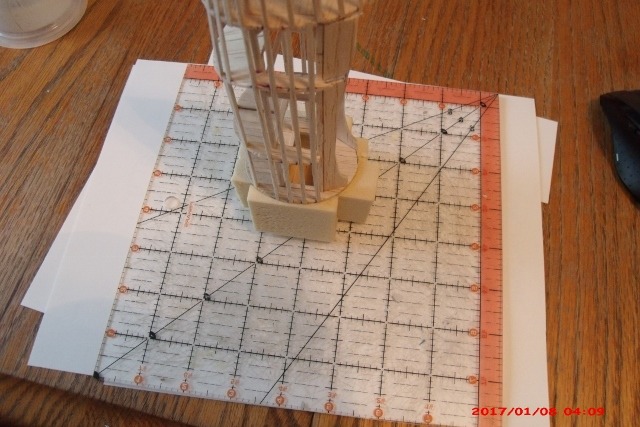
| Huey V77, Image # 37749 | 09 Jan 17 13:52 |
|
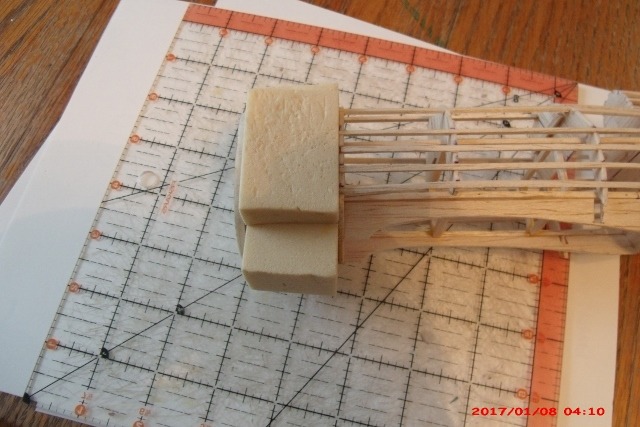
| Huey V77, Image # 37748 | 09 Jan 17 13:51 |
Have some brown foam to fill in for the boot cowl. |
| Huey V77, Comment for image # 37743 | 09 Jan 17 13:45 |
| Thank you all, getting closer. |
| poppy, Comment for image # 37743 | 09 Jan 17 11:45 |
| Nice, crisp craftsmanship! |
| Skyediamonds1985, Comment for image # 37743 | 08 Jan 17 15:56 |
| Looks like you've got all of the scale ribs in place. Beautiful work. |
| Build Thread, Page :
<< 4 5 6 7 8 [ 9 ] 10 11 (209 posts, 20 posts per page, 11 pages in total)
|
[ < Prev ] [ Next > ] |
