| Build Thread, Page :
1 2 [ 3 ] 4 (67 posts, 20 posts per page, 4 pages in total)
|
[ < Prev ] [ Next > ] |
| poppy, Comment for image # 9230 | 02 Sep 08 06:33 |
| These are perfect! |
| simpleflyer, Image # 9234 | 01 Sep 08 15:26 |
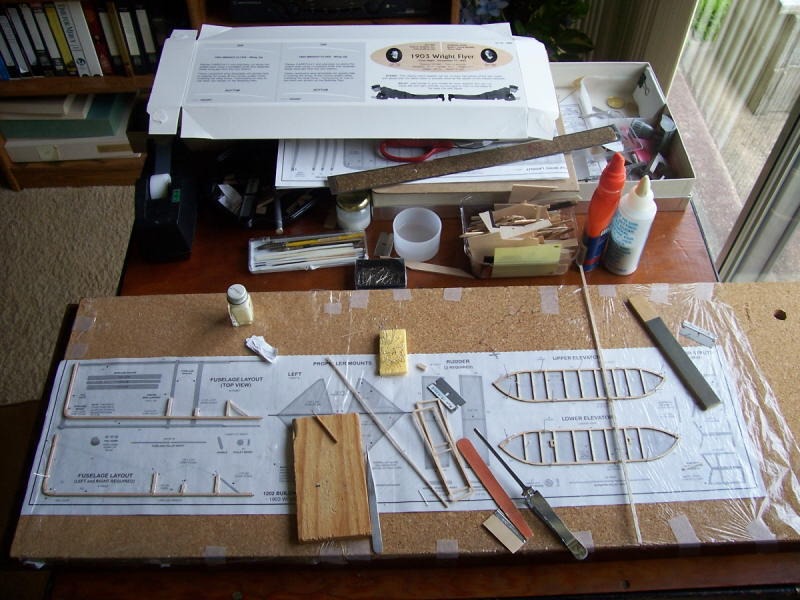
Assembling some of the small bits. |
| John M Oshust, Comment for image # 9230 | 01 Sep 08 15:00 |
| Nice work...Purrrfect! |
| simpleflyer, Comment for image # 9230 | 01 Sep 08 14:09 |
| Thanks, Barnstormer. We covered with dry kit supplied tissue. Using 50/50 mix of water and white glue per the instructions. We followed DD's hint of laying the wing inverted and taping the ends of the tissue snugly over the center of the wing surface. Then we applied the glue/water mix thru the paper starting at the back spar and middle of the wing and worked out to the edges in all directions. When the bottom half was done, we removed the wing from the board and folded the paper over the trailing edge. The we began painting starting at the center moving toward the leading edge and toward the wing tips. litte at a time sligly tugging on the paper to keep it taut. All the while, only painting thru the paper over the wood parts of the wing. Also wet the trailing edge well and pinch the paper over the thread per the instructtions. When the wing is dry, pin it down and very gently spritz it with a fine mist of water and let it dry. Do each side one at a time. The wing should be nice and taut after this. Pin the wing down and then quickly brush an even coat of glue/water between the wing ribs. We found that brushing along the span of the wing, tip to tip, resulted in less of a chance of the damp paper sagging and meeting the other surface and sticking to it. Only place where we had this happen was at the rear of the wide bay on the bottom wing and it is most evident on the bottom side so it will not be very noticeable in the completed model. Check the Wright build in David Duckett's Hangar, he has excellent pictures of the process. Al |
| Barnstormer, Comment for image # 9230 | 01 Sep 08 12:58 |
| Looks Great, do you cover wet or dry? |
| simpleflyer, Image # 9230 | 31 Aug 08 23:12 |
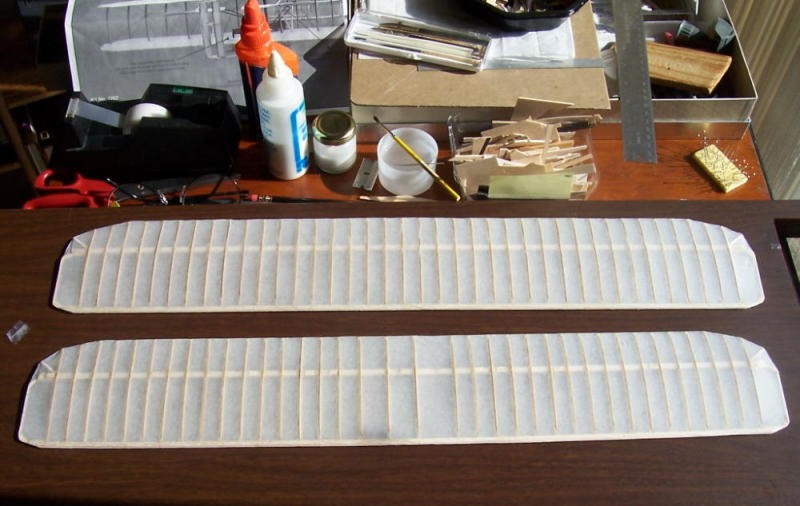
Better pic of completed wings, ready for struts. |
| simpleflyer, Image # 9224 | 30 Aug 08 23:22 |
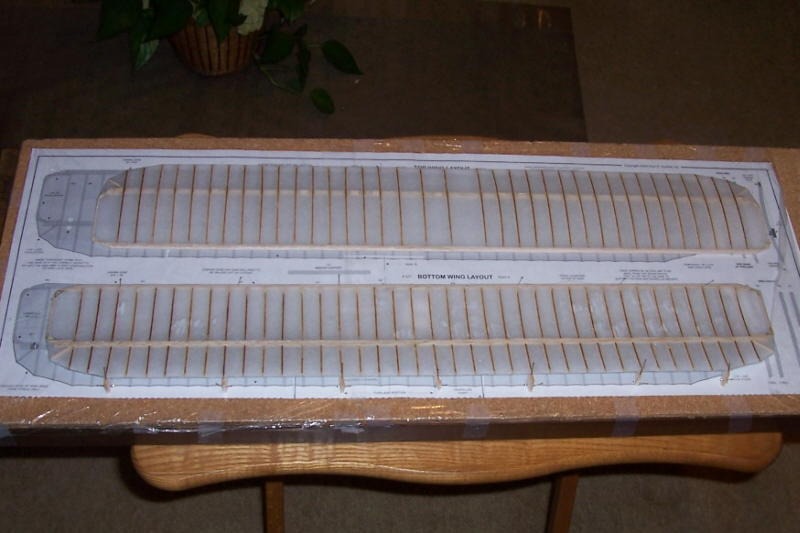
Wings covered with tissue. Thanks DD, for the idea of using tape to hold the tissue in place when first attaching it to bottom of the wing, |
| John M Oshust, Comment for image # 9212 | 30 Aug 08 12:26 |
| This looks like it was a real pain but you did a masterful job. |
| Barnstormer, Comment for image # 9212 | 30 Aug 08 10:05 |
| Very nice work. |
| simpleflyer, Image # 9212 | 29 Aug 08 21:20 |
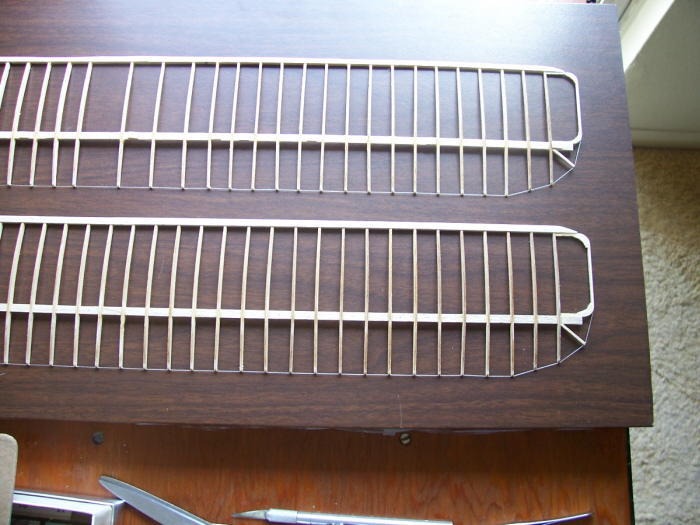
Thread traiing edges in place. |
| SteveM, Comment for image # 9137 | 28 Aug 08 14:49 |
| At this time only the Wright Flyer and the 200 series kits are laser cut.
The method used to cut the wood is independent of the quality of the wood. Laser cutting does not always imply good quality wood just as die crushing does not necessarily imply low quality wood. The correlation is likely that a low cost kit will use die cutting and poor quality wood to save costs while an expensive kit allocates more money to laser cutting and quality wood. I do not know if Guillow's has been using better quality wood in the laser cut kits or not, all I know is that it is not going into any of the die cut kits that I have purchased. |
| buffalowings, Comment for image # 9137 | 28 Aug 08 13:42 |
| are all guillow's laser cut kits like this, or do they have low quality wood? |
| Barnstormer, Comment for image # 9198 | 27 Aug 08 21:16 |
| Wow what fine work, a ton of ribs and a thread for the trailing edge. very delicate! Nice job. |
| simpleflyer, Image # 9198 | 27 Aug 08 19:57 |
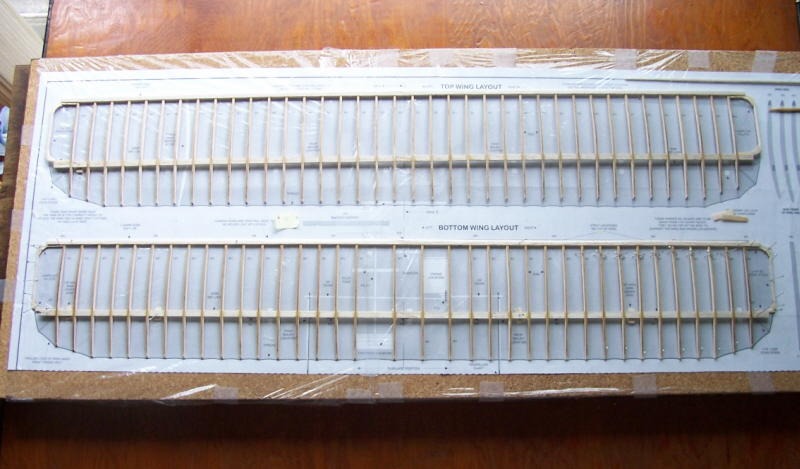
Ribs in place, next the thread TE and a few small bits. |
| simpleflyer, Comment for image # 9137 | 26 Aug 08 21:41 |
| I have to agree with David. The wood on this one that I am building is excellent and the laser cutting is equally excellent. |
| David Duckett, Comment for image # 9137 | 24 Aug 08 08:43 |
| On the one I built the laser cutting and wood were perfect. It may not be meant to fly but it's surprisingly sturdy. |
| buffalowings, Comment for image # 9137 | 24 Aug 08 08:18 |
| looks fun, how's the quality of the laser cutting and wood, I know it isn't meant to fly but quality still matters |
| simpleflyer, Comment for image # 9137 | 23 Aug 08 22:25 |
| Thanks, guys. The fun starts when we do the covering and it gets funnier with the struts and thread reigging. |
| poppy, Comment for image # 9137 | 22 Aug 08 22:09 |
| My goodness, that's a lot of ribs. Orville and Wilbur were making sure the airfoil remained contstant. Perfect layout going! |
| moostang51, Comment for image # 9137 | 22 Aug 08 18:41 |
| Heh... hee, not in my wildest dreams. But this does look grand. |
| Build Thread, Page :
1 2 [ 3 ] 4 (67 posts, 20 posts per page, 4 pages in total)
|
[ < Prev ] [ Next > ] |

