| Hangar |
Aircraft |
Category |
Date |
Preview |
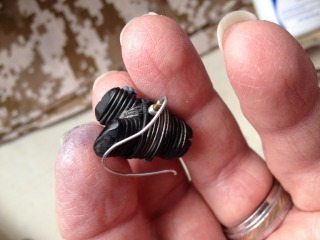
| Skyediamonds1985 | Guillows Series 800 - Stearman PT-17 | Build | 03-Jul-15 21:29 | 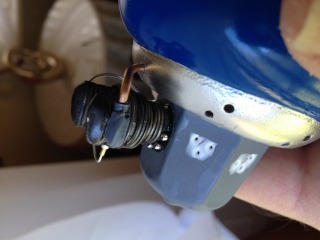 | | Views : 672 | | After each cylinder was epoxied in place, I cut a small section of slightly thick copper wiring and bent it to shape to simulate the exhaust. It was epoxied into place. The spark plug wiring was simply superglued. I purposely left the copper wiring in its natural state as sometimes exhaust pipes can take on various burnt hues of colors that closely resembles well, copper. |
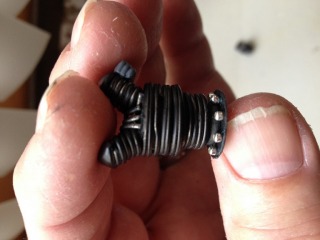
| Skyediamonds1985 | Guillows Series 800 - Stearman PT-17 | Build | 03-Jul-15 21:24 |  | | Views : 726 | | The plastic housing making up the nose of the fuselage and crankcase was painted in blue, silver for the exhaust collector ring, and gray for the crankcase. The cylinder was epoxied using the 5-minute brand. Again, why wait for 30 minutes while holding it in your hand for it to set? |
|
|