| Build Thread, Page :
1 2 [ 3 ] 4 5 6 (113 posts, 20 posts per page, 6 pages in total)
|
[ < Prev ] [ Next > ] |
| poppy, Comment for image # 8649 | 11 Jun 08 08:14 |
| speaking of delicate work! You tutorial on this build is nothing less than excellent. |
| David Duckett, Image # 8653 | 11 Jun 08 07:49 |
This completes the rigging of the wings. |
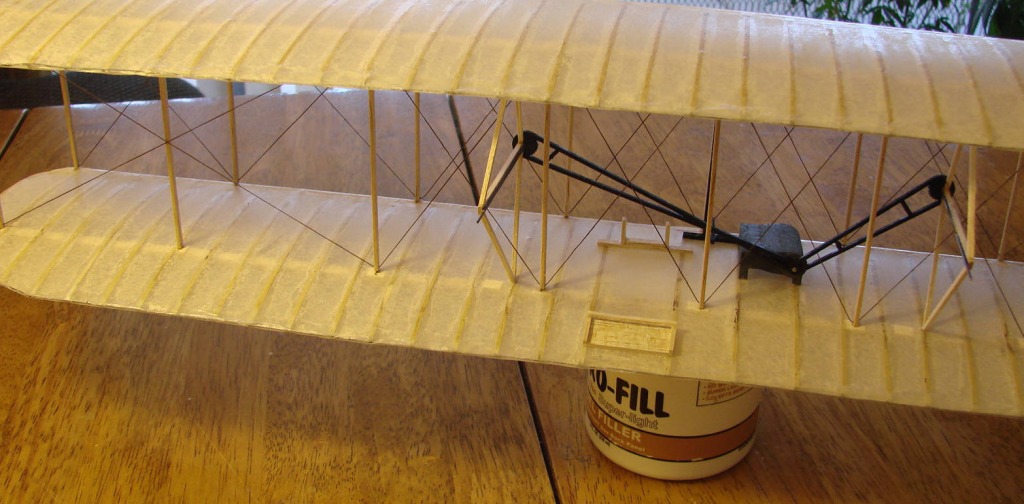
| David Duckett, Image # 8652 | 11 Jun 08 07:48 |
Propeller mount rigging added |
| David Duckett, Image # 8651 | 11 Jun 08 07:46 |
Front and rear horizontal rigging added. |
| David Duckett, Image # 8650 | 11 Jun 08 07:44 |
A drop of CA on the inside starts and stops the rigging. Trim away the outside piece with a sharp blade. |
| David Duckett, Image # 8649 | 11 Jun 08 07:42 |
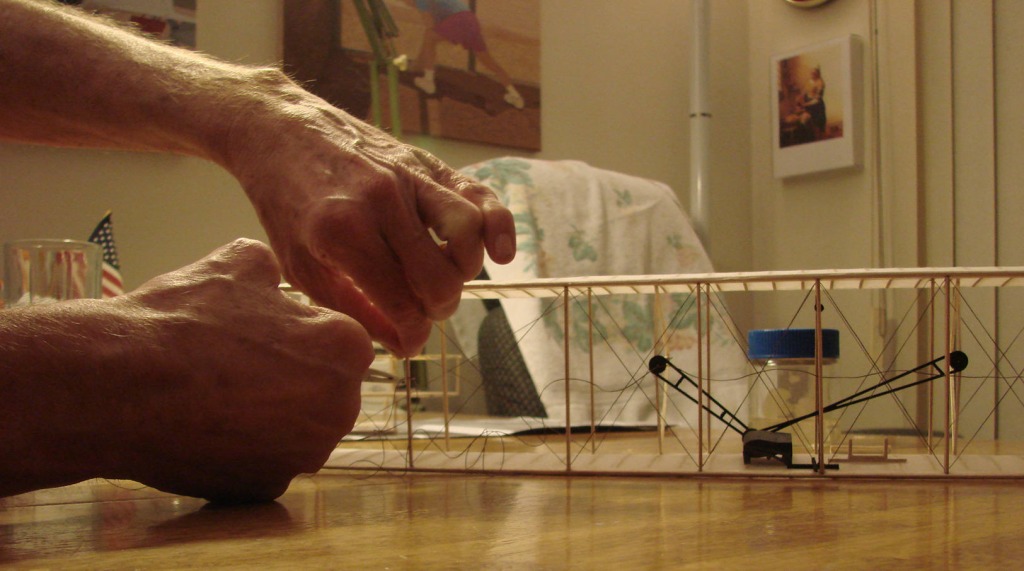
CAUTION! I'm holding the strut while pulling the needle through with hemostats. |
| Barnstormer, Comment for image # 8646 | 10 Jun 08 22:33 |
| Such a delicate piece of work. The artist, the sculptor, and now the hands of a surgeon. |
| JohnG., Comment for image # 8646 | 10 Jun 08 20:45 |
| Aha...a drop of CA...why didn't think of that.....because I am not 2xD=3M....Thanx |
| David Duckett, Comment for image # 8642 | 10 Jun 08 20:12 |
| I started basic in July of 1959 at Lackland AFB in San Antonio and Simpleflyer is absolutely correct. Actually I already knew how but most guys didn't. |
| simpleflyer, Comment for image # 8642 | 10 Jun 08 20:08 |
| I don't know about today's USAF, but back in 1961, on one of our first visits to the BX to buy supplies, our TI instructed us to buy a USAF sewing kit and we were expected to maintain our own uniforms, especially sewing on stripes, etc. |
| SteveM, Comment for image # 8642 | 10 Jun 08 20:02 |
| The Air Force trained you to sew? |
| David Duckett, Comment for image # 8642 | 10 Jun 08 19:59 |
| It's a dark brown and I used a needle. Military training pays off ;-). |
| simpleflyer, Comment for image # 8642 | 10 Jun 08 19:47 |
| Thanks for the idea of using smaller than kit supplied thread for the rigging. What color did you use? What did you use to thread the thread thru the tiny holes at the ends of the struts, a small needle? |
| David Duckett, Comment for image # 8646 | 10 Jun 08 19:36 |
| It's one piece and getting them taut is easy with a drop of CA. |
| poppy, Comment for image # 8645 | 10 Jun 08 18:58 |
| Perfection at its best!! beautiful! |
| JohnG., Comment for image # 8646 | 10 Jun 08 18:33 |
| Rigging...is it one continuous strand of thread or single pieces between the struts......how in the world did you get it so taut???? Fantastic tutorial..thank you!!! |
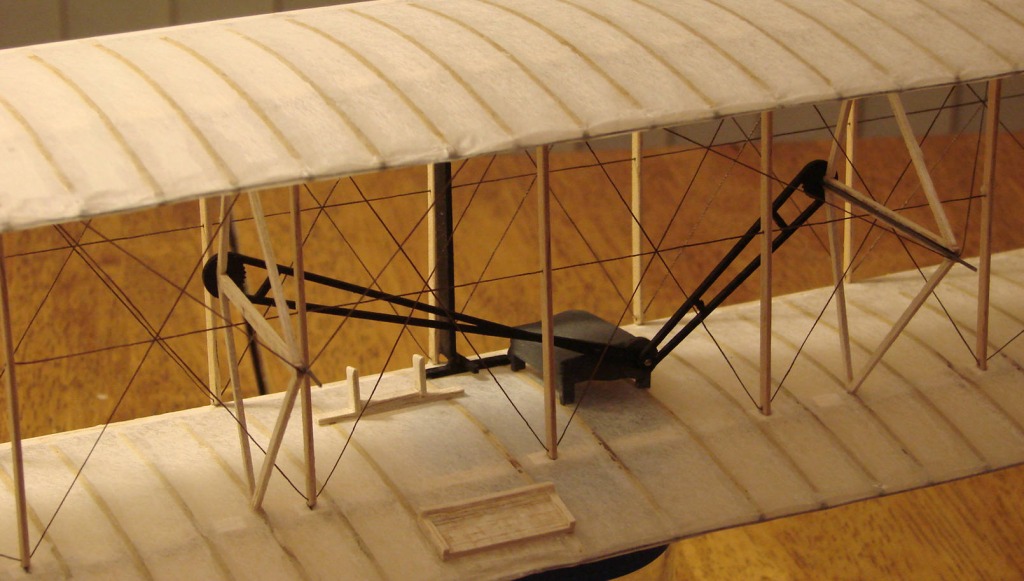
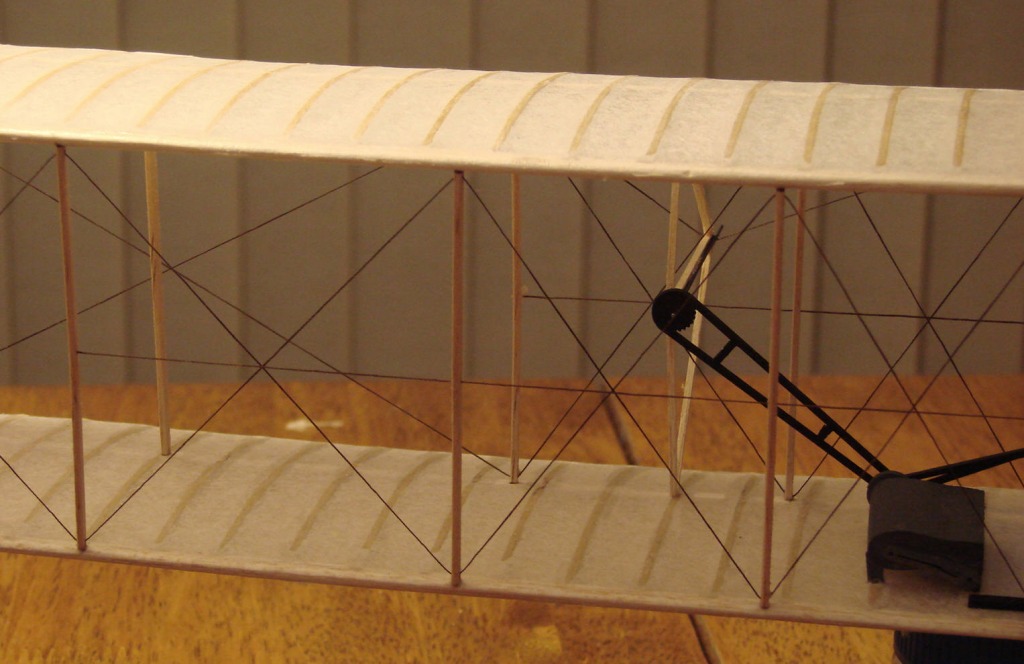
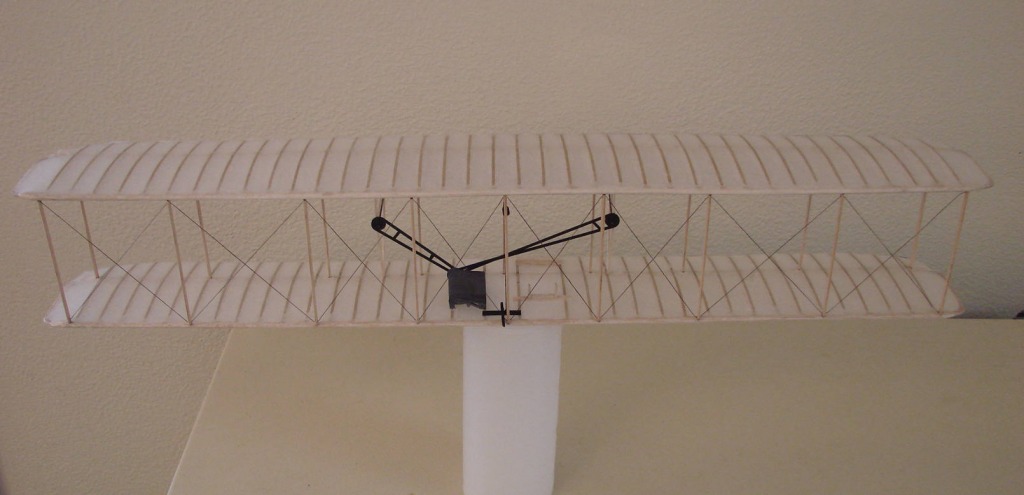
| David Duckett, Image # 8646 | 10 Jun 08 17:13 |
Rear rigging |
| David Duckett, Image # 8645 | 10 Jun 08 17:06 |
To be continued... |
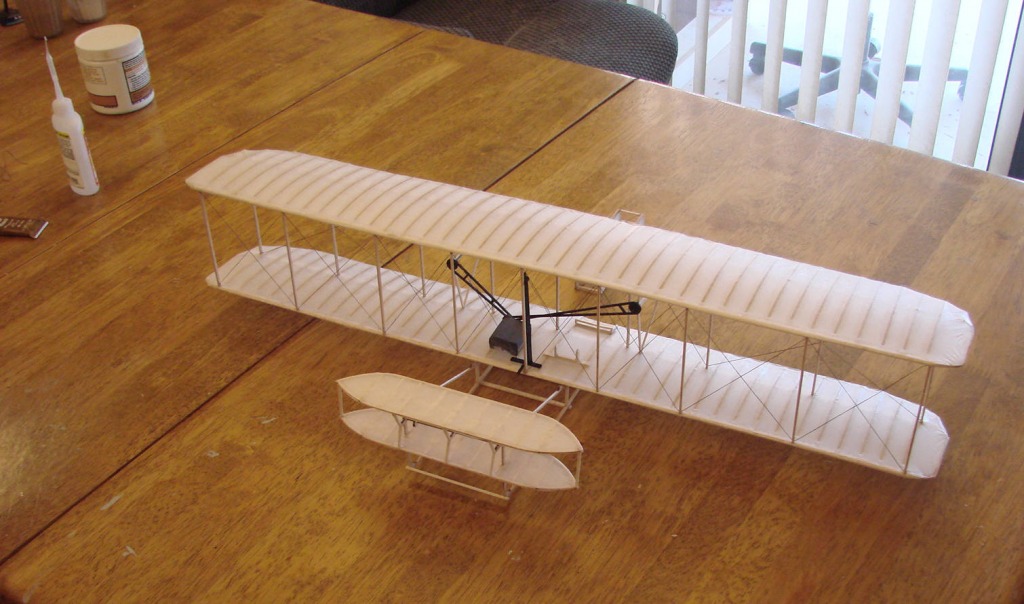
| David Duckett, Image # 8644 | 10 Jun 08 17:04 |

Bottom of the fuuselage with the elevators attached |
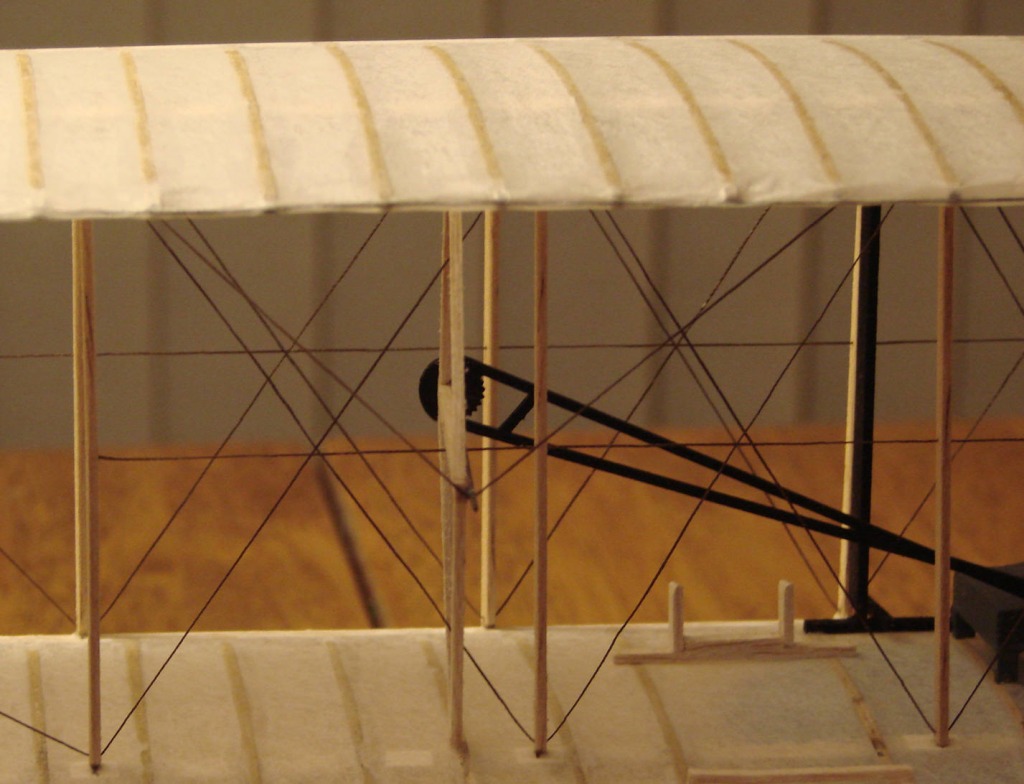
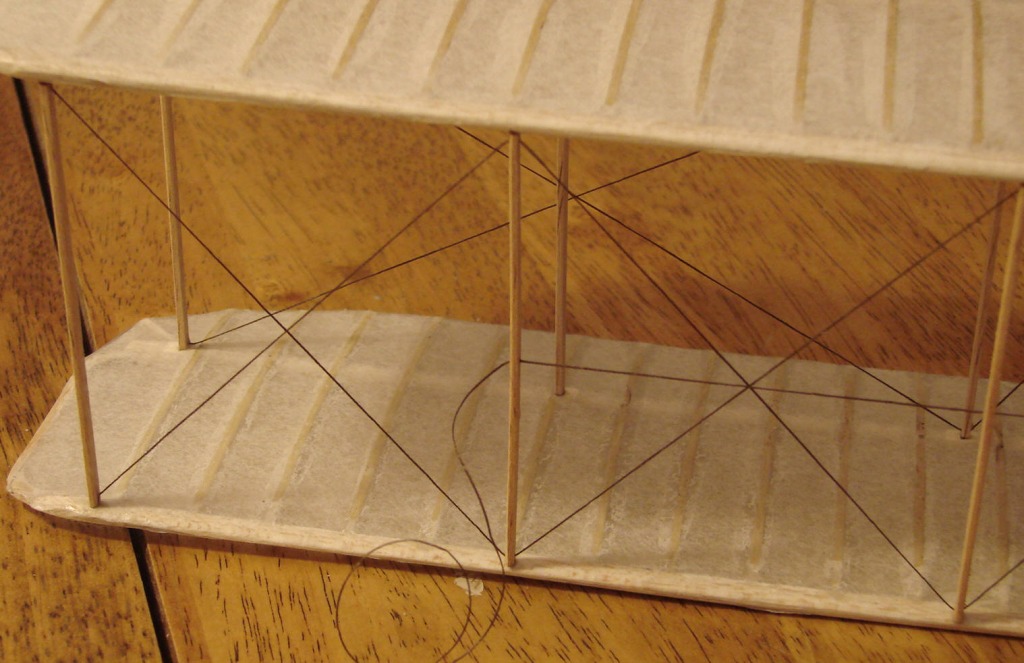
| David Duckett, Image # 8642 | 10 Jun 08 17:01 |
The front rigging. I used a smaller thread than that used for the trailing edge. |
| Build Thread, Page :
1 2 [ 3 ] 4 5 6 (113 posts, 20 posts per page, 6 pages in total)
|
[ < Prev ] [ Next > ] |
