| Build Thread, Page :
<< 6 7 8 9 10 [ 11 ] 12 13 14 15 16 >> (622 posts, 20 posts per page, 32 pages in total)
|
[ < Prev ] [ Next > ] |
| SteveM, Comment for image # 23819 | 17 Oct 11 19:42 |
| Purdy! |
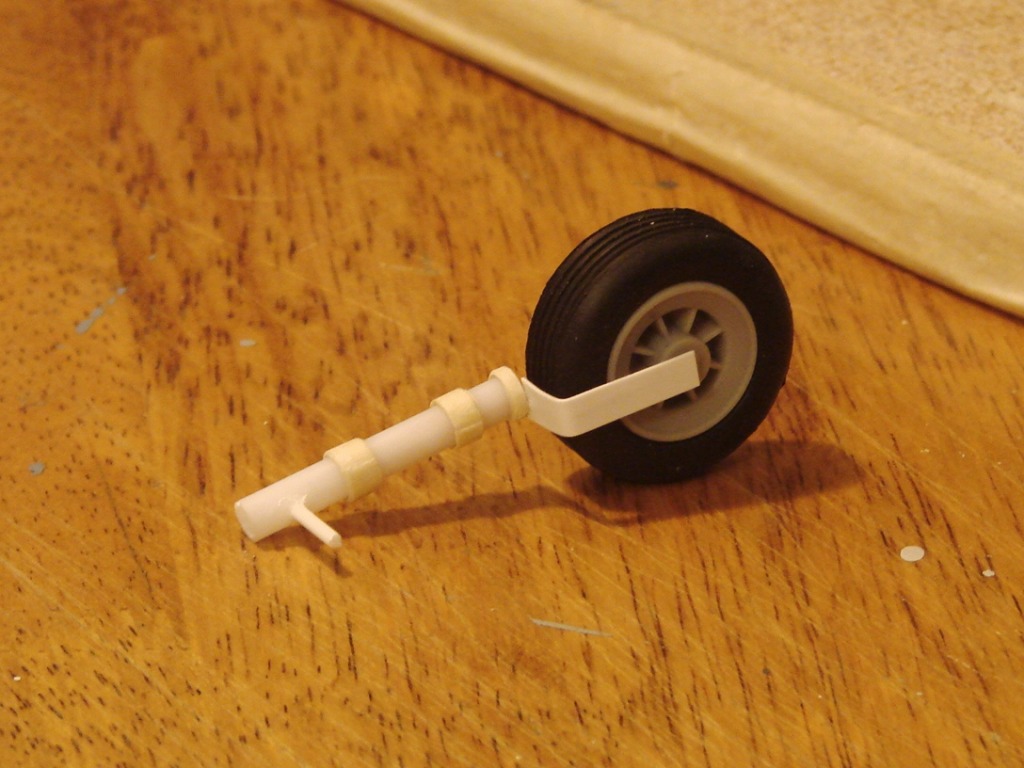
| David Duckett, Image # 23819 | 17 Oct 11 17:56 |
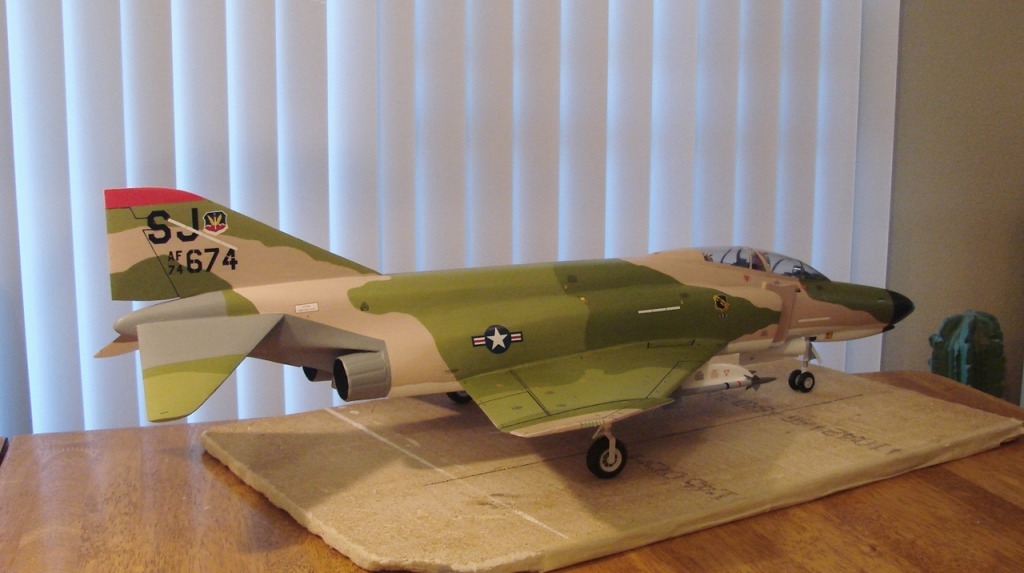
Standing on its own three legs and four feet |
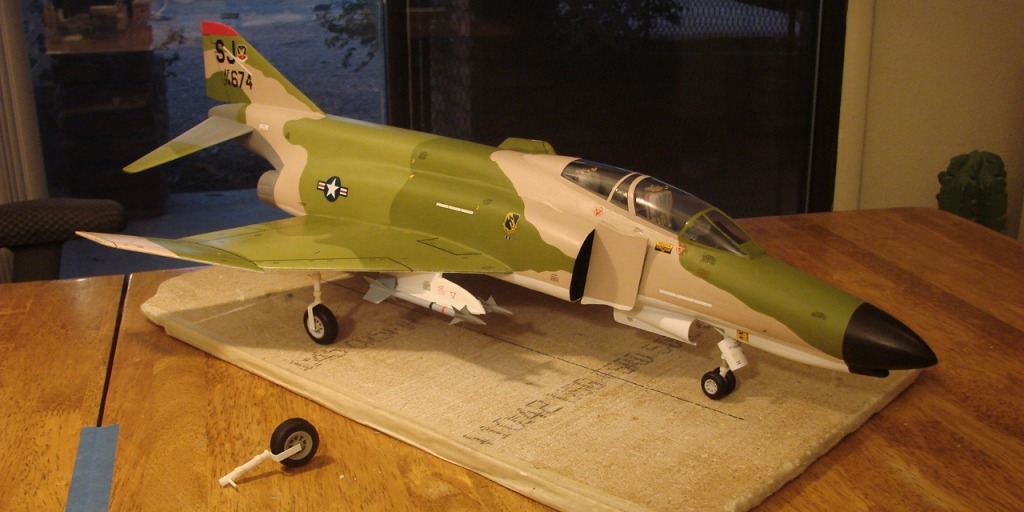
| David Duckett, Image # 23818 | 17 Oct 11 17:56 |
The completed strut/wheel assembly was glued to the plywood stud using plastic cement. |
| David Duckett, Image # 23817 | 17 Oct 11 17:54 |

Two pieces of 1/32" plywood CA'd together and about 1/4" deep into the wing |
| BriandKilby, Comment for image # 23723 | 17 Oct 11 09:51 |
| thankyou david. |
| David Duckett, Comment for image # 23723 | 17 Oct 11 09:08 |
| Oops, missed one. The exhaust stains are basically black but pure black is too black so I would lighten it with a bit of white to get a dark gray. There's probably a brown component in there, too, but not much. |
| David Duckett, Comment for image # 23723 | 16 Oct 11 03:45 |
| The decals on this model are all printed on film which is much thinner than that used for Guillows decals. It is also thinner than the paper from Micro-Mark used to make your own. Additionally there's very little excess clear film so no trimming was necessary. On larger decals I trim some of the clear film away but I don't get crazy with it trying to cut too close. |
| David Duckett, Image # 23809 | 16 Oct 11 03:39 |
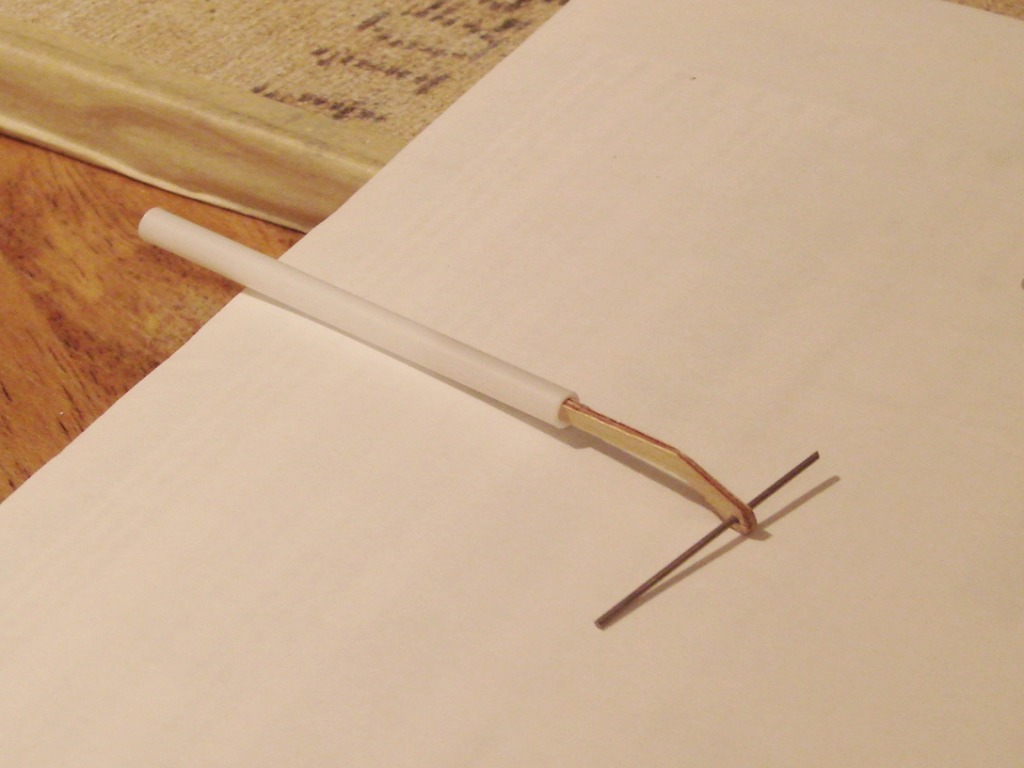
Styrene tube, wire, and two pieces of 1/32" plywood glued together. I made the hole for the wire with the tip of an x-acto blade before cutting the piece out. The strut is attached to the fuselage using the same type plywood strips. |
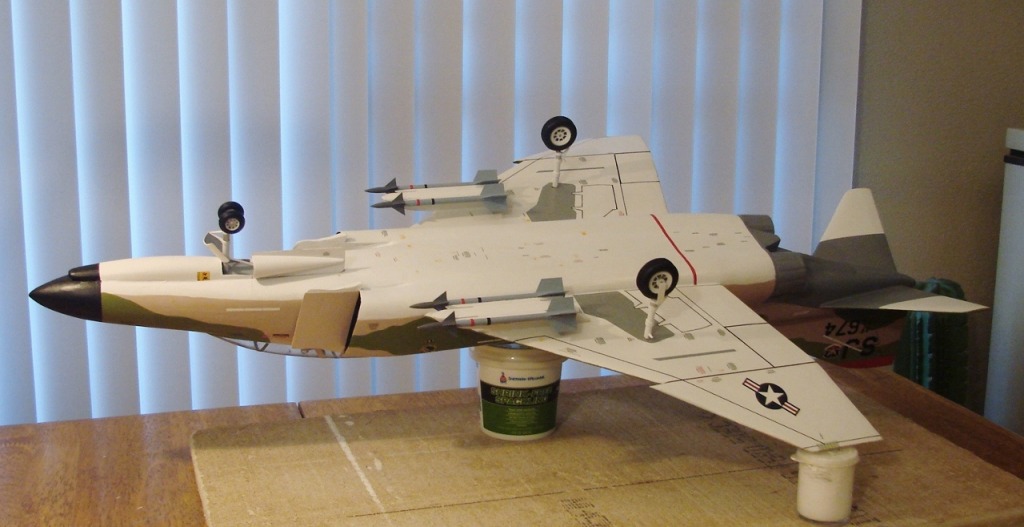
| David Duckett, Image # 23808 | 15 Oct 11 20:24 |
Paint and braces tomorrow |
| David Duckett, Image # 23807 | 15 Oct 11 20:23 |
Wire, styrene, masking tape, 1/16" stick (inside, for fill), CA, and "kicker" |
| David Duckett, Comment for image # 23721 | 14 Oct 11 08:00 |
| Thanks, Poppy, but it's not quite ready to be signed yet. |
| David Duckett, Comment for image # 23723 | 14 Oct 11 08:00 |
| Brian, I didn't build any balsa models from the time I got out of high school until several years after I got out of the Air Force but I did learn to paint on canvas during that time and it definitely helps in painting models. |
| David Duckett, Comment for image # 23788 | 13 Oct 11 19:02 |
| Thanks...230 and counting..... |
| pfinn, Comment for image # 23788 | 13 Oct 11 18:54 |
| No kidding about the Decals eveywhere! Sweet build. |
| David Duckett, Image # 23788 | 13 Oct 11 18:13 |

Front gear fabricated and installed |
| poppy, Comment for image # 23721 | 11 Oct 11 05:38 |
| Magnificent!!! Knowing what you went thru installing the stencilling and panel lines makes it for me a truly wonderful work of art. |
| moostang51, Comment for image # 23723 | 10 Oct 11 15:38 |
| HOLY $#!+....Apparently I did miss a lot!!!! |
| BriandKilby, Comment for image # 23723 | 10 Oct 11 09:11 |
| another masterpiece! david, did you start painting before you built models? i see how the artistic background would definitely help in that. keep them coming! what color shade would you use for exhaust stains on the plane? |
| David Duckett, Comment for image # 23720 | 09 Oct 11 22:16 |
| Cool!! I'll be in touch. Thanks a bunch. |
| David Duckett, Comment for image # 23723 | 09 Oct 11 22:14 |
| Thank you very much. I'll post some tips on decals in the morning when my eyes readjust to normal. There are 225 decals on this puppy and there will be more on the landing gear doors.*** Once you learn the technique, and how easy it is, attitude will take care of talent. It really shouldn't be that you want to do it as well as I, more that you plan to kick my ass with all you've learned. ;-) |
| Build Thread, Page :
<< 6 7 8 9 10 [ 11 ] 12 13 14 15 16 >> (622 posts, 20 posts per page, 32 pages in total)
|
[ < Prev ] [ Next > ] |
