| Build Thread, Page :
<< 2 3 4 5 6 [ 7 ] 8 (153 posts, 20 posts per page, 8 pages in total)
|
[ < Prev ] [ Next > ] |
| poppy, Comment for image # 21249 | 18 Feb 11 10:50 |
| DD, do you have these kits? |
| David Duckett, Comment for image # 21249 | 18 Feb 11 10:45 |
| The top one here will be painted gray and white as shown on the box art for the plastic kit. The bottom one will be in Viet Nam camo but not with the Vietnamese markings shown here. |
| SteveM, Comment for image # 21248 | 18 Feb 11 10:34 |
| The both of them will be built as shown here? |
| BriandKilby, Comment for image # 21249 | 18 Feb 11 10:15 |
| the skyraider is one of my favorite planes. |
| David Duckett, Comment for image # 21248 | 18 Feb 11 10:07 |
| Regardless of what Dumas calls the kit, it will be built like this, as a Skyraider.;=) |
| SteveM, Comment for image # 21248 | 18 Feb 11 09:48 |
| The AD-2 is a variant of the A-1 so I would imagine that much of the wood in these two kits are the same. It is also surprising to me that Dumas would release such similar planes. It will be very interesting to watch you build these two. |
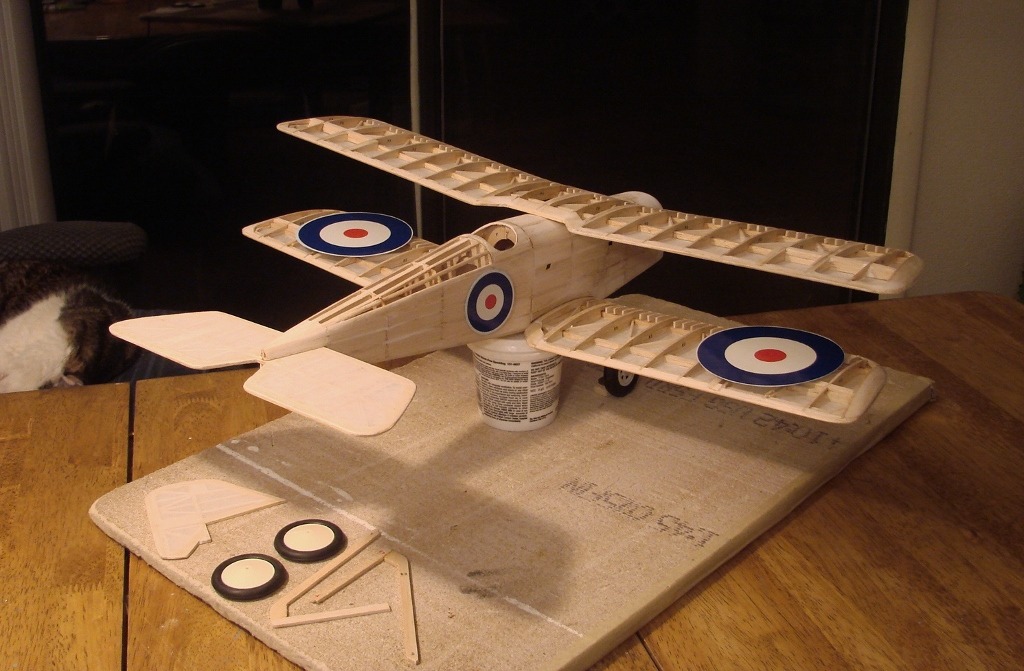
| David Duckett, Comment for image # 21231 | 17 Feb 11 06:55 |
| Ta dah! I learn something on every build. |
| moostang51, Comment for image # 21231 | 17 Feb 11 06:10 |
| Nice idea of building up the spar at the flap areas. No puncturing the covering when applying panel lines. :) |
| David Duckett, Image # 21231 | 17 Feb 11 04:47 |

|
| David Duckett, Image # 21230 | 17 Feb 11 04:46 |
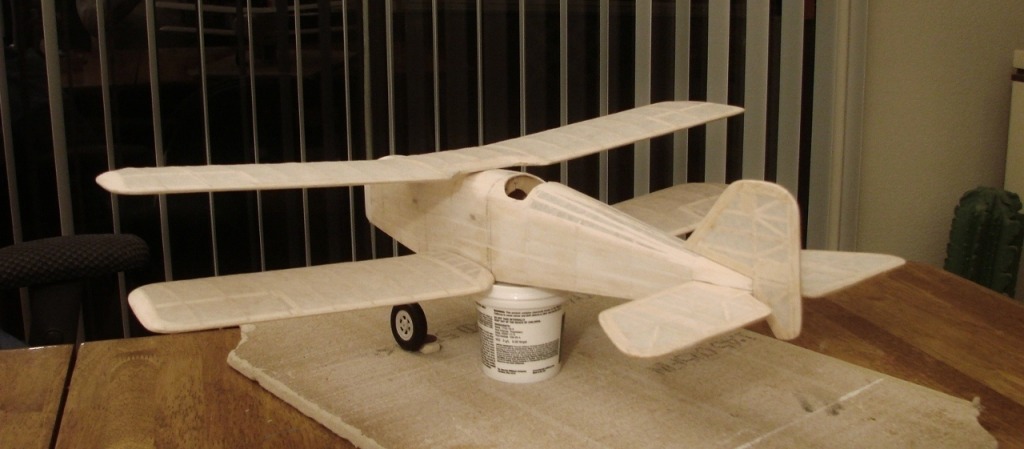
Covering complete |
| moostang51, Comment for image # 21207 | 15 Feb 11 16:22 |
| If I'm not mistaken your Camel was looking awesome. Check out David's hangar if you have a couple of days free. It'll walk you right through and answer just about any question you have.
|
| David Duckett, Comment for image # 21207 | 15 Feb 11 12:42 |
| Theethinks correctly. I keep good quality , soft, balsa in several sizes and cut what I need using a metal straight edge and an xacto knife. As the sides and bottom of this plane are flat I used 3/32" sheet balsa for infill. For the top sections I used 3/16" wood. I cut first for the length between formers and then bevel the sides of the piece as needed to get it in the hole, leaving wood above the former outline. When a large area is filled, carefully trim away the excess and sand smooth with the former. |
| John M Oshust, Comment for image # 21207 | 15 Feb 11 12:00 |
| Methinks the wing and fuse will have cabane struts. |
| Dfell, Comment for image # 21207 | 15 Feb 11 10:31 |
| David D - how do you strip the balsa wood in between the stringers? It looks a lot of work but I can see it is worth it. What thickness are the pieces and what happens when there is a slight curve to the shape, i.e on that edge between the cockpit and top wing? - Better set that account up - how much was it per question ?!
In struggling to perfect the Sopwith I'm doing I realize even more how good all of you guys are in your achievements.
|
| David Duckett, Comment for image # 21206 | 15 Feb 11 08:13 |
| The only way to fly! |
| JohnG., Comment for image # 21206 | 15 Feb 11 08:05 |
| Heavy weight silkspan??? |
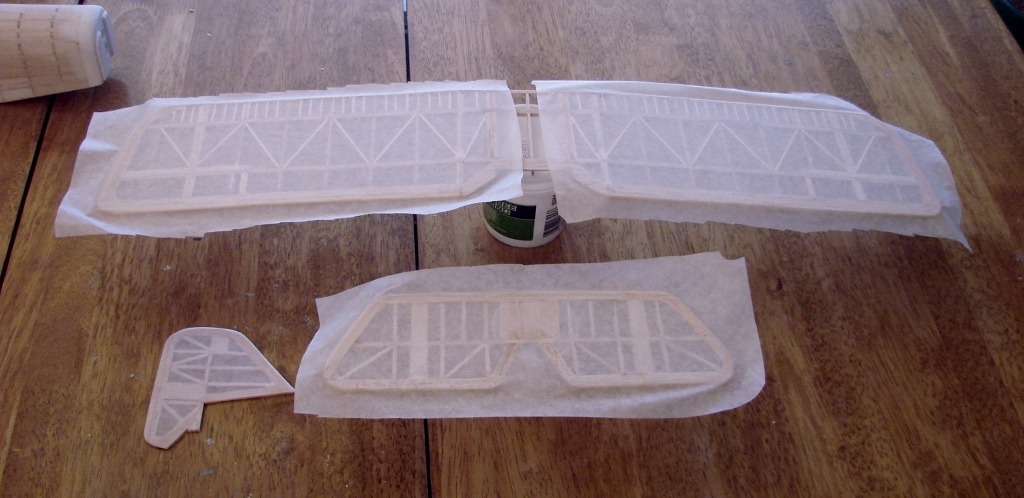
| David Duckett, Image # 21207 | 15 Feb 11 07:46 |
|
| David Duckett, Image # 21206 | 15 Feb 11 07:45 |
|
| jgood, Comment for image # 21196 | 15 Feb 11 04:25 |
| Sorry about the birthday mix-up! |
| David Duckett, Comment for image # 21196 | 15 Feb 11 02:49 |
| Thanks, guys. The birthday greeting is for Poppy. I got the tail feathers and the bottoms of the wings covered yesterday and should be able to finish today. |
| Build Thread, Page :
<< 2 3 4 5 6 [ 7 ] 8 (153 posts, 20 posts per page, 8 pages in total)
|
[ < Prev ] [ Next > ] |
