| Build Thread, Page :
1 [ 2 ] 3 4 (72 posts, 20 posts per page, 4 pages in total)
|
[ < Prev ] [ Next > ] |
| Skyediamonds1985, Image # 34377 | 06 Jul 15 21:08 |
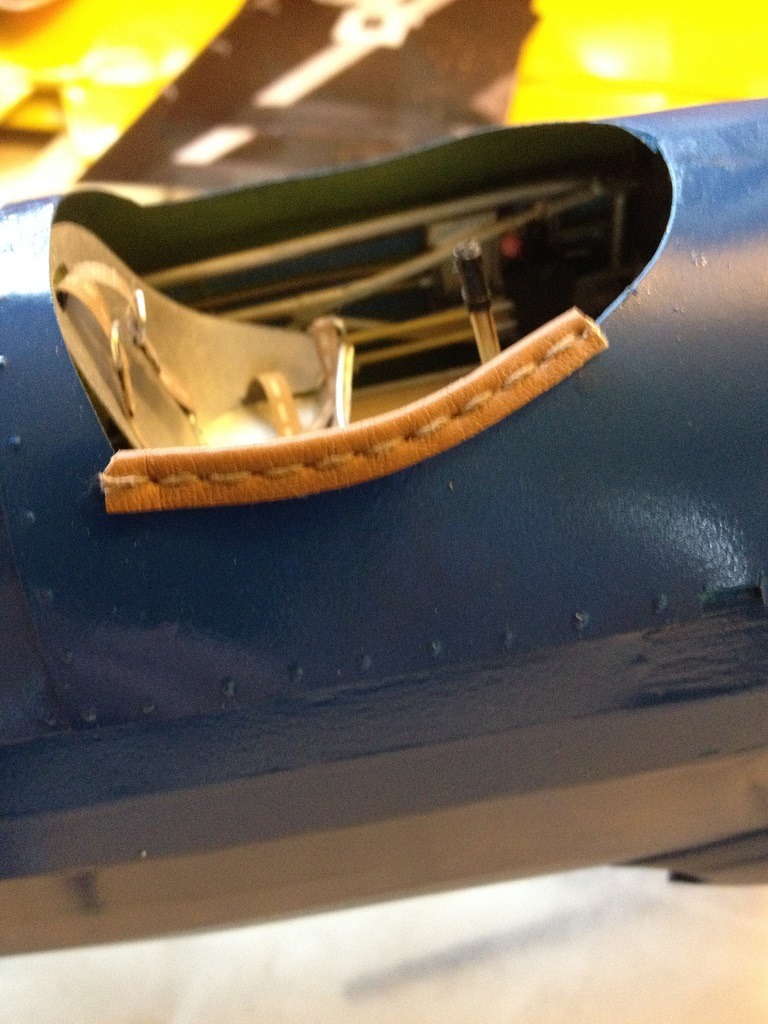
Going to give you guys a bit of "out of the box" thinking with a dash of imagination and possibly forehead slapping. This session will be devoted to cockpit coaming. It may even provoke a chuckle or two. |
| Skyediamonds1985, Image # 34376 | 06 Jul 15 20:28 |
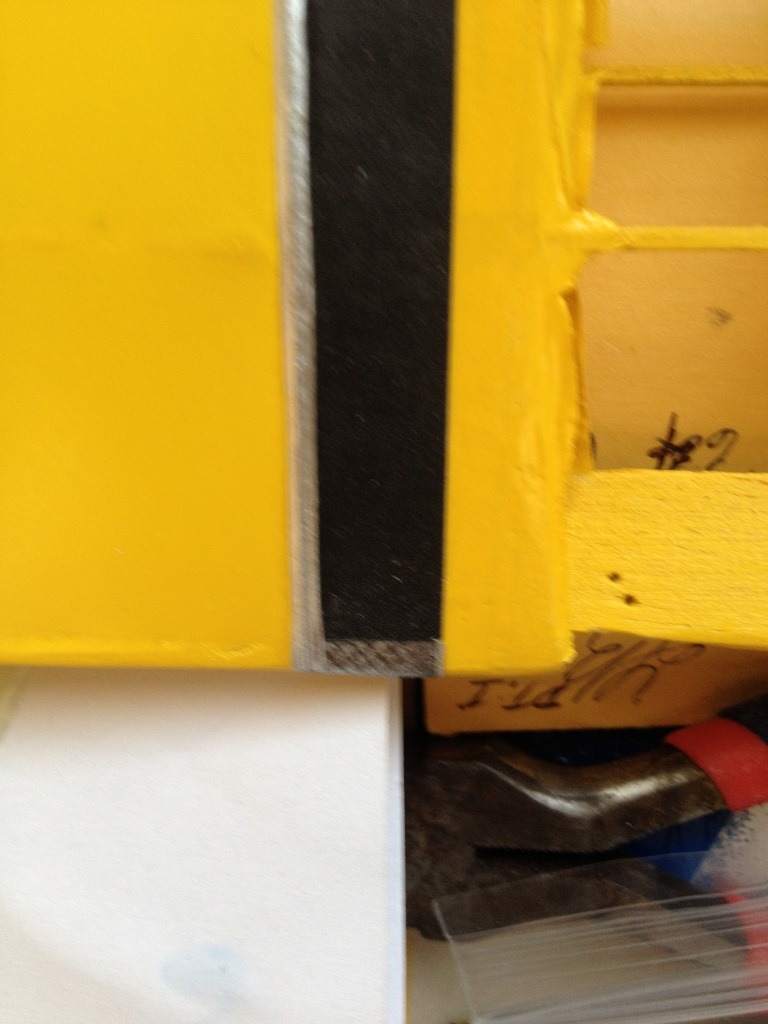
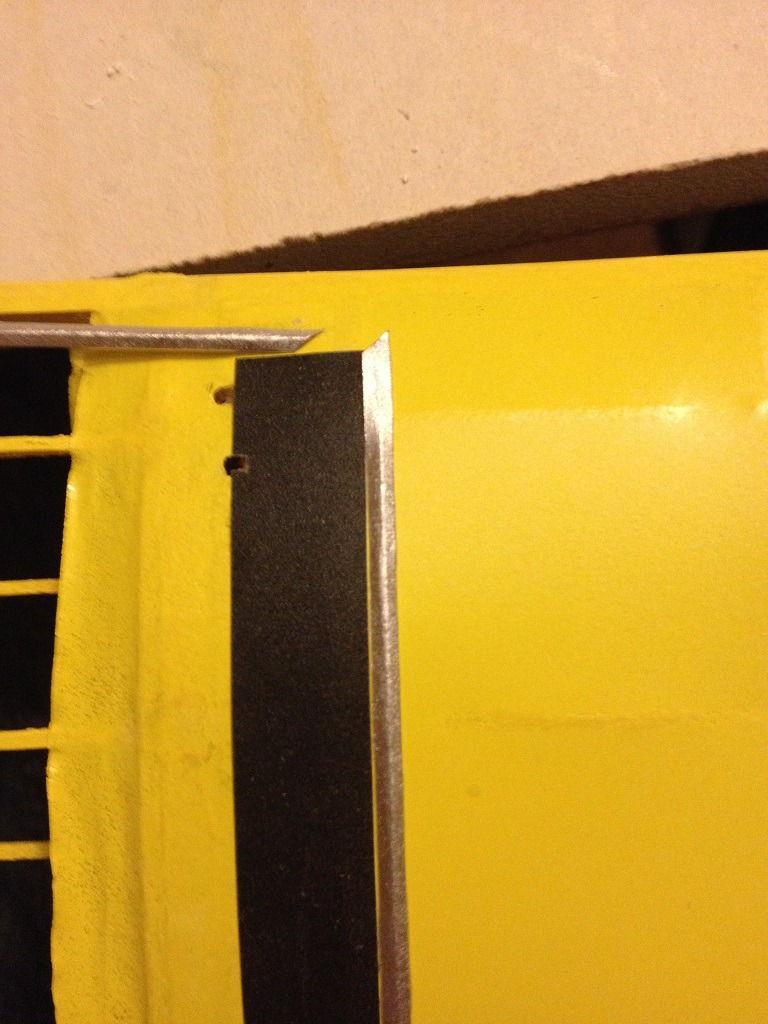
Final result of the wing walk with the thin strip of silver paint added to fill in the gap. I felt that everyone has seen a good textured wing walk, and many also featured the metal borders, but how many have we seen with that added step at the trailing edge? |
| Skyediamonds1985, Image # 34375 | 06 Jul 15 20:25 |

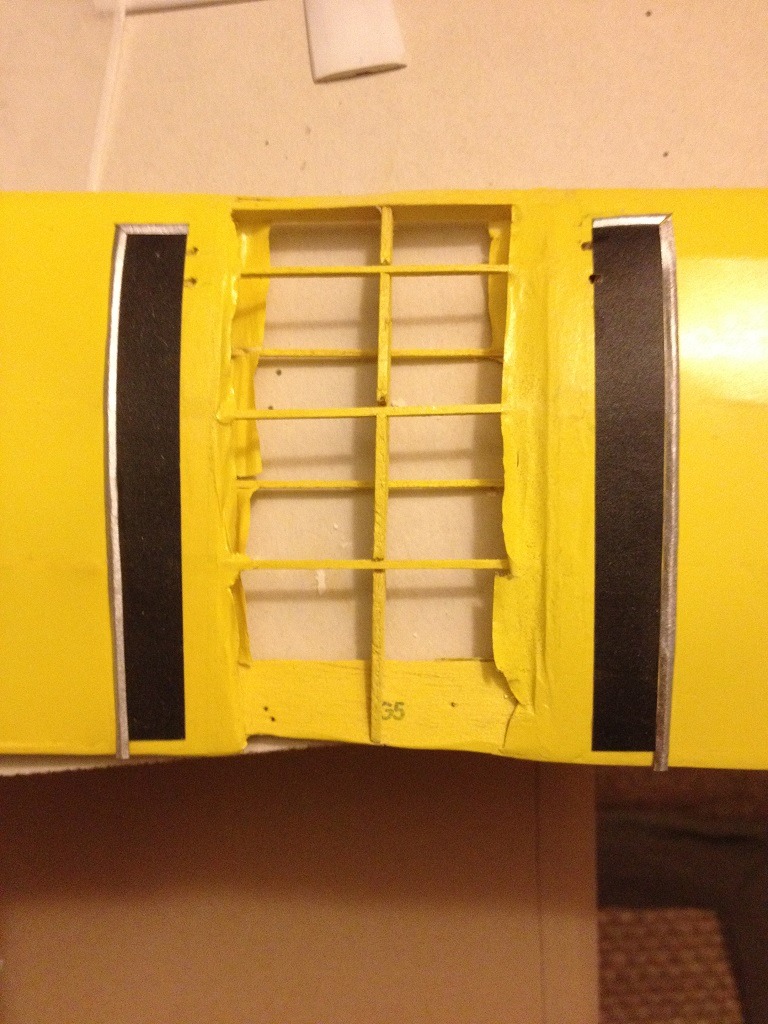
An overview of the lower wing and wing walk areas just prior to the final coat of silver paint to fill in the gap. |
| Skyediamonds1985, Image # 34374 | 06 Jul 15 20:22 |

The result, was a step that simulated metal steps with raised cross patterns to ensure that initial step by the pilot/passenger would "hold." I then took a very fine paint brush and carefully filled in the small gap on the left side for a convincing wing walk with some "bling" for the discerning eye. |
| Skyediamonds1985, Image # 34373 | 06 Jul 15 20:18 |
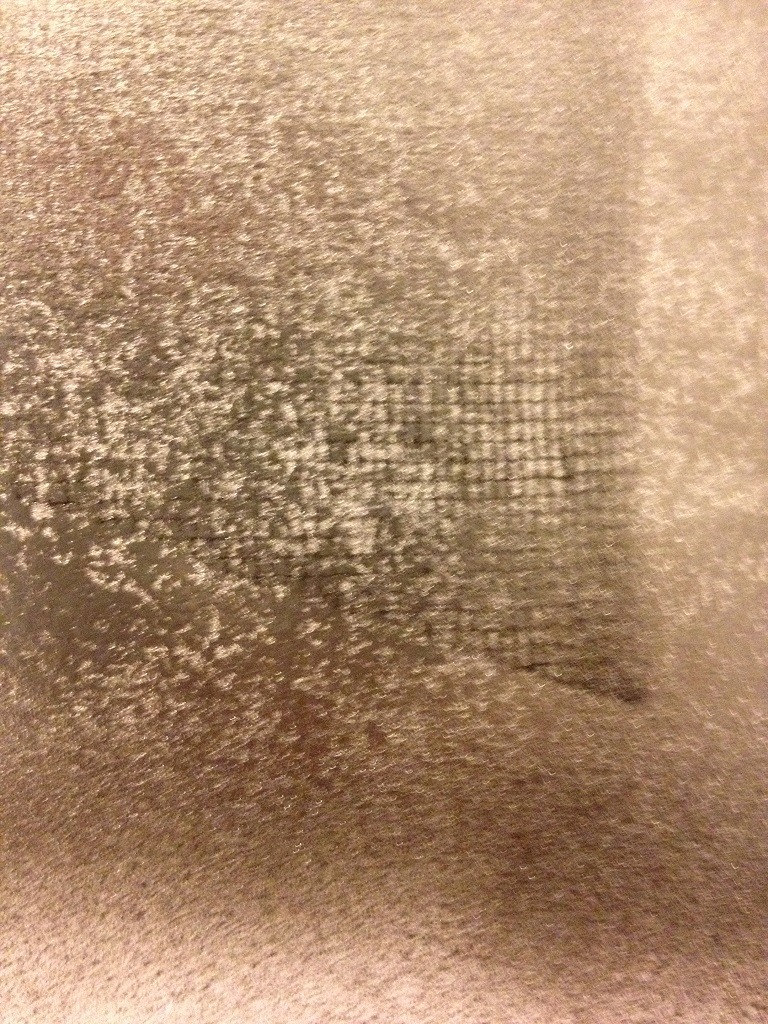
The results are somewhat fuzzy in several places. So, its not the picture or your computer. I simply picked out the areas that exhibited the best signs of definition of cross patterns. |
| Skyediamonds1985, Image # 34372 | 06 Jul 15 20:15 |
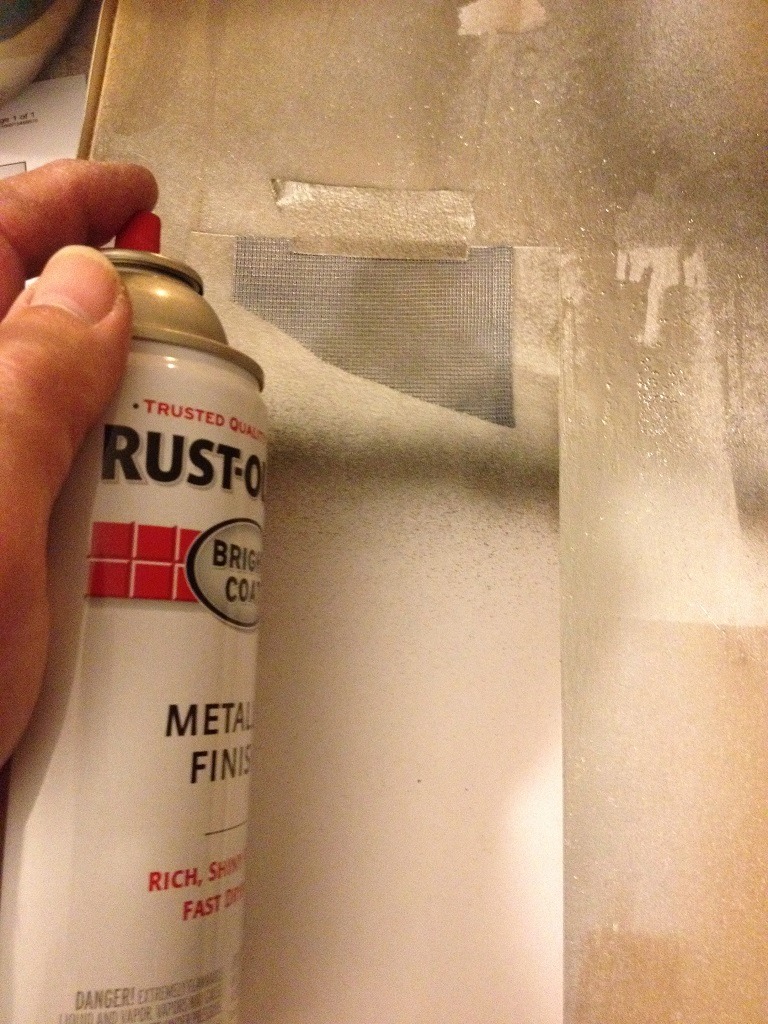
Next, I over sprayed the black area with the silver metallic pain using the screen cloth as a stencil. If all goes well, the cloth will allow the silver paint through, but its fine mesh with leave thin black cross-patterned lines. |
| Skyediamonds1985, Image # 34371 | 06 Jul 15 20:11 |
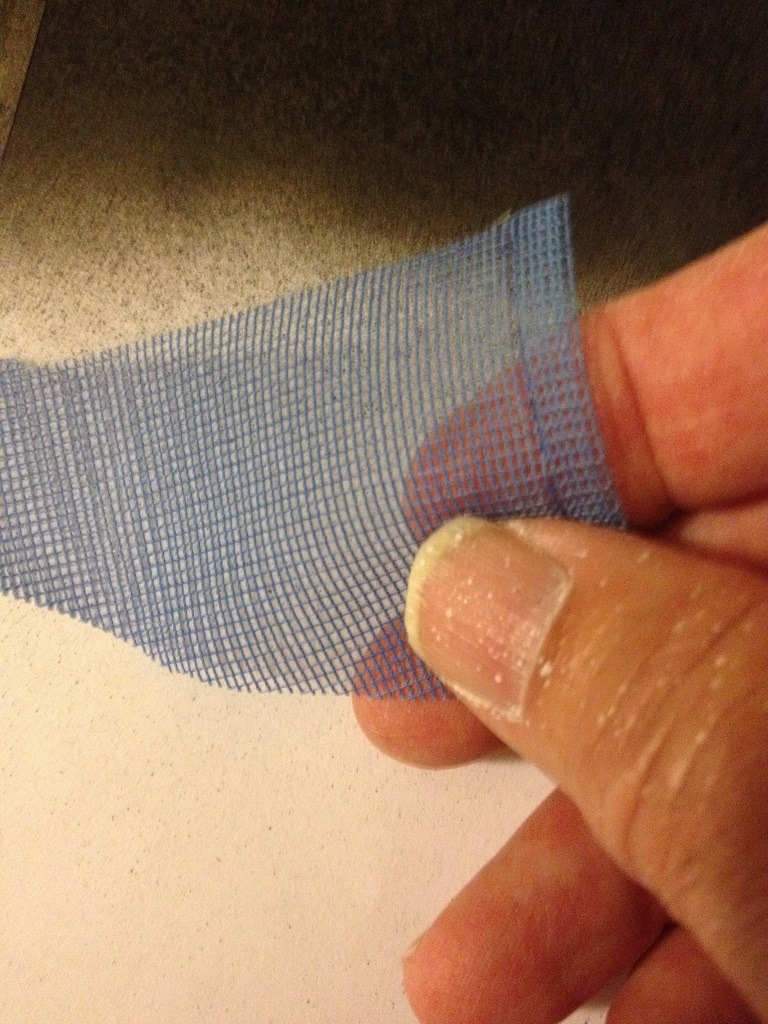
Next, I went to the local fabric store and obtained a "sample" of very fine screen cloth. Window screen can be used, but for this scale, it would be too thick. |
| Skyediamonds1985, Image # 34370 | 06 Jul 15 20:08 |
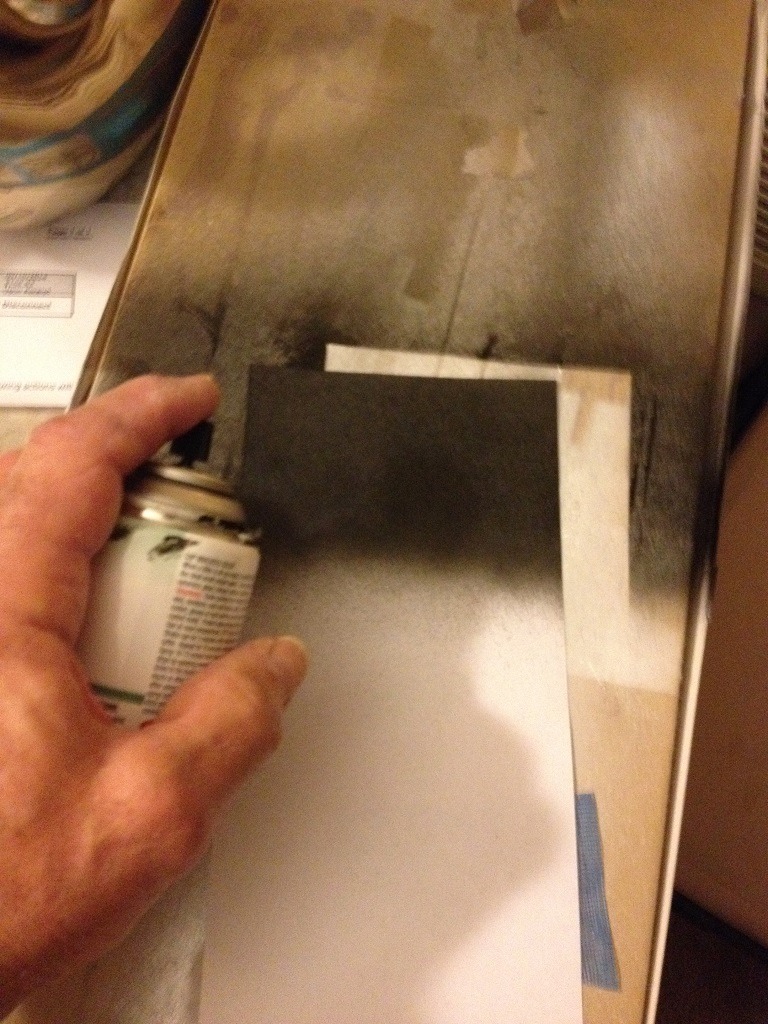
Now, bear with me on this, and humor me a bit. I took what's left of the same sheet of plain white paper used for making the thin metal strips and painted it flat black. |
| Skyediamonds1985, Image # 34369 | 06 Jul 15 20:04 |
This is where individual choice comes in. One could purposely make the original black strips longer and end at the trailing edge of the wing. Or, for a bit of (ahem) finesse, could add just a bit more detail for (Sorry, here's that darn word again), "bling." |
| Skyediamonds1985, Image # 34368 | 06 Jul 15 20:01 |
As you can easily surmise, this is kind of a two-step process. Prior to gluing the first strip, I cut the end at 45 degrees, using the scientific eyeball method. Then with the remaining edge from the strip already cut at the same angle, I carefully lined it up to verify the joint before cutting the short strip to size and then sjupergluing it into place. I carefully placed a dab of the glue along the underside of the strip prior to attaching it to the surface. I admit this method requires one to "get it right the first time or else" but figured it was worth the risk. I figured if I used white glue, it would act as a small bit of "lubricant" allowing the strip to slide around and thereby leaving a thin film of glue. |
| Skyediamonds1985, Image # 34367 | 06 Jul 15 19:53 |
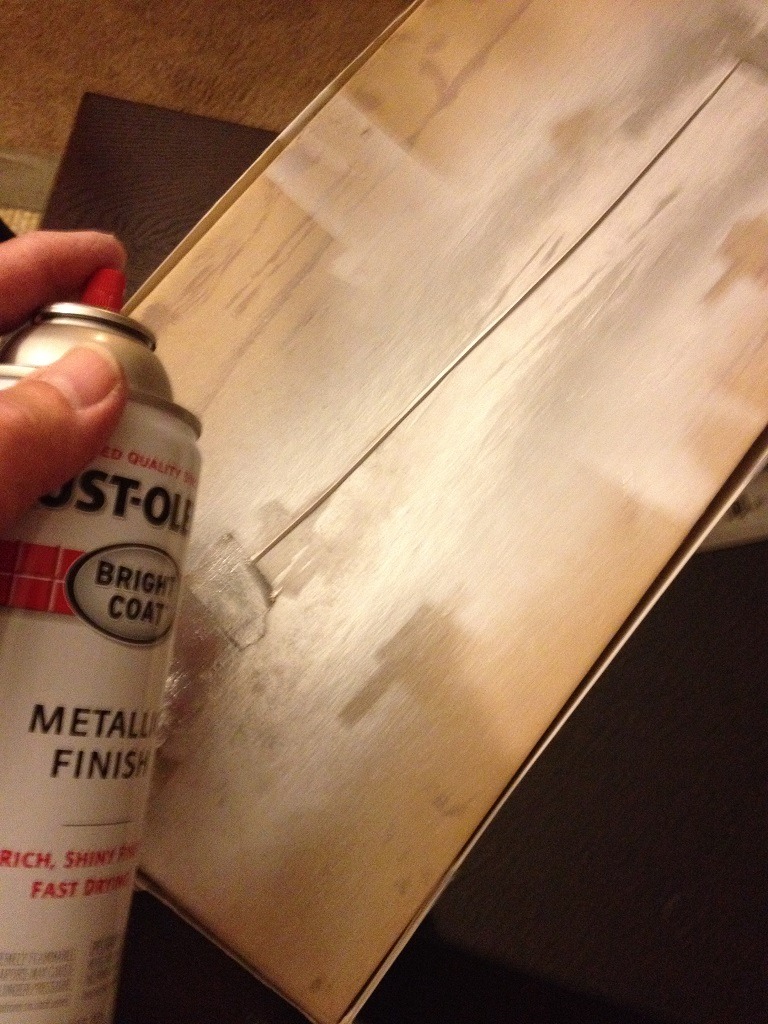
Next, I taped the strip ends onto scrap cardboard and spray painted metallic silver. I was careful not to flex the fold too much, lest it cracks the paint. |
| Skyediamonds1985, Image # 34366 | 06 Jul 15 19:49 |
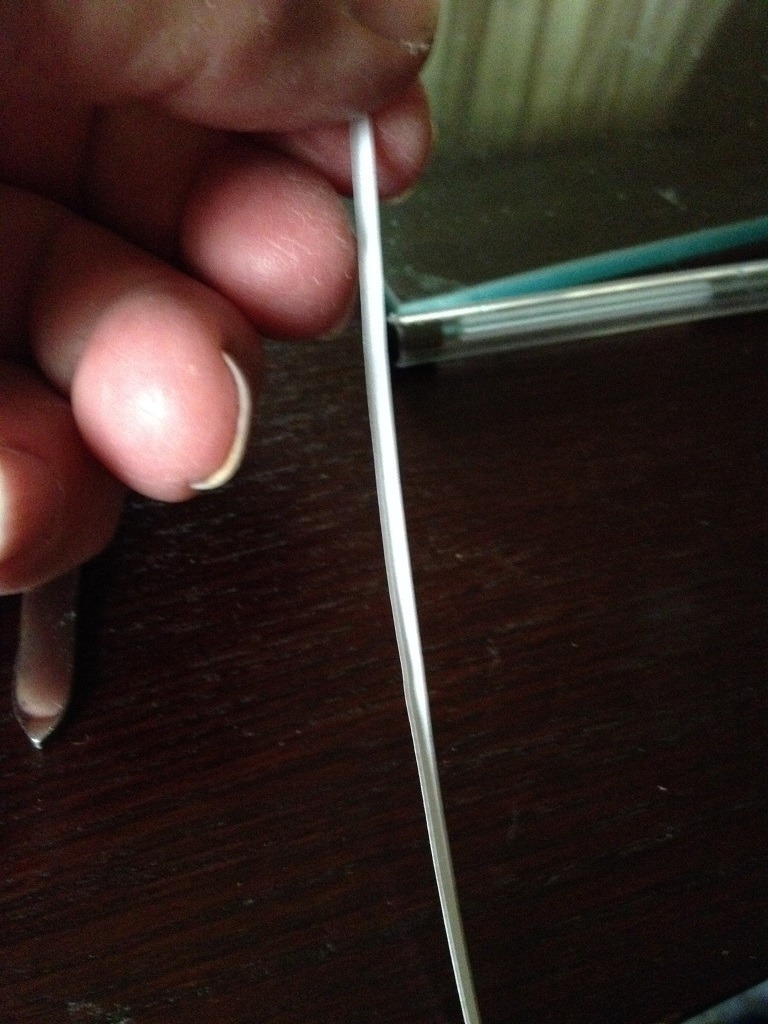
If you can look (zoom) carefully, I managed to open up the thin strip. Had to use a pair of tweezers to help. |
| Skyediamonds1985, Image # 34365 | 06 Jul 15 19:46 |
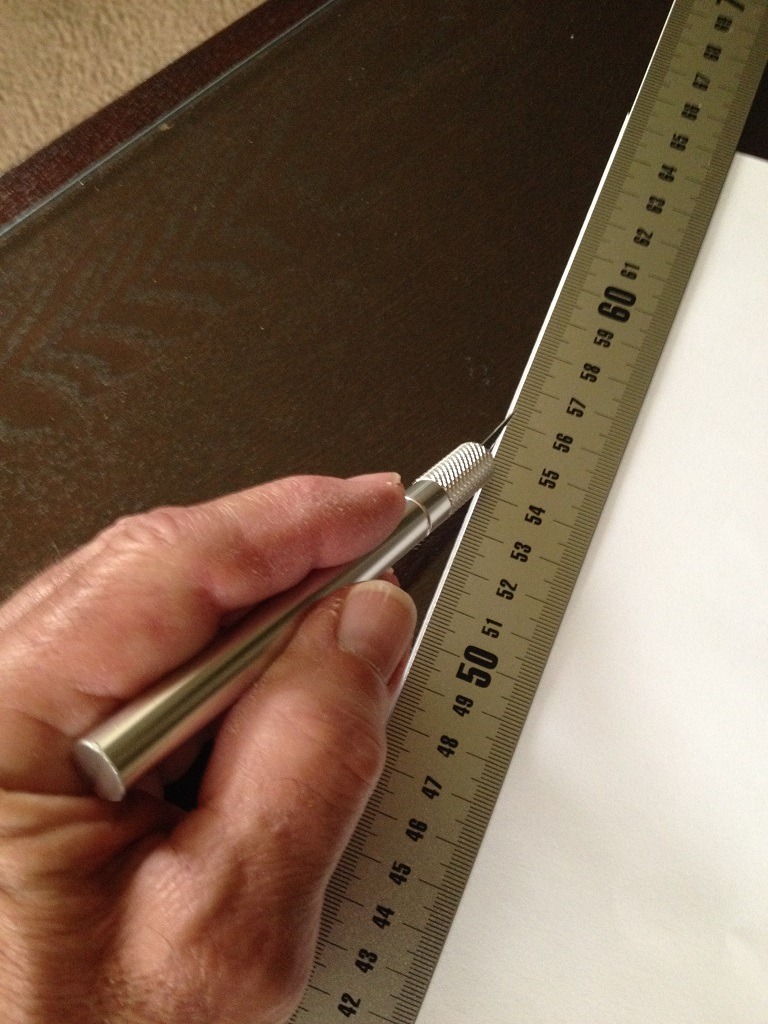
This is where trial and error comes in and eyeballing is used. I carefully cut an extra thin strip along the folded edge of the paper, knowing that when I open it, the strip will be doubled in width. Don't want it too wide, or too thin. As Goldilocks would say, "Jes' about right." |
| Skyediamonds1985, Image # 34364 | 06 Jul 15 19:42 |
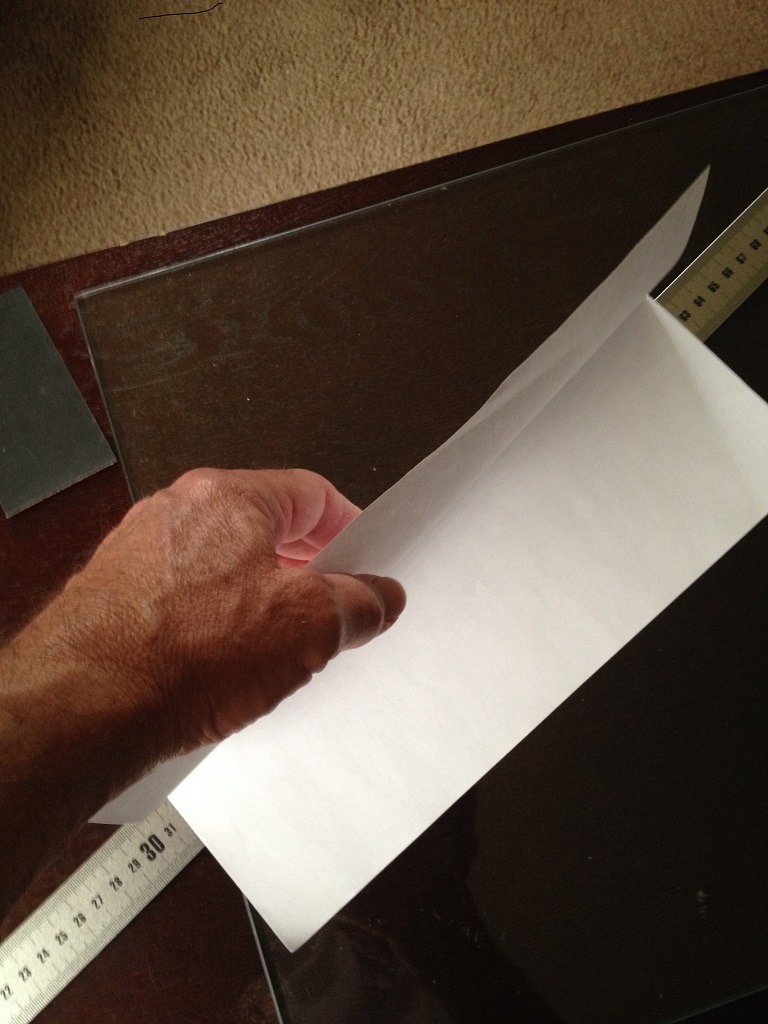
For the metal borders surrounding the wing walk, this is where a bit of "outside the box" imagination comes in. I use a standard black white sheet of 81/2x11 sized paper folded in half. The fold of the paper will be used to form a "ridge" along the metal strip. |
| Skyediamonds1985, Image # 34363 | 06 Jul 15 19:38 |
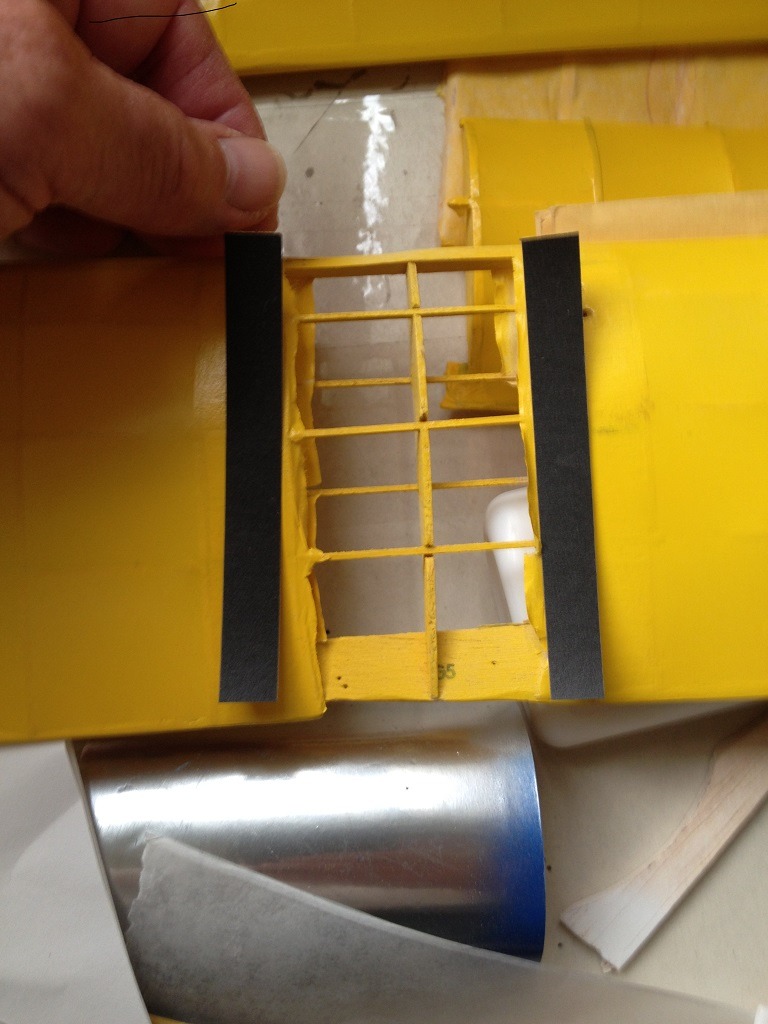
Carefully checking each strip for appropriate size and then supergluing them into place. |
| Skyediamonds1985, Image # 34362 | 06 Jul 15 19:35 |
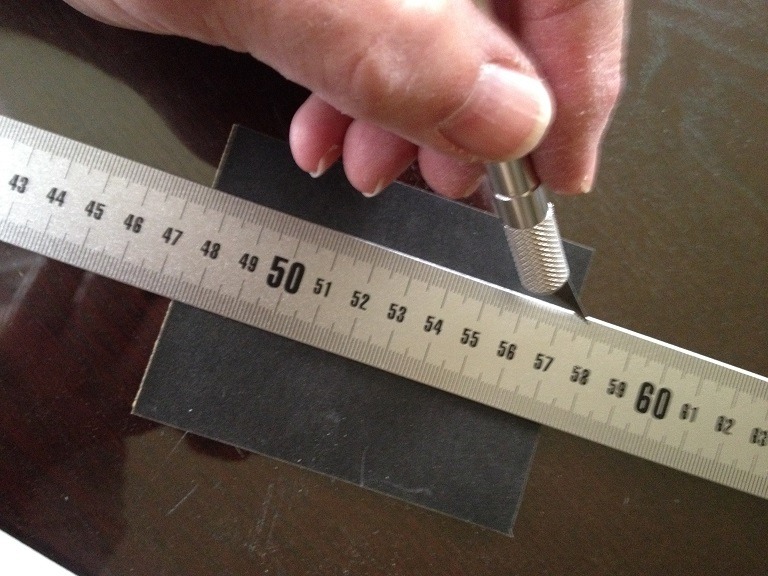
This might appear a bit redundant, but carefully cutting the wet-n-dry sandpaper for the lower wing walk |
| Skyediamonds1985, Image # 34361 | 06 Jul 15 19:26 |
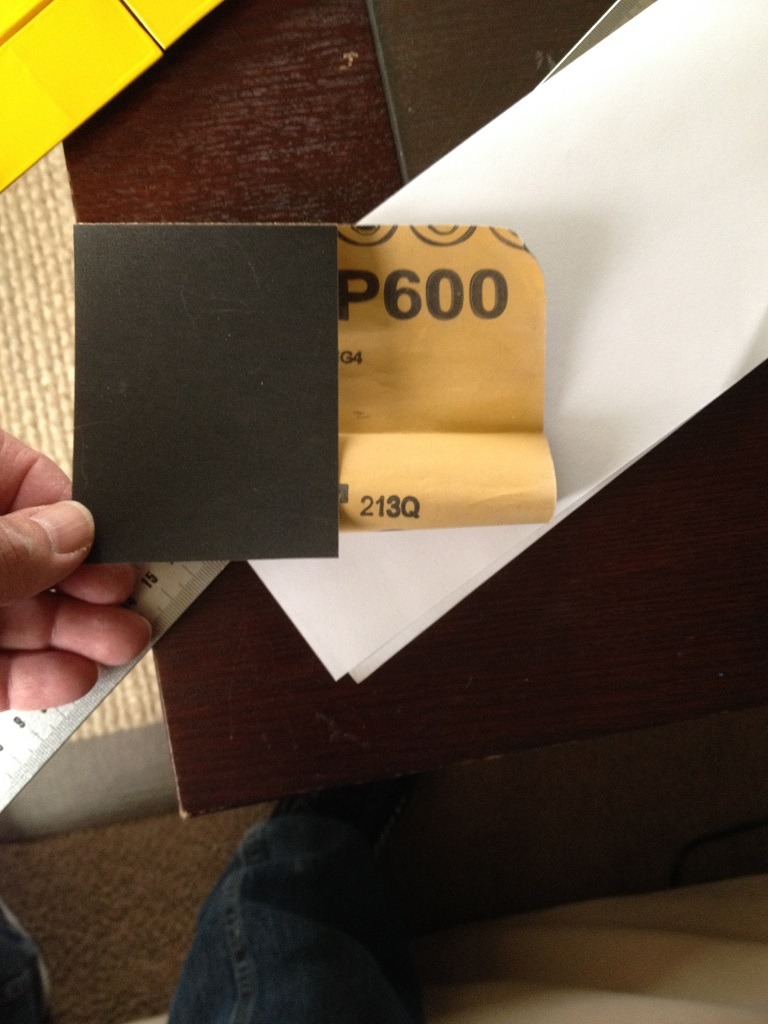
Using wet-n-dry sandpaper for the wing walk. This is to get that "textured" non slip look |
| Skyediamonds1985, Comment for image # 34360 | 06 Jul 15 19:22 |
| JohnG, thank you. Its really appreciated. You guys are great. Hope to get my photos in order to show more. -Sky |
| JohnG., Comment for image # 34360 | 06 Jul 15 17:40 |
| Oh My..is this slick or what...JFB!!! |
| moostang51, Comment for image # 34339 | 06 Jul 15 17:26 |
| Very well done. Definitely grabs yours attention. Like the wheel "softeners" also. Nice strut work.
|
| Build Thread, Page :
1 [ 2 ] 3 4 (72 posts, 20 posts per page, 4 pages in total)
|
[ < Prev ] [ Next > ] |
