| Build Thread, Page :
1 [ 2 ] 3 4 5 6 (106 posts, 20 posts per page, 6 pages in total)
|
[ < Prev ] [ Next > ] |
| plasticbuddha, Comment for image # 4082 | 16 Aug 07 15:42 |
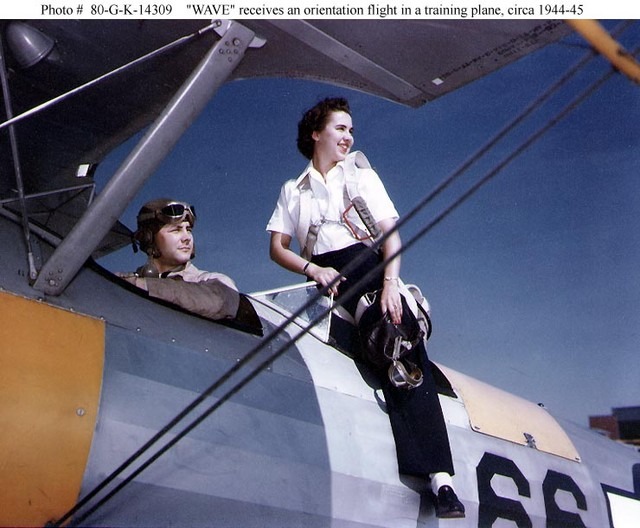
| Part of the fun in doing research! Found this charming photo. Useful details including the uniforms. Women also played such a crucial role. Only slightly exceeded by Russian women fighter pilots. |
| plasticbuddha, Image # 4082 | 16 Aug 07 15:39 |
|
| plasticbuddha, Comment for image # 4081 | 16 Aug 07 15:36 |
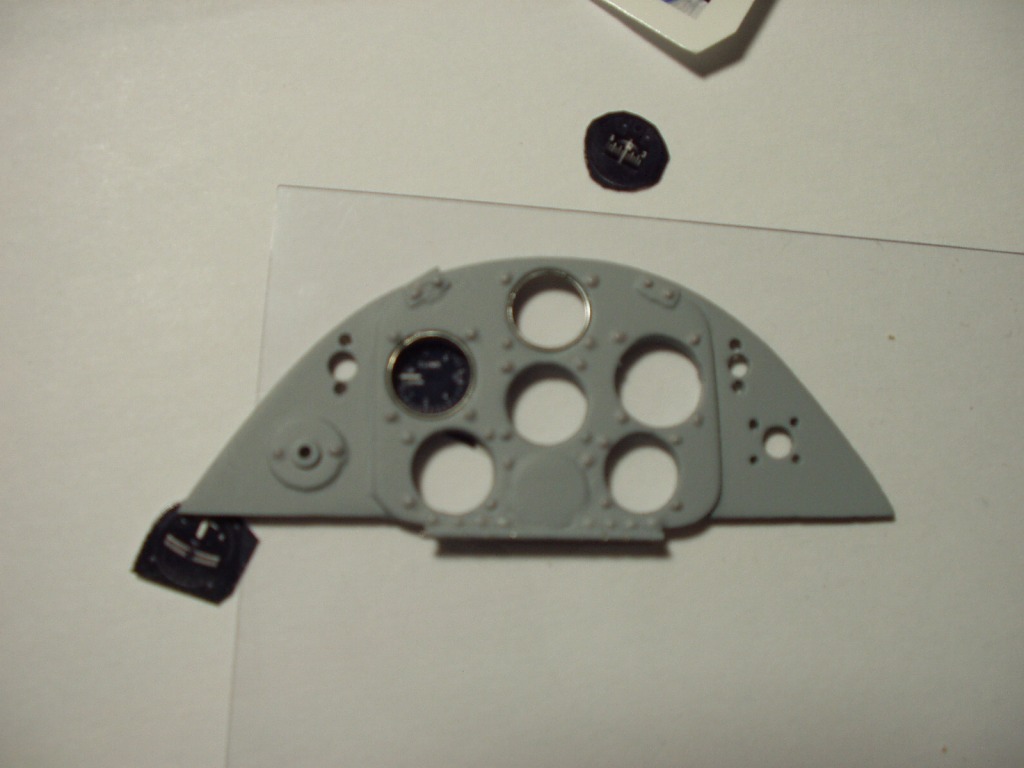
| After countless hours muddling through inumerable sites, I finally found some usable (i.e. not distorted) photos of what appears to be the correct flight instruments. I promptly printed them out onto some semi-gloss paper using the highest setting on my cheapo printer. With a piece of clear acetate sandwiched, it looks close enough to scale. :) |
| plasticbuddha, Image # 4081 | 16 Aug 07 15:32 |
|
| poppy, Comment for image # 4052 | 16 Aug 07 09:41 |
| Awesome!! |
| plasticbuddha, Comment for image # 4052 | 15 Aug 07 19:01 |
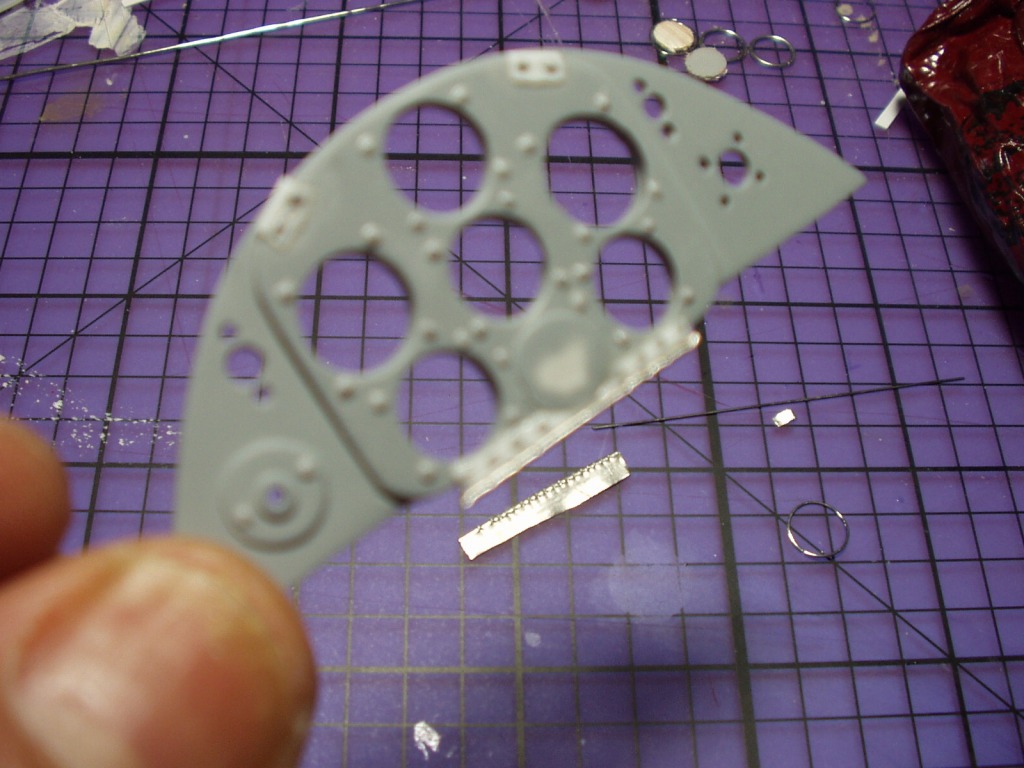
| I noticed from the refernce photos that the faceplate of the instrument panel is hinged on the bottom and has catches on the top. I would imagine that this was to facilitate the replacement/servicing of flight instruments as needed. I tried to replicate the hinge by wrapping some wine bottle foil around a lenght of .010 dia. piano wire. I tightened the wrapping using an edge of my steel ruler and on a piece of glass. I then crimped the "separations" using a pair of flush cutters. Sorry about the blurred pics again (old autofocus digital) |
| plasticbuddha, Image # 4052 | 15 Aug 07 18:53 |
|
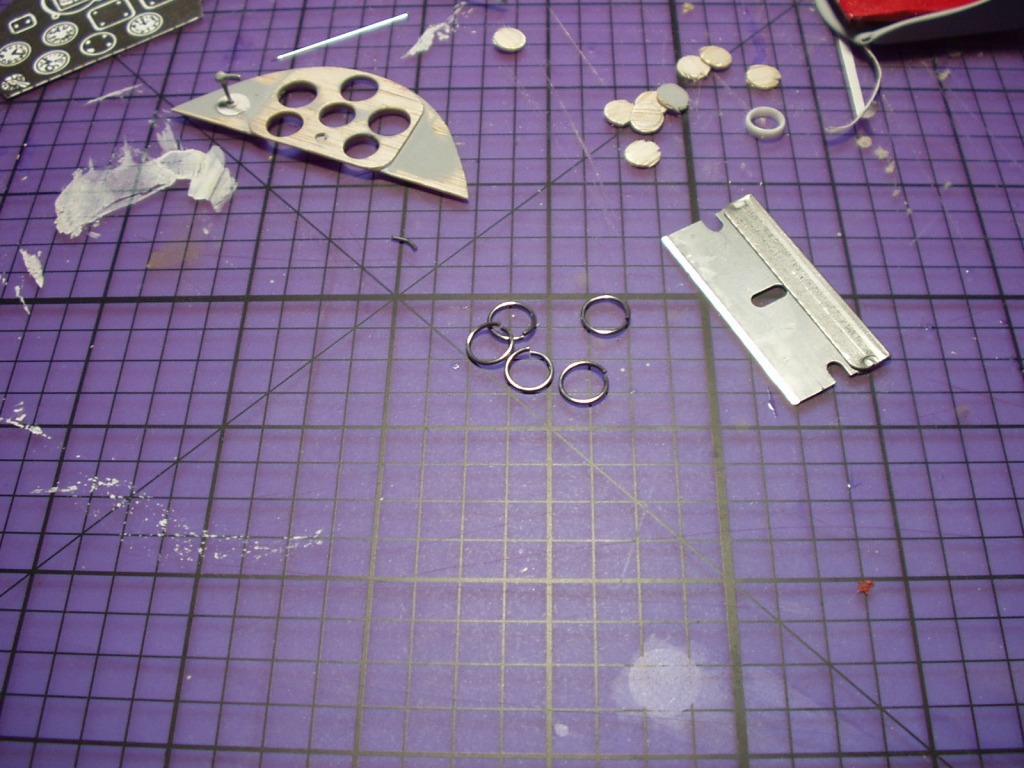
| plasticbuddha, Comment for image # 4051 | 15 Aug 07 18:51 |
| It is possible to thinly shave styrene tubing (piston rings) |
| plasticbuddha, Image # 4051 | 15 Aug 07 18:50 |
|
| plasticbuddha, Comment for image # 4050 | 15 Aug 07 18:47 |
| Williams Bros. makes some really great scale engines and cylinders. As you mentioned, they are unfortunately of incorrect scale for this project. I have scratchbuilt aircooled cylinders for a Porsche 935 project before. I used Evergreen tubing that telescoped. I used lenghts of the smaller diameter to make the cylinder walls and very thin slices of the larger diameter for the fins. It's extremely tedious as each cylinder required over 50 individual pieces (not counting the internals; pistons, rings, etc....) I hope you post pics of your work. :) |
| plasticbuddha, Comment for image # 4049 | 15 Aug 07 18:41 |
| Thanks Creosotewind! BTW - my name is Michael. "plastic buddha" is an old nickname that I was tagged with when I was a member of a model car club (pre-historic times). Looking forward to seeing your work and the forthcoming photos. I do hope we all get a reference library going as I would love to share all the pics that I have. My e-mail is michael_villena@sbcglobal.net I don't mind sharing it with everyone here. :) Hope you have fun on your trip!!! |
| Creosotewind, Comment for image # 4050 | 15 Aug 07 18:19 |
| Jumping ahead abit, what do you intend to do for the motor cylinders? I used some Williams Bros. cylinders, but I think they are 1" (1/12) scale instead of 3/4" (1/16) scale. Still, they looked good.
I sent an email to James to forward to you, so you can contact me off-line so I can get you the photos. |
| moostang51, Comment for image # 4043 | 15 Aug 07 18:03 |
| Dremel (rotary) tools are great for some things, but for uniform holes and avoid chipping and splintering, forstner bits are the best. Dremel tools are to high torque and unless you put them in a dremel drill press I forsee problems. Any wood tends to tear, because you are cutting across and with the grain at the same time. Forstner bits will put its' pilot dead center and cut and lift the wood out. Any clear through holes should be backed up any way by scrap anyway to avoid tearout. As far as bezels, since you seem to be laminating, if you would ream out the hole from the backside it would create an undercut which would allow only a small piece of the bezel to show through with no cutting or trimming necessary. |
| Creosotewind, Comment for image # 4049 | 15 Aug 07 18:01 |
| Excellent example of the technique. How can we contact off line. I will have to link you to my company ftp site (lots of photos). I like the idea of a reference location. I will be going to San Pedro and San Diego this weekend. Along the way is the Palm Springs Air Museum, the Victory ship in SP and the USS Midway. Lots more photos next week. All the builders here are very inspiring. A great site! |
| plasticbuddha, Comment for image # 4043 | 15 Aug 07 16:44 |
| BTW poppy, since you've finished the fabulous Hellcat, what are you working on next? |
| plasticbuddha, Comment for image # 4050 | 15 Aug 07 16:30 |
| Sorry about the blurred shot! I also used dabs of filler primer with a 0000 brush to paint the fastener heads on the panel. |
| plasticbuddha, Comment for image # 4049 | 15 Aug 07 16:29 |
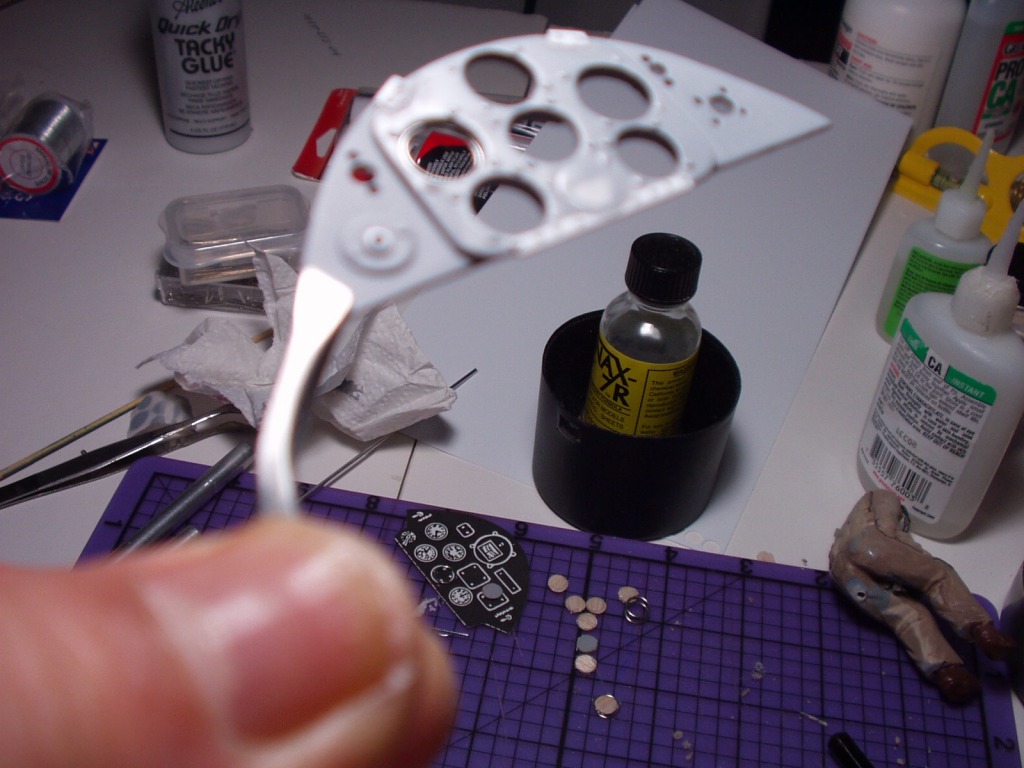
| I found it easier to cut the solder coil while it was still wrapped around the paintbrush handle. I used a single edge knife. |
| plasticbuddha, Comment for image # 4048 | 15 Aug 07 16:27 |
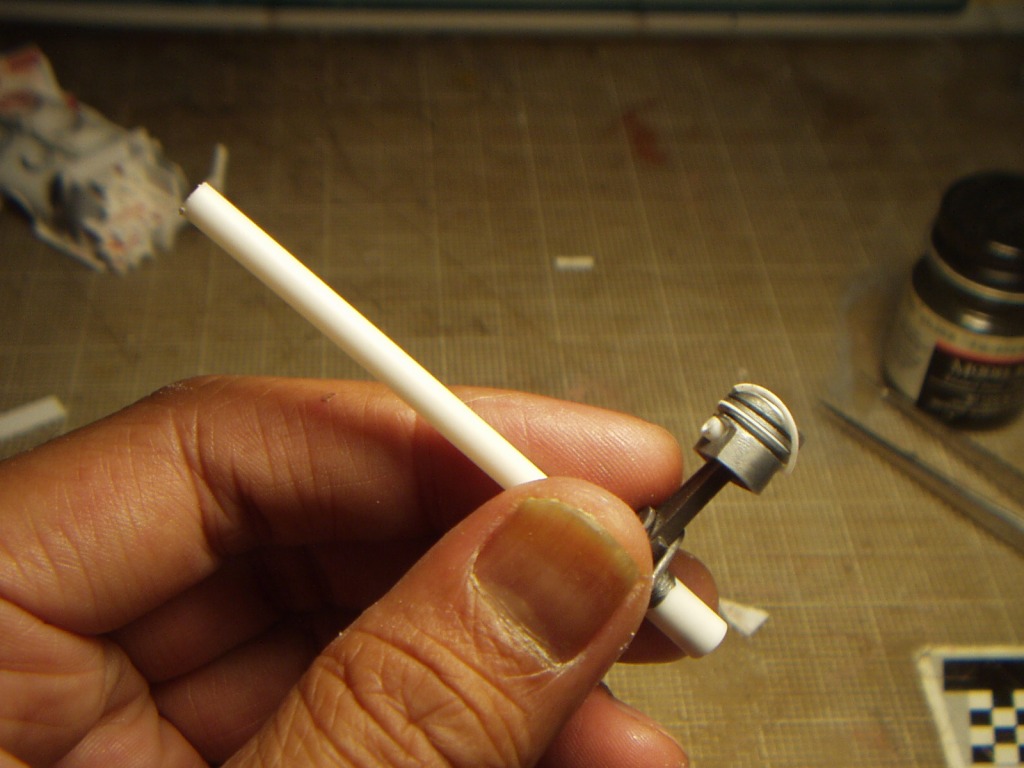
| I took Creosotewind's suggestion (thanks!) but used soft solder instead. I also used the tapered handle of a paintbrush so that I can adjust the diameter as needed. I have been using solder to detail with for quite some time now and Radio Shack sells several diameters from .015 in. on up. Useful for wiring engines, pilot's headphones, etc. It is soft and maleable enough. I made the paddle on the control knob by flattening a lenght with the smooth faces of a pair of pliers and then trimmed it to shape. |
| plasticbuddha, Image # 4050 | 15 Aug 07 16:23 |
|
| plasticbuddha, Image # 4049 | 15 Aug 07 16:22 |
|
| Build Thread, Page :
1 [ 2 ] 3 4 5 6 (106 posts, 20 posts per page, 6 pages in total)
|
[ < Prev ] [ Next > ] |
