| Build Thread, Page :
<< 3 4 5 6 7 [ 8 ] 9 10 (198 posts, 20 posts per page, 10 pages in total)
|
[ < Prev ] [ Next > ] |
| Ken Miller, Comment for image # 18586 | 11 Jul 10 17:16 |
| Your "will have to do" looks very good to me. Is the instrument panel a photograph? |
| jerry campbell, Comment for image # 18586 | 11 Jul 10 14:47 |
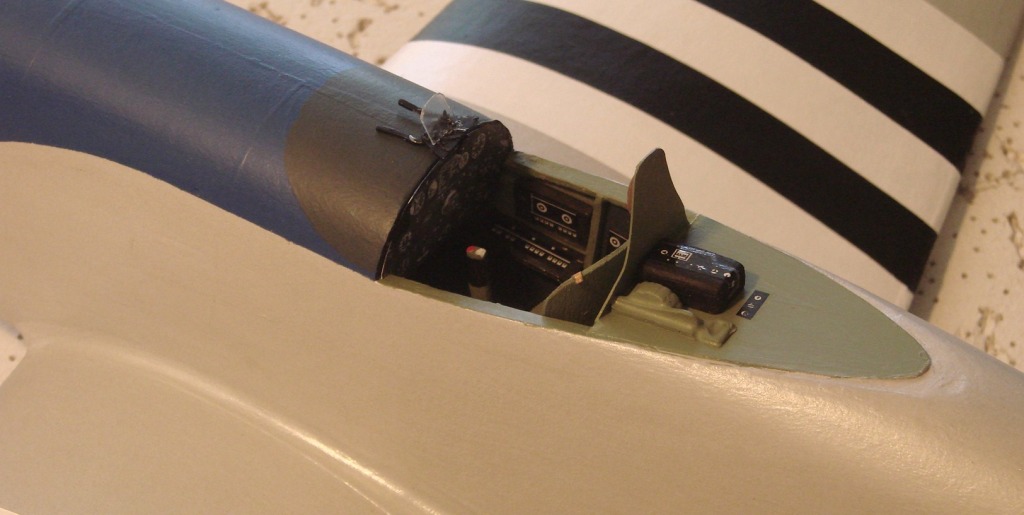
| It looks awfully good for "will have to do". |
| David Duckett, Image # 18586 | 11 Jul 10 13:22 |
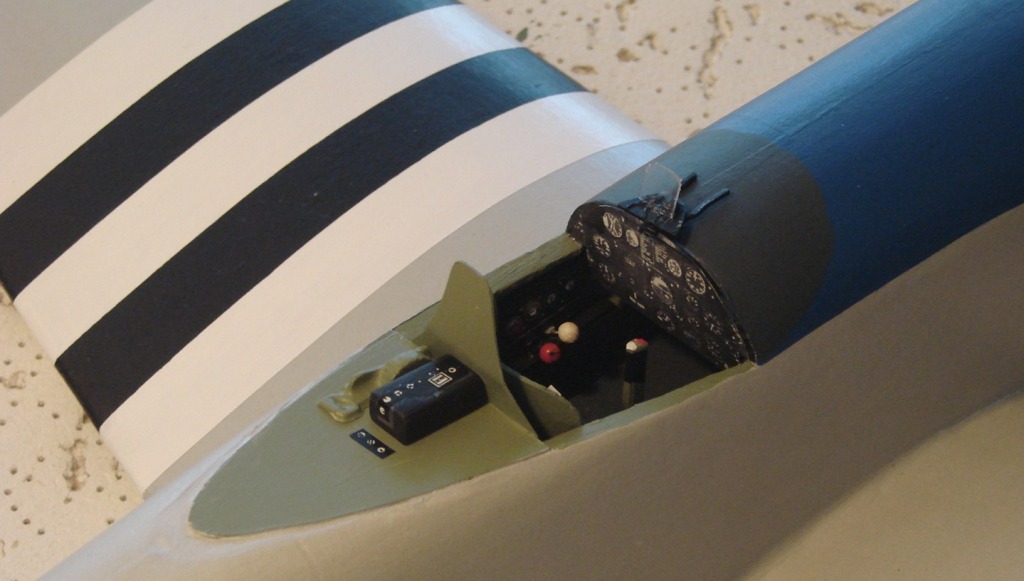
Interiors are not my thing so this will have to do. |
| David Duckett, Image # 18585 | 11 Jul 10 13:21 |
|
| David Duckett, Image # 18584 | 11 Jul 10 13:21 |
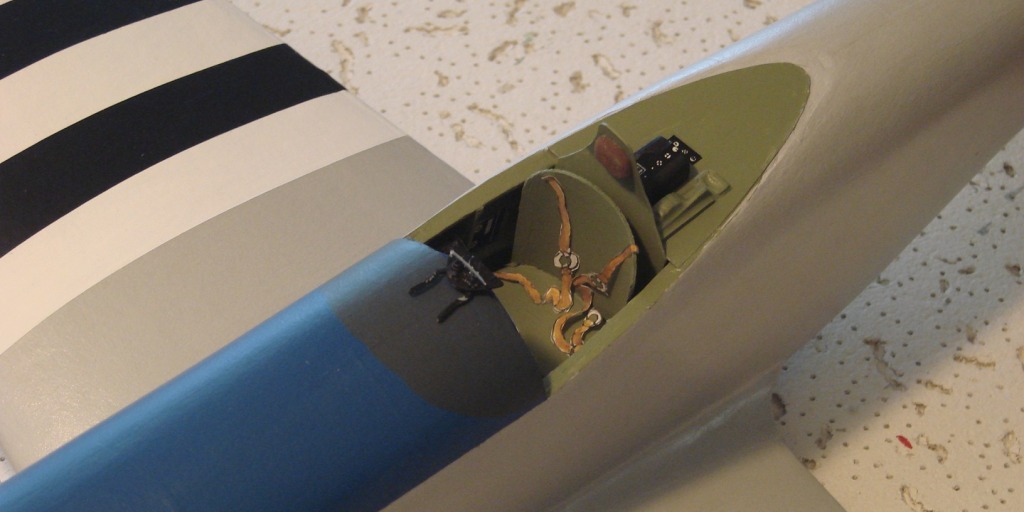
A little touch up and the canopy will be installed. |
| David Duckett, Image # 18576 | 10 Jul 10 16:18 |
Sanded smooth, the spinner is now ready for the installation of the prop blades and painting. (I didn't sand through the spinner but it's best to be cautious!) |
| David Duckett, Image # 18575 | 10 Jul 10 16:16 |
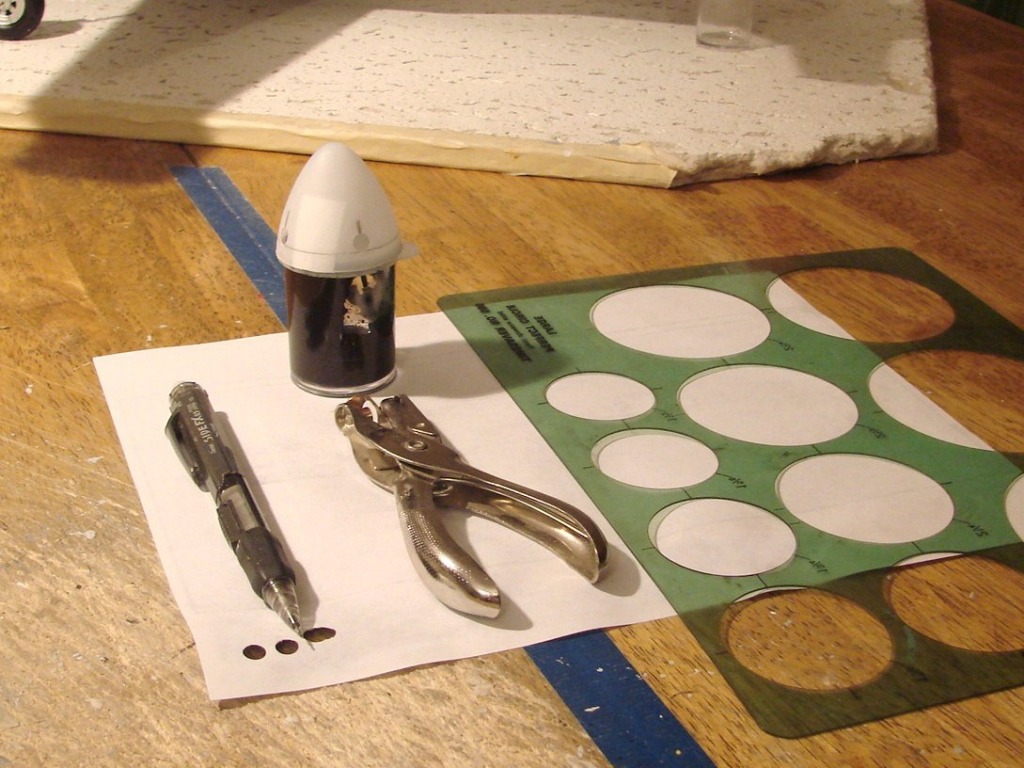
To remove the molded prop outline on the spinner: Using "liquid weld" type plastic cement, glue a piece of 1/20" styrene behing the raised portion on the spinner and sand it away. Using a circle template, mark the 4 locations for the prop blades and punch out using a standard hole punch which is 3/16". |
| David Duckett, Image # 18551 | 09 Jul 10 01:17 |
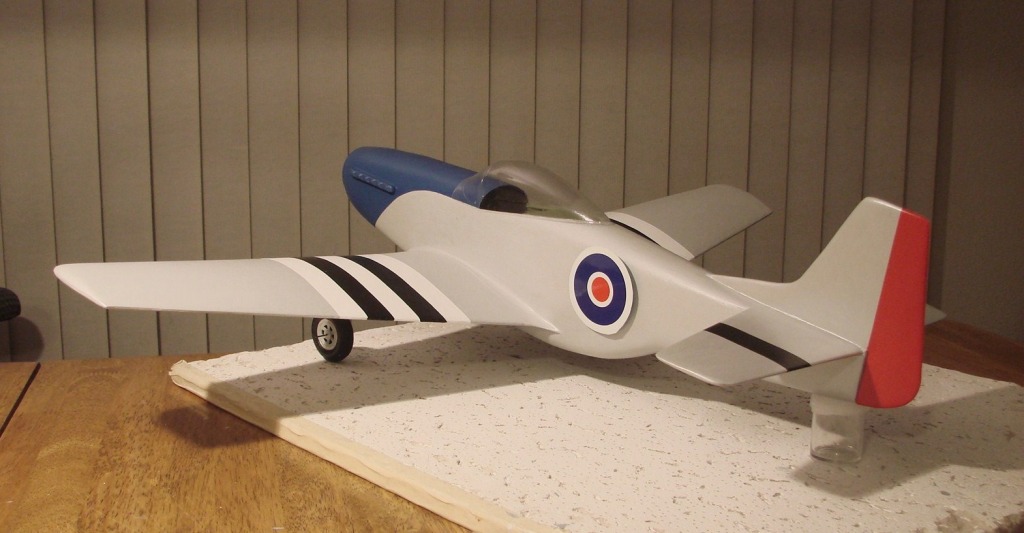
If it were British... |
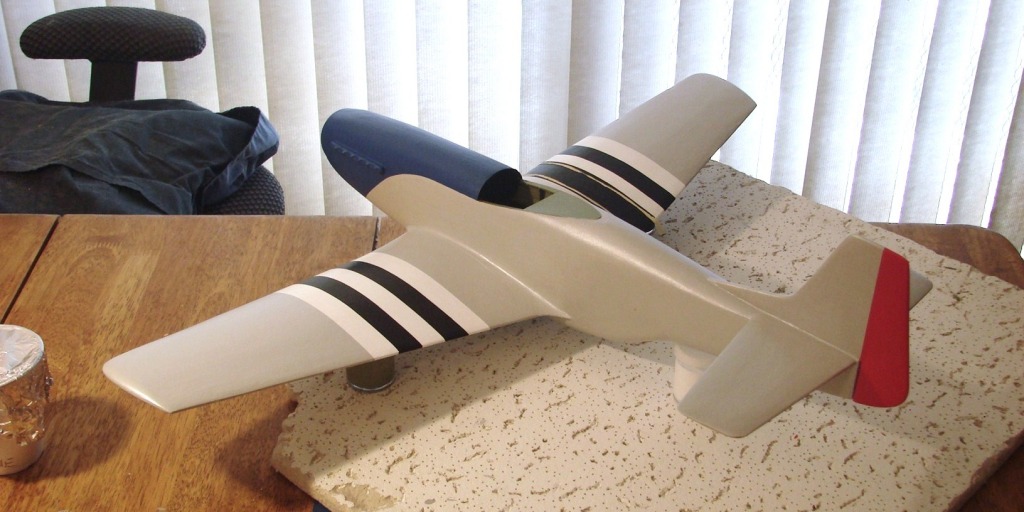
| David Duckett, Image # 18550 | 09 Jul 10 01:16 |
I'm waiting for replacement decals before painting the black and white bands on the bottom of the fuselage so this insignia is only taped on. |
| David Duckett, Image # 18547 | 07 Jul 10 17:19 |
...painting... |
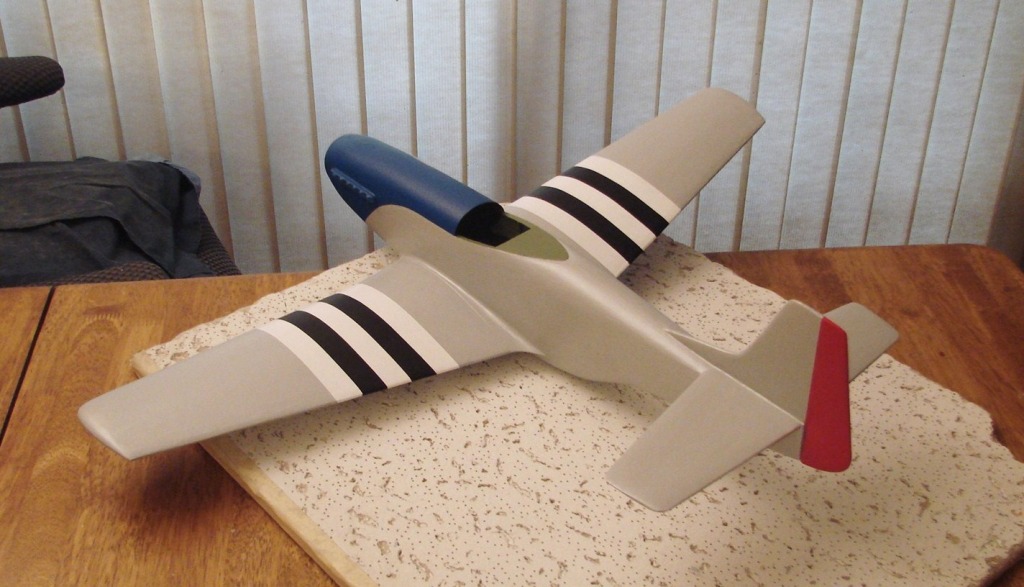
| David Duckett, Image # 18546 | 07 Jul 10 17:18 |
Masking for the invasion stripes..... |
| moostang51, Comment for image # 18532 | 06 Jul 10 14:42 |
| Are you perhaps a "mixologist"? Very nice DD. |
| David Duckett, Comment for image # 18532 | 06 Jul 10 09:50 |
| Thanks, Ken. There's no structural reason to leave the bottom unplanked, the main reason is that it's flat. That, plus I was a bit tired of adding little pieces of wood to fill in holes. Adding the extra stringers really strengthens the wing and maintains the shape. Sanding with a T-Bar sander insures the surface is flat and when covered it looks fine. And...I don't plan on hanging any ordanance on the wings so they don't need to be any stronger. Except for the very bottom of the fuselage, it's covered with heavy grade silkspan, as is the entire wing. I did not cover the tail feathers which are solid but rather used a combination of filler and dope to prepare the surfaces for painting. The stacks are indeed cast (good eye!). At this point the sheen is the result of many coats of Liquitex and it's the same gray, more or less, that I mix for these primer coats. The sheen is also influenced by having several coats of clear nitrate dope under the acrylic paint. The next photos will show what adding silver to this base color does. And thank you, again. |
| Ken Miller, Comment for image # 18532 | 06 Jul 10 08:47 |
| David, beautiful work as we all have come to expect and your builds are a tutorial for me. I am starting the same P-51 and hoping that I can come somewhere near duplicating your work if my eyes and hands hold out. I had a few questions if you have time. I noticed that you did not plank the underside of the wings and wondered why as it appears everything else is planked. I have watched and viewed all of your builds and assume you covered with heavy silkspan before primer. Also did you use a different primer since it appears to have a sheen to it and I have not noticed this in your previous builds. Did you cast the exhaust stacks? Thanks and again your work is beautiful. |
| JohnG., Comment for image # 18532 | 06 Jul 10 03:56 |
| Gonna be slick...as usual!!! |
| David Duckett, Image # 18532 | 05 Jul 10 18:02 |
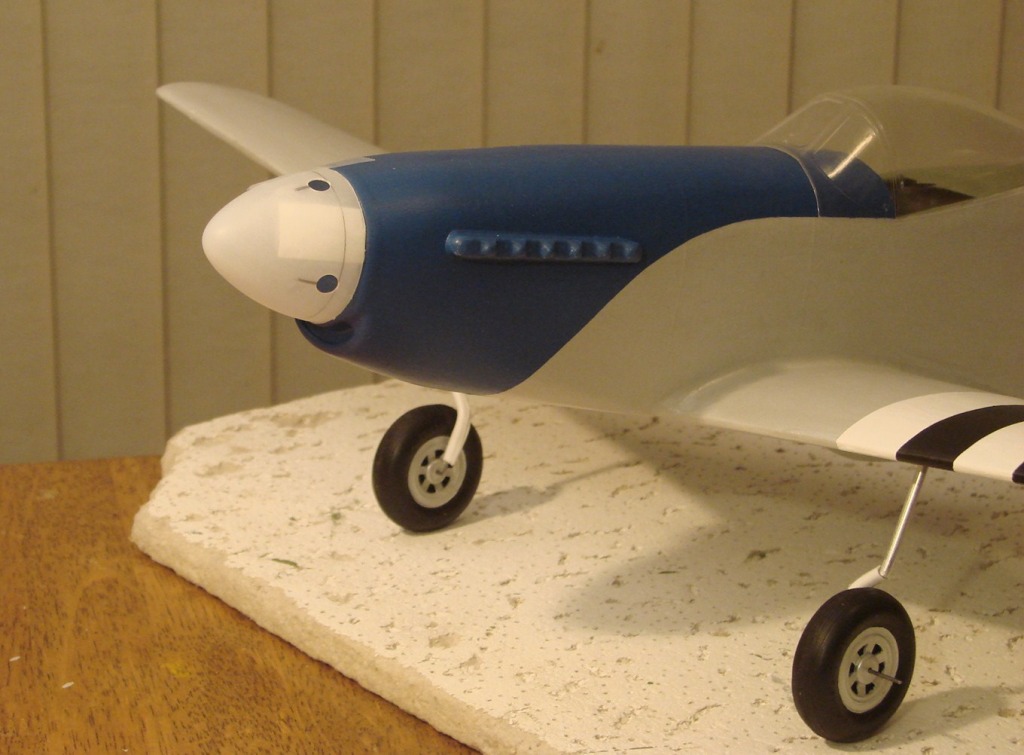
Prussian blue (L) and Cobalt blue (R), the actual color will be mostly Prussian with just a touch of Cobalt. |
| David Duckett, Image # 18531 | 05 Jul 10 18:00 |
|
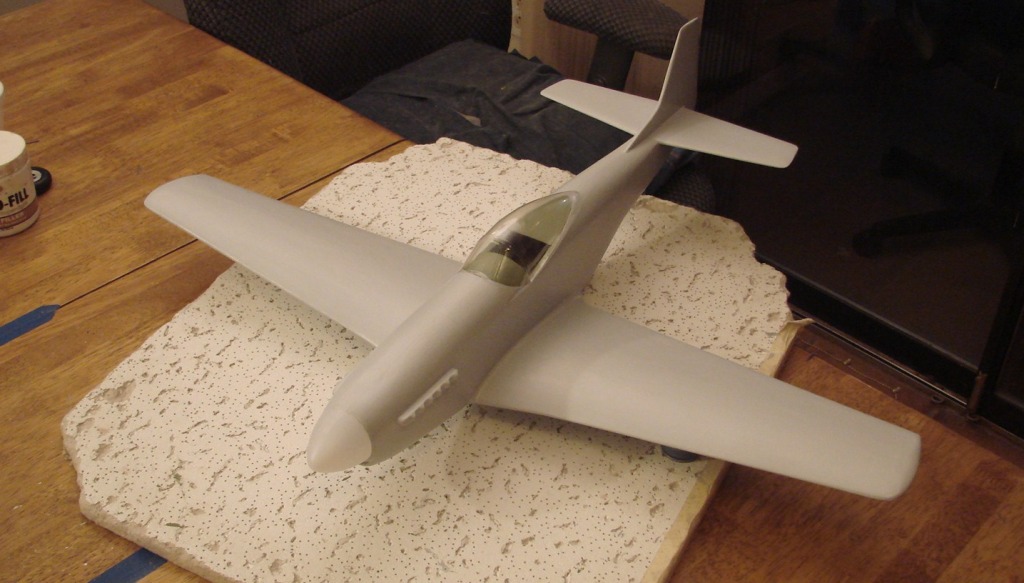
| David Duckett, Image # 18530 | 05 Jul 10 17:59 |
Base color |
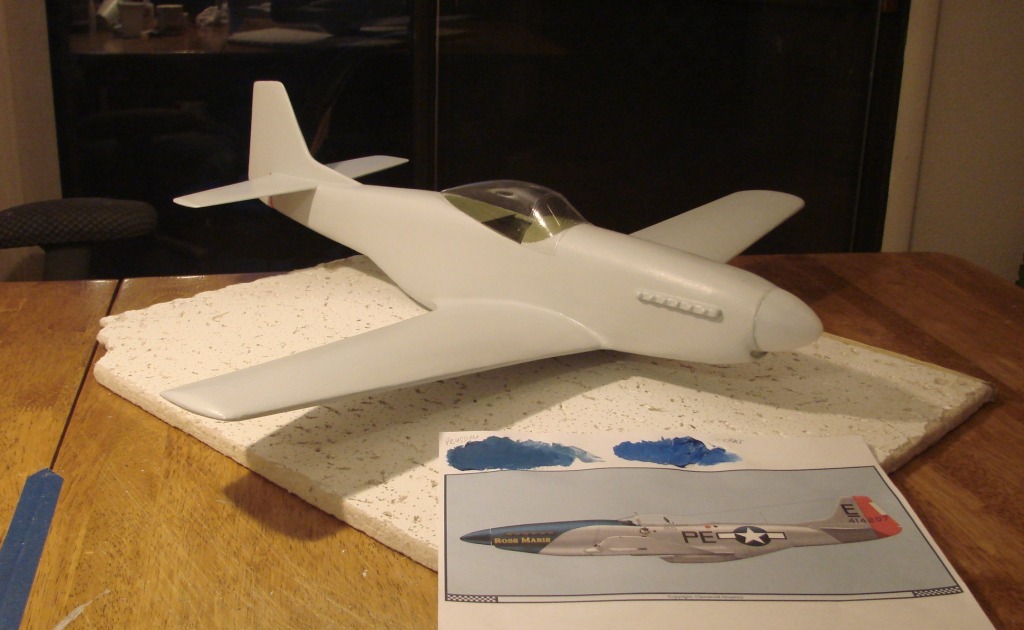
| David Duckett, Image # 18507 | 04 Jul 10 13:11 |
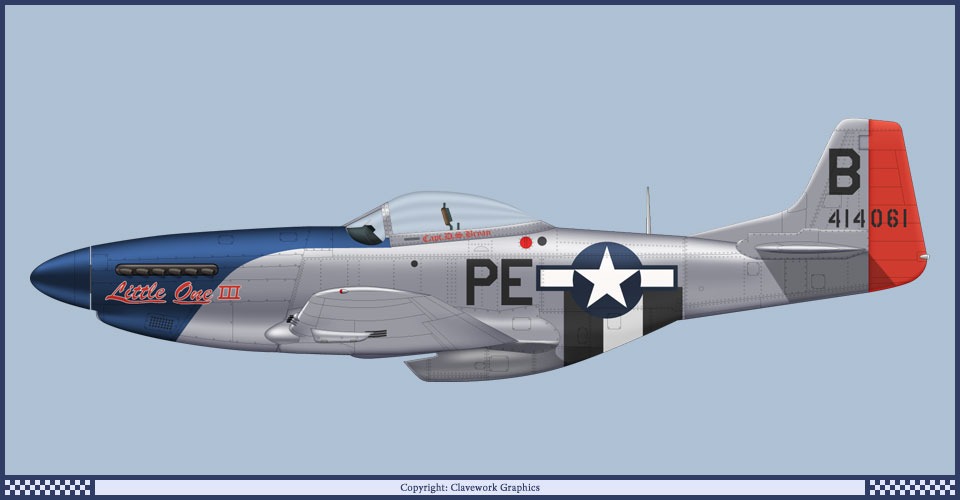
Happy 4th of July! Although I would dearly love to paint the Mustang in the green and gold of Miss Velma, there's just too much detail on it that I don't care to tackle, i.e. the checkerboard at the front and the red mustang on the rudder. This can be done without too much hassle and while it won't be excatly these numbers, the overall colors will be correct. I think this is just as classy and I really like the simple design. Mine will have full invasion stripes on the wings, just cause I like'em. |
| Creosotewind, Comment for image # 18439 | 04 Jul 10 12:53 |
| A few more things about the colors. Aluminum finished Mustangs actually had silver painted wings, not natural aluminum. The flaps were left natural aluminum. They show that on the box art, the flaps are more reflective than the wings. Medium blue spinners were used on the 352nd Fighter Group in England. One last thing, in the USAAF, the first number of the serial number found on most aircraft tails signifies the year that plane was ordered. Most P-51Ds start with a "4", it was ordered in 1944. It might have been built in 1945, but the PO was 1944. BTW, your model is looking great as usual. |
| Build Thread, Page :
<< 3 4 5 6 7 [ 8 ] 9 10 (198 posts, 20 posts per page, 10 pages in total)
|
[ < Prev ] [ Next > ] |
