|
Main Menu
User Login
View By Aircraft
Users Aircraft
|
| Build Thread, Page :
1 2 [ 3 ] 4 5 (85 posts, 20 posts per page, 5 pages in total)
|
[ < Prev ] [ Next > ] |
| deckape, Comment for image # 25557 | 23 Mar 12 00:10 | | Ahoy good job smart move also this way you can make clearence of the rubber and also get rid of the extra weight an airplanes worst enemy. good job boats |
| hjlittman, Image # 25561 | 22 Mar 12 23:29 | 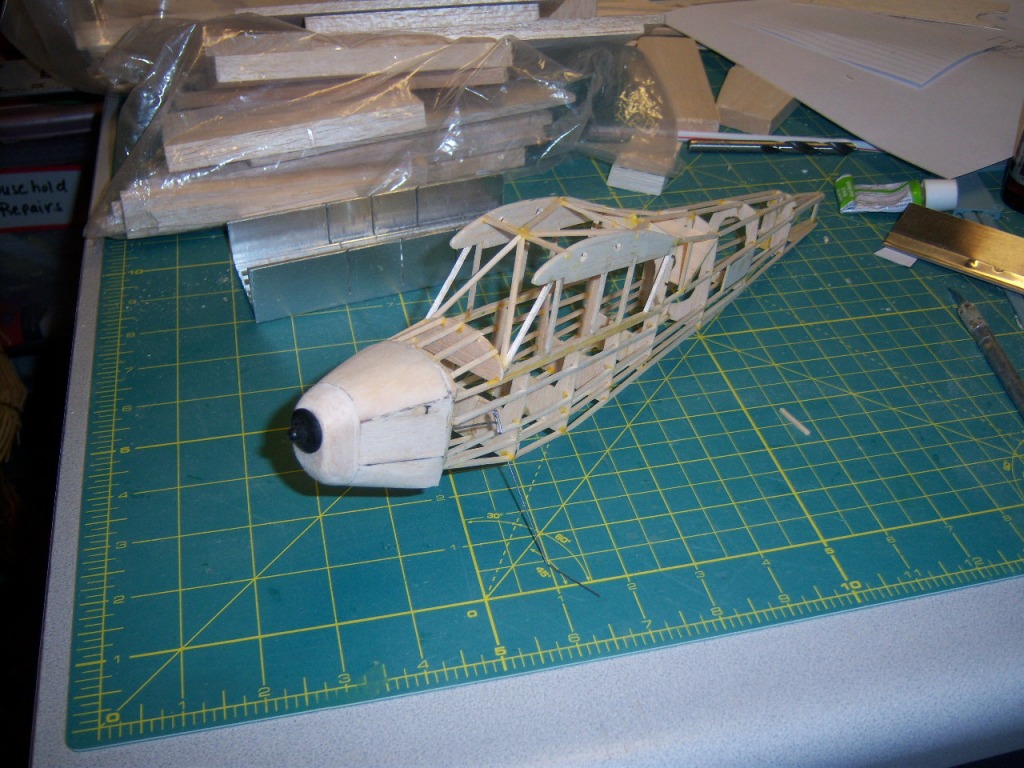
Test fit to fuselage. |
| hjlittman, Image # 25560 | 22 Mar 12 23:28 | 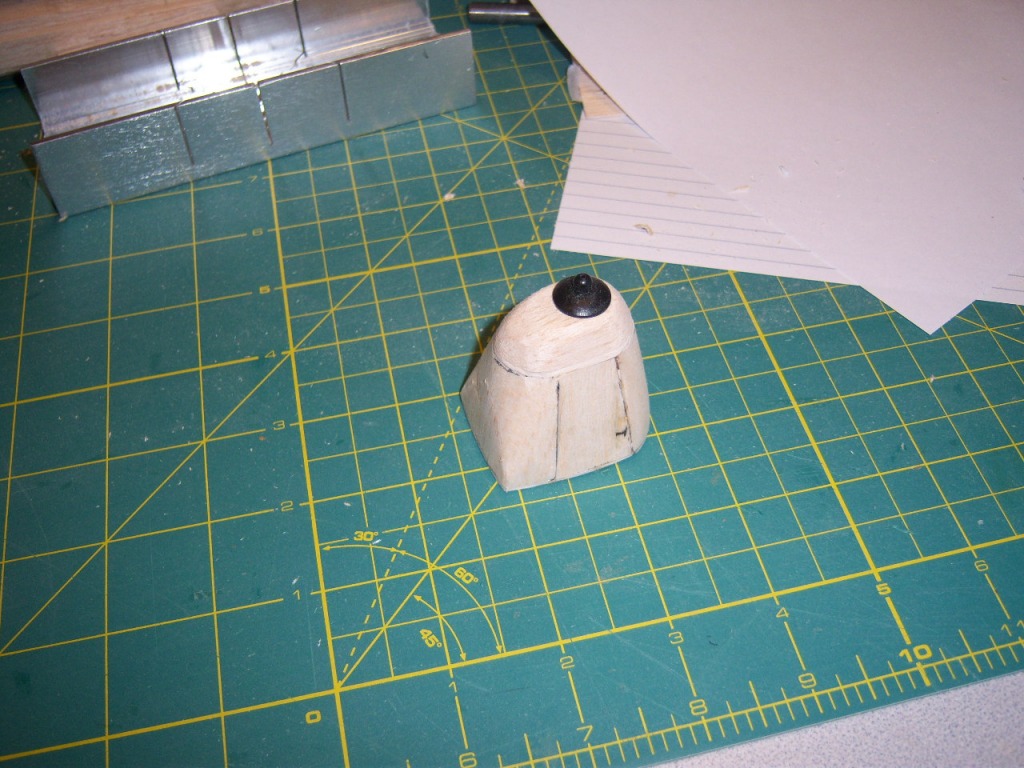
Removeable nose block stuck on with a couple of drops of "green glue" for carving and sanding. Standard Guillow's nose button. |
| hjlittman, Image # 25559 | 22 Mar 12 23:27 | 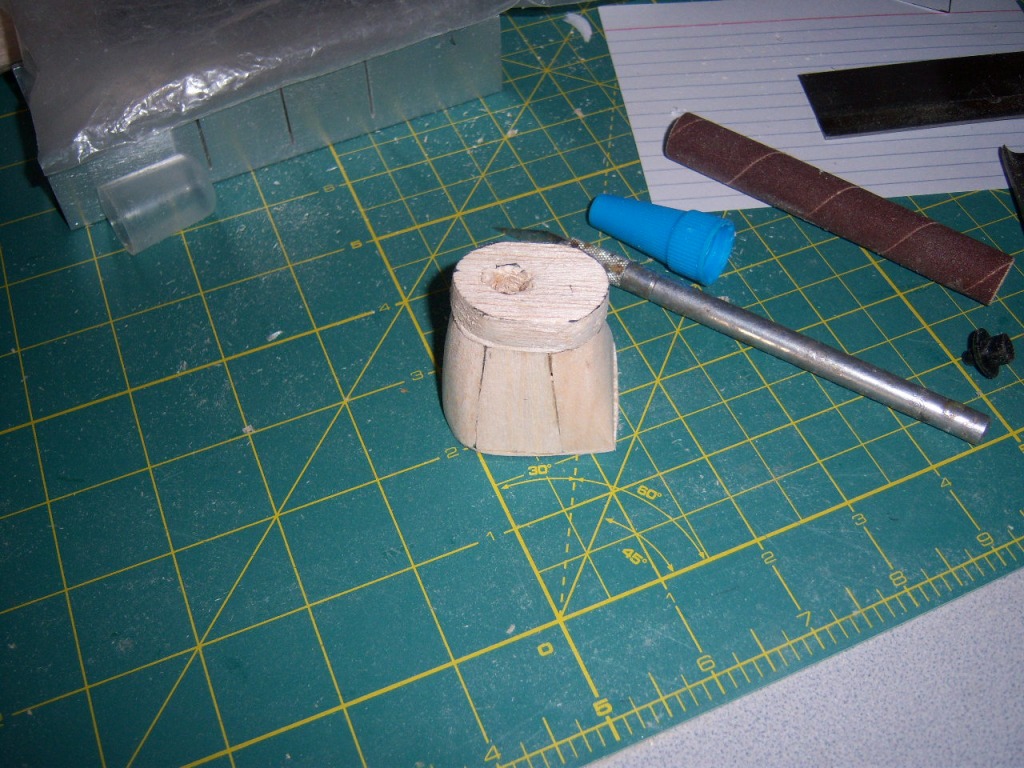
Cowl glued, carved, and rough sanded. |
| hjlittman, Image # 25558 | 22 Mar 12 23:26 | 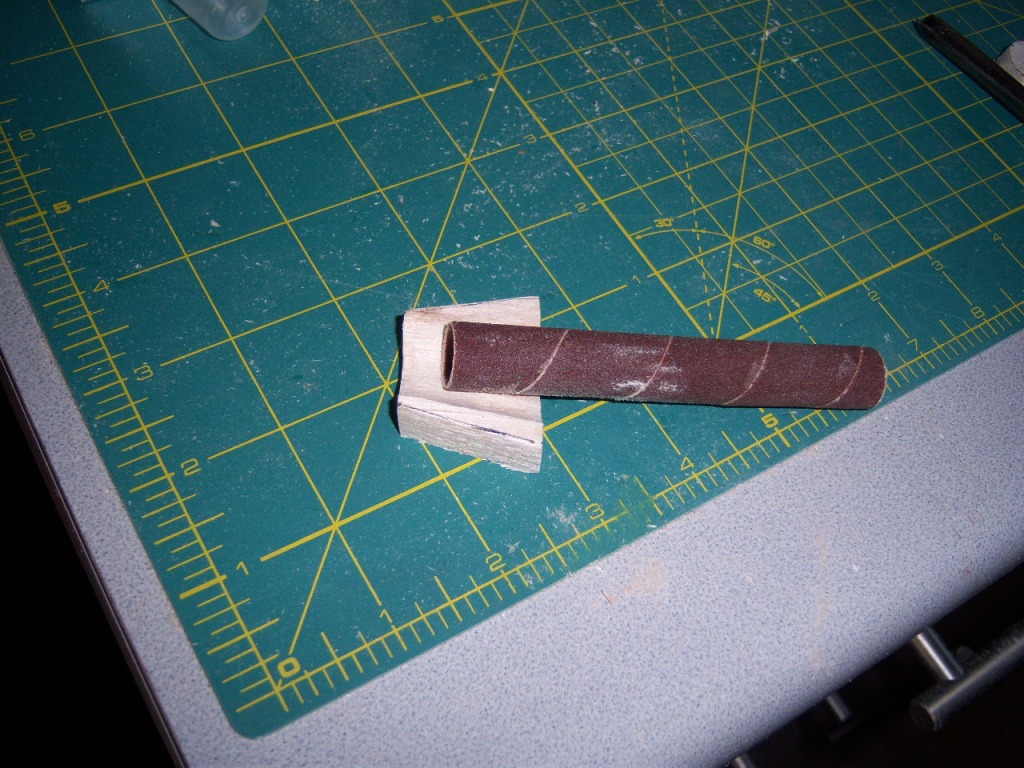
Smooth it out, Gizmo "Gri-Tube" |
| hjlittman, Image # 25557 | 22 Mar 12 23:25 | 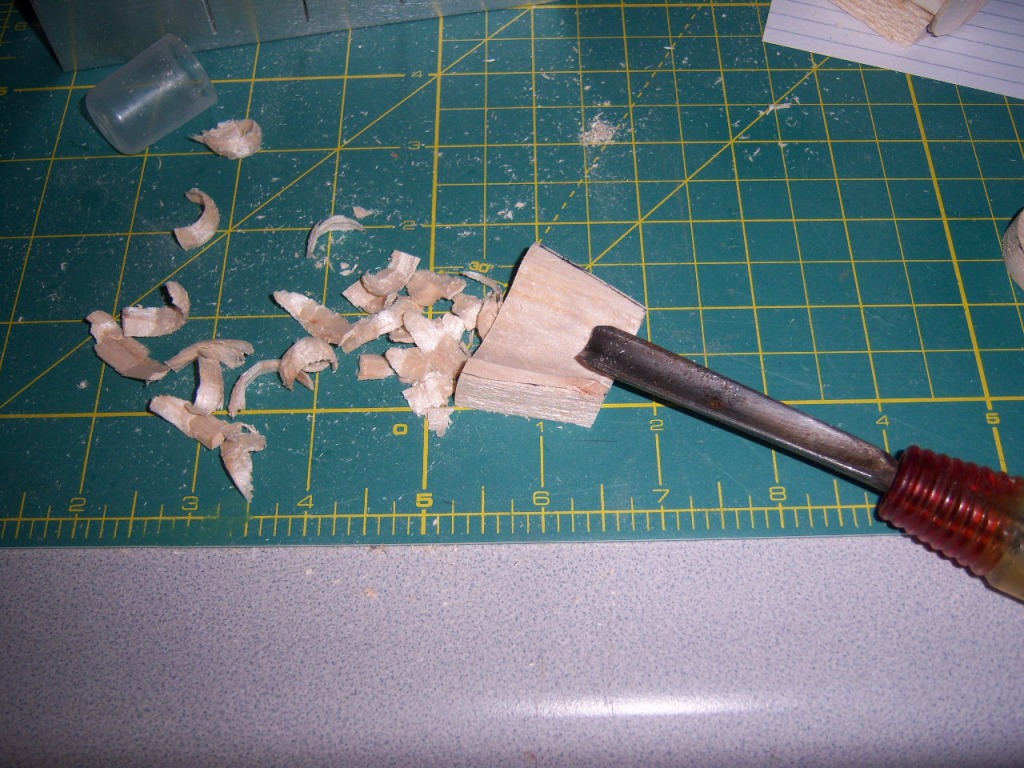
Top block hollowed for prop shaft clearance. |
| hjlittman, Image # 25556 | 22 Mar 12 23:24 | 
Stuck together |
| hjlittman, Image # 25555 | 22 Mar 12 23:23 | 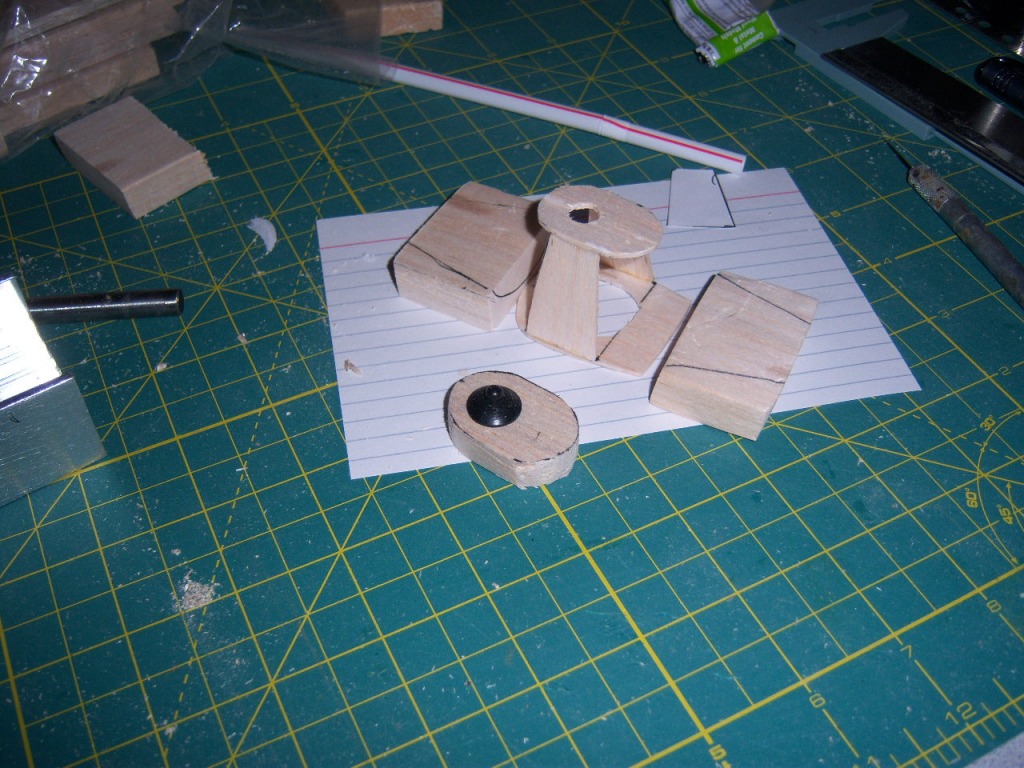
The parts |
| hjlittman, Image # 25554 | 22 Mar 12 23:22 | 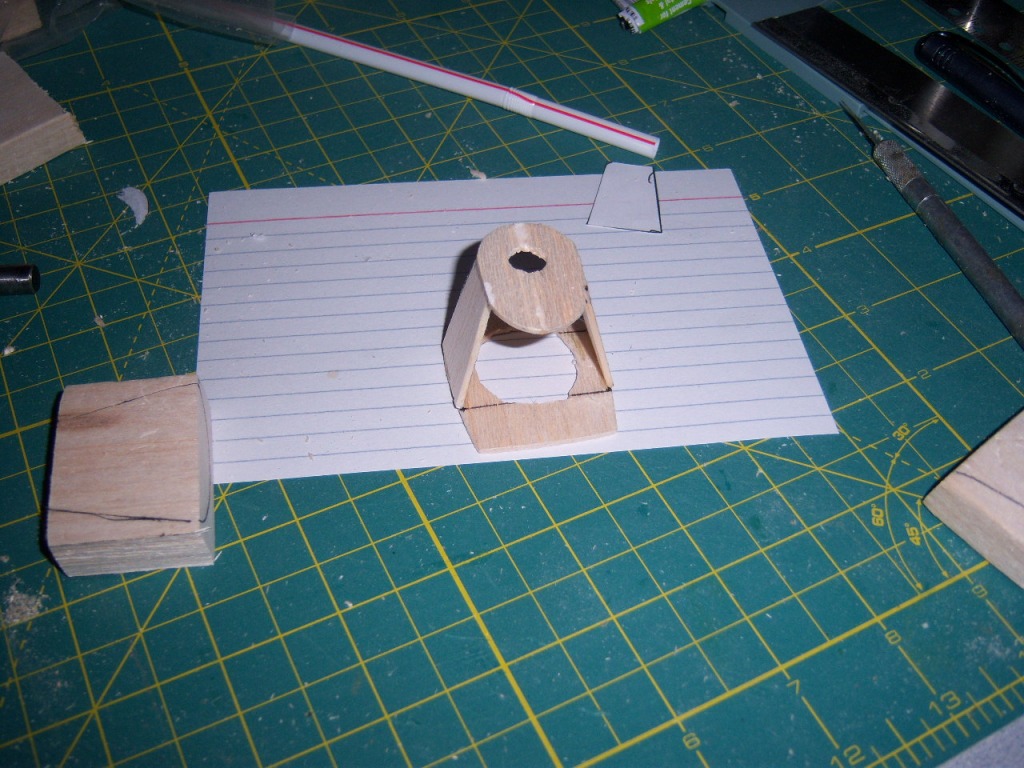
Now to make a proper J3 nose for this thing. |
| deckape, Comment for image # 25443 | 16 Mar 12 14:56 | | Great job on the bare bones clean construction, tructures like this are very delicate and time consumeing on the build. My Sterling cub got me going bughouse on one of the diecut sheets it was intirely crushed like most Sterling kits. I had to redo the fuselage formers. your doing a great job on this good work. Boats |
| hjlittman, Image # 25445 | 16 Mar 12 13:18 | 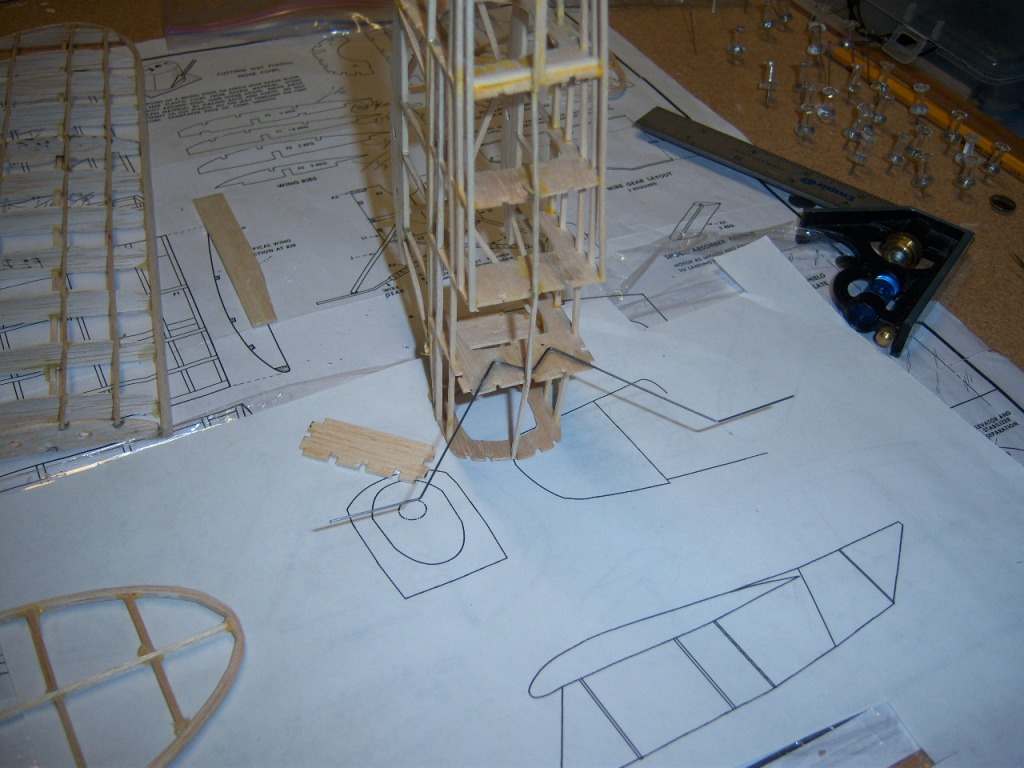
Landing gear wire C/A'd to the back of the former befrore the sandwich former is glued on. |
| hjlittman, Image # 25444 | 16 Mar 12 13:16 | 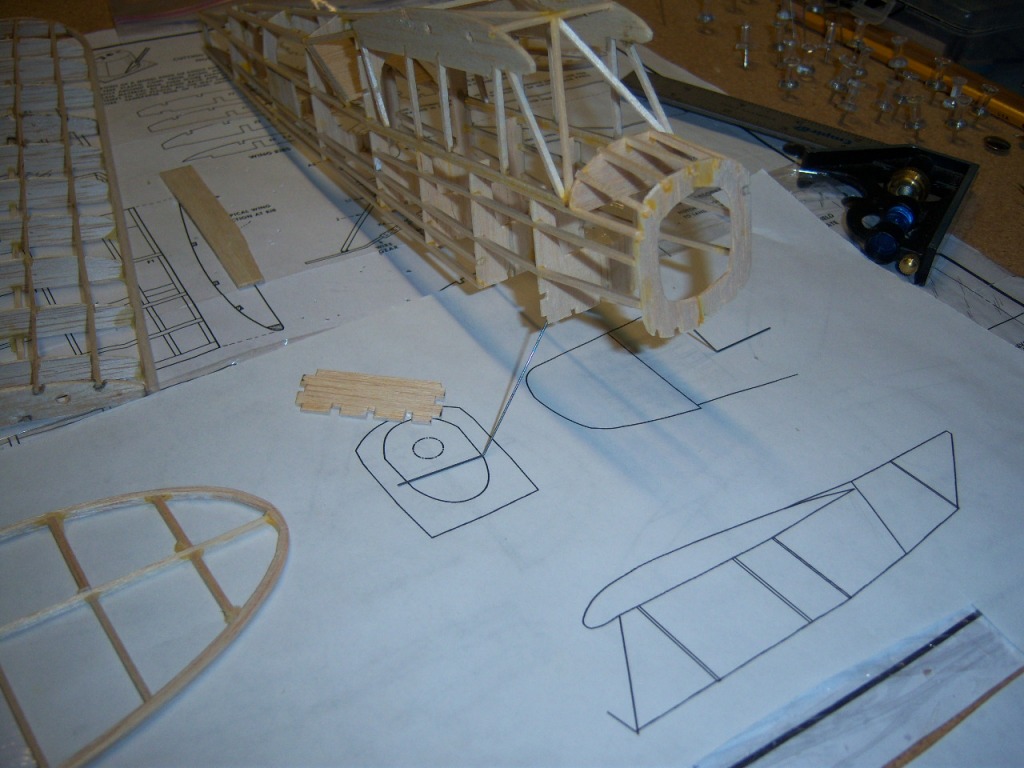
The landing gear is going on "Beaver style" with an end to end wire sanwiched between two formers not single wires glued to wooden struts like the older 300 series models. |
| hjlittman, Image # 25443 | 16 Mar 12 13:14 | 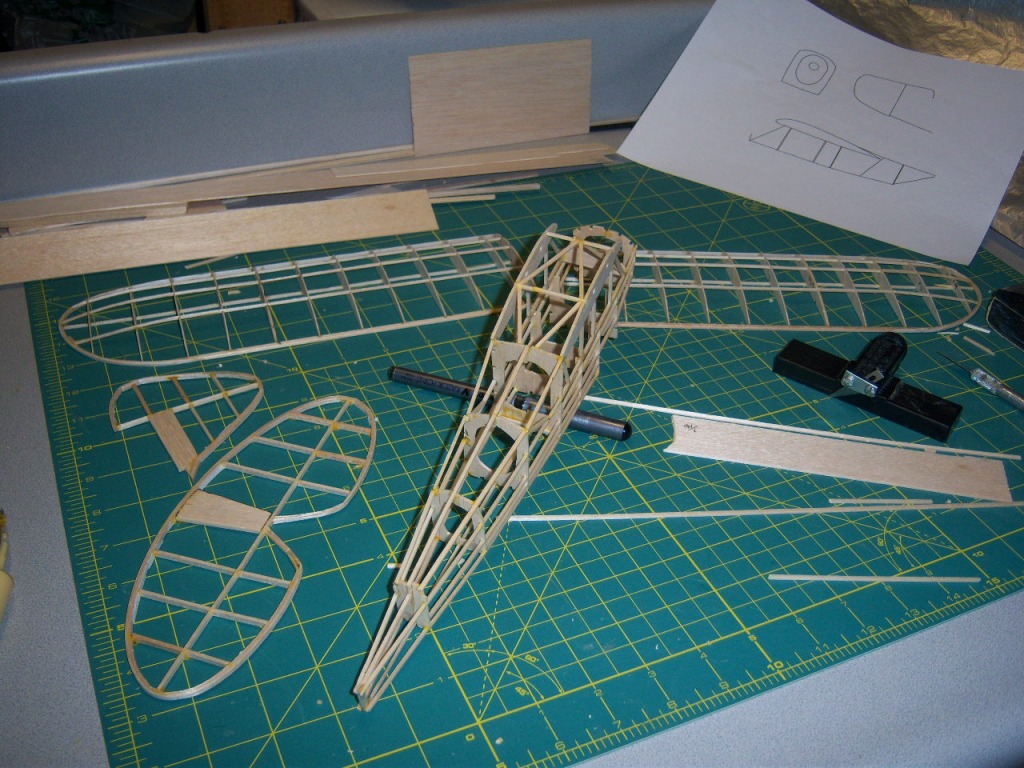
Well, the fuselage has finally got enough structure that I can handle it without breaking something. This has been one of the most maddening models I have built. I'm beginning to wonder if I no longer have the manual dexterity to build with "contest grade" (I.e. 4 to 6 pound/cu ft) wood. The fuselage is still sub 2 grams here. |
| hjlittman, Image # 25424 | 14 Mar 12 15:55 | 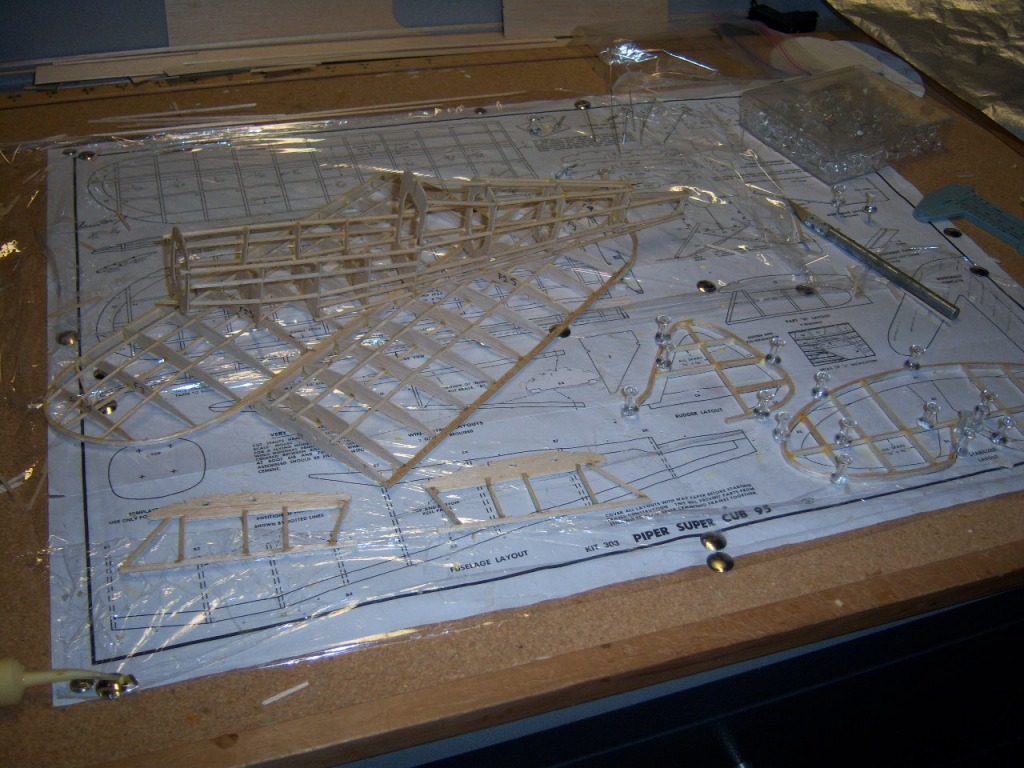
At least it's light. The wings have not been trimmed or sanded here, but are still sub two grams per panel. I'm beginning to worry about just how much rubber it will take. |
| hjlittman, Image # 25385 | 12 Mar 12 14:27 | 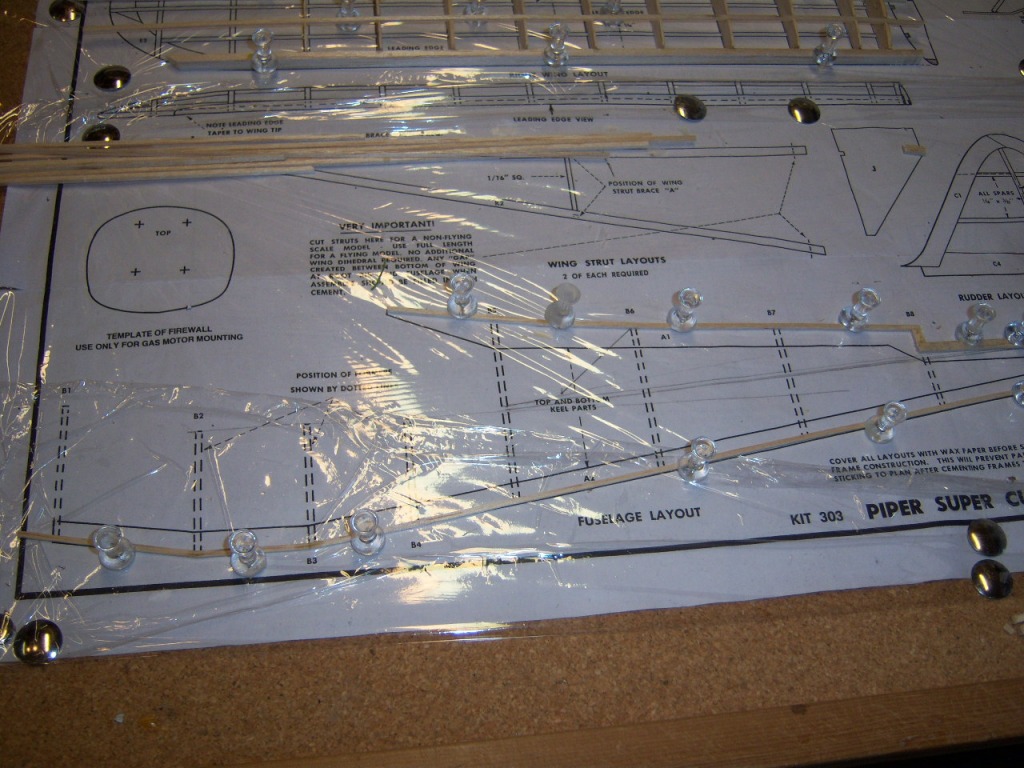
Keeping it light, I am using much thinner outlines for the fuselage. |
| hjlittman, Image # 25384 | 12 Mar 12 14:25 | 
The wing spars are also all 1/16" square. The trailing edge is 1/8" X 1/16". The leading edge is standard size, but much lighter wood. |
| hjlittman, Image # 25305 | 06 Mar 12 16:52 | 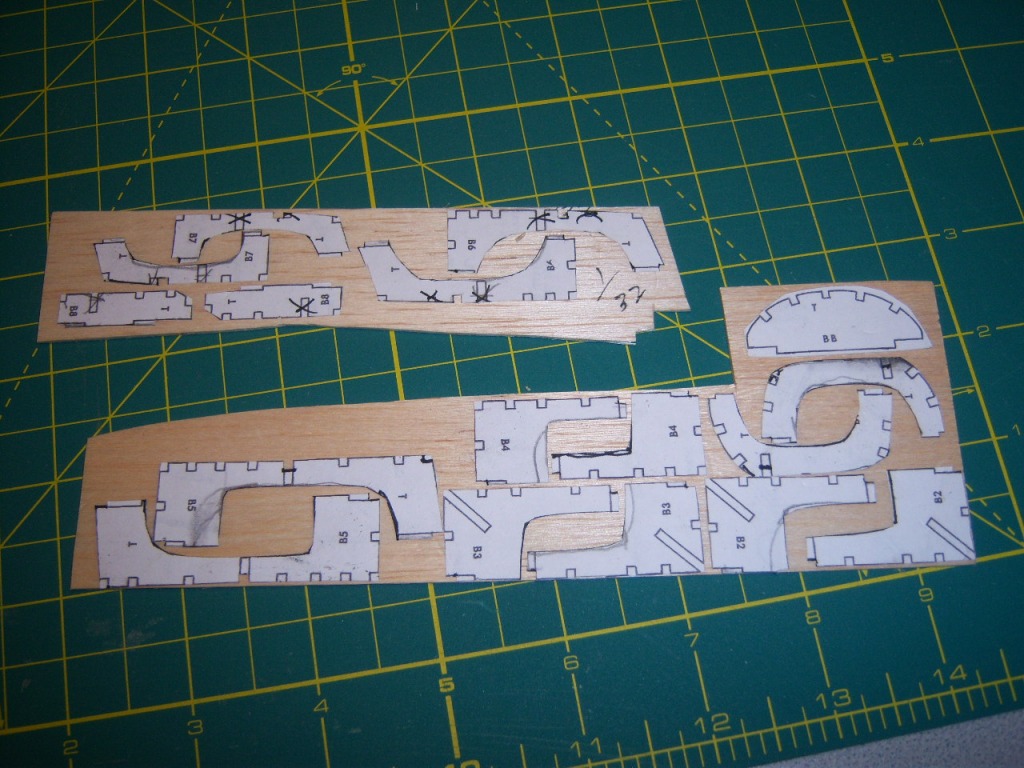
Again, printing from scans of the plans, I layed out the formers for cutting, There are some modifications, however. The formers from B1 to B5 are on 1/20" sheet and the formers from B6 aft are 1/32" sheet to keep it light. The hole for the rubber cavity has been enlarged since flying my other Piper 95 showed the need for the additional rubber room. The stringer positions from former B5 aft have been adjusted so that the stringers will be in scale positions for the L-4, and the keel notches, top, bottom, and sides have been adjusted for narrower keels, again for lightness. |
| hjlittman, Image # 25304 | 06 Mar 12 16:47 | 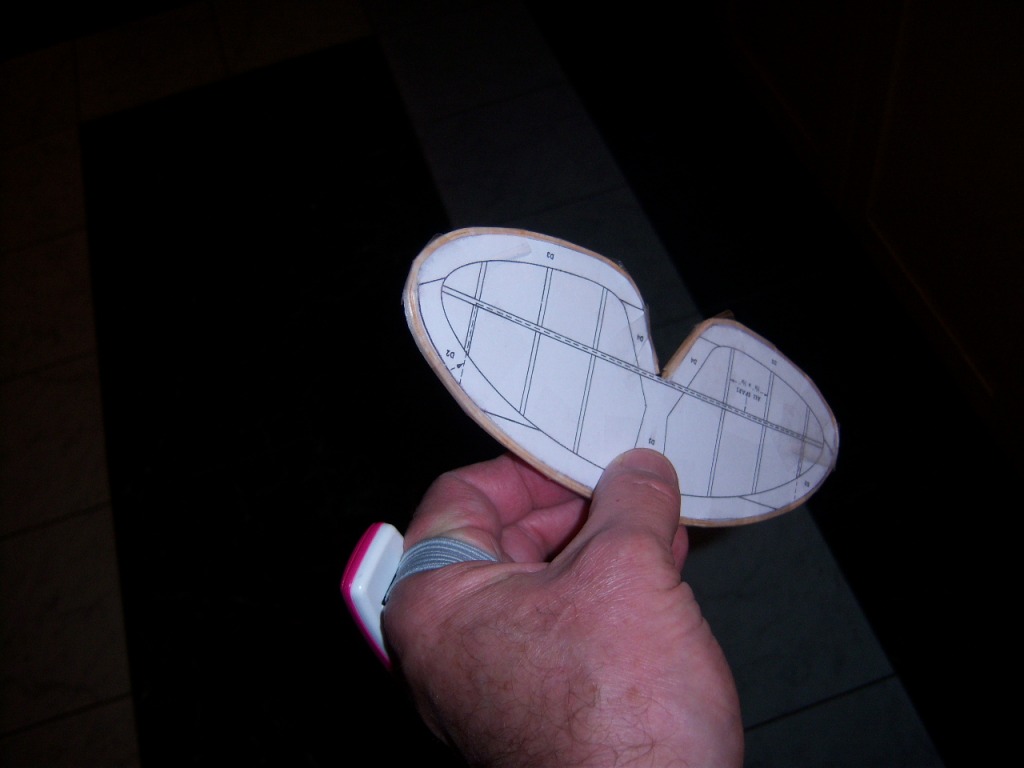
Even the stabilizer outline is no problem. |
| hjlittman, Image # 25303 | 06 Mar 12 16:46 | 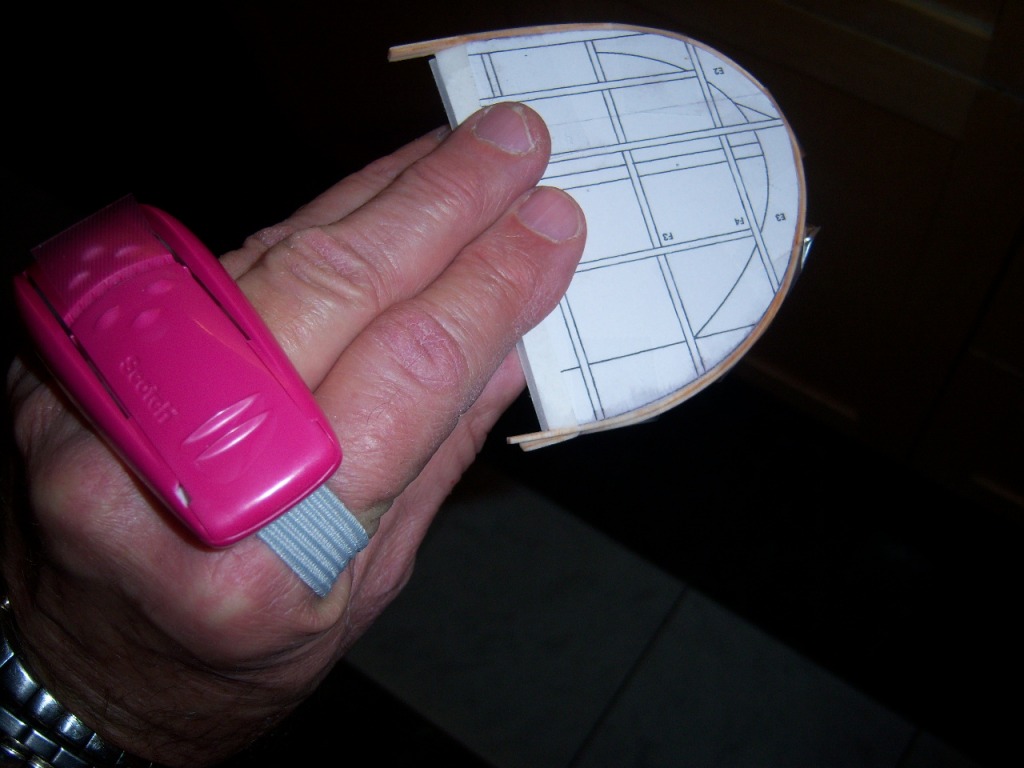
All you have to do is soak the wood strips in water, apply the glue (Original Gorilla Glue in this case), bend them around the mold, tape them down all around, and put them aside overnight to dry. You gotta love the Scotch Pre-Cut tame dispenser. My wife introduce me to that for gift wrapping and it come is real handy for this. |
| hjlittman, Image # 25302 | 06 Mar 12 16:43 | 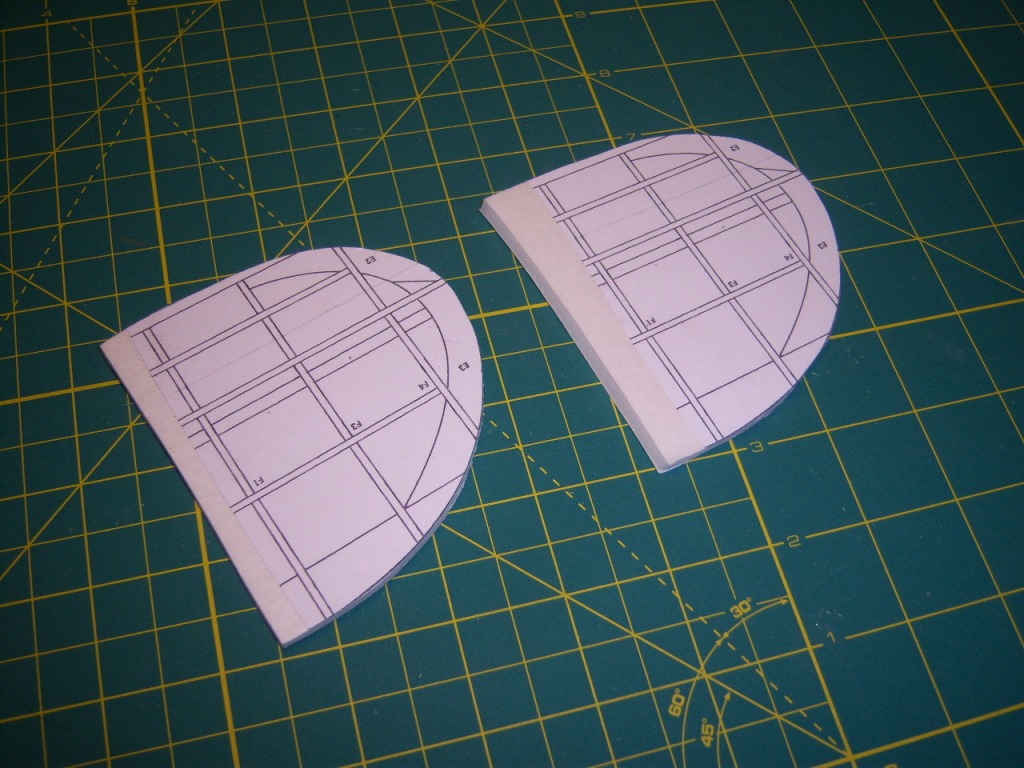
Molds for the wing tip laminations. |
| Build Thread, Page :
1 2 [ 3 ] 4 5 (85 posts, 20 posts per page, 5 pages in total)
|
[ < Prev ] [ Next > ] |
|
