|
Main Menu
User Login
View By Aircraft
Users Aircraft
|
| Build Thread, Page :
1 2 3 [ 4 ] 5 (85 posts, 20 posts per page, 5 pages in total)
|
[ < Prev ] [ Next > ] |
| hjlittman, Image # 25301 | 06 Mar 12 16:42 | 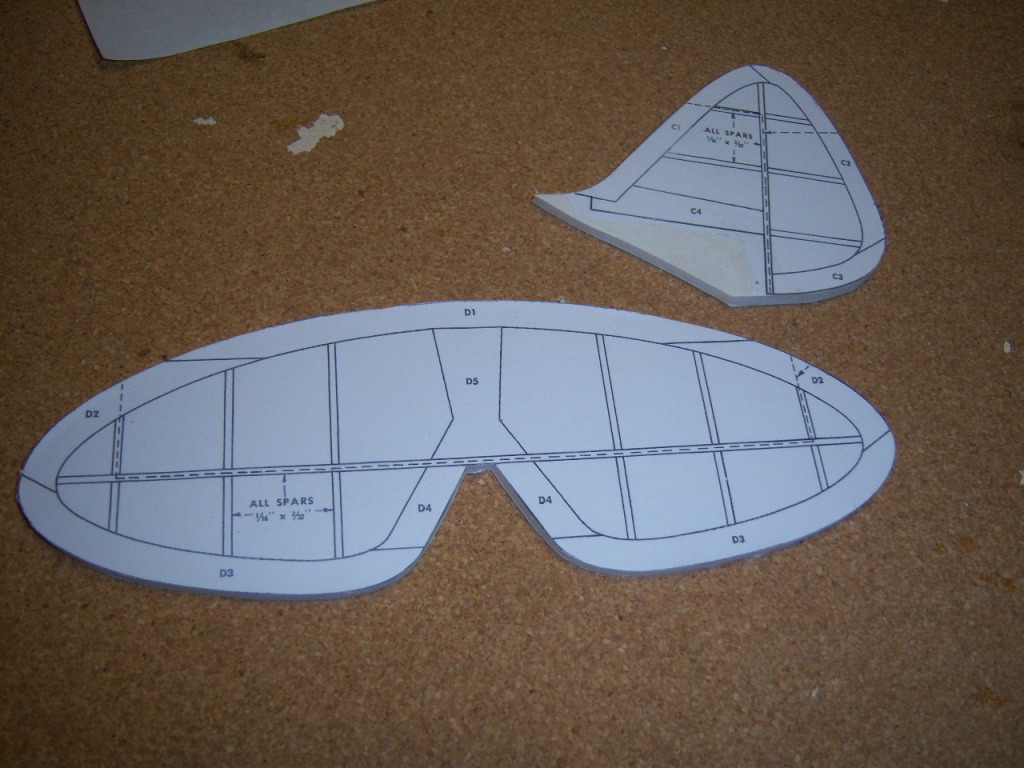
Printing scans of other parts of the plans I glued them to foam core board and cut them out to make molds for outline laminations. |
| hjlittman, Image # 25300 | 06 Mar 12 16:40 | 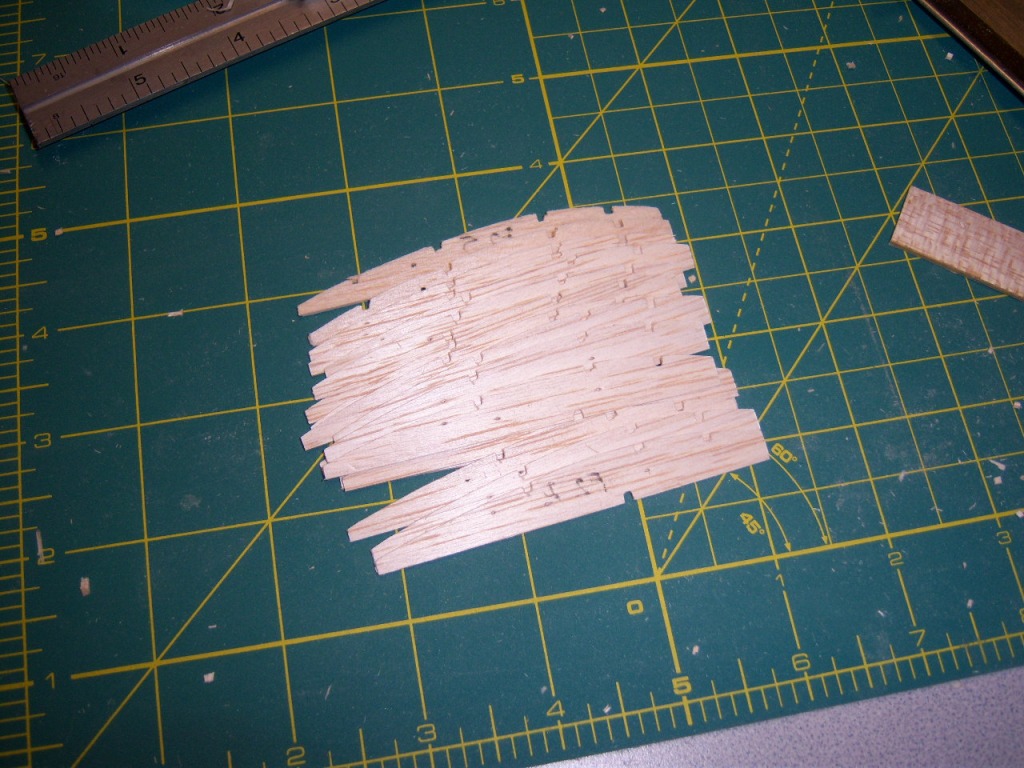
Sand the stack right to the pattern, cut the spar notches, pull the pins and you have a stack of 20 identical ribs. Then I cut the four smaller tip ribs. The whole process to make 24 ribs took less than 1/2 hour. |
| hjlittman, Image # 25299 | 06 Mar 12 16:38 | 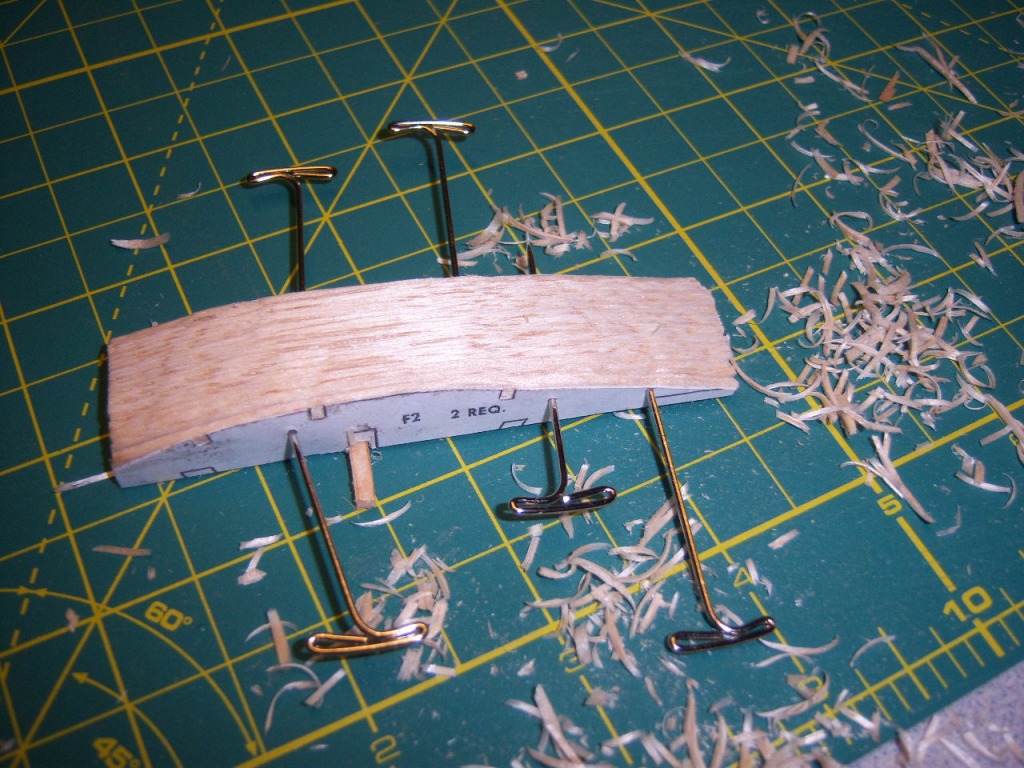
Cut down the rear of the stack to the pattern. |
| hjlittman, Image # 25298 | 06 Mar 12 16:37 | 
I turned the stack over and using a fresh blade in my Xacto knife I cut the front curve of the stack down to the pattern. If I had a miniture belt sander this would have gone a lot quicker. |
| hjlittman, Image # 25297 | 06 Mar 12 16:35 | 
Using my razor saw and a "Cleveland notcher" I cut the bottom spar notch and inserted a piece of spar stock to help keep the stack in alignment. |
| hjlittman, Image # 25296 | 06 Mar 12 16:34 | 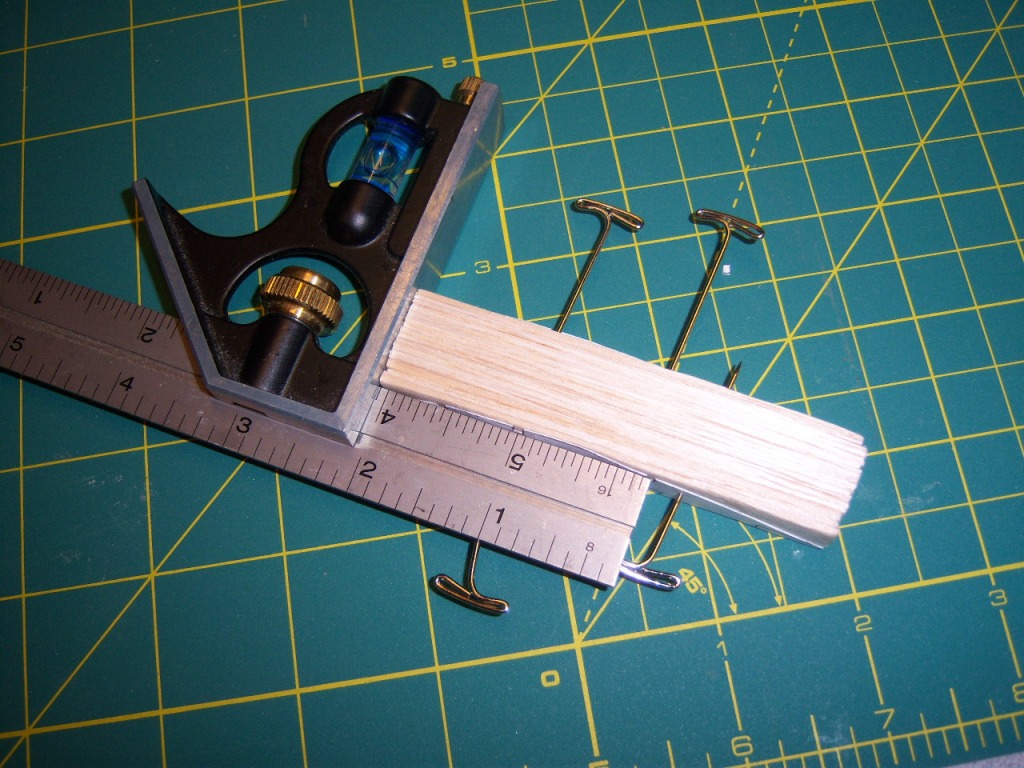
The rib blanks were stacked evenly and stuck together with some new, sharp, pins. If I had needed more ribs I would have glued them together with Testor's "green glue". That way, when you are done shaping and sanding you can take them apart with acetone. |
| hjlittman, Image # 25295 | 06 Mar 12 16:31 | 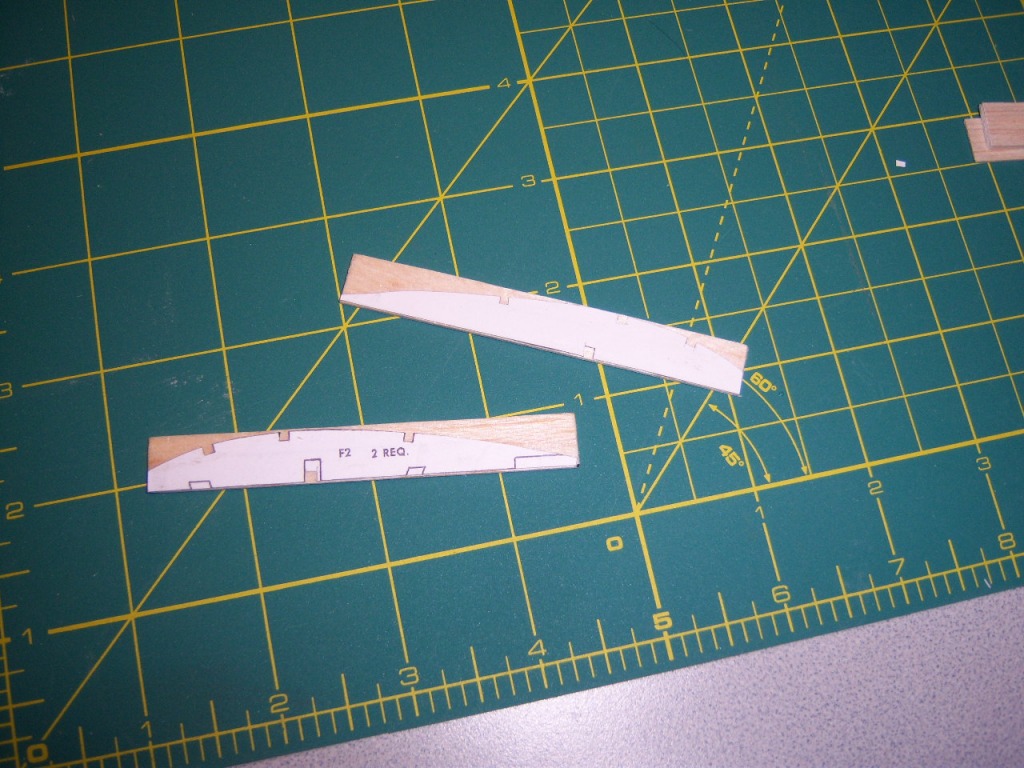
I use the stacked rib method for cutting ribs on constant chord wings. The rib patterns were cut out from scans of the plans, glued to heavy card stock, cut out, and glued to the rib blanks that would be on the ends of the rib stack. |
| hjlittman, Image # 25294 | 06 Mar 12 16:29 | 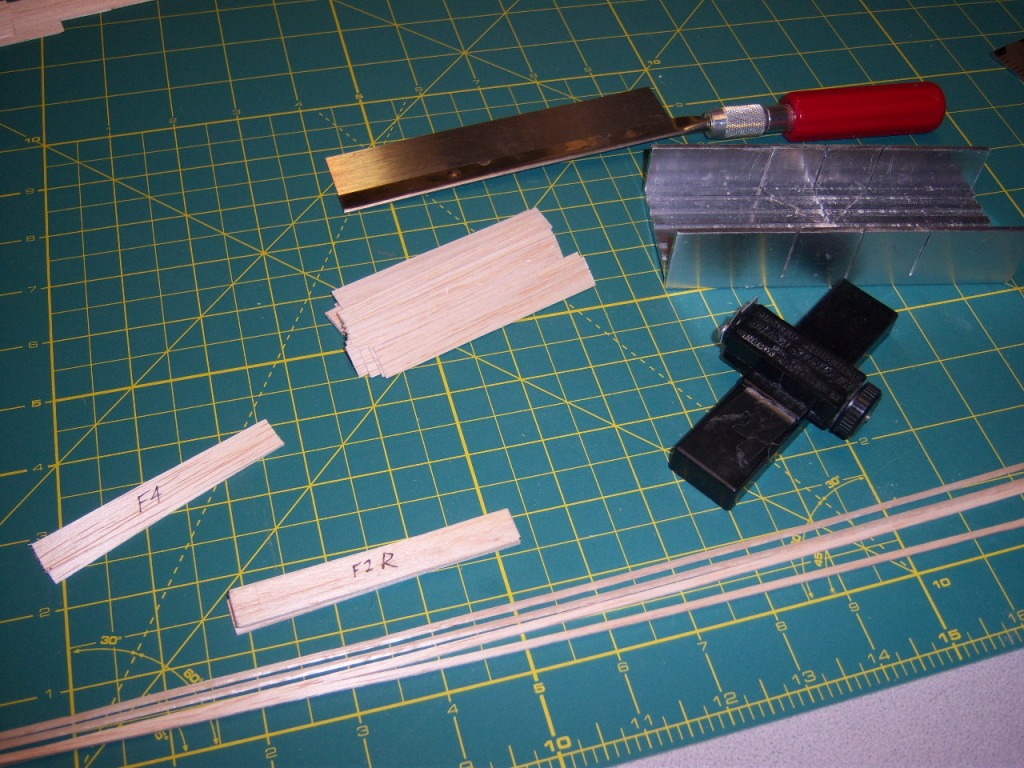
Since I am building "scratch" , from the plans, I need to cut out some parts. Using my balsa stripper and miter box I cut out 24 rib blanks. Since I am lightening the structure I cut only the root ribs and strut attachment ribs of 1/16" sheet. All the rest are 1/32" sheet |
| hjlittman, Image # 25293 | 06 Mar 12 16:26 | 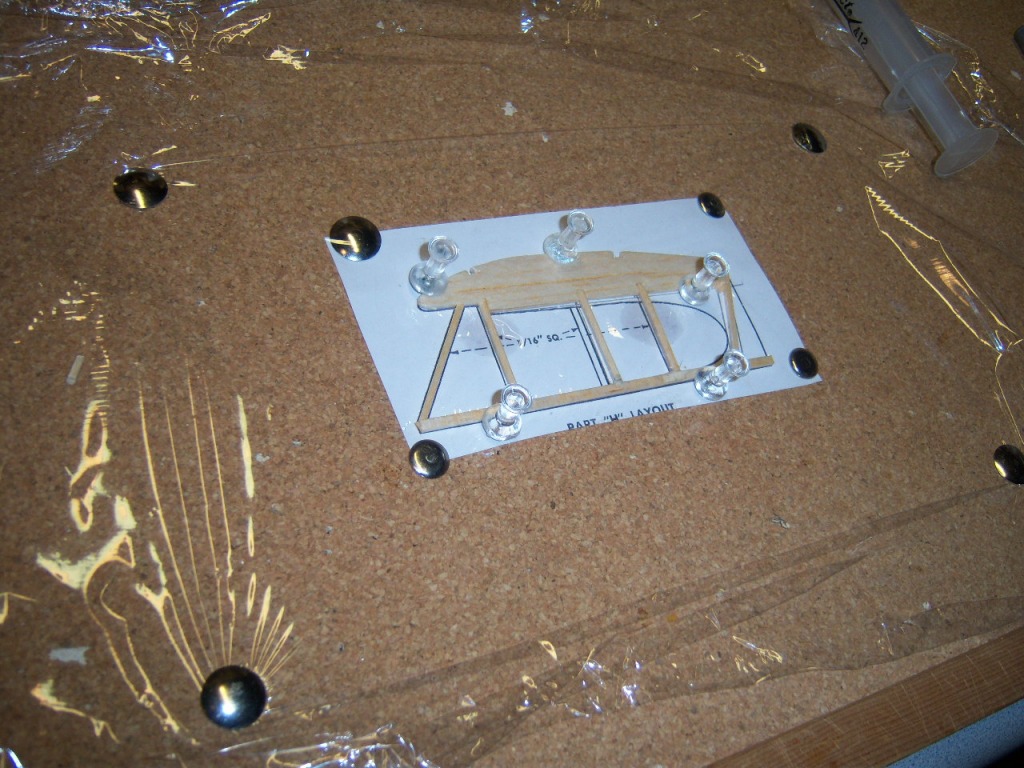
Building the redrawn cabin sides. |
| hjlittman, Image # 25292 | 06 Mar 12 16:26 | 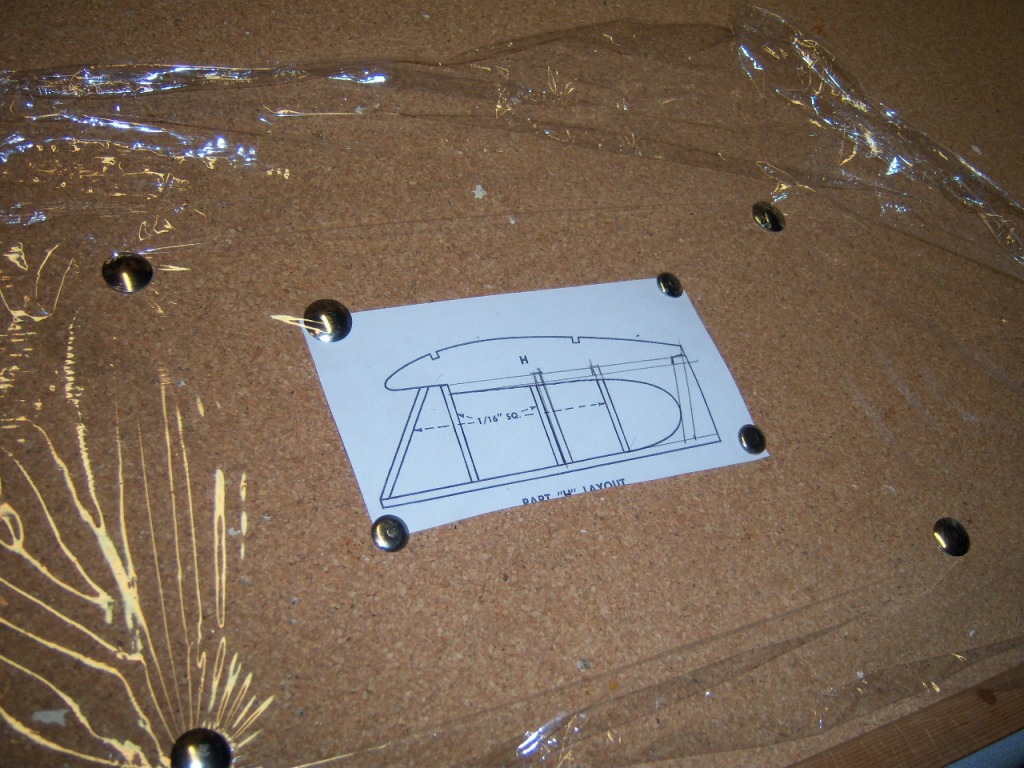
The next thing was to re-draw the cabin side, part "H", so that I would have the L-4 greenhouse cabin. |
| hjlittman, Image # 25291 | 06 Mar 12 16:24 | 
I'm building another 300 Series Super Cub, but this time it's kit bashed into an L-4 Grasshopper for the Blacksheep Squadron "Grasshopper Challenge" on March 17th. Actually, any plane that had an "L" designation is eligible, and my Air Force Beaver is Ok (L-20), I thought this one would fly even better. I found reliable drawings of the L-4, traced the critical sections, the nose and greenhouse cabin, enlarged them to the proper scale, printed them on tracing paper, and layed them over the Guillow's plans to see if the kit bash was possible. The nose ended up with exactly the same length (moment) so I went ahead with my project. |
| hjlittman, Image # 23958 | 31 Oct 11 12:33 | 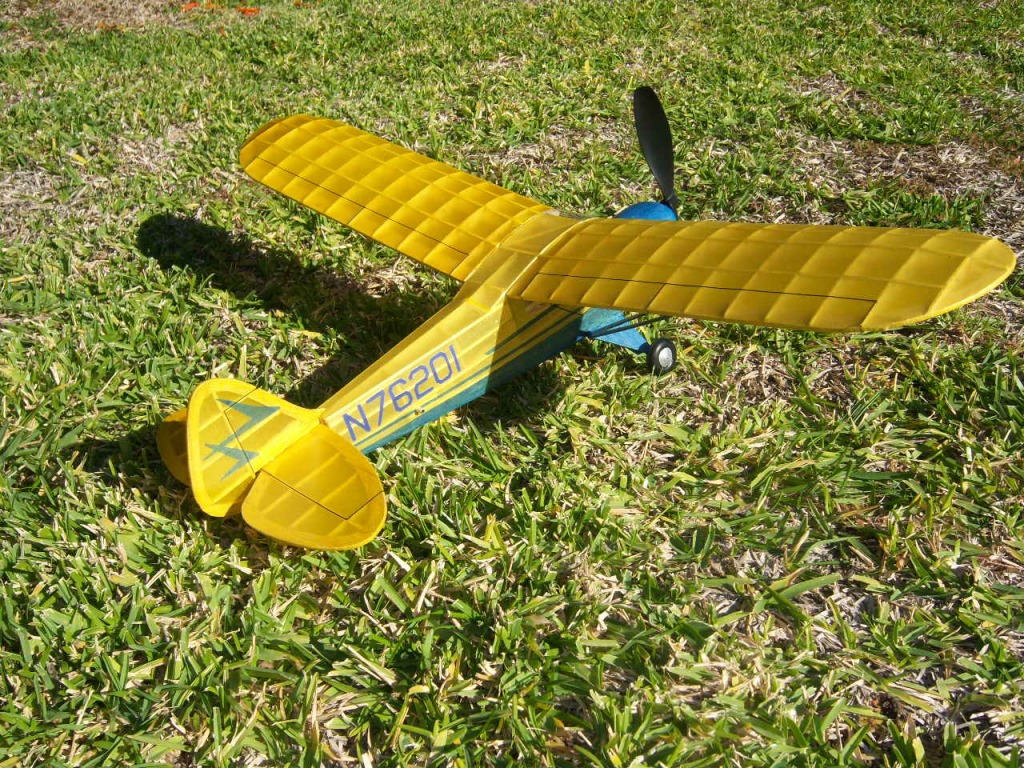
Unfortunately, they mowed all the tall grass around the edge of the park, so I haven't found a safe place to test glide and trim it yet. |
| TJH, Comment for image # 23949 | 31 Oct 11 06:44 | | Excellent, looks like it could be a good flyer as well! |
| frwyflyer, Comment for image # 23949 | 30 Oct 11 18:41 | | WOW!!! VERY VERY NICE!! |
| hjlittman, Image # 23949 | 30 Oct 11 18:21 | 
|
| hjlittman, Comment for image # 23931 | 29 Oct 11 07:52 | | Uhu purple glue stick. |
| pfinn, Comment for image # 23931 | 28 Oct 11 23:12 | | Very nice! Stretched and adhered with? |
| poppy, Comment for image # 23930 | 28 Oct 11 17:42 | | Neat! |
| hjlittman, Image # 23931 | 28 Oct 11 12:55 | 
Here is the plastic cowl being covered with a single piece of wet Esaki tissue pulled and stretched around it. The excess is trimmed with dry. |
| hjlittman, Image # 23930 | 28 Oct 11 12:54 | 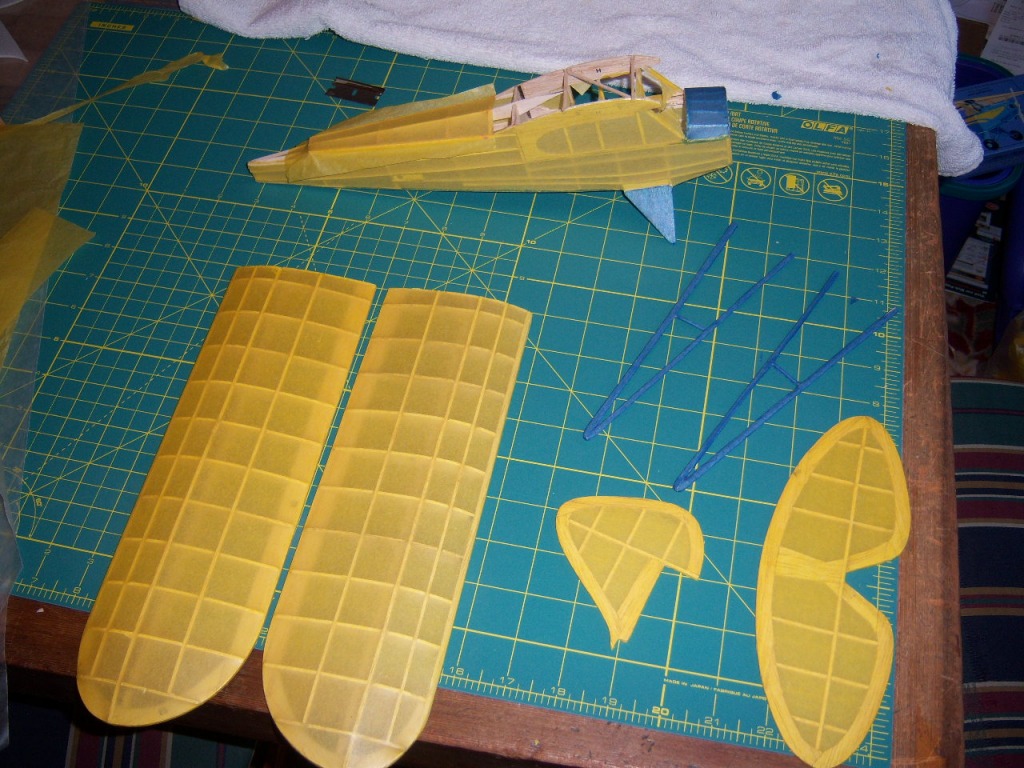
Frames being covered, wet, with Esaki tissue. The color scheme is right off the box cover. The bottom of the fuselage is covered with blue tissue. The blue side flashes will be added, dry, as trim after the fuselage has it's first Krylon misting. The blue tissue would turn green with the yellow under it if applied wet. Then the fuselage will get another Krylon misting. Yes, the struts are covered with tissue. |
| Build Thread, Page :
1 2 3 [ 4 ] 5 (85 posts, 20 posts per page, 5 pages in total)
|
[ < Prev ] [ Next > ] |
|
