| Build Thread, Page :
<< 11 12 13 14 15 [ 16 ] 17 18 19 (368 posts, 20 posts per page, 19 pages in total)
|
[ < Prev ] [ Next > ] |
| Barnstormer, Image # 5847 | 18 Jan 08 20:31 |

Hey Poppy is this one. |
| Barnstormer, Image # 5795 | 14 Jan 08 19:29 |
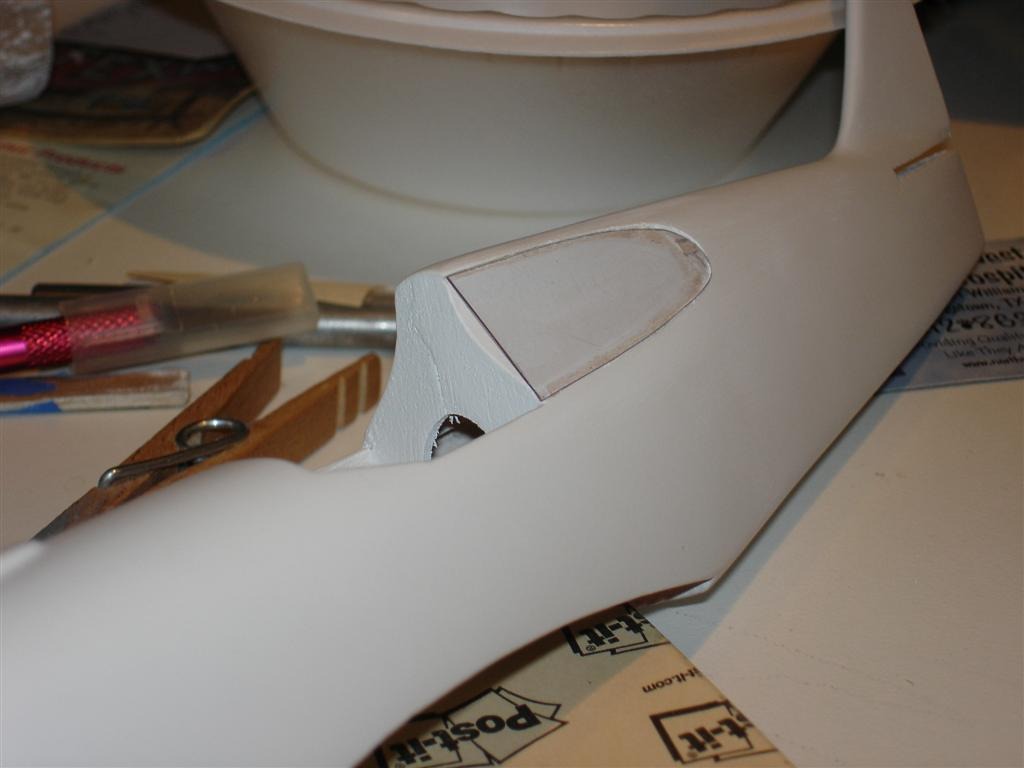
Test fit for the rear canopy. |
| Barnstormer, Image # 5794 | 14 Jan 08 19:28 |
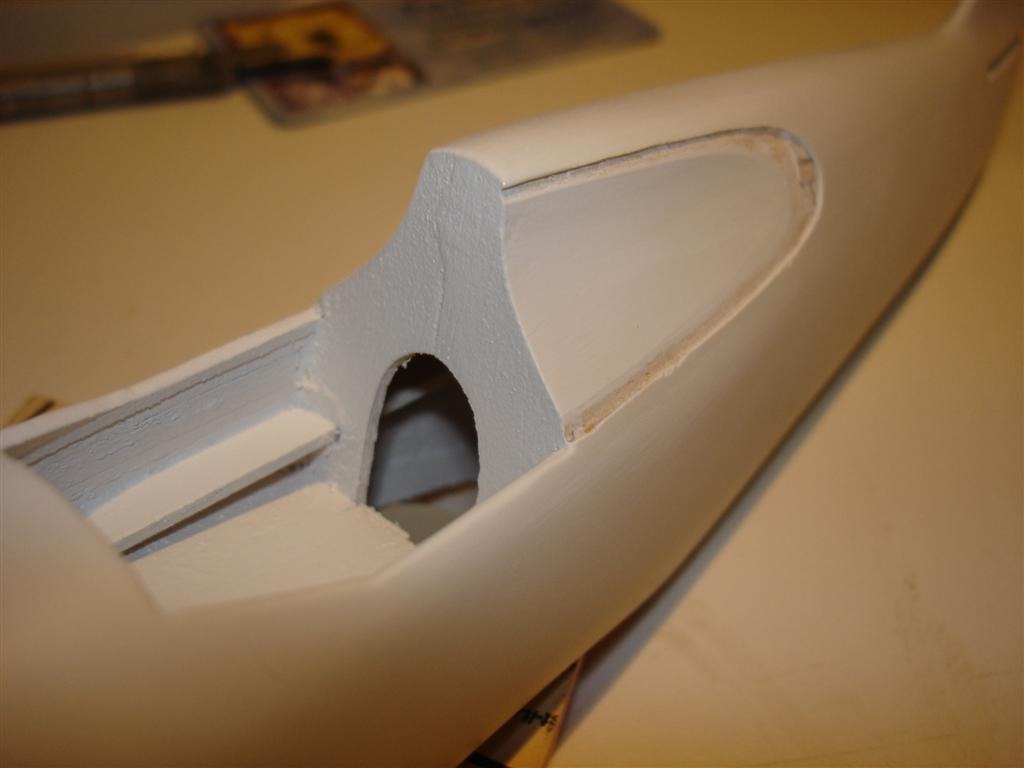
Working on the recess for the rear canopy glass |
| Barnstormer, Comment for image # 5615 | 11 Jan 08 18:04 |
| Sounds great SW Looking forward to see your build. |
| sweetwillie, Comment for image # 5085 | 11 Jan 08 16:53 |
| I have several plastic model kits that are all new kits, with one exception, a Hasegawa 1/32 Spitfire Mk.vb that I've started building but stopped, because my old eyes just weren't good enough. that I'd like to trade for balsa models, anyone interested. |
| sweetwillie, Comment for image # 5085 | 11 Jan 08 16:33 |
| Thanks for the info, Steve, I've heard something about pre-shrinking the wood first, is there any truth to that? |
| SteveM, Comment for image # 5085 | 11 Jan 08 16:17 |
| I cut my own stringers from 1/16" x 3" sheet using the Master Airscrew device. At first I made a huge mess of things but the last batch I did turned out very well.
The balsa you choose for stringers should have a straight grain and be stiff/strong. Good wood selection will result in less curl and a stringer that you are less likely to put a finger through. If you have access to a LHS it is far better to hand select your wood than be at the mercy of an internet supply house (it is cheaper in the end and you'll be happier with the results).
When setting up your cutter first set the blade close to the desired width then take a slice off of a scrap of balsa (it only needs to be an inch or two long). Adjust the blade as needed to get the desired width. For 1/16" square stringers I just eyeball for squareness.
When you cut you want to make sure to hold the balsa sheet firmly in place and apply pressure to the balsa stripper to keep in down flat on the table and flat against the edge of the balsa sheet. The razor blade will want to follow the grain so you must keep firm pressure while cutting to keep a consistent width. I tend to put my left hand flat on the sheet next to where the balsa stripper is, make a slice of about 6" then readjust to get my left hand back next to the stripper. Every so often I check the width of the strips to make sure they are within specifications.
Even if you waste a sheet or two of balsa before you get good at it, the loss is well worth the savings of cutting your own strip stock. I figure it costs me about $0.025 per 36" length of 1/16" square stringer. |
| sweetwillie, Comment for image # 5085 | 11 Jan 08 15:38 |
| Along with the model kit, I ordered a bundle of 1/16" x3" sheets and a Master Airscrew Splitter, so I can make my own stringers, but I've never done it before. Any tips? Like I've heard that they have a tendency to curl when cut. How do you prevent that and anything else that anyone out there can send my way. I also plan to try my first balsa skin like you're doing, I'm a daredevil. |
| sweetwillie, Comment for image # 5615 | 11 Jan 08 15:29 |
| Barney, I just ordered this kit, so I'll be watching your progress with great interest. If I can do this good, I'll be pleased. |
| Jedi, Comment for image # 5726 | 11 Jan 08 07:27 |
| I second that...wow looks great!!1 |
| poppy, Comment for image # 5726 | 11 Jan 08 04:54 |
| I love it!! Looks like it came out of a mold. |
| Barnstormer, Image # 5726 | 10 Jan 08 20:11 |
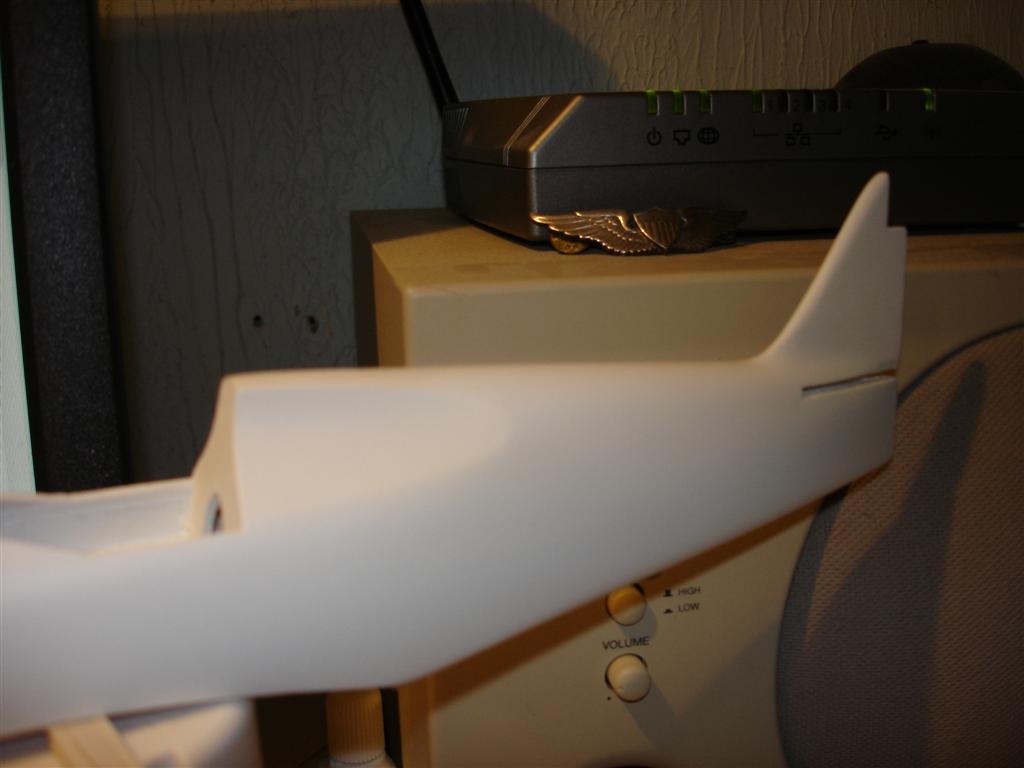
I know progress is slow, but the P-40 has finally begun to sprout some tail feathers. I hope I will have some more time to work on my hobby now the busy time of the year is over, but this thing sure has been fun and challenging so far. |
| poppy, Comment for image # 5615 | 05 Jan 08 06:01 |
| Not a ripple in sight. Beautiful work! |
| poppy, Comment for image # 5614 | 05 Jan 08 05:59 |
| Oh yes, this do look nice!!! Smooth as a baby's behind. |
| Barnstormer, Image # 5615 | 05 Jan 08 01:12 |

I'm finally back to making some progress, cowl is permanent, a little more sanding and priming and time to start the cockpit. |
| Barnstormer, Image # 5614 | 05 Jan 08 01:09 |
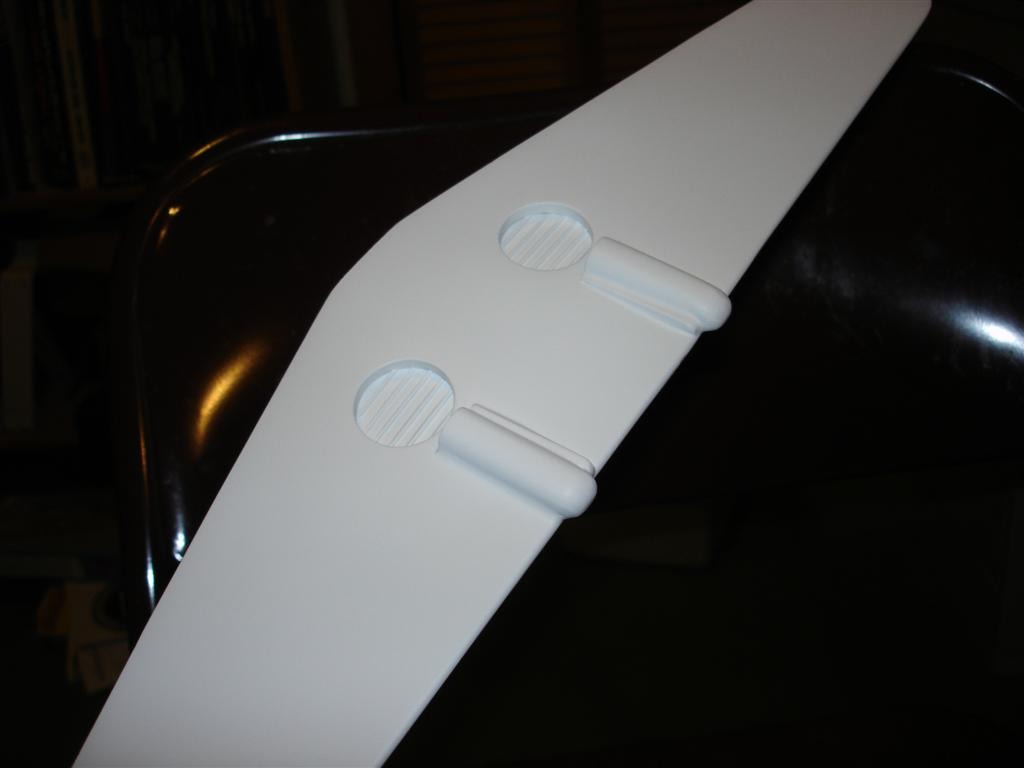
Some wing detail |
| Jedi, Comment for image # 5186 | 03 Dec 07 00:07 |
| Beautiful work.....I hope that my 400 series looks half that smooth. |
| poppy, Comment for image # 5186 | 02 Dec 07 20:55 |
| Wow! Nice work. |
| Barnstormer, Comment for image # 5186 | 02 Dec 07 17:31 |
| My Hero!!! |
| moostang51, Comment for image # 5186 | 02 Dec 07 17:25 |
| Looking good. BTW "I love the smell of napalm in the morning." Nice Duvall photo. |
| Build Thread, Page :
<< 11 12 13 14 15 [ 16 ] 17 18 19 (368 posts, 20 posts per page, 19 pages in total)
|
[ < Prev ] [ Next > ] |

