| Build Thread, Page :
<< 11 12 13 14 15 [ 16 ] 17 18 19 20 21 >> (491 posts, 20 posts per page, 25 pages in total)
|
[ < Prev ] [ Next > ] |
| poppy, Comment for image # 35547 | 12 Feb 16 09:07 |
| DD, your work never ceases to amaze me!! |
| David Duckett, Comment for image # 35547 | 11 Feb 16 16:10 |
| Thank you. I have often had an infill piece come loose when sanding, either from too little glue, or attention, so these days I double glue lots. |
| Don C, Comment for image # 35547 | 11 Feb 16 16:05 |
| OK. Thanks. It makes perfect sense now. And by the way, it sure is looking good. |
| David Duckett, Comment for image # 35547 | 11 Feb 16 15:03 |
| The Testors works just fine but the fin/rudder is in for doping and sanding and godonlyknows what kind of handling as the build progresses. Overkill, perhaps, but it's the way I build. The wind blew it off the stump when I had it outside the other day and there was no damage at all. It really bugs me to have something break off when it could have been prevented. |
| Don C, Comment for image # 35547 | 11 Feb 16 14:46 |
| I understand the difference and the uses, but doesn't the Testors hold satisfactorily when set? Why the CA too? Slow learner, I guess. |
| David Duckett, Comment for image # 35547 | 11 Feb 16 14:23 |
| You really should know there's a reason:-) I use Testors and medium CA throughout a build because of their properties. CA dries quickly, Testors, by comparison, does not. Testors will also seal a much larger gap than CA. In this case Testors is used first to allow proper alignment of the vertical structure. By not drying instantly there's time to make the necessary adjustments to insure it's on correctly. The thickness of the glue also helps make a tighter bond because more area is exposed to glue as it is spread by the pressure of contact. After drying for an hour or so I put on a generous application of CA. After a few minutes it is very securely in place and properly aligned. An application of filler finishes the task. |
| Don C, Comment for image # 35547 | 11 Feb 16 10:27 |
| OK, DD. This inquiring mind wants to know, why the 2 kinds of glue and is there any reason for the order? |
| Don C, Comment for image # 35584 | 11 Feb 16 10:17 |
| Is that like paint drying? |
| rayl, Comment for image # 35584 | 11 Feb 16 09:39 |
| one photo is worth>>> well you know. |
| David Duckett, Comment for image # 35584 | 11 Feb 16 03:59 |
| Sorry, I took only one photo:-( |
| David Duckett, Image # 35584 | 11 Feb 16 03:53 |

Here's a closeup, in focus, of the filler drying on the leading edge of the left wing. |
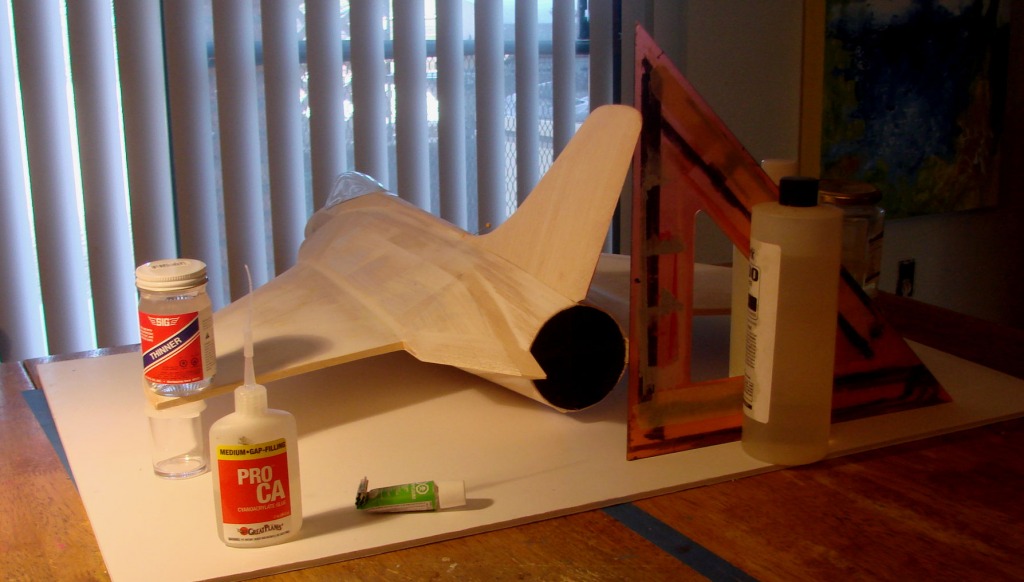
| David Duckett, Image # 35548 | 08 Feb 16 03:32 |
Ready to start the covering process |
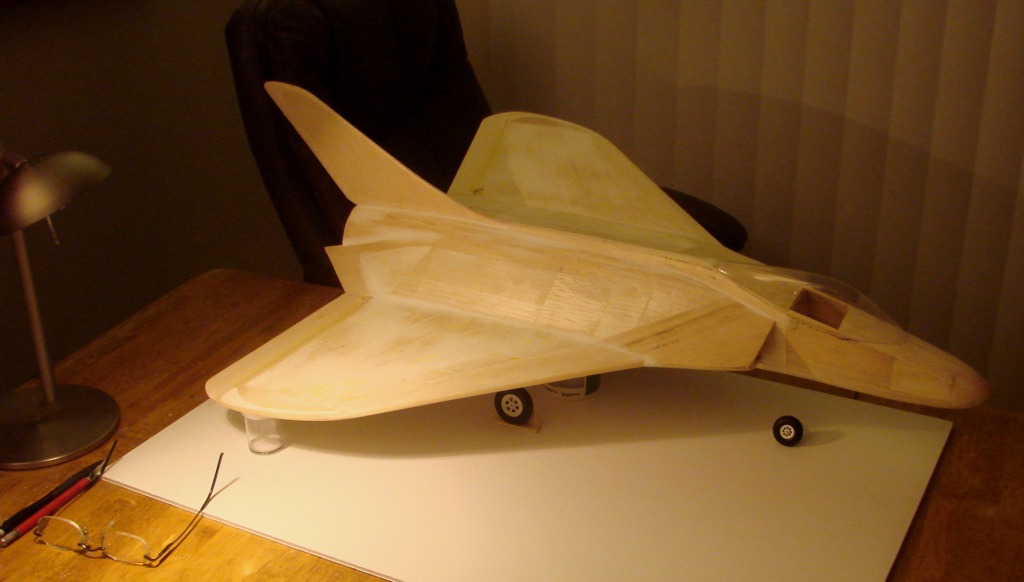
| David Duckett, Image # 35547 | 08 Feb 16 03:31 |
The fin/rudder was glued on first with Testors and then CA. |
| Don C, Comment for image # 35536 | 07 Feb 16 10:25 |
| Thanks. That's good information and a good looking plane. |
| julinick, Comment for image # 35536 | 07 Feb 16 10:04 |
| Excellent David. Great information that I'll definitely consider on future model builds. |
| David Duckett, Image # 35537 | 07 Feb 16 05:00 |
I got the rudder part of the fin/rudder sanded but it needs to be sanded to shape from top to bottom before attaching. The weather has been downright nasty but has started back to normal so it's safe to go outside again. That's essential because lots of doping is ahead. |
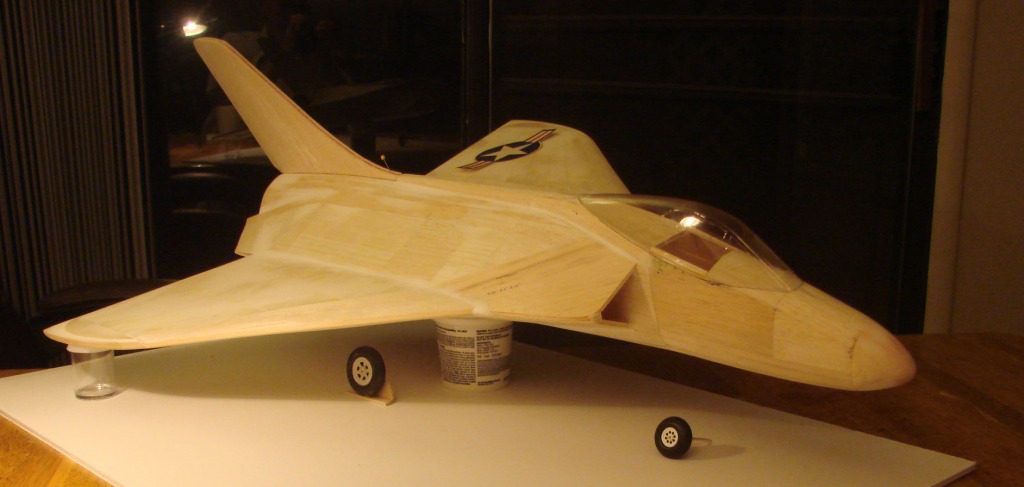
| David Duckett, Image # 35536 | 07 Feb 16 04:54 |

Fitting a canopy is crucial to the overall appearance of a model. This one is a bit unusual in that the bottom of the front framing is fairly flat and at the rear it has to conform to a circular shape to blend with the spine. After cutting out the wood for the cockpit I added 3/32" strips along the sides. I will add additional wood behind the opening to support the canopy when attaching it. Adjustments are expected as it all goes together. |
| David Duckett, Image # 35535 | 07 Feb 16 04:40 |

Masking tape pressed firmly against the canopy shows where the molding is and a sharpie defines it which makes it much easier to cut correctly. This works for all canopies but it's especially important to get it right on an OOP kit. |
| David Duckett, Comment for image # 35435 | 03 Feb 16 03:08 |
| The intention was to show the blocks making the arch and that relation to how I used the 1/16" stringers. It is an aqueduct. |
| David Duckett, Comment for image # 35509 | 03 Feb 16 02:50 |
| Saving them sounds like a good idea. |
| Build Thread, Page :
<< 11 12 13 14 15 [ 16 ] 17 18 19 20 21 >> (491 posts, 20 posts per page, 25 pages in total)
|
[ < Prev ] [ Next > ] |
