| Build Thread, Page :
<< 2 3 4 5 6 [ 7 ] 8 (140 posts, 20 posts per page, 8 pages in total)
|
[ < Prev ] [ Next > ] |
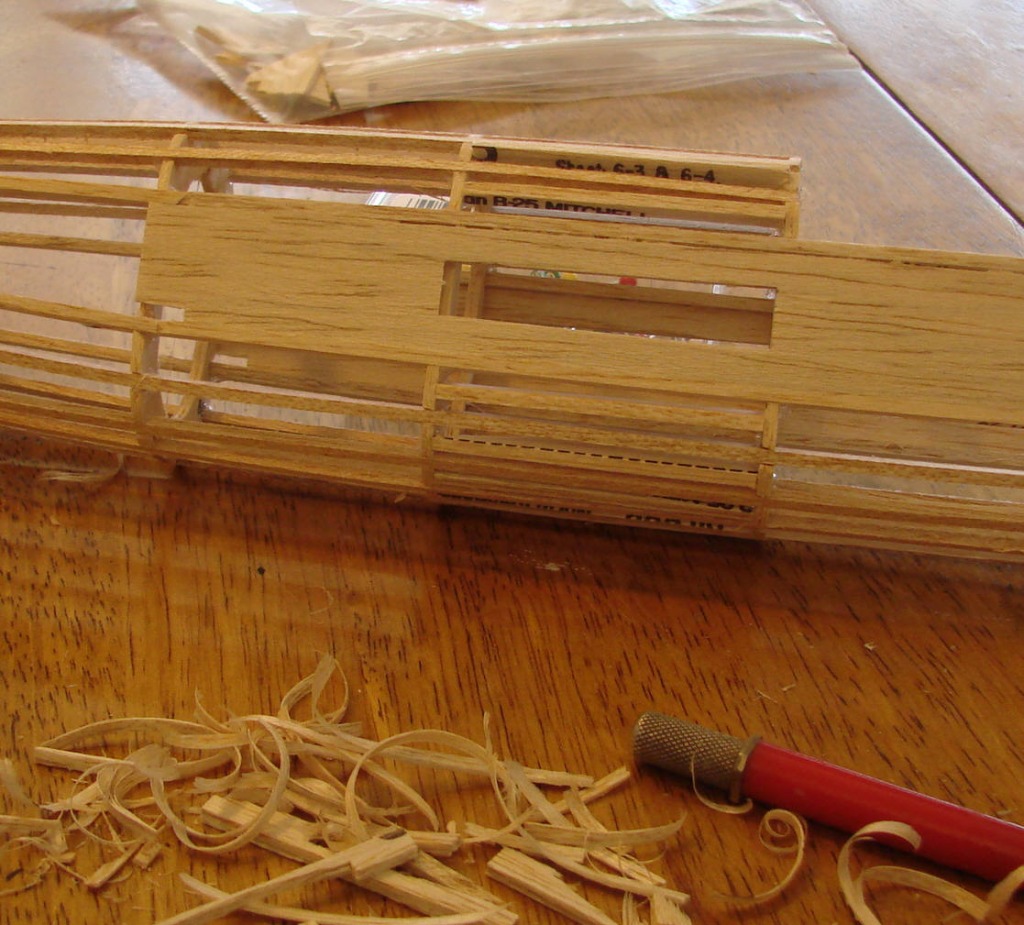
| David Duckett, Image # 3043 | 31 May 07 19:24 |
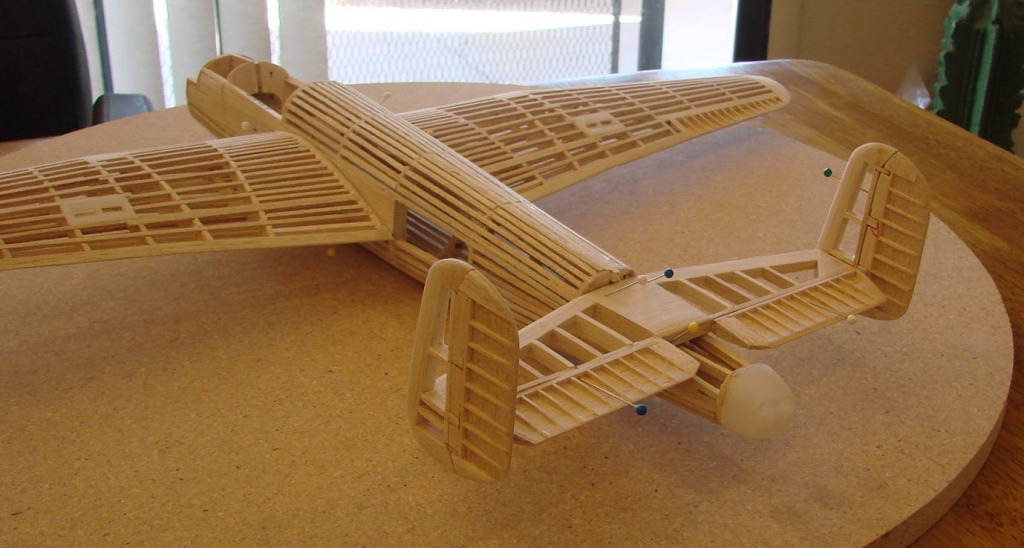
Some repair where the blue pin is will be required before covering. |
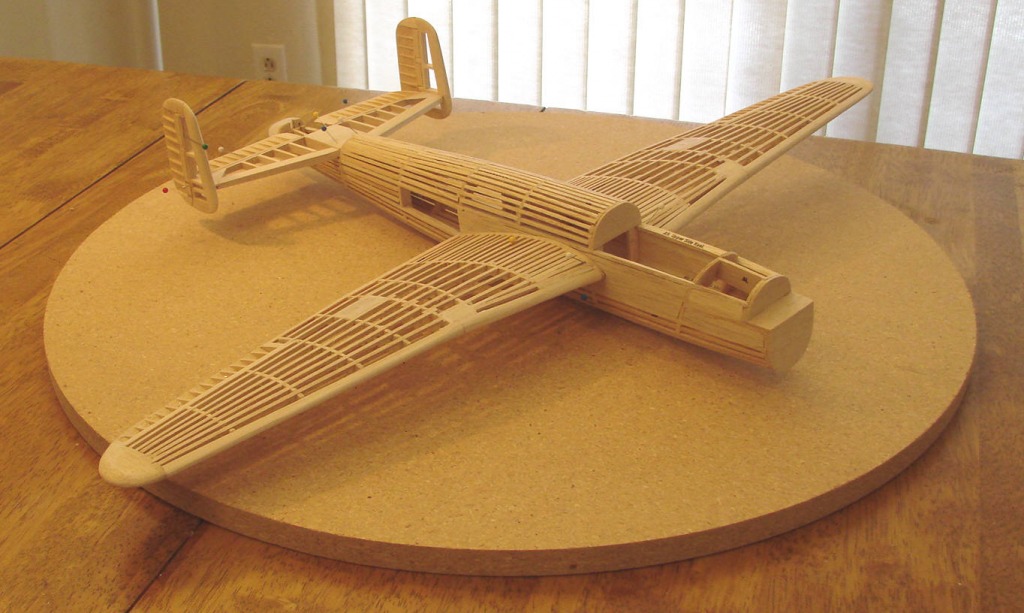
| David Duckett, Image # 3042 | 31 May 07 19:17 |
|
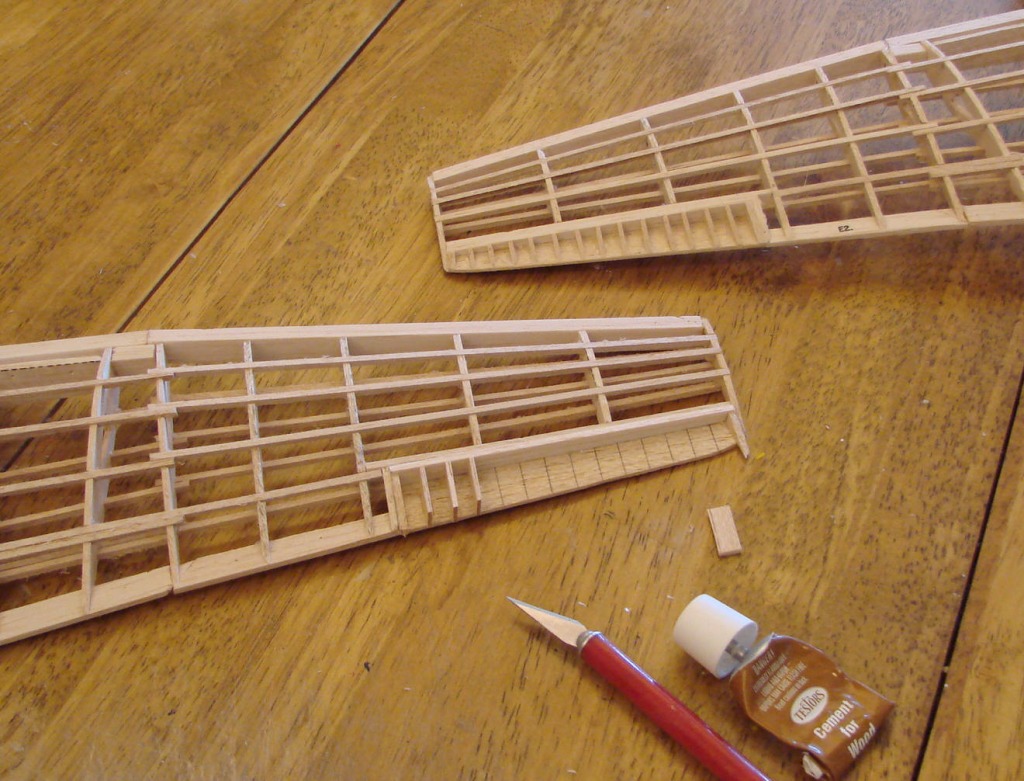
| David Duckett, Image # 3041 | 31 May 07 19:14 |
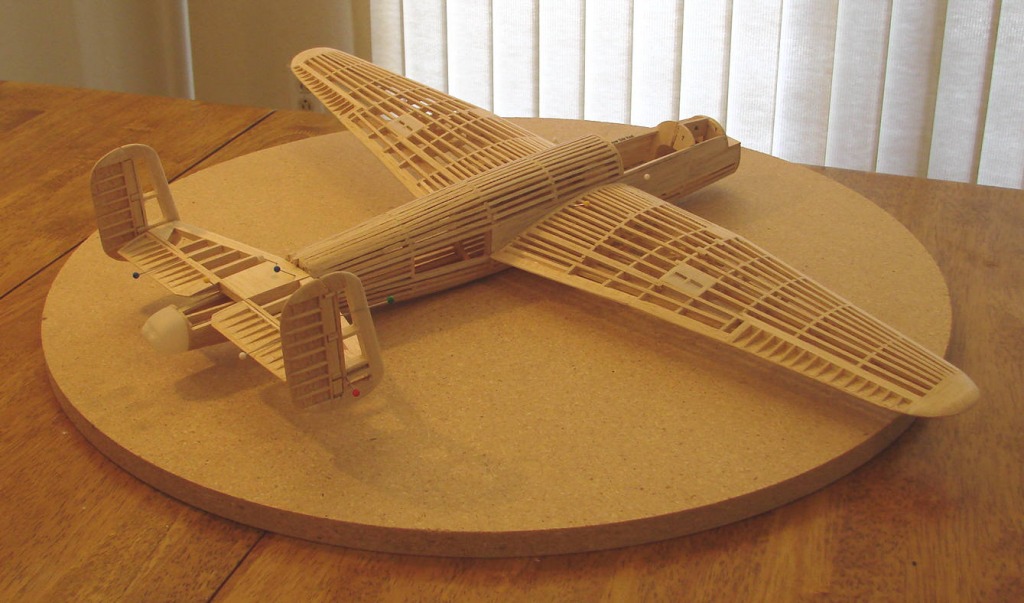
Frames are nearly finished |
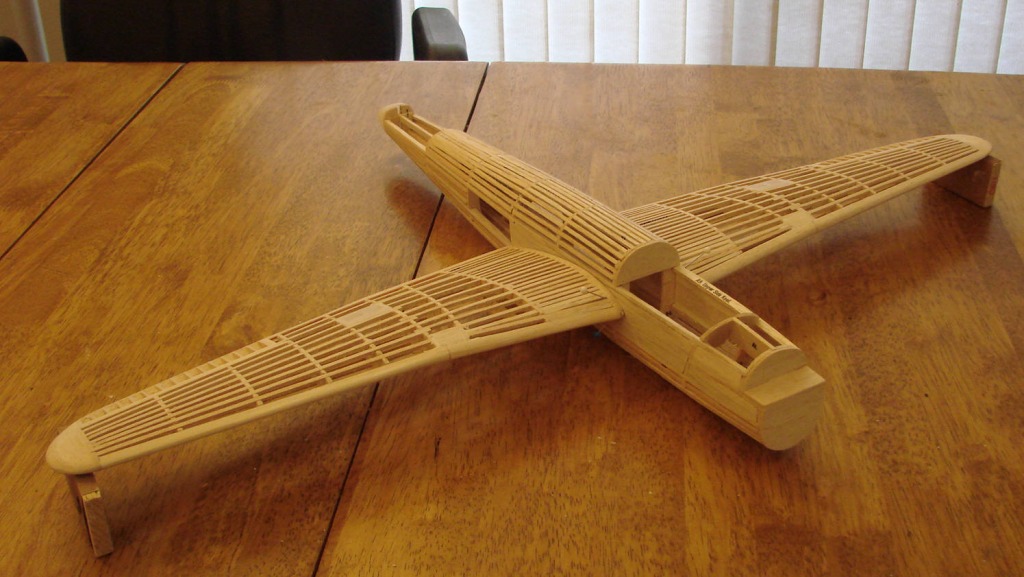
| David Duckett, Image # 3023 | 29 May 07 14:27 |
|
| David Duckett, Comment for image # 3019 | 28 May 07 19:24 |
| The moveables back there will be separate, but not moveable. I spent many long hours making these things according to plans (earlier planes) and never played with them after they were hanging. Screw'em.
Thanks for the compliment. This is not an easy kit and I'm trying to make it less of a challenge for someone less experienced. Rest assured it will be much simpler in many respects than the plans. At least, in some areas ;-) It's almost exactly the same size, and construction, as the Mosquito. |
| moostang51, Comment for image # 3020 | 28 May 07 19:23 |
| BTW, also will mask the clear window areas so as not to scratch the surface on certain window areas that I will mount prior to covering. |
| moostang51, Comment for image # 3020 | 28 May 07 19:19 |
| Makes sense.Using the same technique for all the plastic on the Buff 24, of course after final contour is achieved. Didn't like the small lip revealed with dry shrinkwrap test fitted on the side fuselage plastic parts. |
| David Duckett, Comment for image # 3017 | 28 May 07 19:12 |
| I tried to delete it....Duhhh!!! &&&&& aileron shape |
| moostang51, Comment for image # 3019 | 28 May 07 19:10 |
| Stationary ailerons... agreed, way to much work. Moveable surfaces on rudder and stabilizer... gotta have'em. Watching your work in progress... priceless. |
| David Duckett, Image # 3020 | 28 May 07 19:08 |
So far. The plastic piece has been cut to fit between the ribs and the wood below has been removed just enough to make it fit flush. |
| David Duckett, Image # 3019 | 28 May 07 19:04 |
Ailerons- my way, NOT per plan, and will not be separated from wing. |
| David Duckett, Image # 3018 | 28 May 07 19:00 |

Adding the dihedral (anhedral?) |
| David Duckett, Image # 3016 | 28 May 07 18:52 |
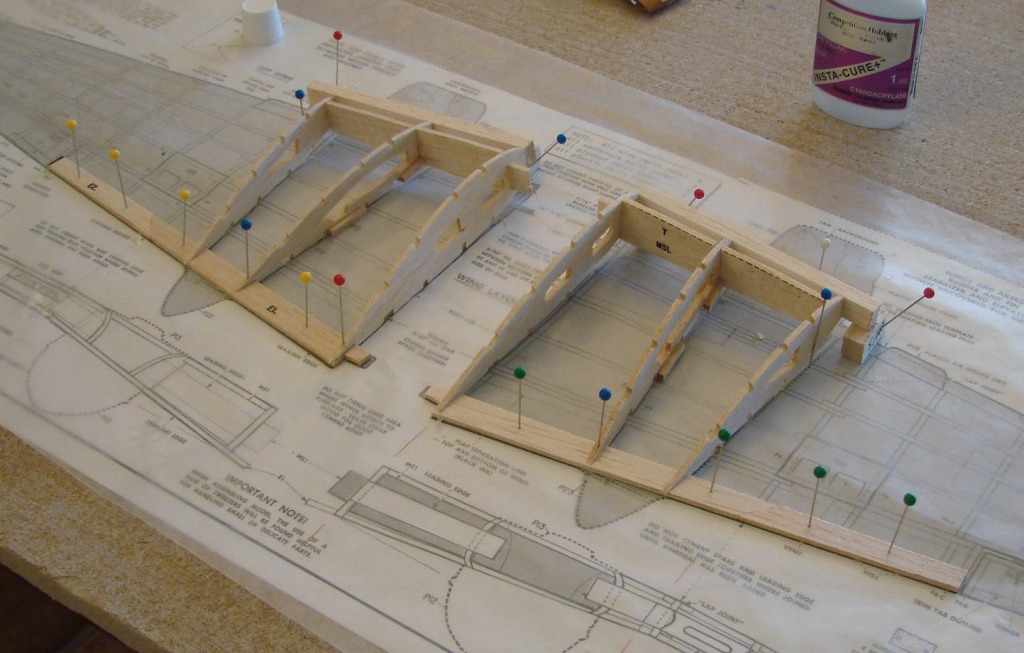
First step-wing |
| David Duckett, Comment for image # 3002 | 27 May 07 16:26 |
| I just got this finished and haven't checked for the plastic fit yet but it will definitely require some testing first. I'll post a photo when I figure it out.
Masterpiece? Hardly, but the average for the 16 now here and built since Feb of 2006 is about a month. |
| moostang51, Comment for image # 3002 | 27 May 07 16:01 |
| How are you readying the front fuselage for the clear nose cone assembly. Trial fitting and shaping prior to covering etc, I'm at this stage with the Buff 24 and the plastic is quite unforgiving. |
| John M Oshust, Comment for image # 3002 | 27 May 07 14:58 |
| Dodge can make a pick up a minute, DD can make a masterpiece per week! |
| David Duckett, Comment for image # 3002 | 27 May 07 14:29 |
| I'm using Testors wood cement primarily for this part. The tail piece is glued on with it and then with medium CA to secure it firmly. |
| simpleflyer, Comment for image # 3002 | 27 May 07 13:48 |
| Geeeeze, david, you are a fast builder. What glue are you using for this part of the construction? I like your idea of using scrap kit stock for filler. |
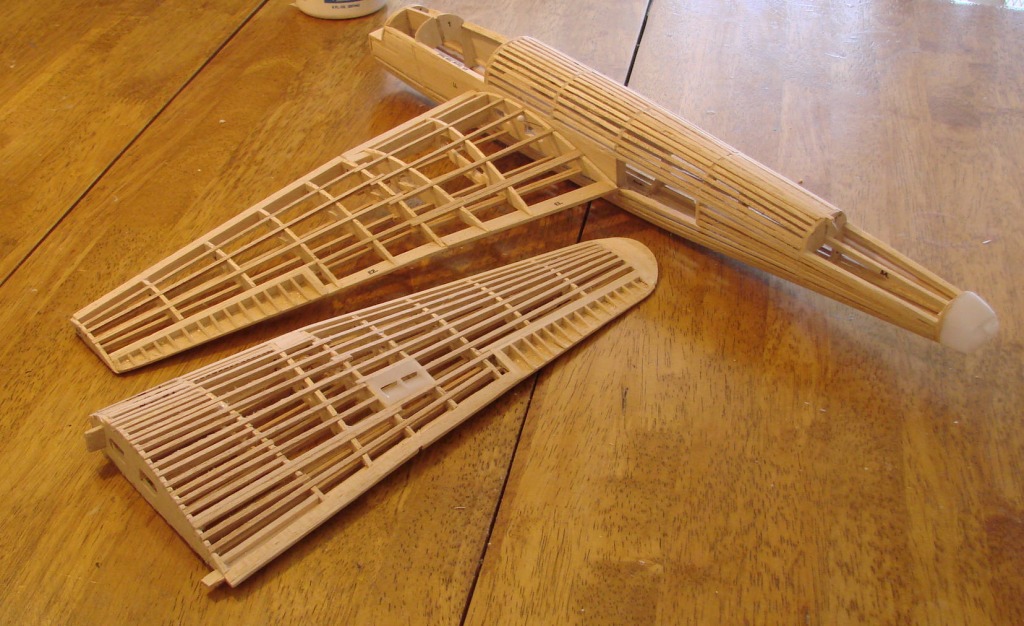
| David Duckett, Image # 3002 | 27 May 07 09:58 |
Basic fuselage before filler, tailpiece glued on and stringers matched to it. |
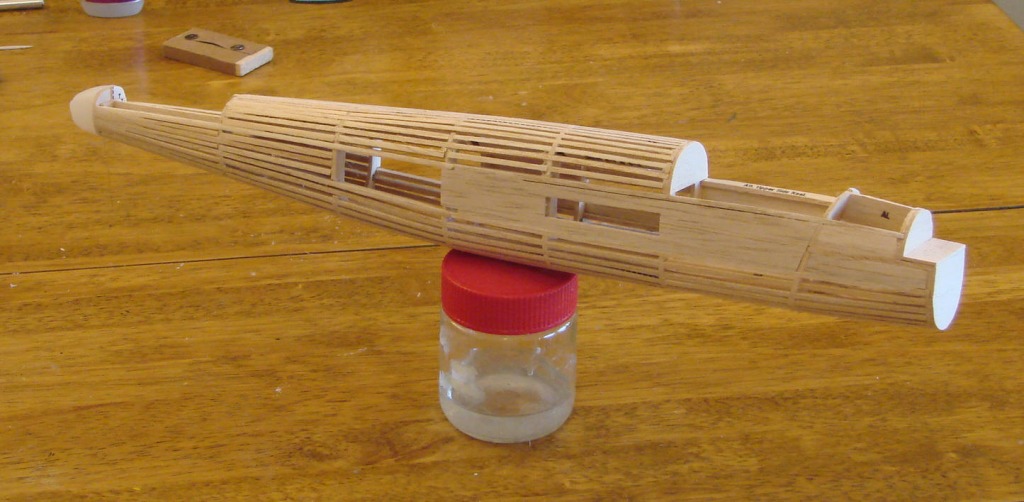
| David Duckett, Image # 3001 | 27 May 07 09:55 |
Using scrap as extra stringers |
| Build Thread, Page :
<< 2 3 4 5 6 [ 7 ] 8 (140 posts, 20 posts per page, 8 pages in total)
|
[ < Prev ] [ Next > ] |
