| Build Thread, Page :
[ 1 ] 2 3 4 5 6 7 8 9 10 11 >> (383 posts, 20 posts per page, 20 pages in total)
|
[ Next > ] |
| bobgood, Comment for image # 16370 | 15 Jul 23 11:37 |
| A DD model in 2010 |
| BriandKilby, Comment for image # 41641 | 23 Nov 21 15:11 |
| thanks for sharing, dd!
|
| David Duckett, Comment for image # 41691 | 01 Jan 20 10:40 |
| Yes, but they are down here. |
| BriandKilby, Comment for image # 41691 | 01 Jan 20 09:56 |
| are those palm trees by the snowy mountains, dd? |
| David Duckett, Image # 41691 | 31 Dec 19 13:57 |
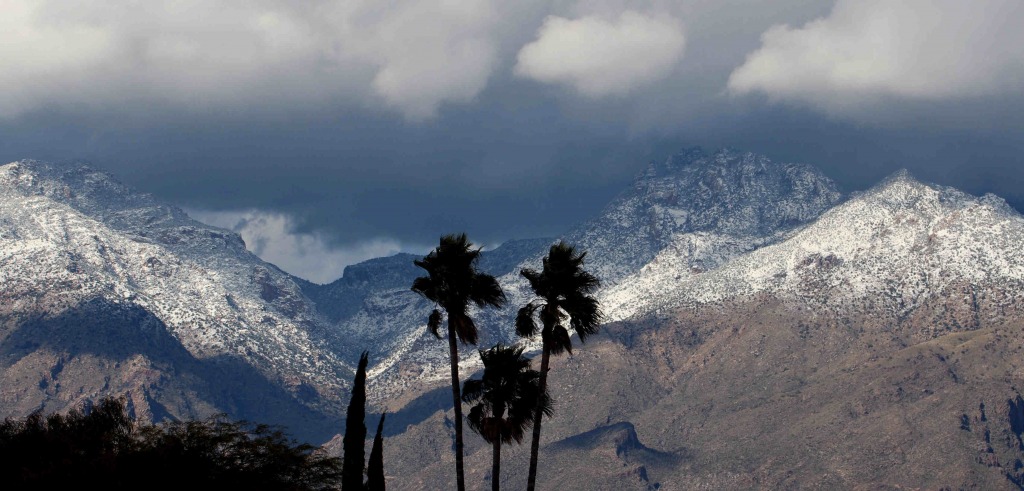
Happy New Year from Tucson!! |
| David Duckett, Comment for image # 41662 | 22 Dec 19 04:20 |
| Hope it proves useful :-) |
| frwflyer, Comment for image # 41662 | 21 Dec 19 14:07 |
| I agree with pfinn. The process of defining panels is VERY WELL PRESENTED. I think I just might attempt a line or two. Thank you for the presentation. |
| David Duckett, Comment for image # 41662 | 21 Dec 19 08:23 |
| It does happen. It's important to keep the guide as close to the surface as possible. That means holding it with the fingers of one hand while inking with the other. Guides do get ink on them and it's best to chunk them when they do. After all, they're cheap. If ink does bleed it can be removed usually with a wet Q tip. It doesn't always work, though. |
| pfinn, Comment for image # 41662 | 21 Dec 19 08:08 |
| Very informative. Presentation is top notch. Is there ever a problem with the ink bleeding under the guides? Capillary? Especially using the thinner guides. I haven't used these particular pens so maybe they don't lay down too much ink. |
| Don C, Comment for image # 41629 | 20 Dec 19 09:42 |
| I see the German classes are paying off. |
| edtherenderman, Comment for image # 41662 | 20 Dec 19 09:28 |
| Fantastic! Thanks for going through that process. Now I need to build another model to use it on! I have several WW1 models in the queue right now, but I see a WWII model in the near future too. Or perhaps I can build that F104 that I have scratch build plans for! :) |
| David Duckett, Image # 41662 | 20 Dec 19 04:50 |
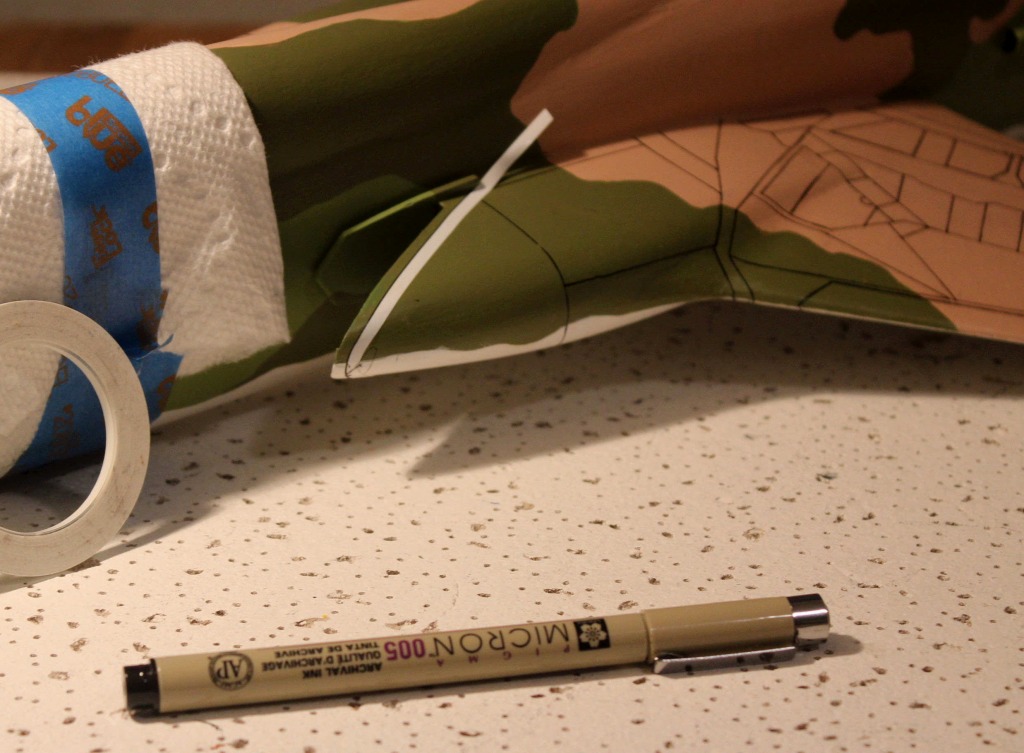
The whole panel line process is done with guides and patterns but sosme areas are particularly difficult. The tape itself becomes the guide. This is another type pen which can be used. Questions? |
| David Duckett, Image # 41661 | 20 Dec 19 04:42 |
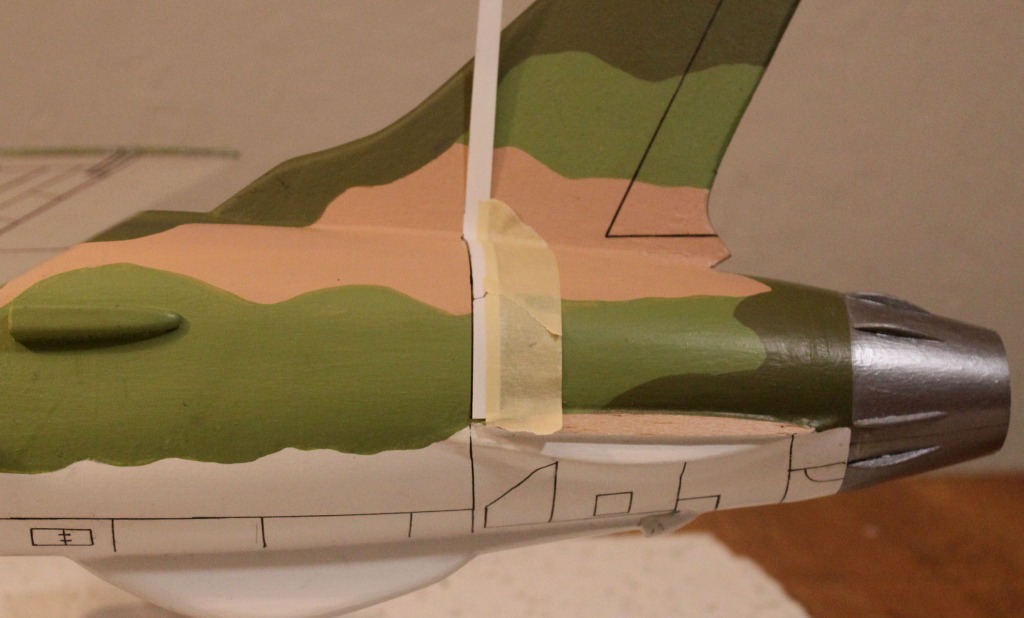
Lines on planes are mostly rectangles based on an X and Y axis. Use an already established line to true the line on the fuselage.. REMEMBER the procedure is to draw the line first with pencil and remove the guide. THen tape the guide back in place and ink. Yes, you can ink using only the guide...if you know what you're doing but it's better to draw the lines with pencil first. Less chance of screwing them up. |
| David Duckett, Image # 41660 | 20 Dec 19 04:34 |
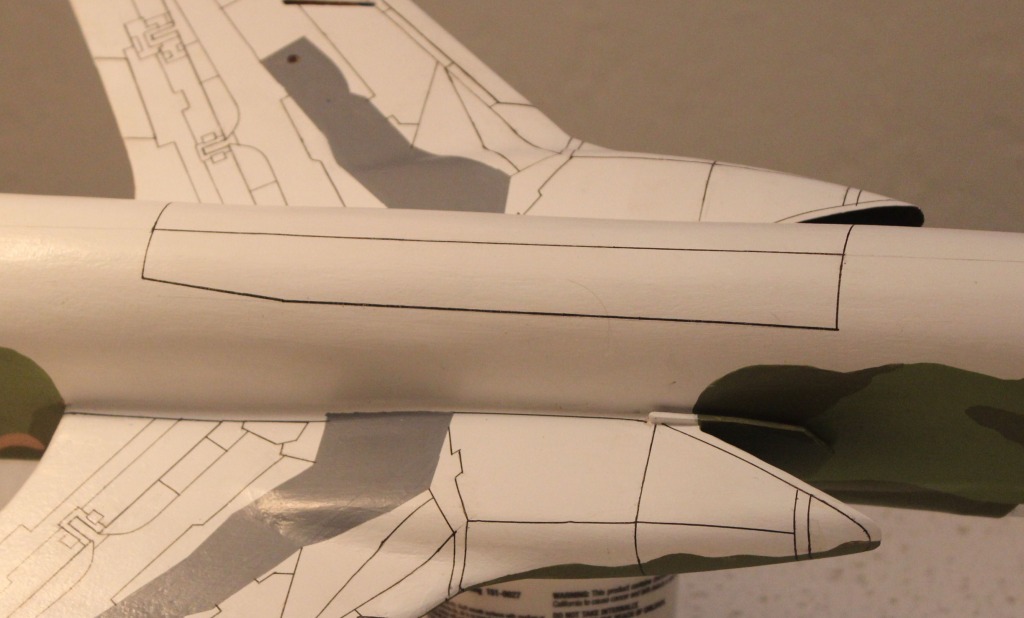
If you make a mistake a wet Q tip will sometimes remove the ink as it is NOT waterproof. Sometimes it will not so if that happens the only thing to do is paint over it. The ink also smudges easily so I suggest using latex gloves. |
| David Duckett, Image # 41659 | 20 Dec 19 04:31 |
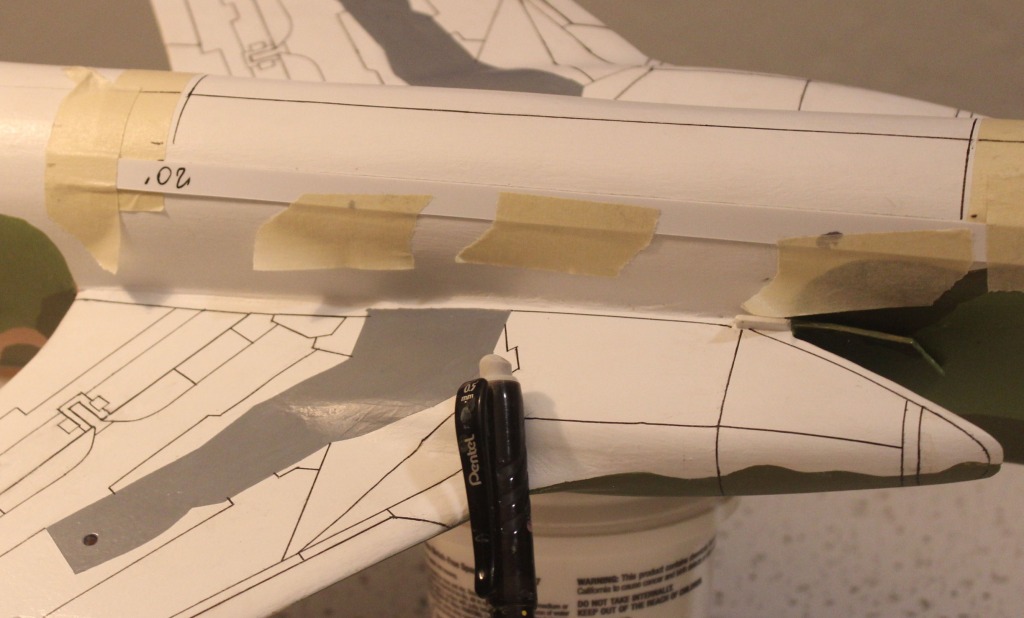
You can see how one line leads to another as more reference points show up. I used a .020" styrene guide for this part. |
| David Duckett, Image # 41658 | 20 Dec 19 04:28 |
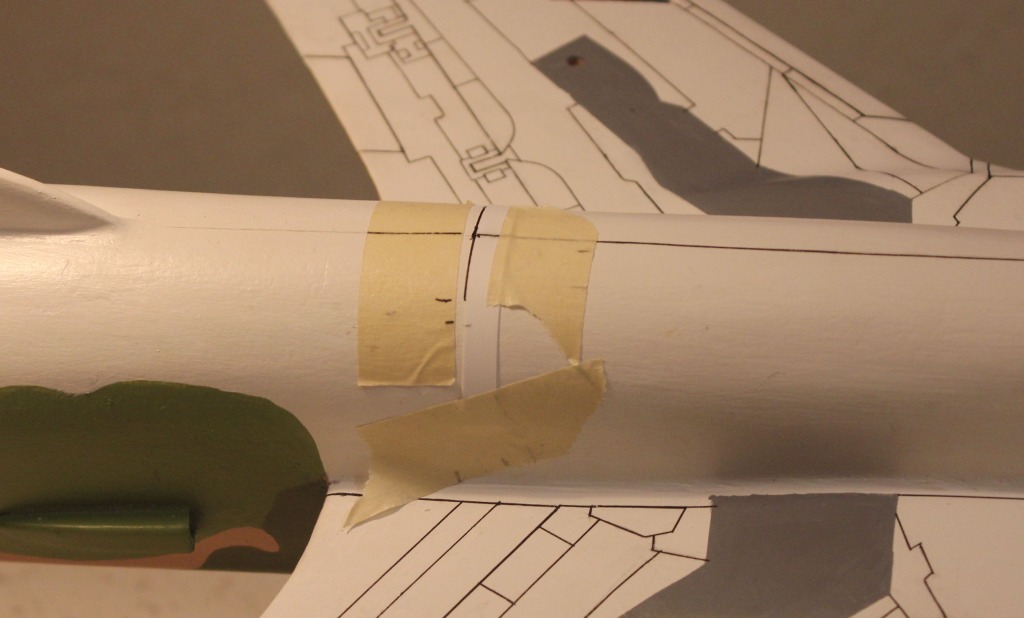
Tape in place and ink. |
| David Duckett, Image # 41657 | 20 Dec 19 04:27 |
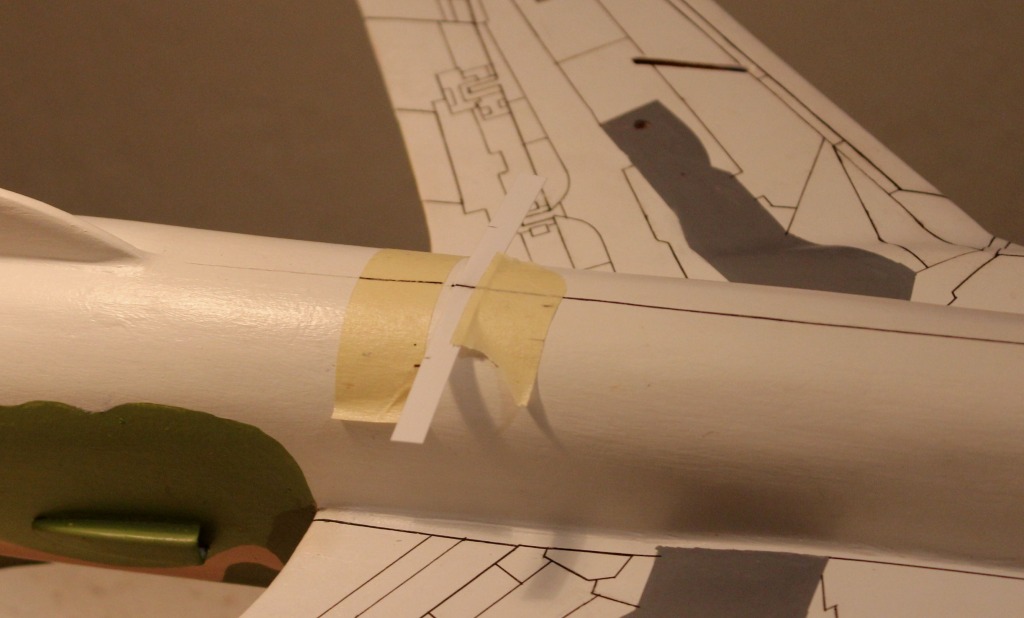
THe tape on the left has the measurement marked. . Use the guide cut from the styrene and center it on the line. |
| David Duckett, Image # 41656 | 20 Dec 19 04:25 |
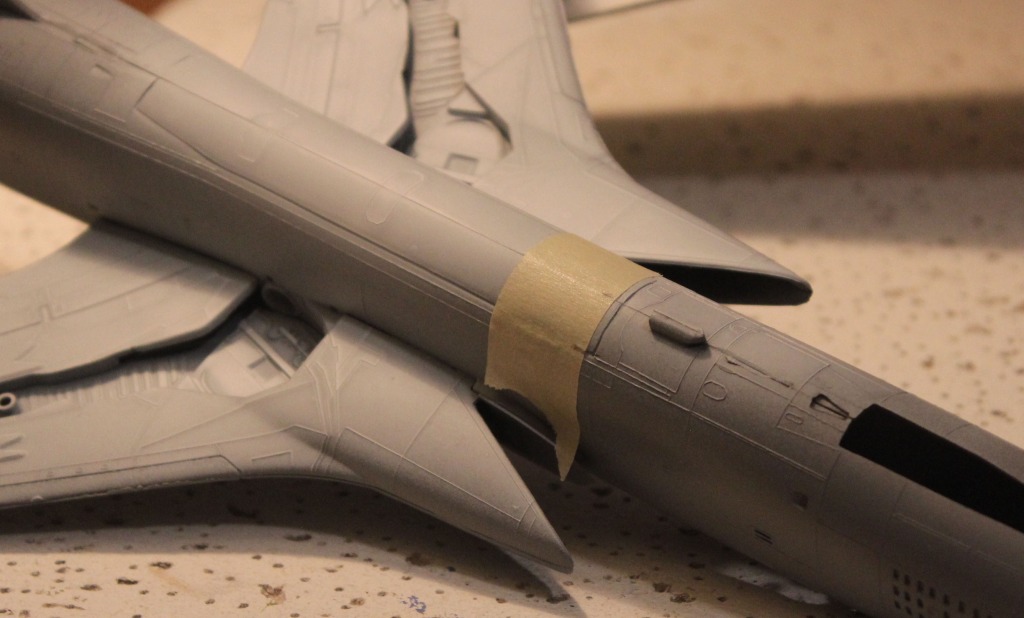
Use tape to determine distance. |
| David Duckett, Image # 41655 | 20 Dec 19 04:23 |
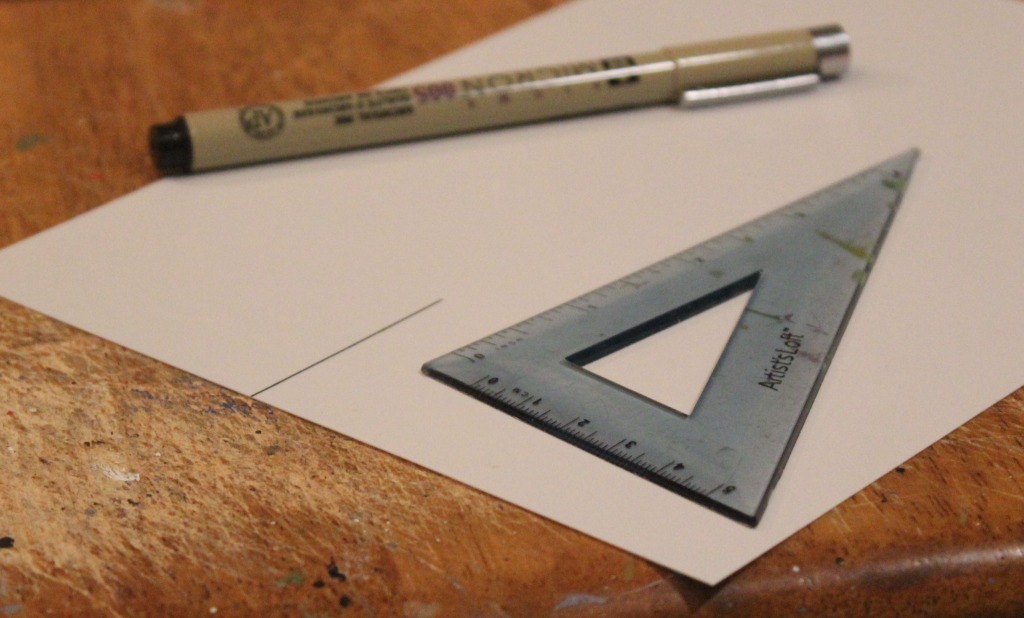
Draw a perpendicular line on styrene. |
| David Duckett, Image # 41654 | 20 Dec 19 04:22 |
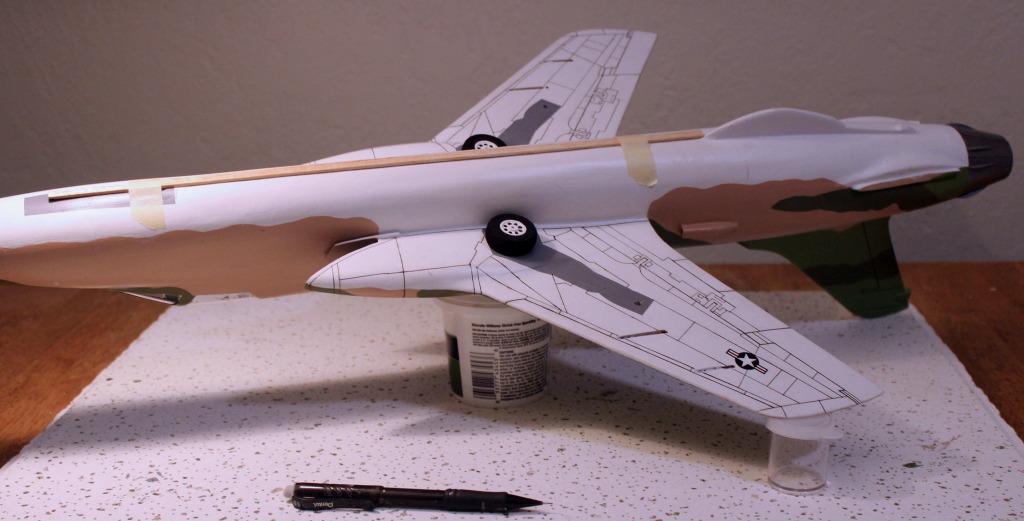
Reference for the fuselage is the center line. |
| Build Thread, Page :
[ 1 ] 2 3 4 5 6 7 8 9 10 11 >> (383 posts, 20 posts per page, 20 pages in total)
|
[ Next > ] |

